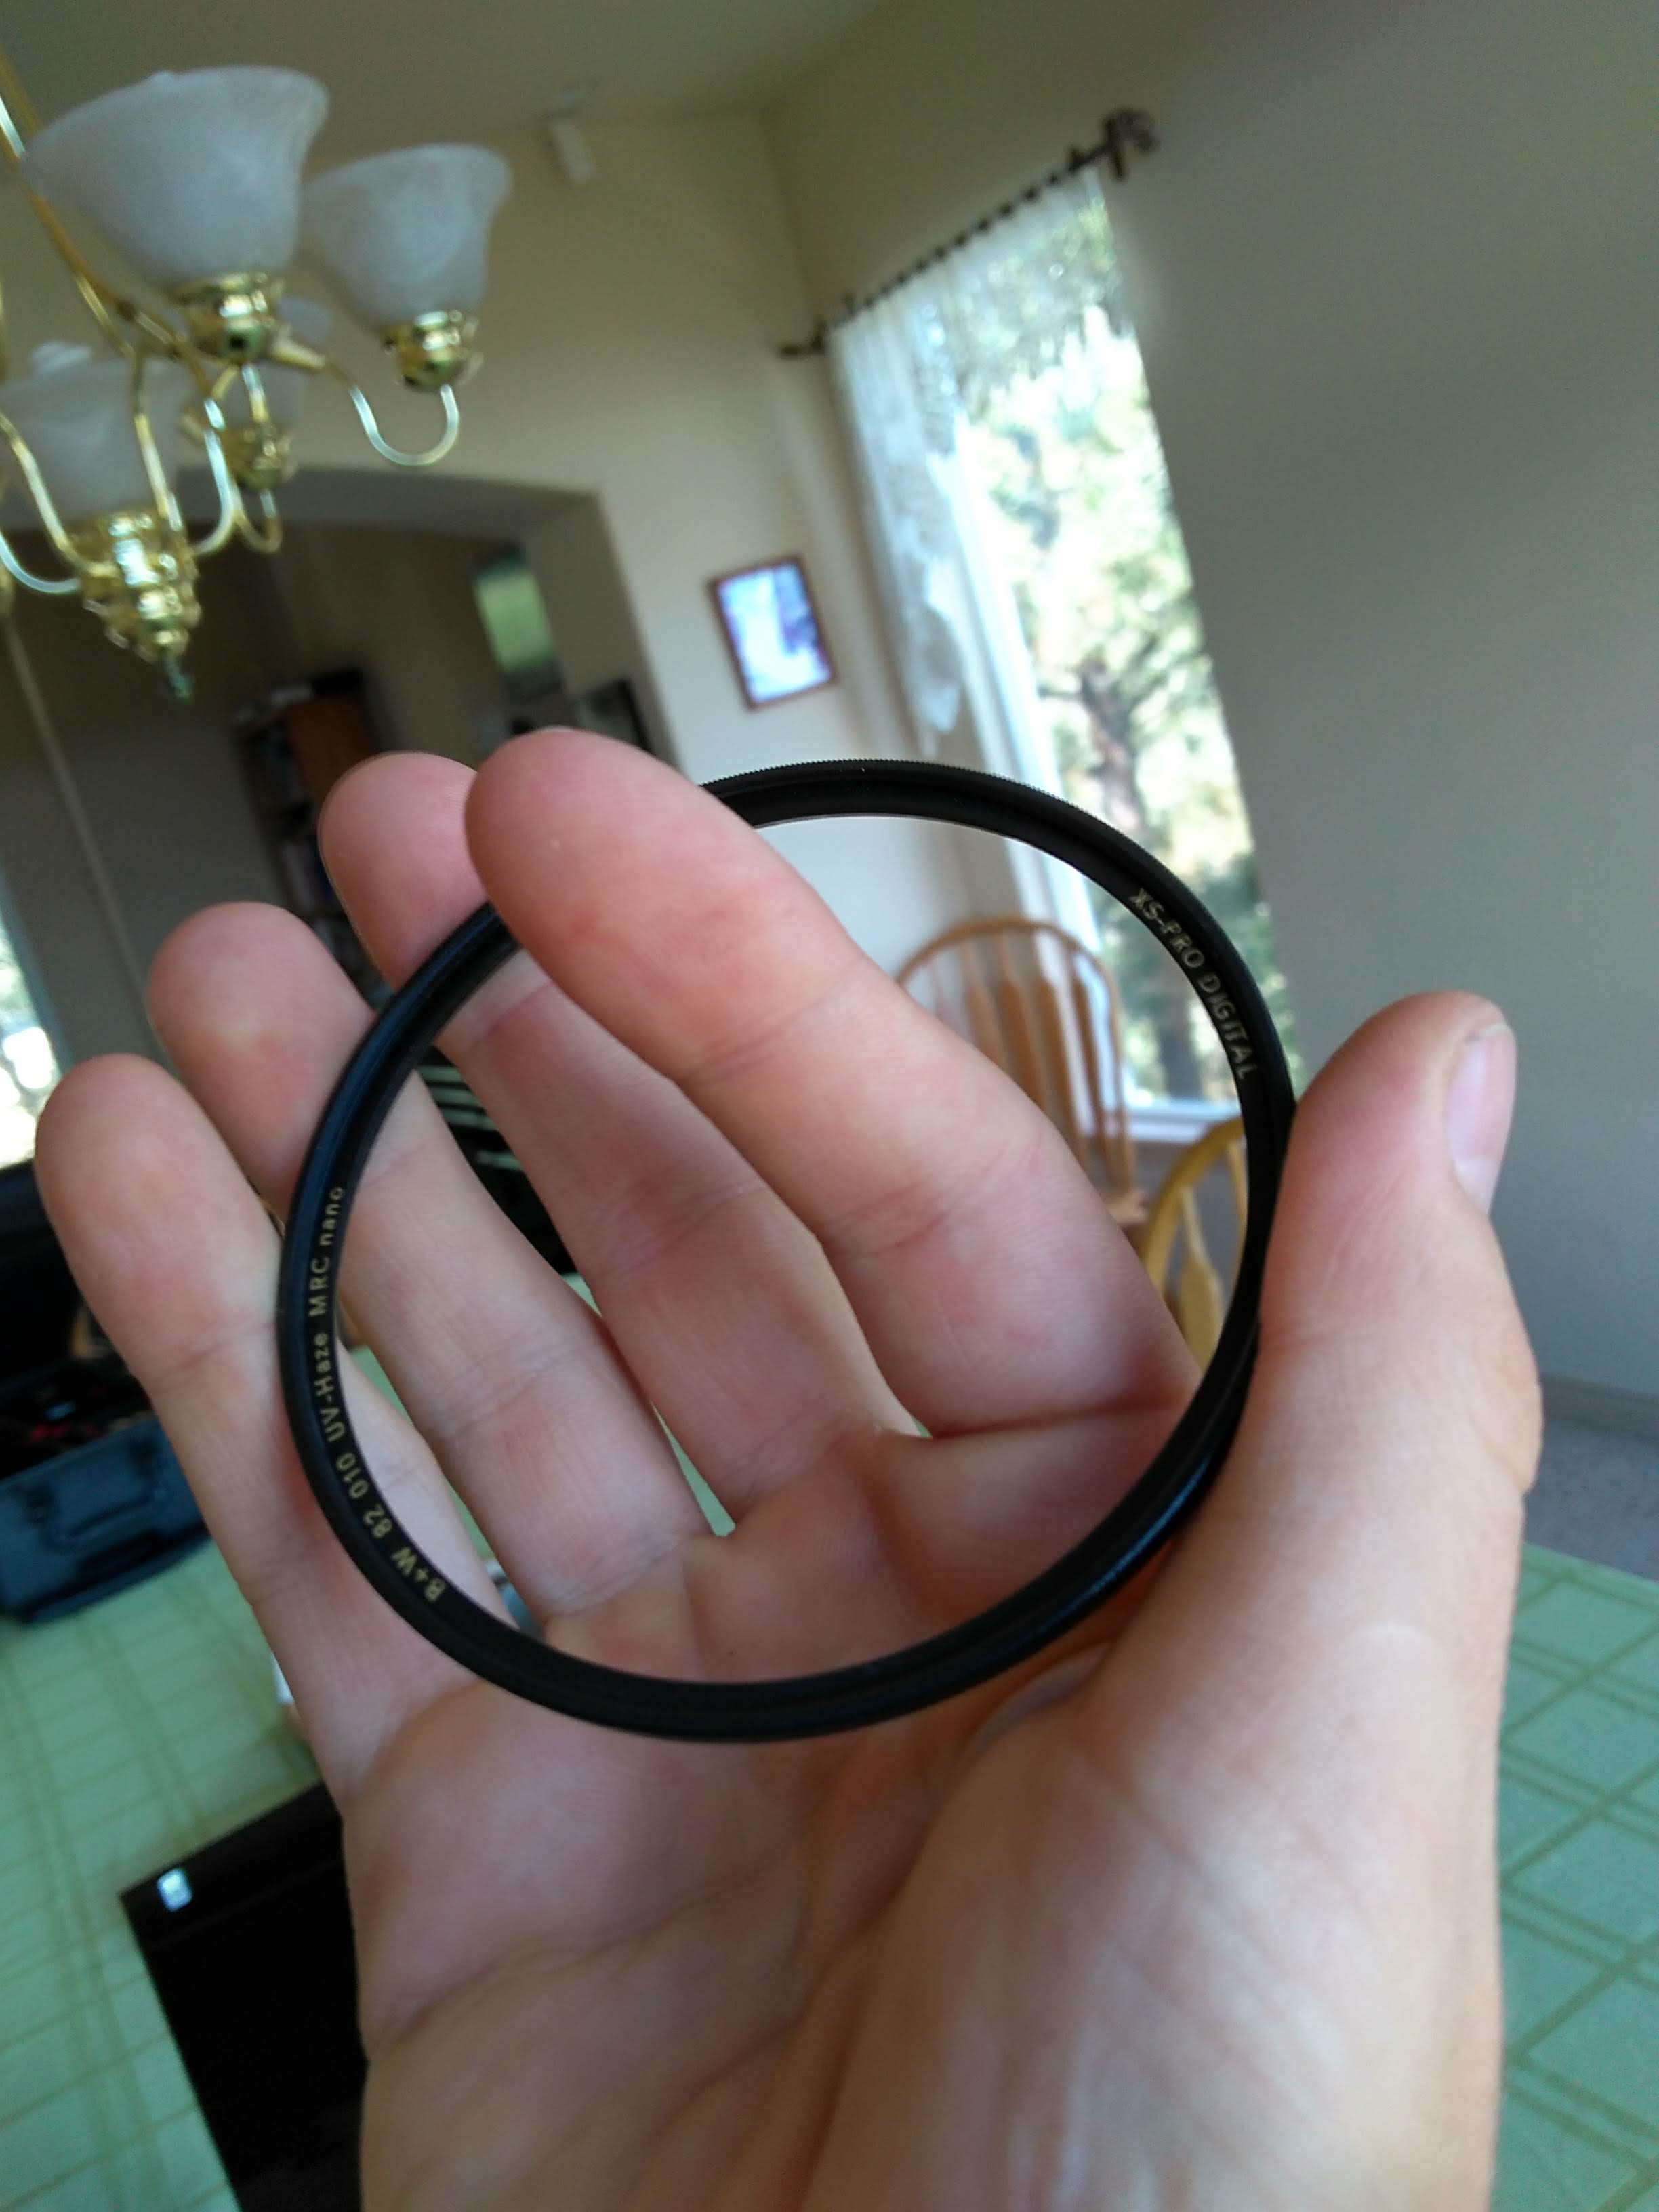
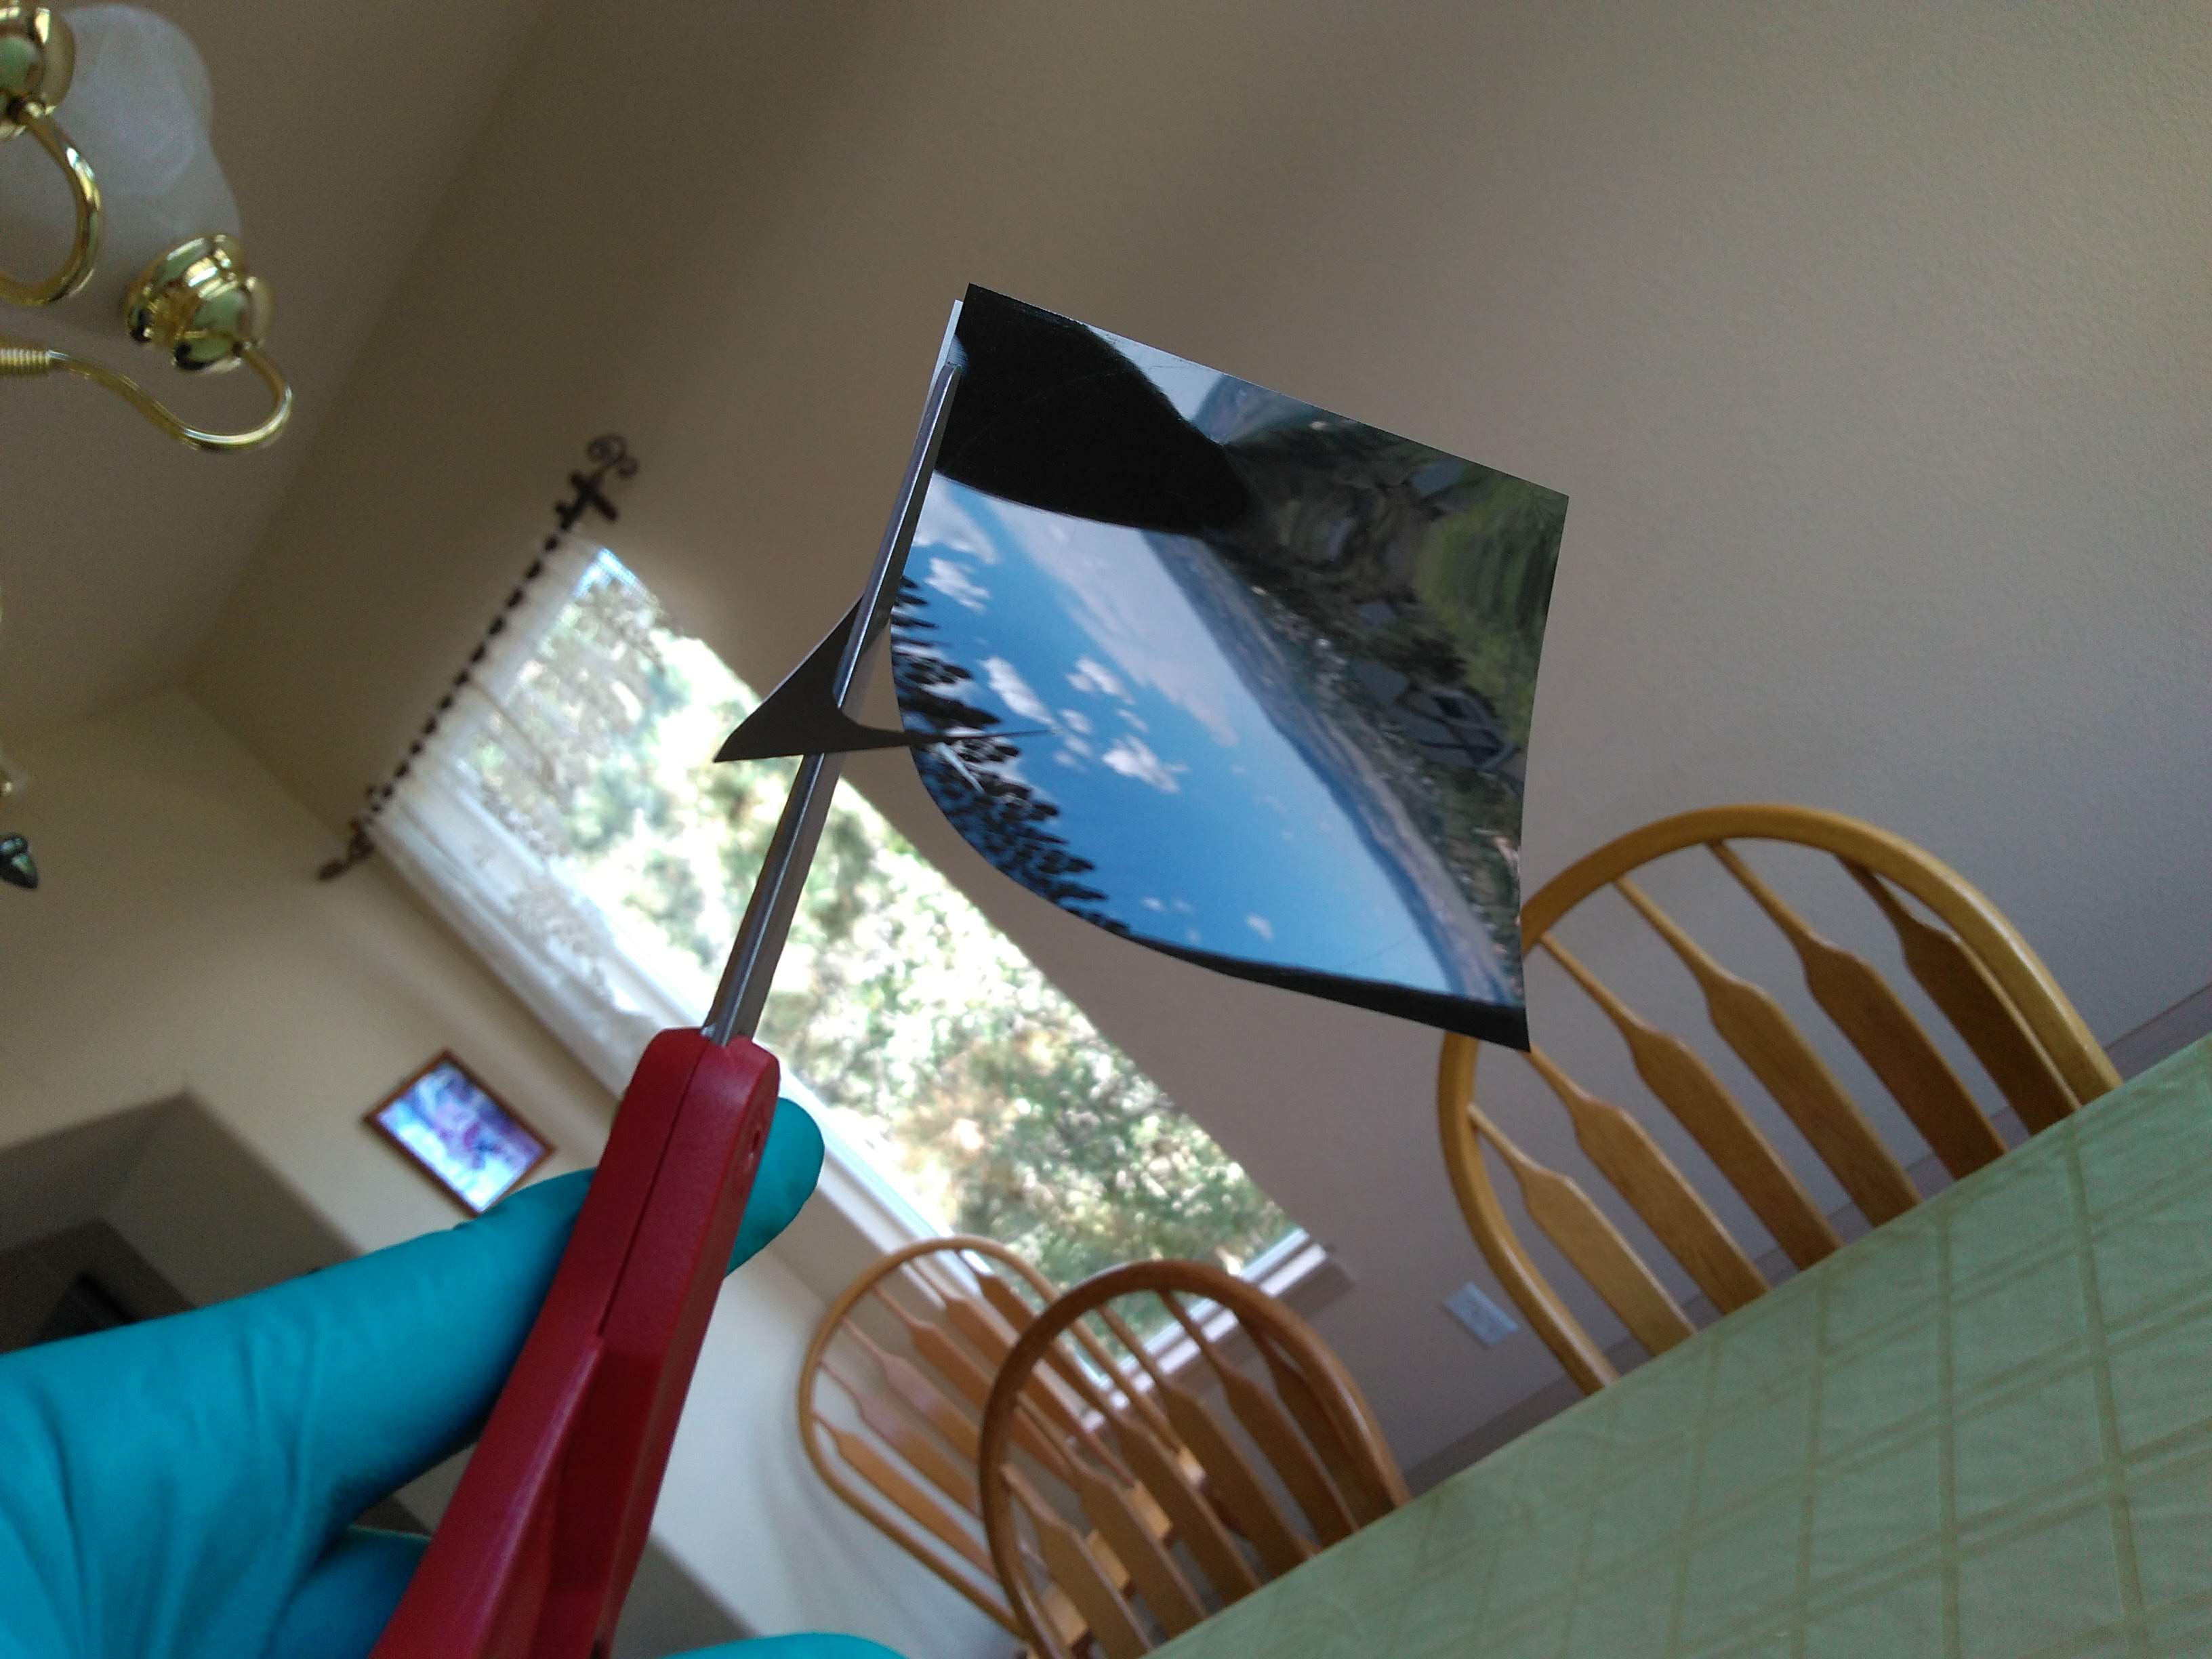
To use up some Amazon credit that was about to expire, I recently bought a roll of 4-stop netural density sheet. I also had an 82mm filter ring without any glass in it left over from a broken protective filter.
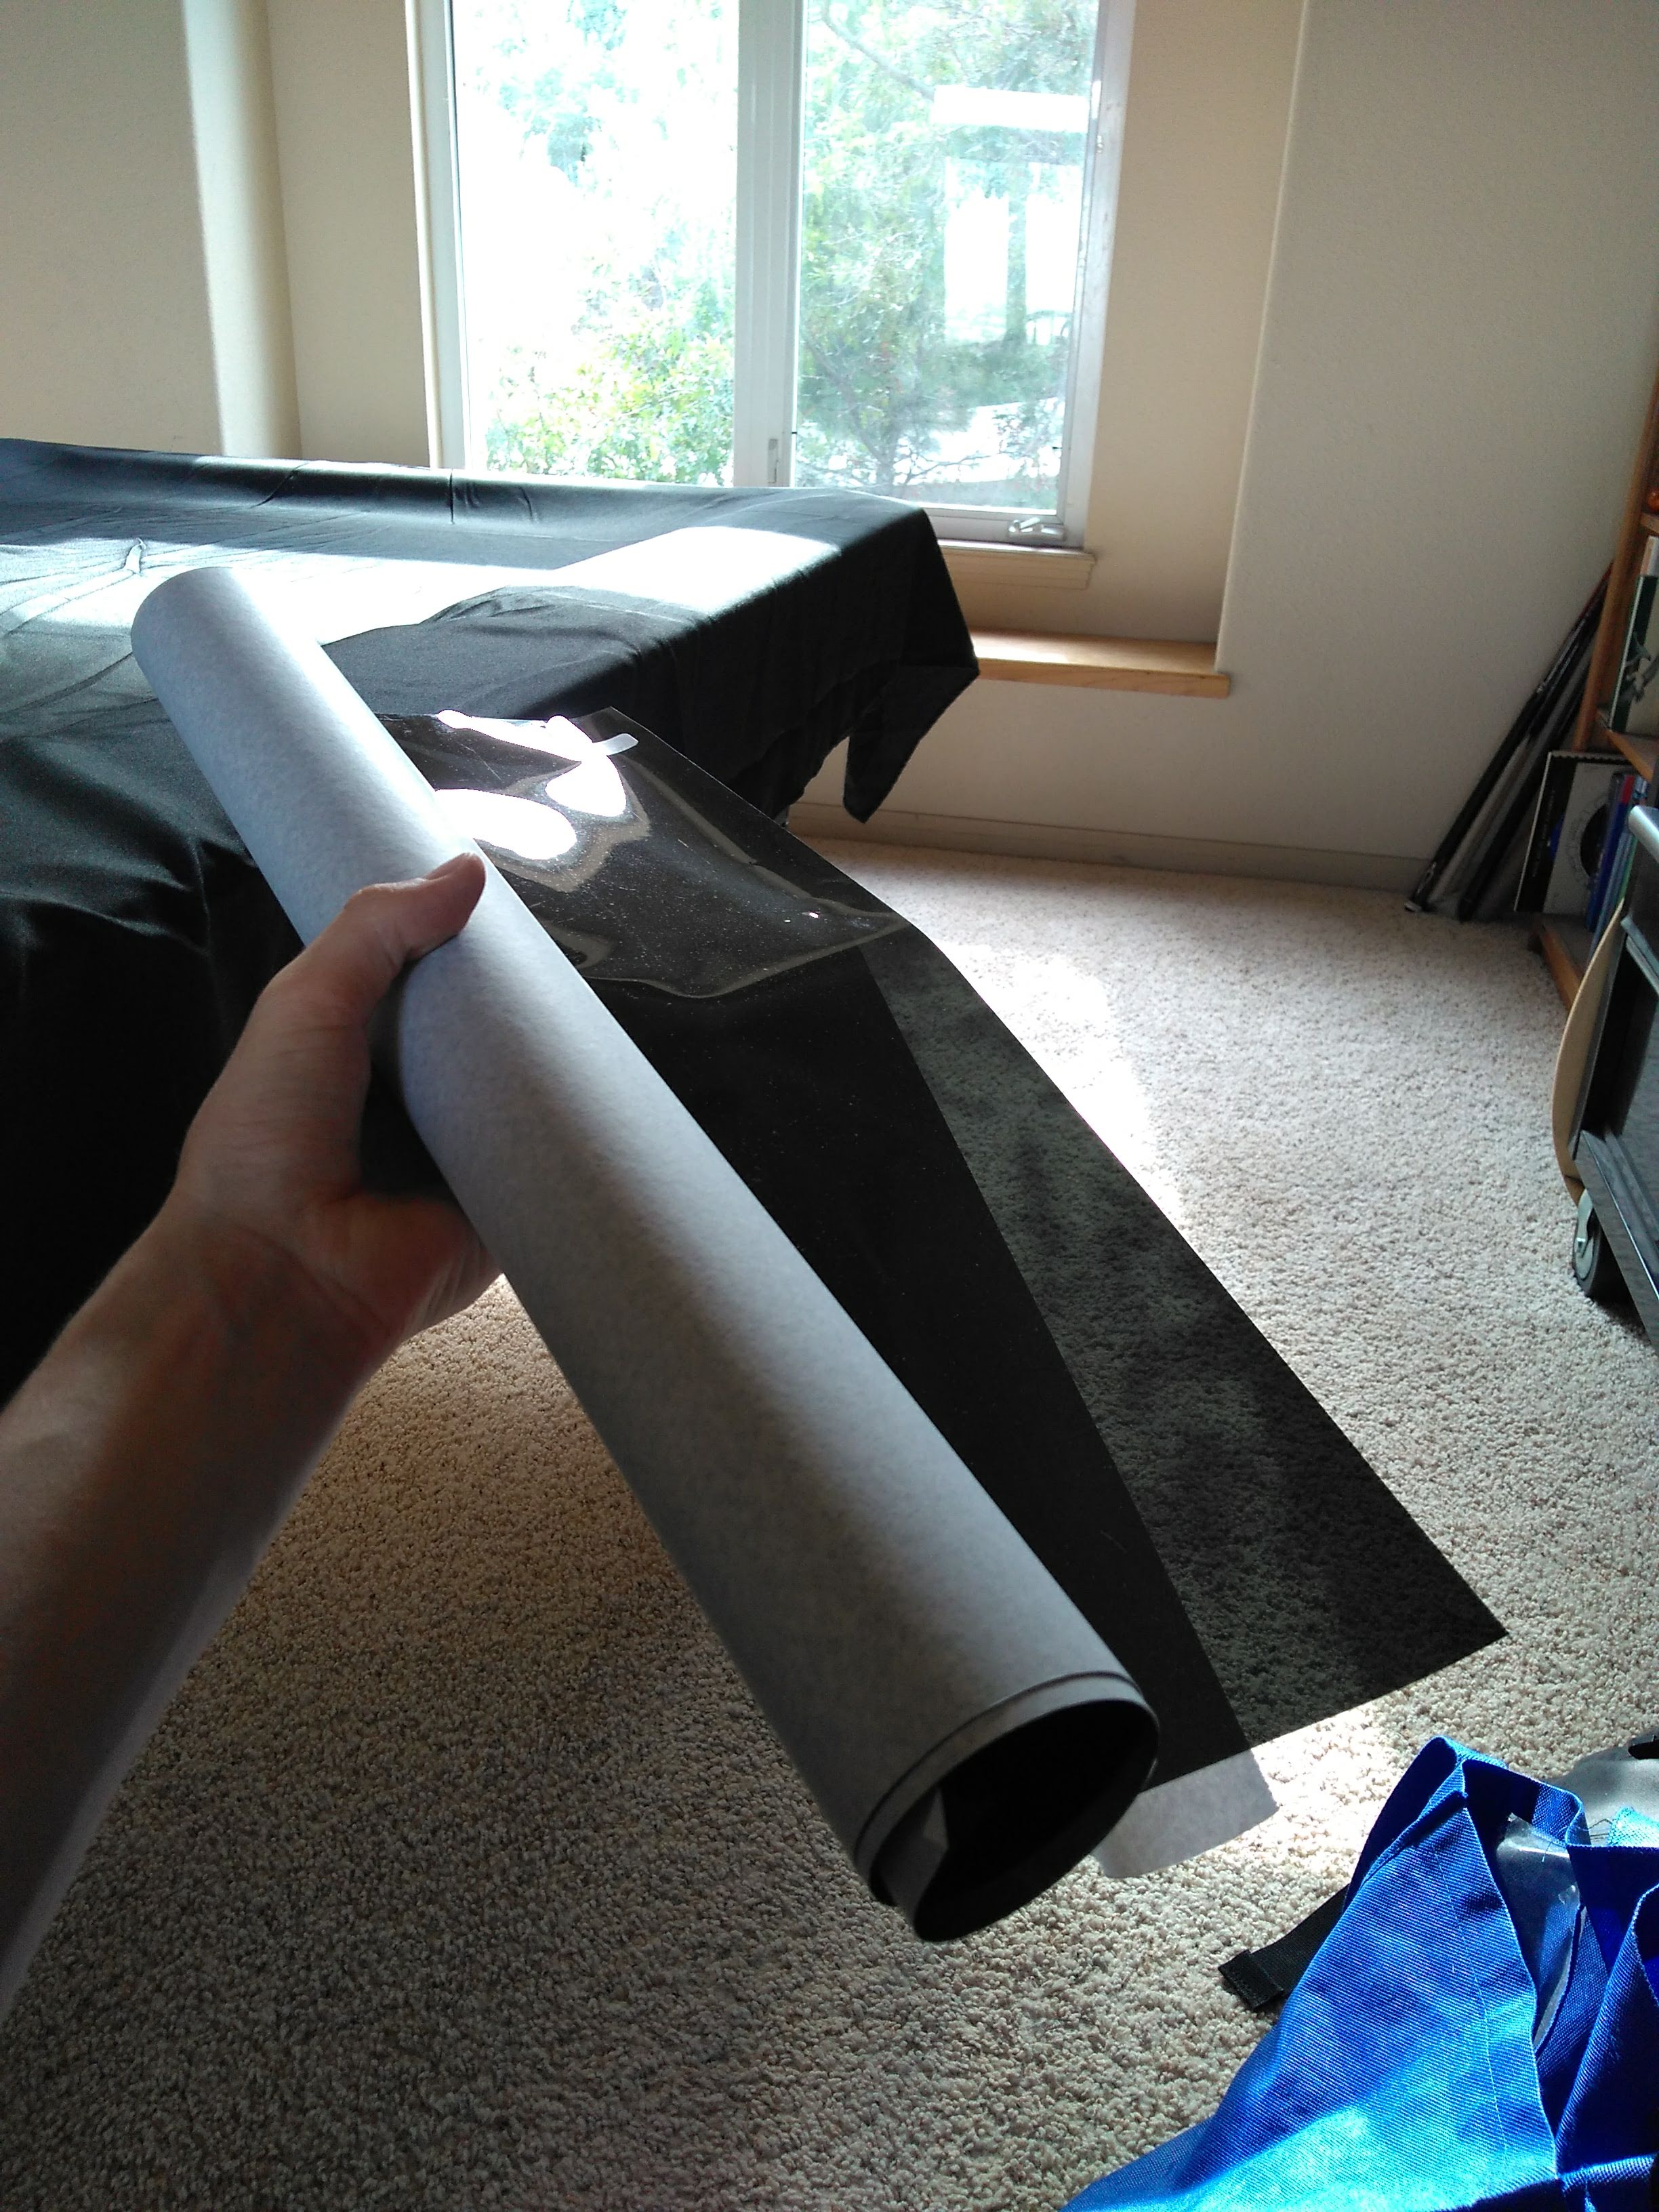
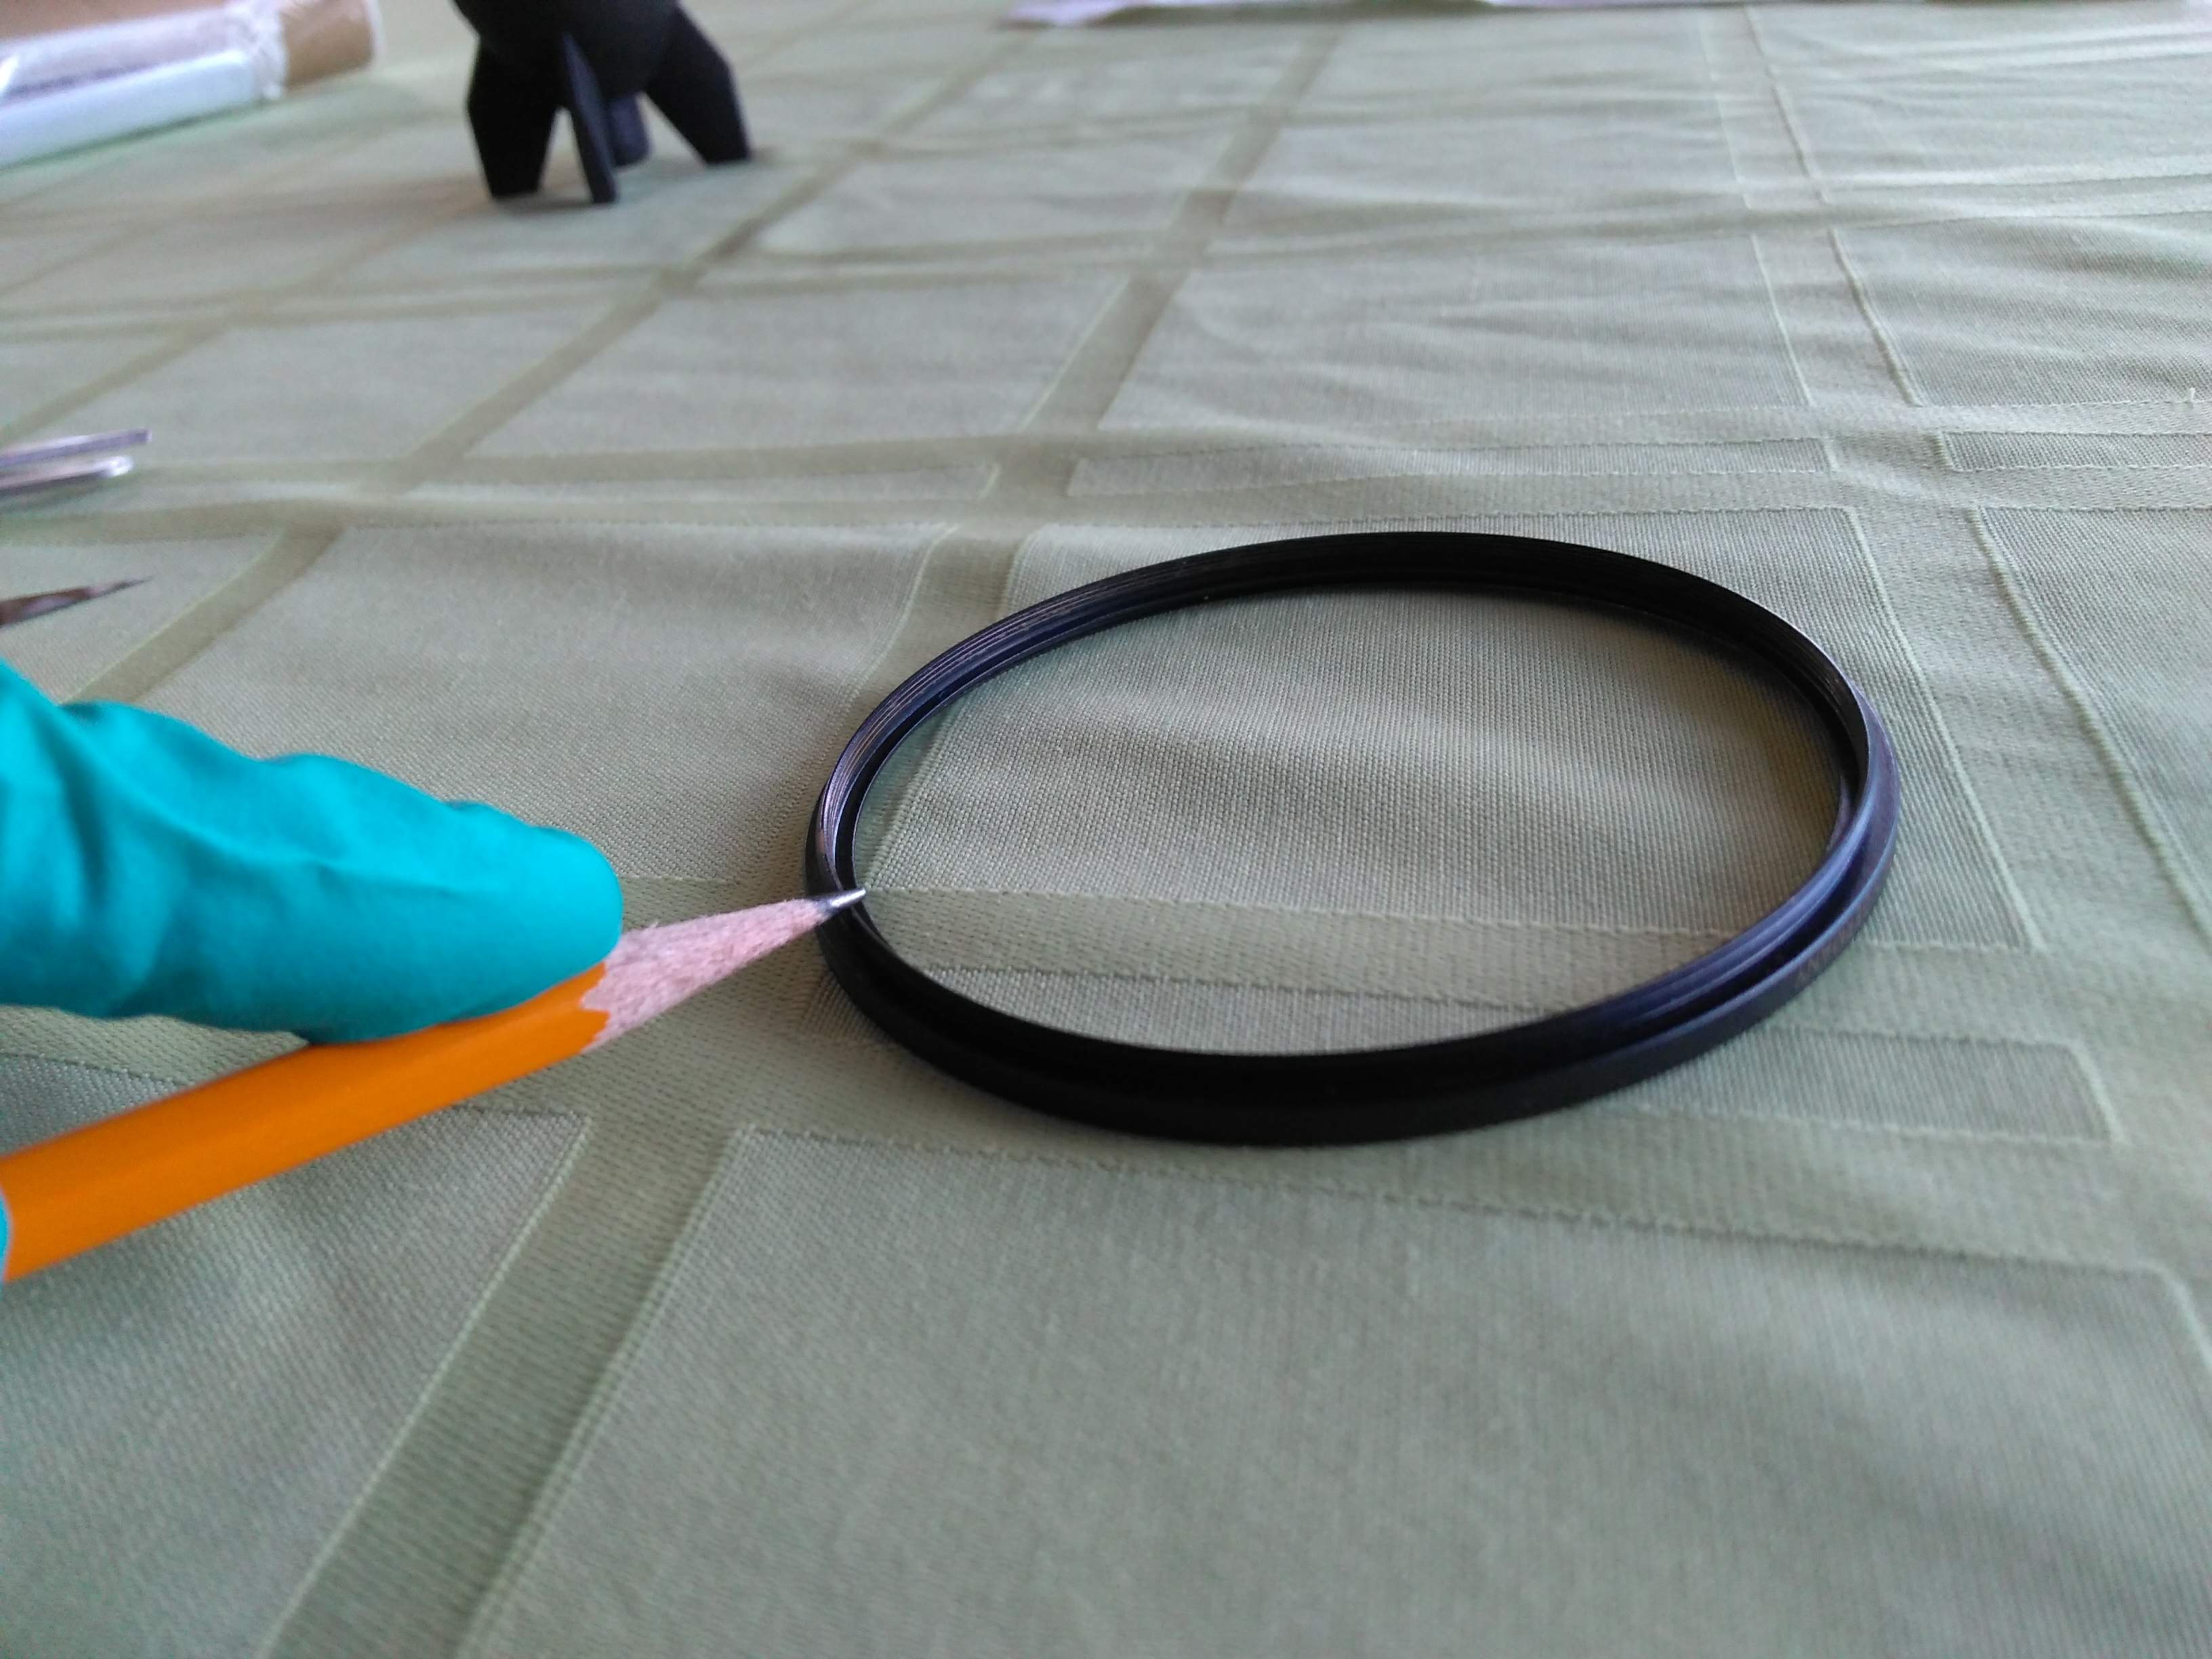
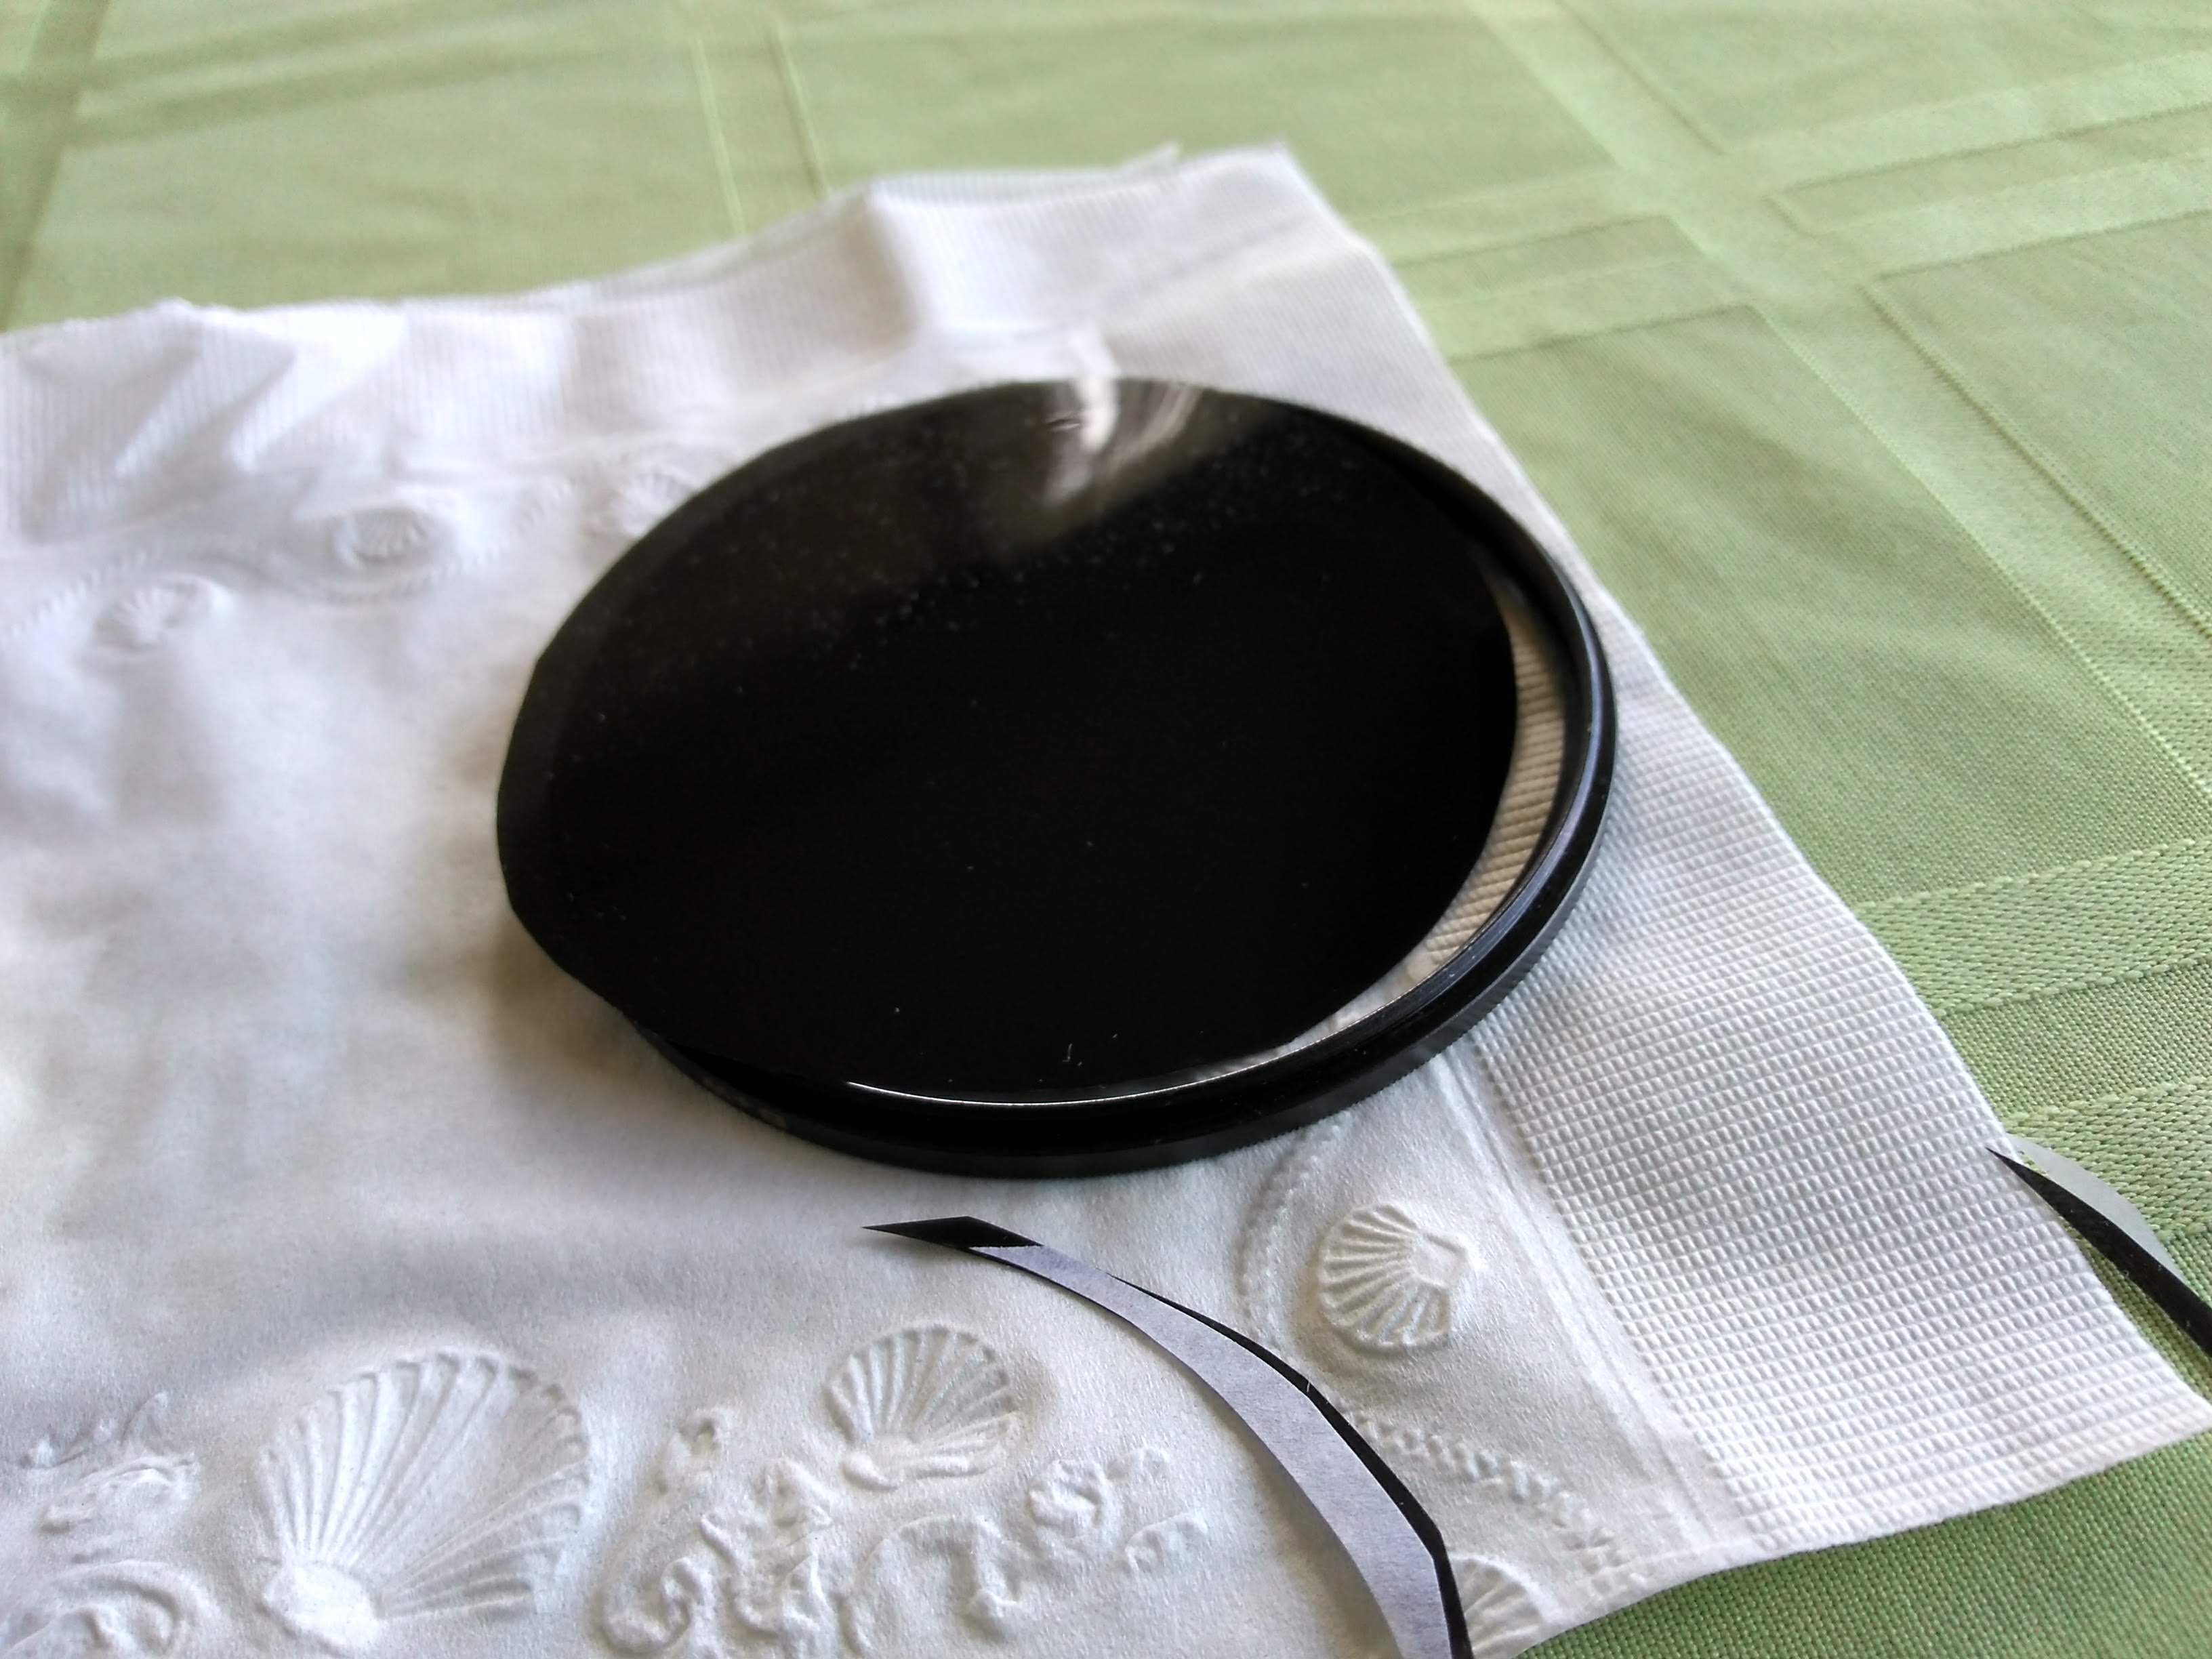
First, I cut out a rough circle, slightly bigger than the filter ring. I then used a pencil to color in the edge of the filter ring, which I rubbed on the neutral density sheet to transfer precisely where I needed to cut.
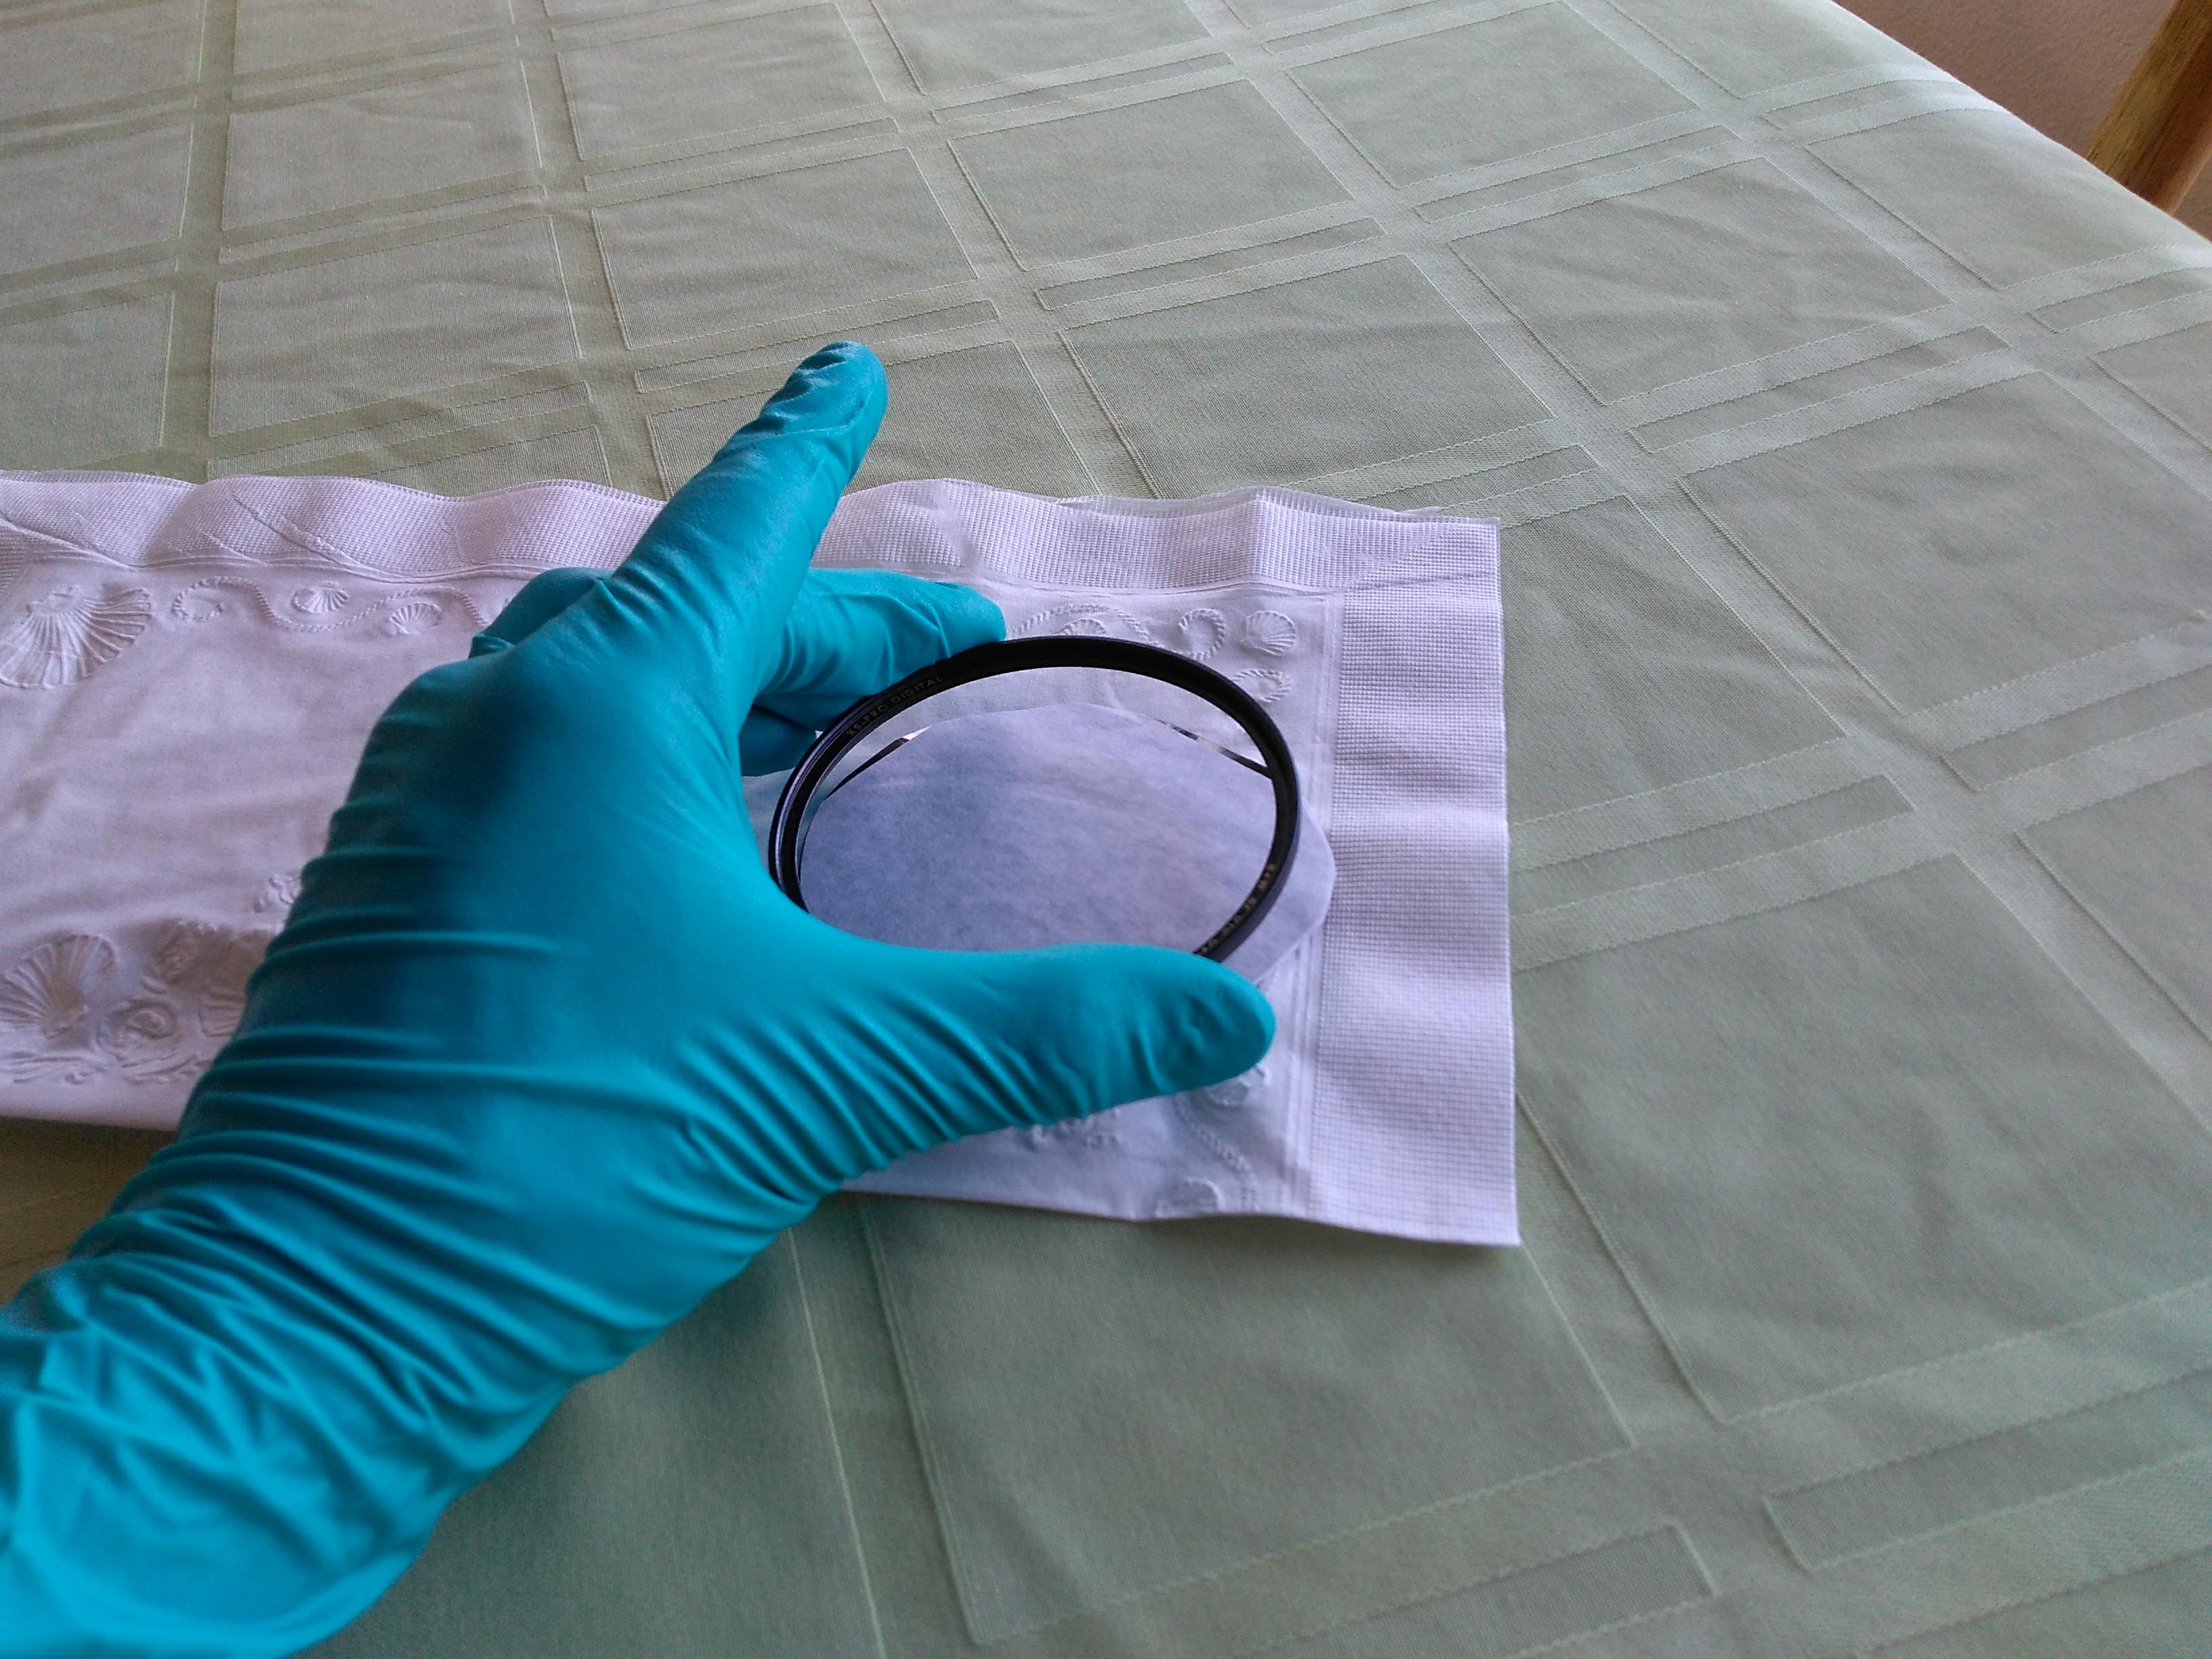
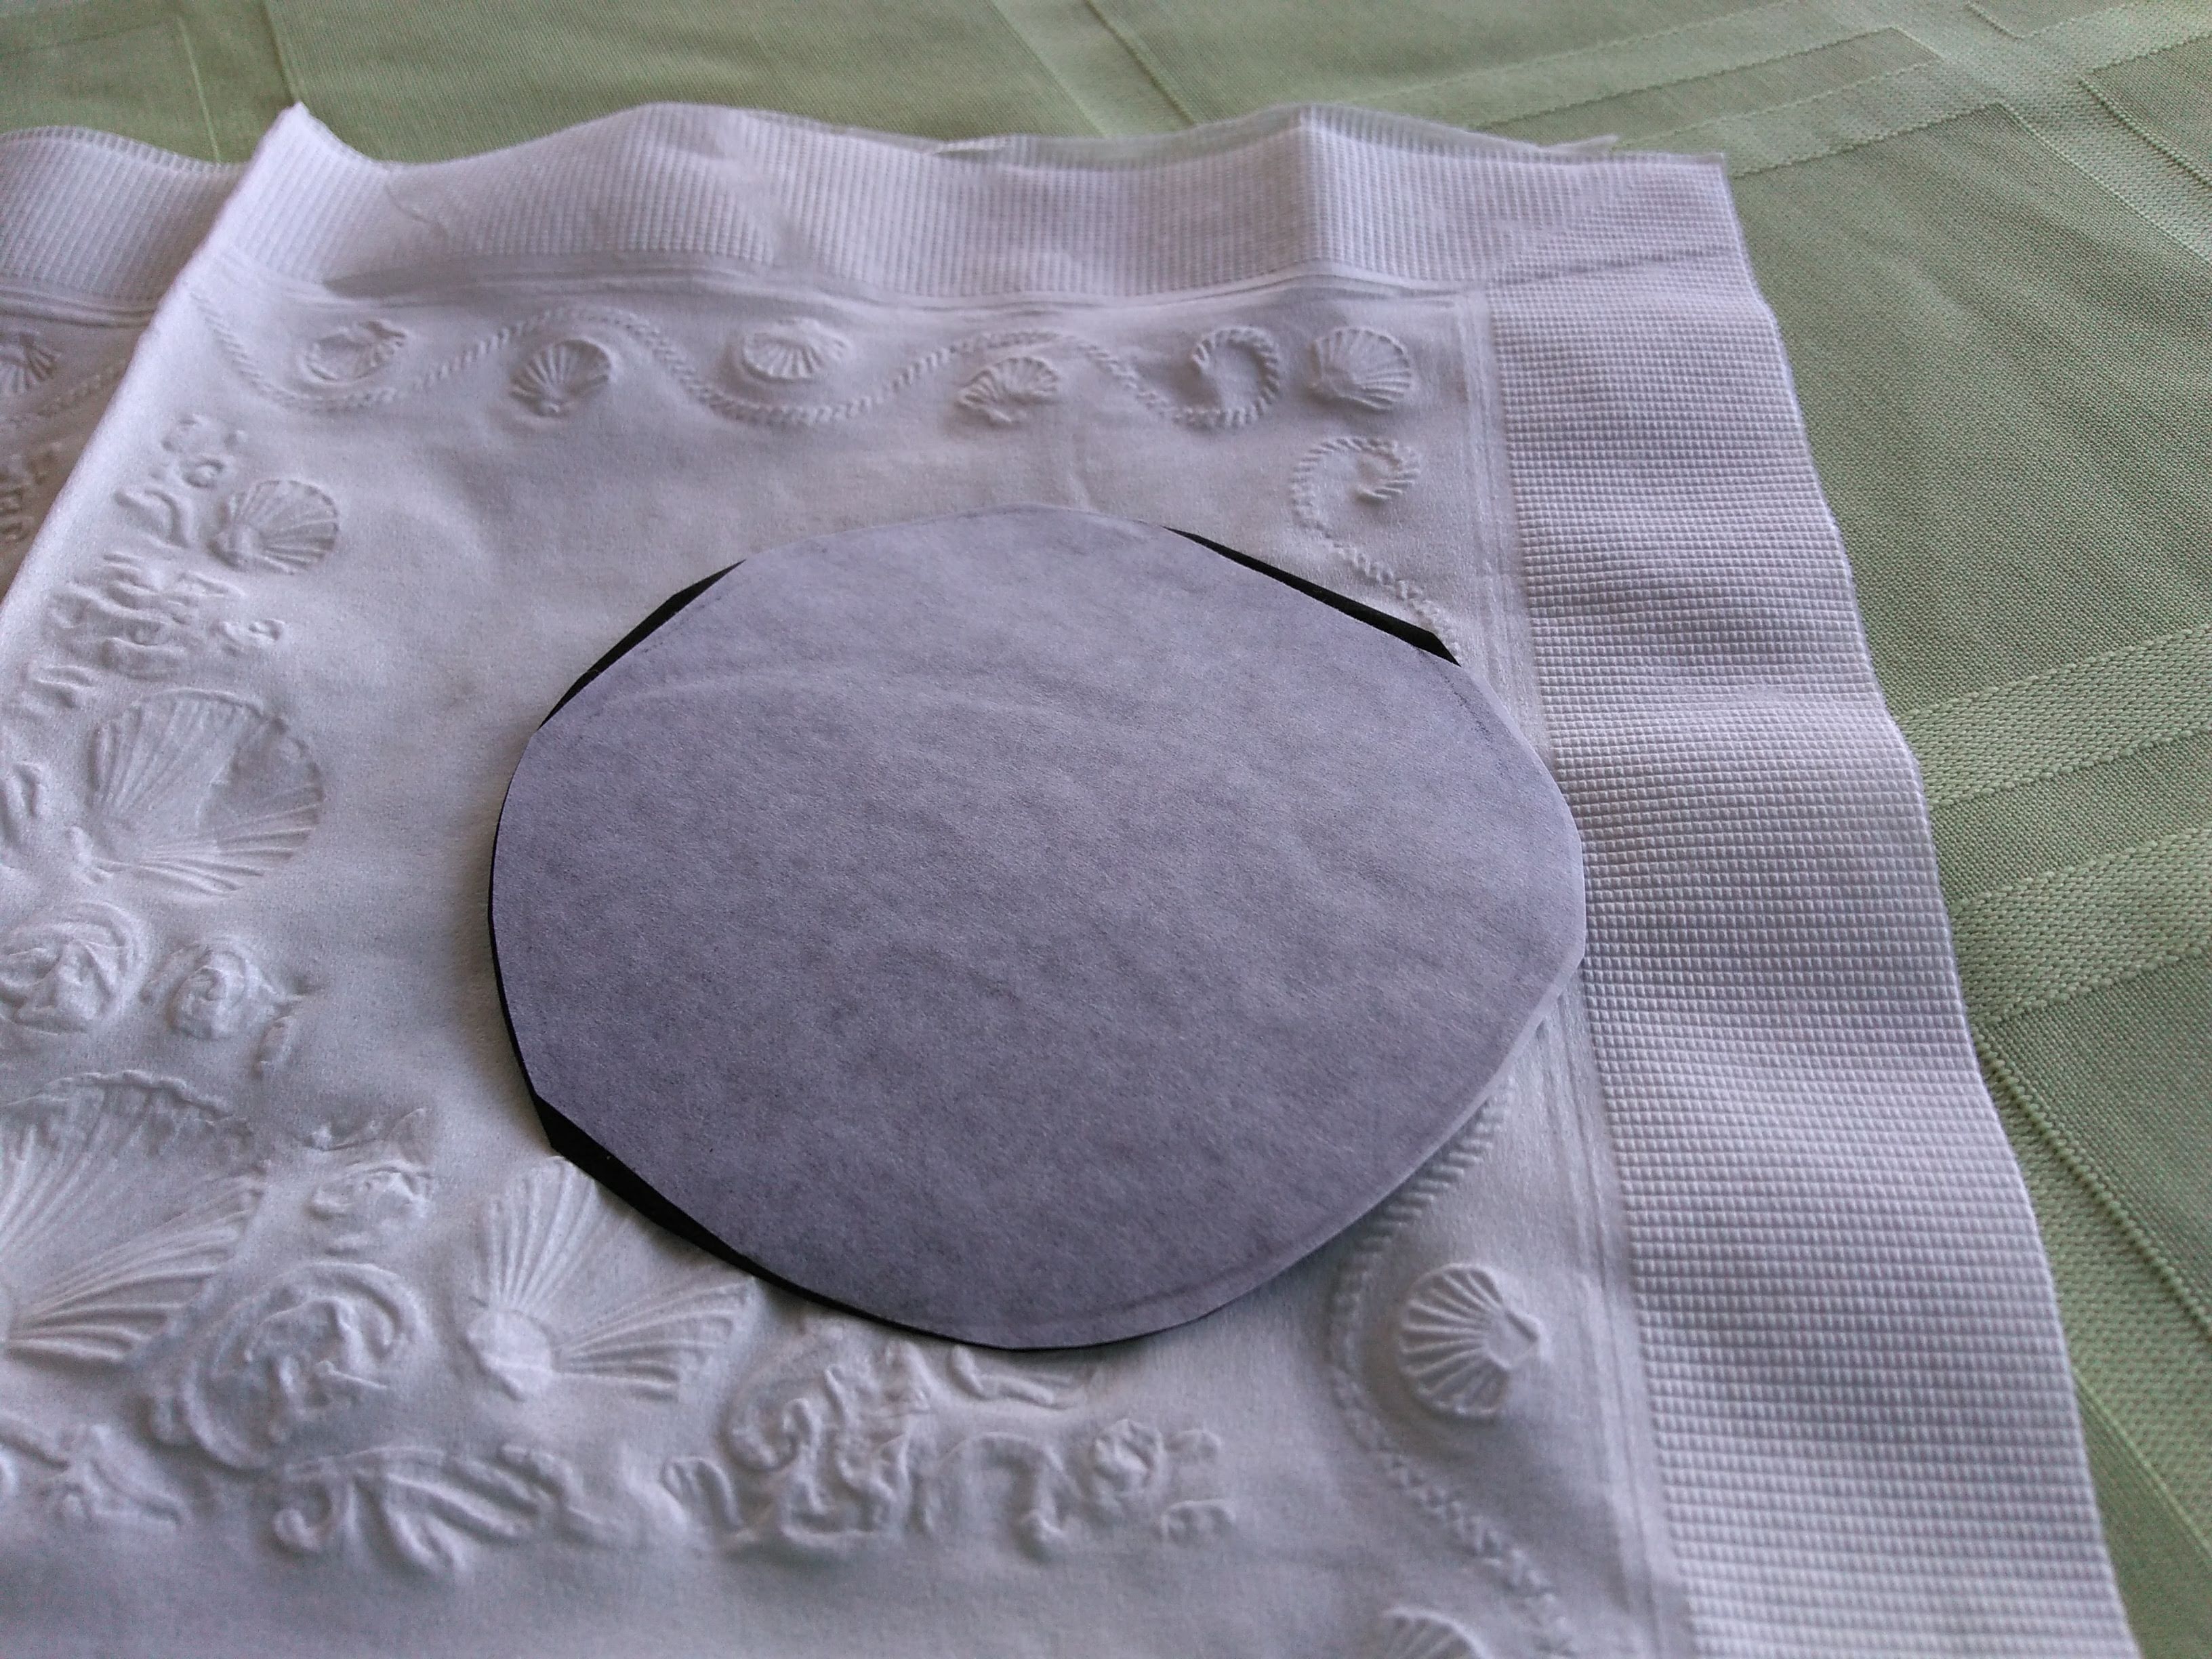
After cutting on the line I'd just marked, the filter still didn't quite fit. With a bit of trimming, it dropped in quite well.
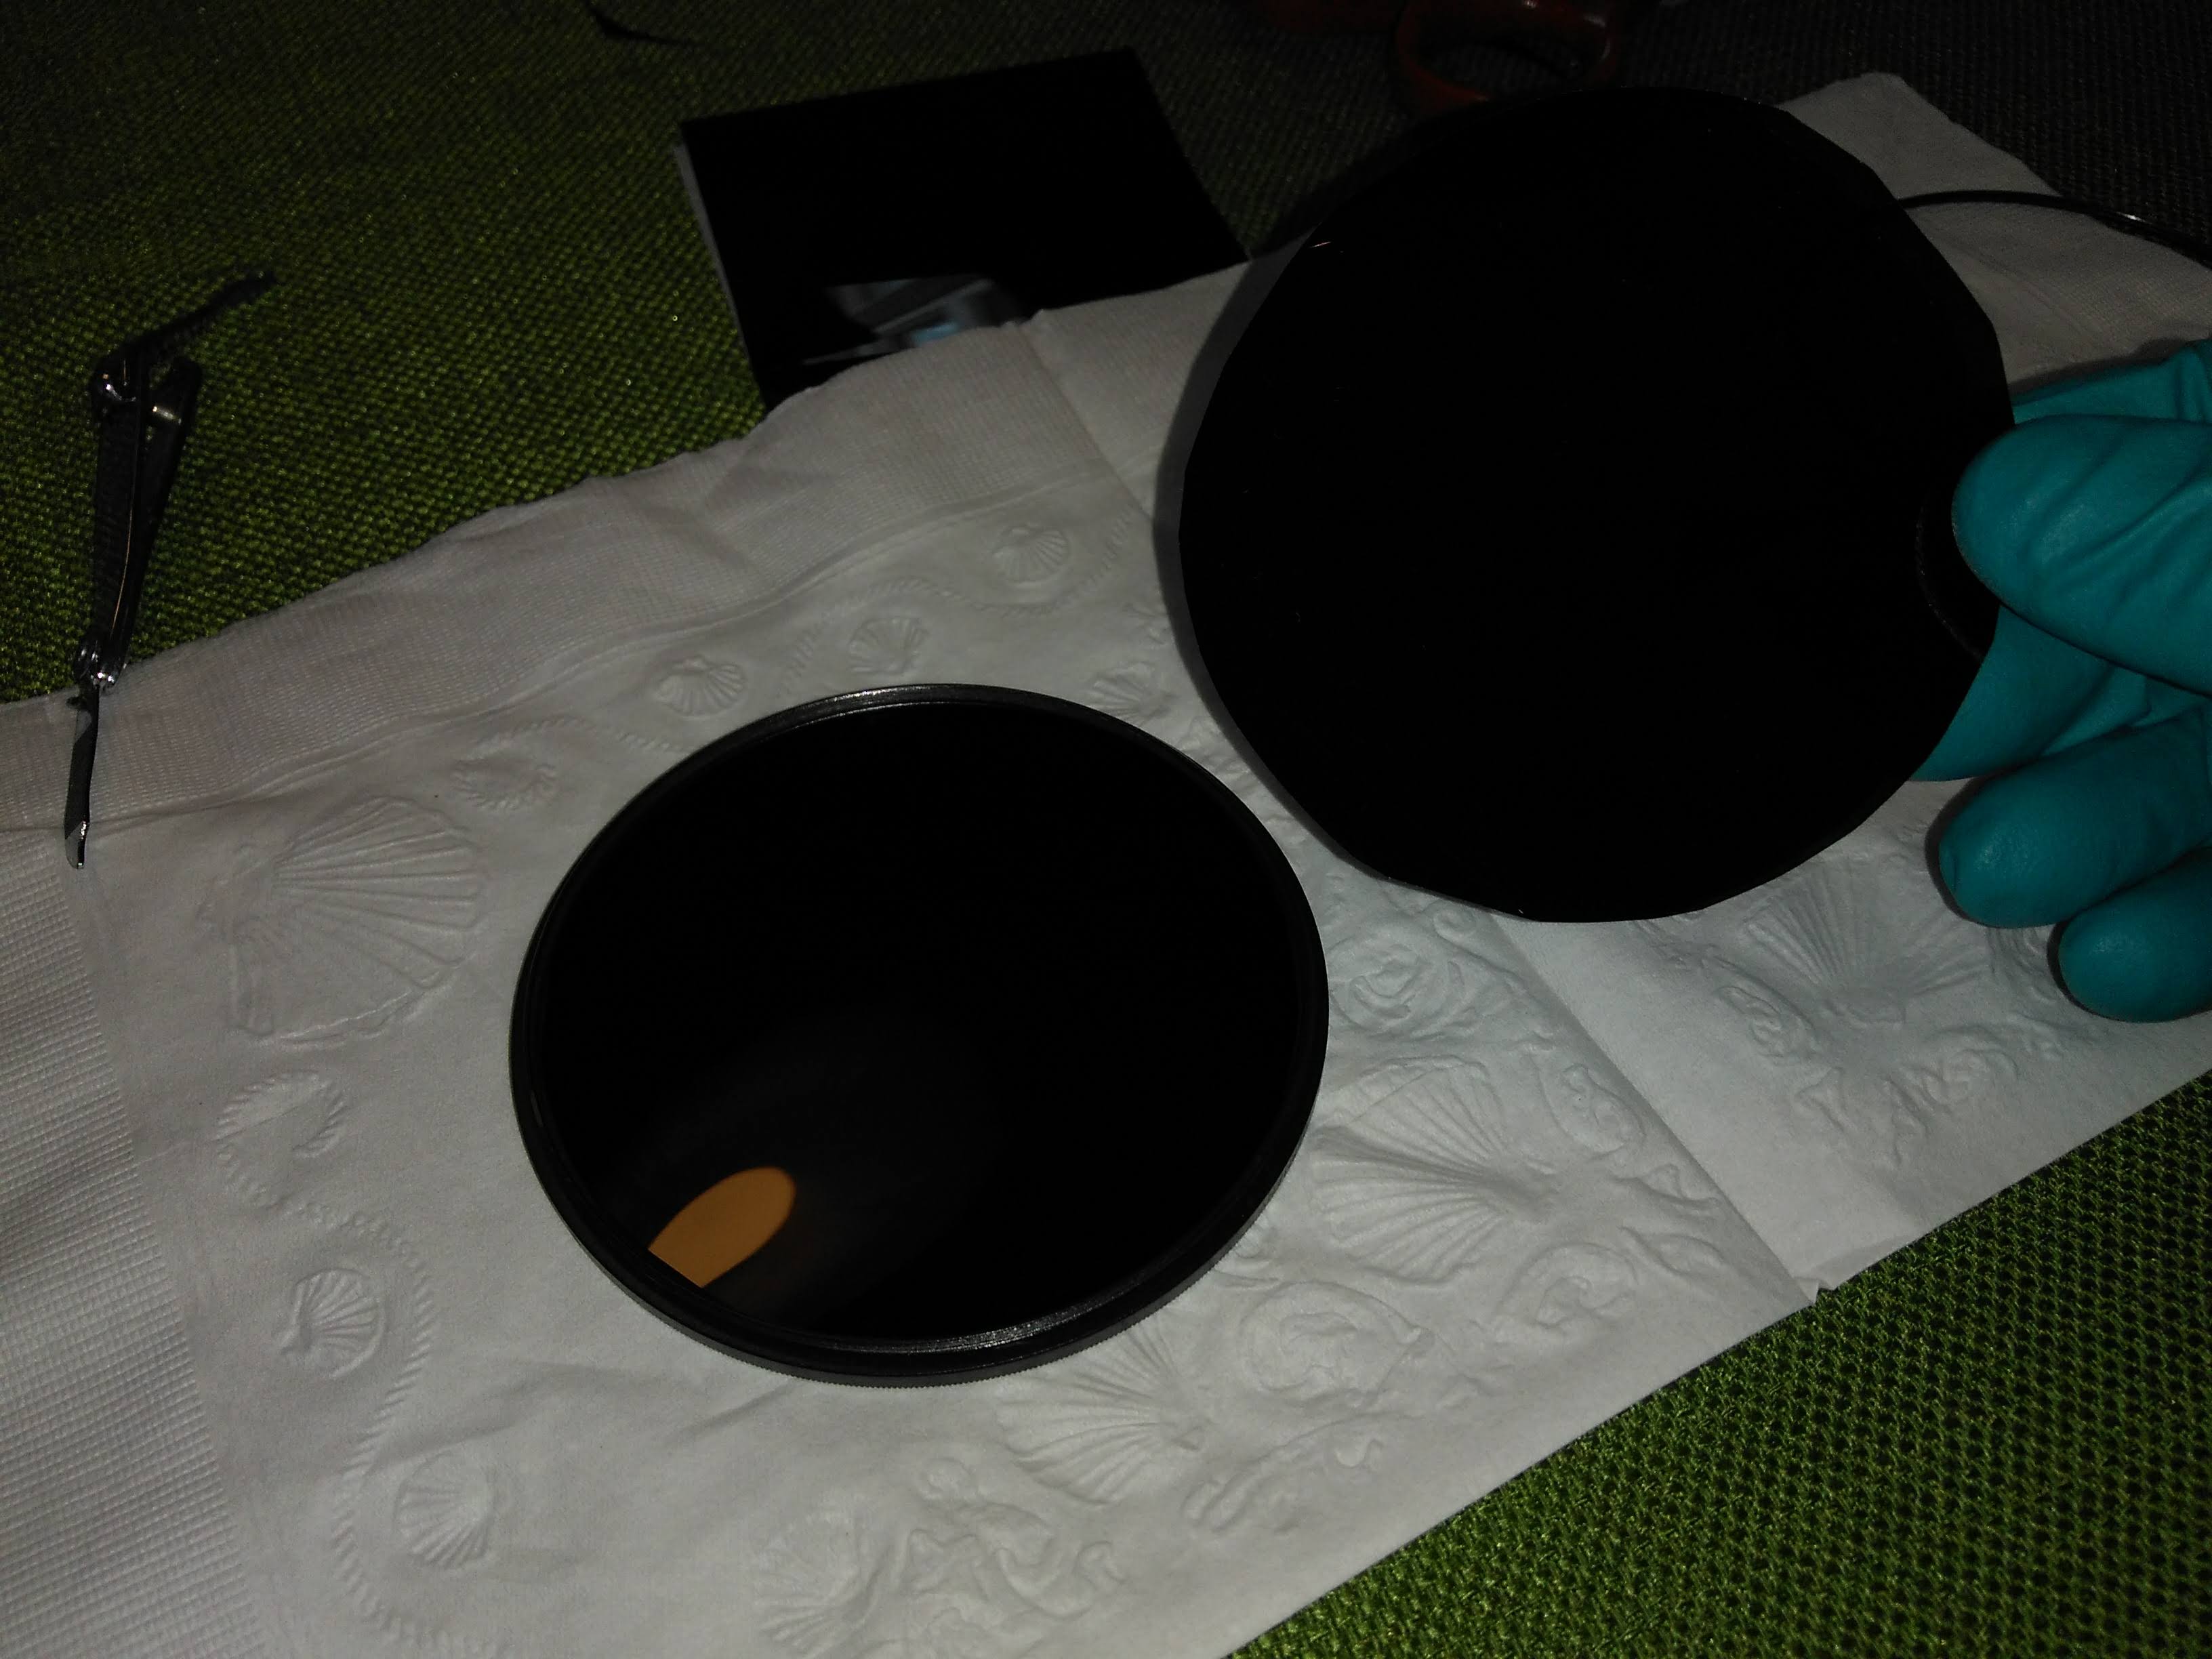
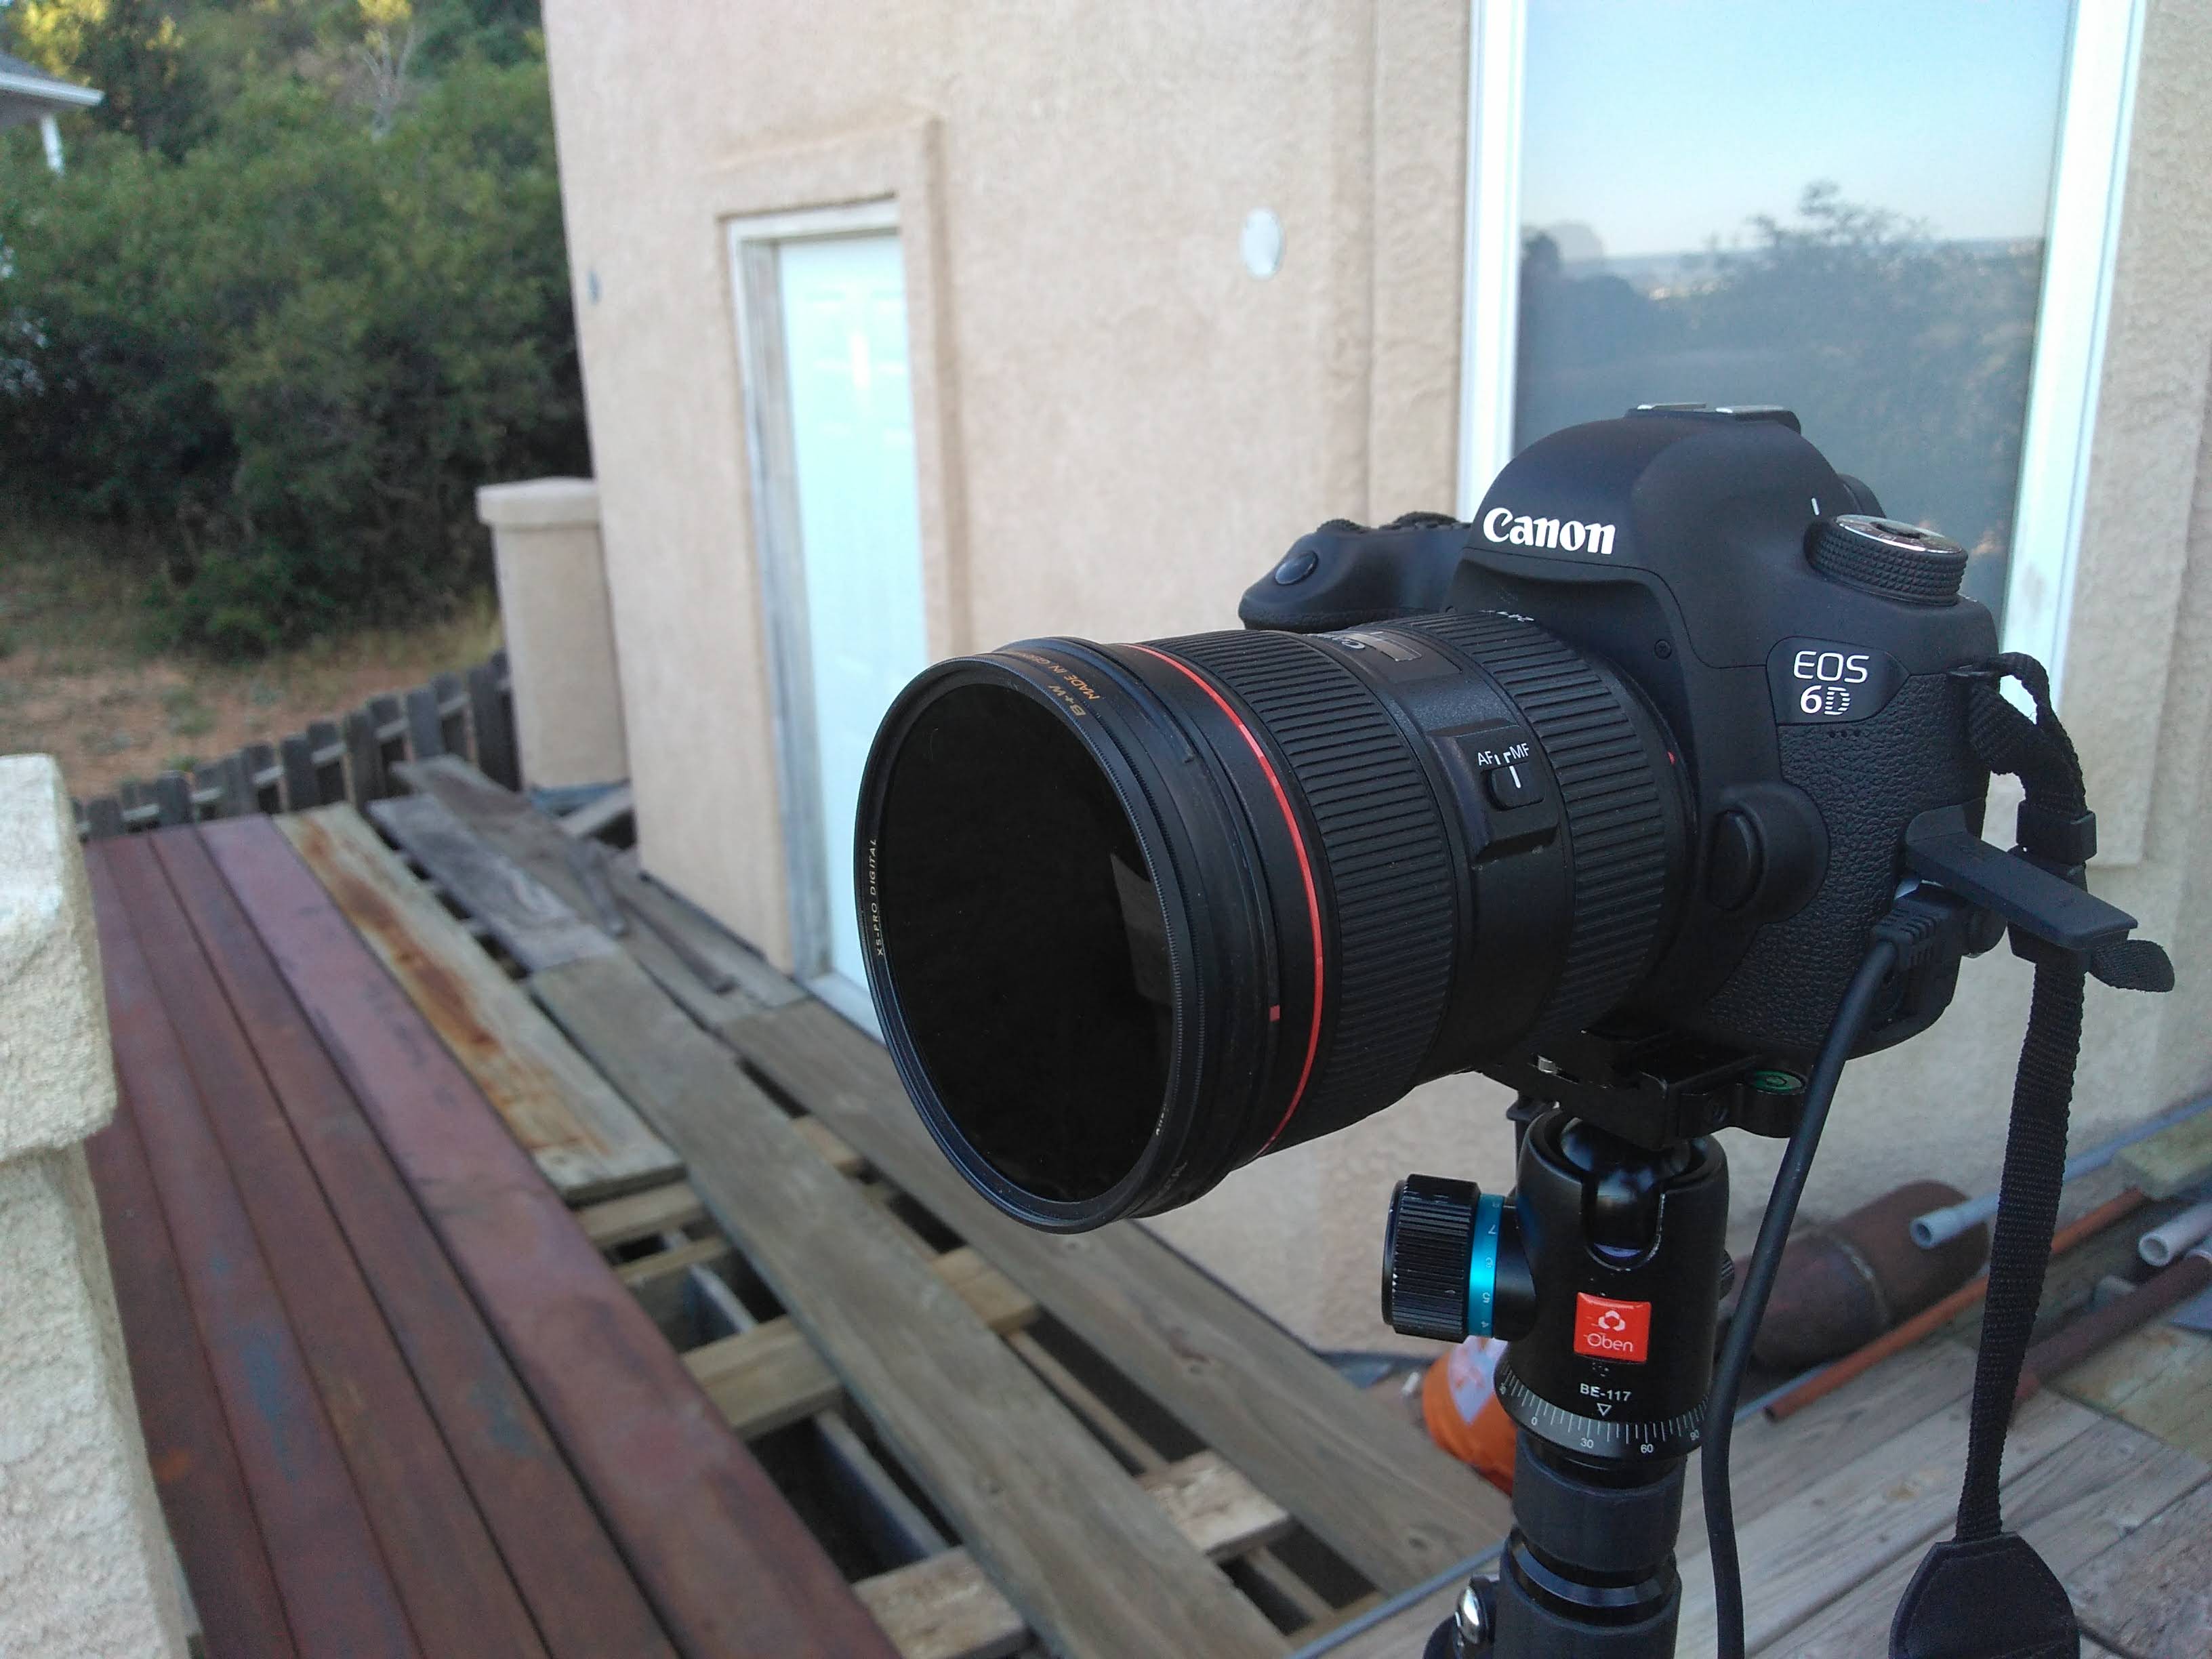
I cut 2 more just like the first, then stacked all three in the filter ring. After locking the pieces in with the threaded retaining ring, the filter was ready for use.
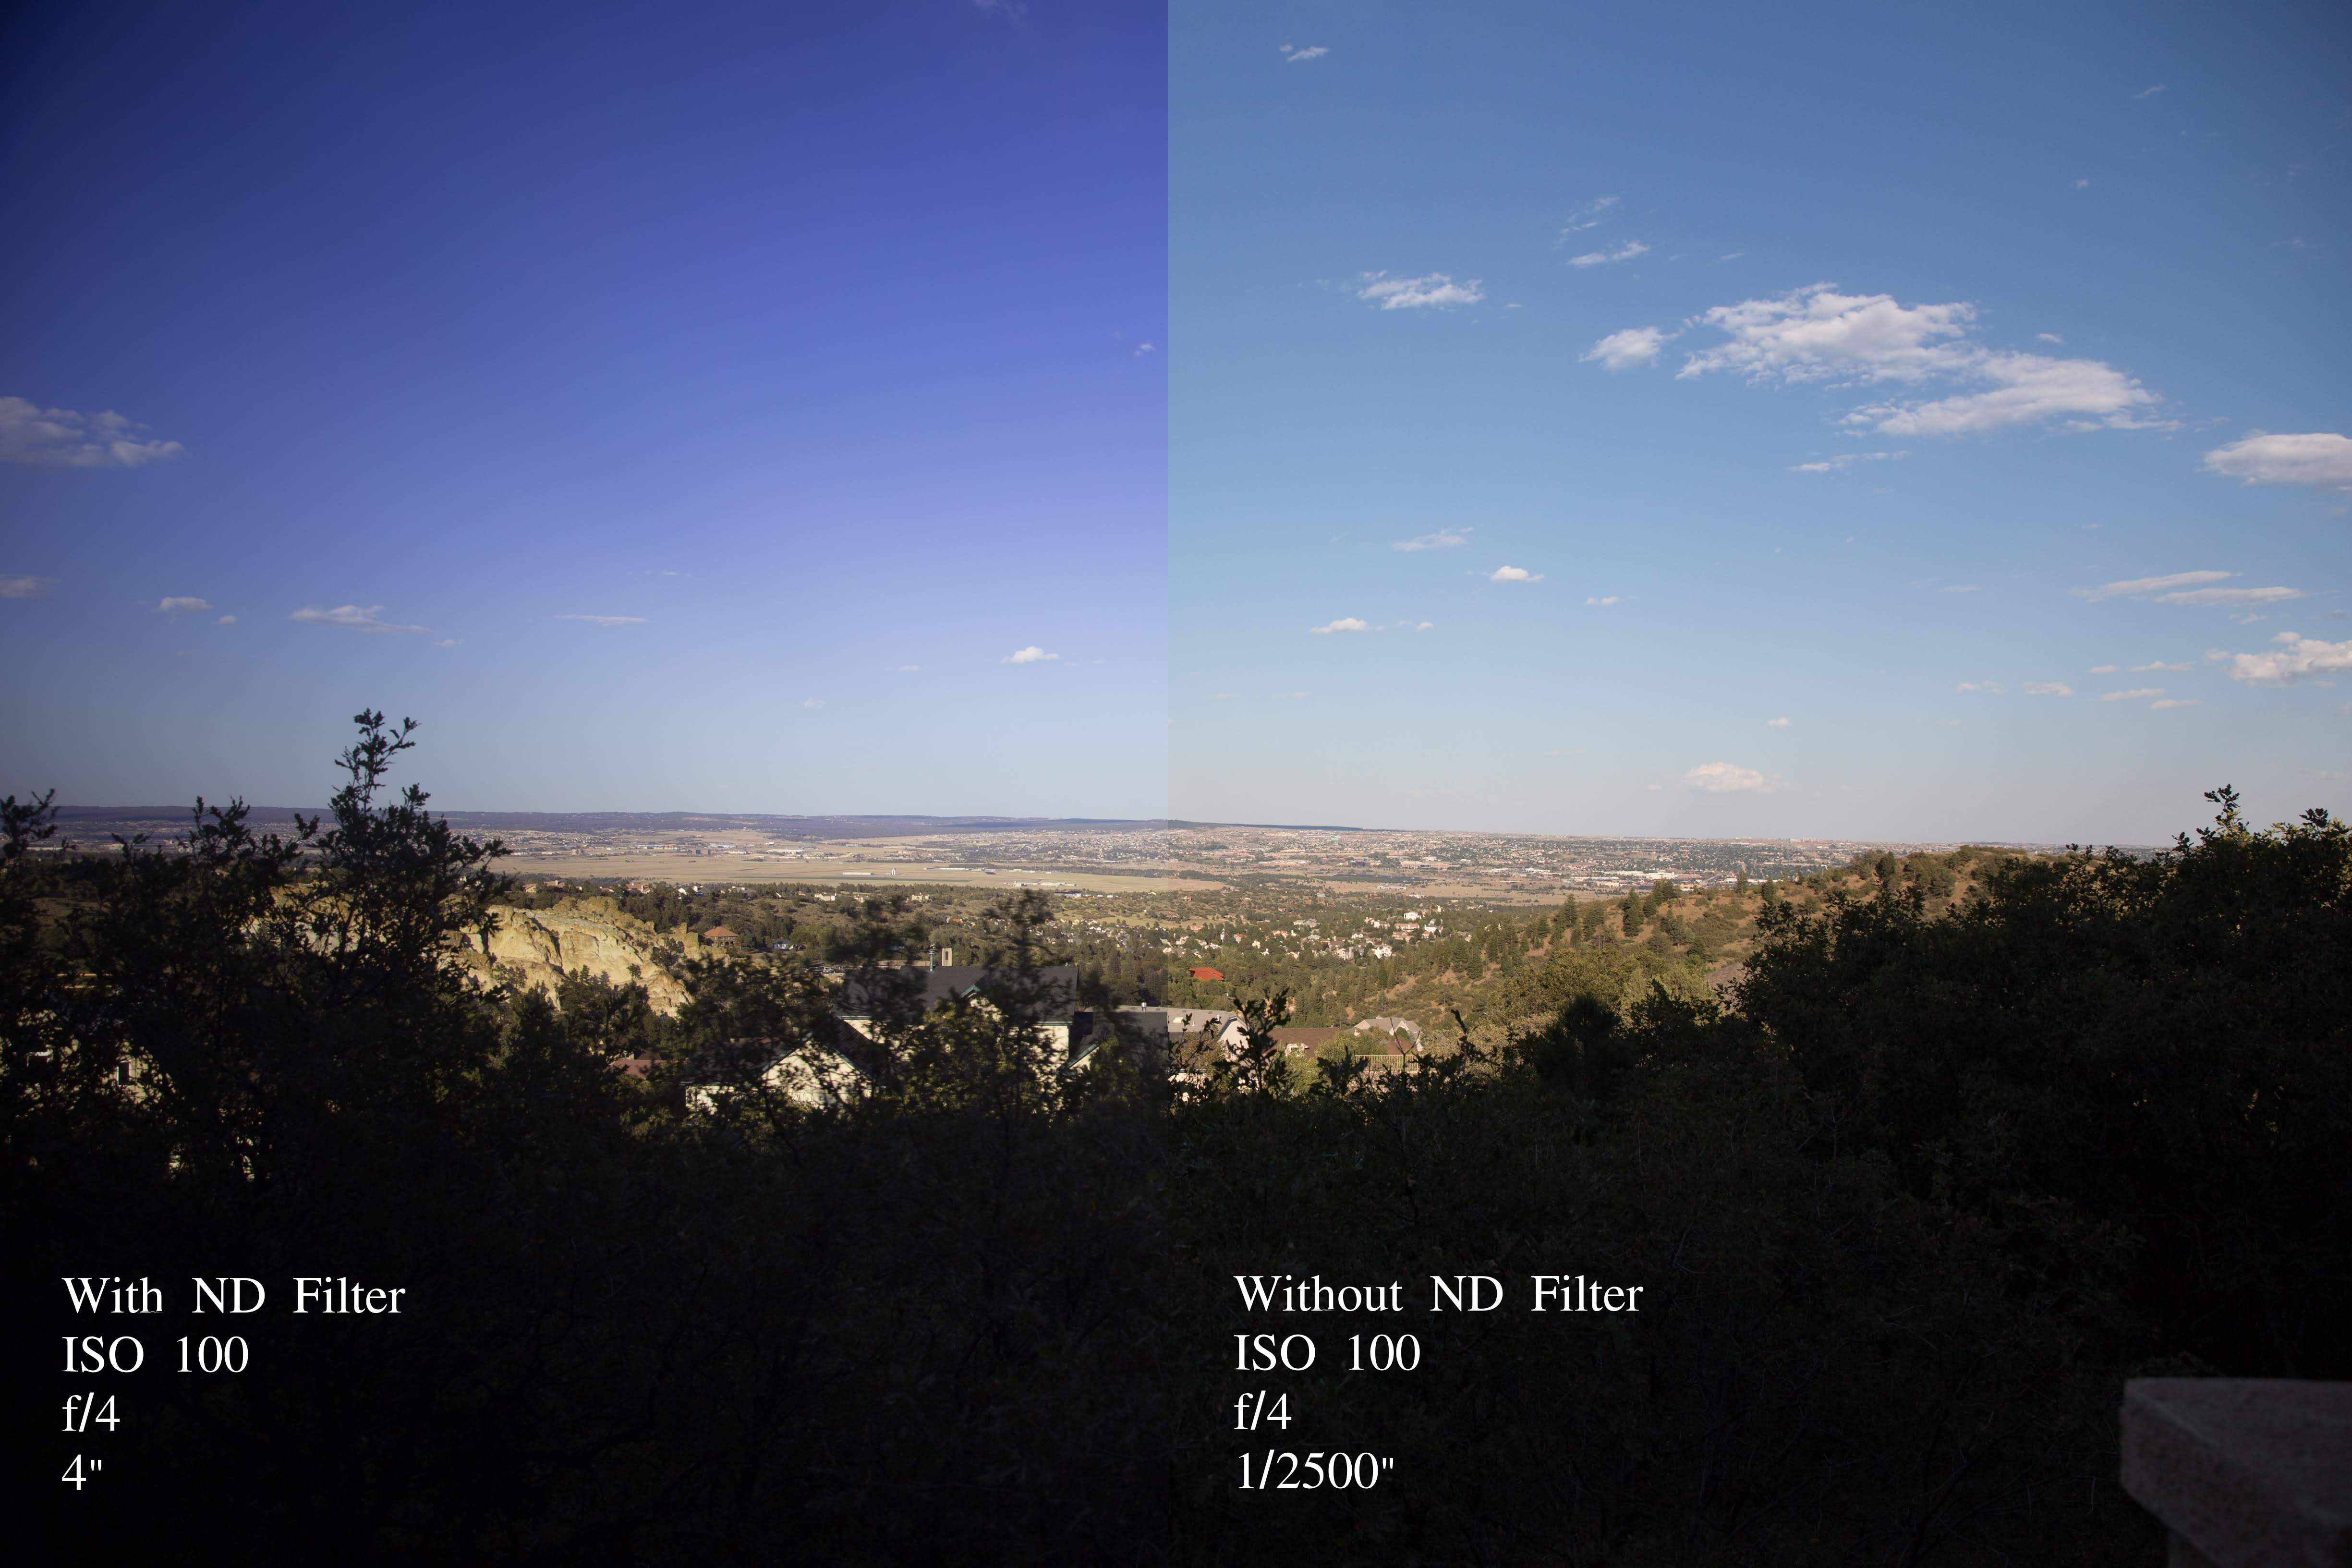
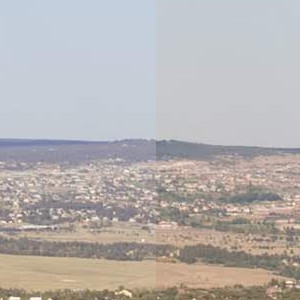
The filter doesn't reduce sharpness at all, but does add subtle vignetting and a blue color shift. The first image below is at 24mm focal length, and the second is the same image cropped to the very center. (click to expand)
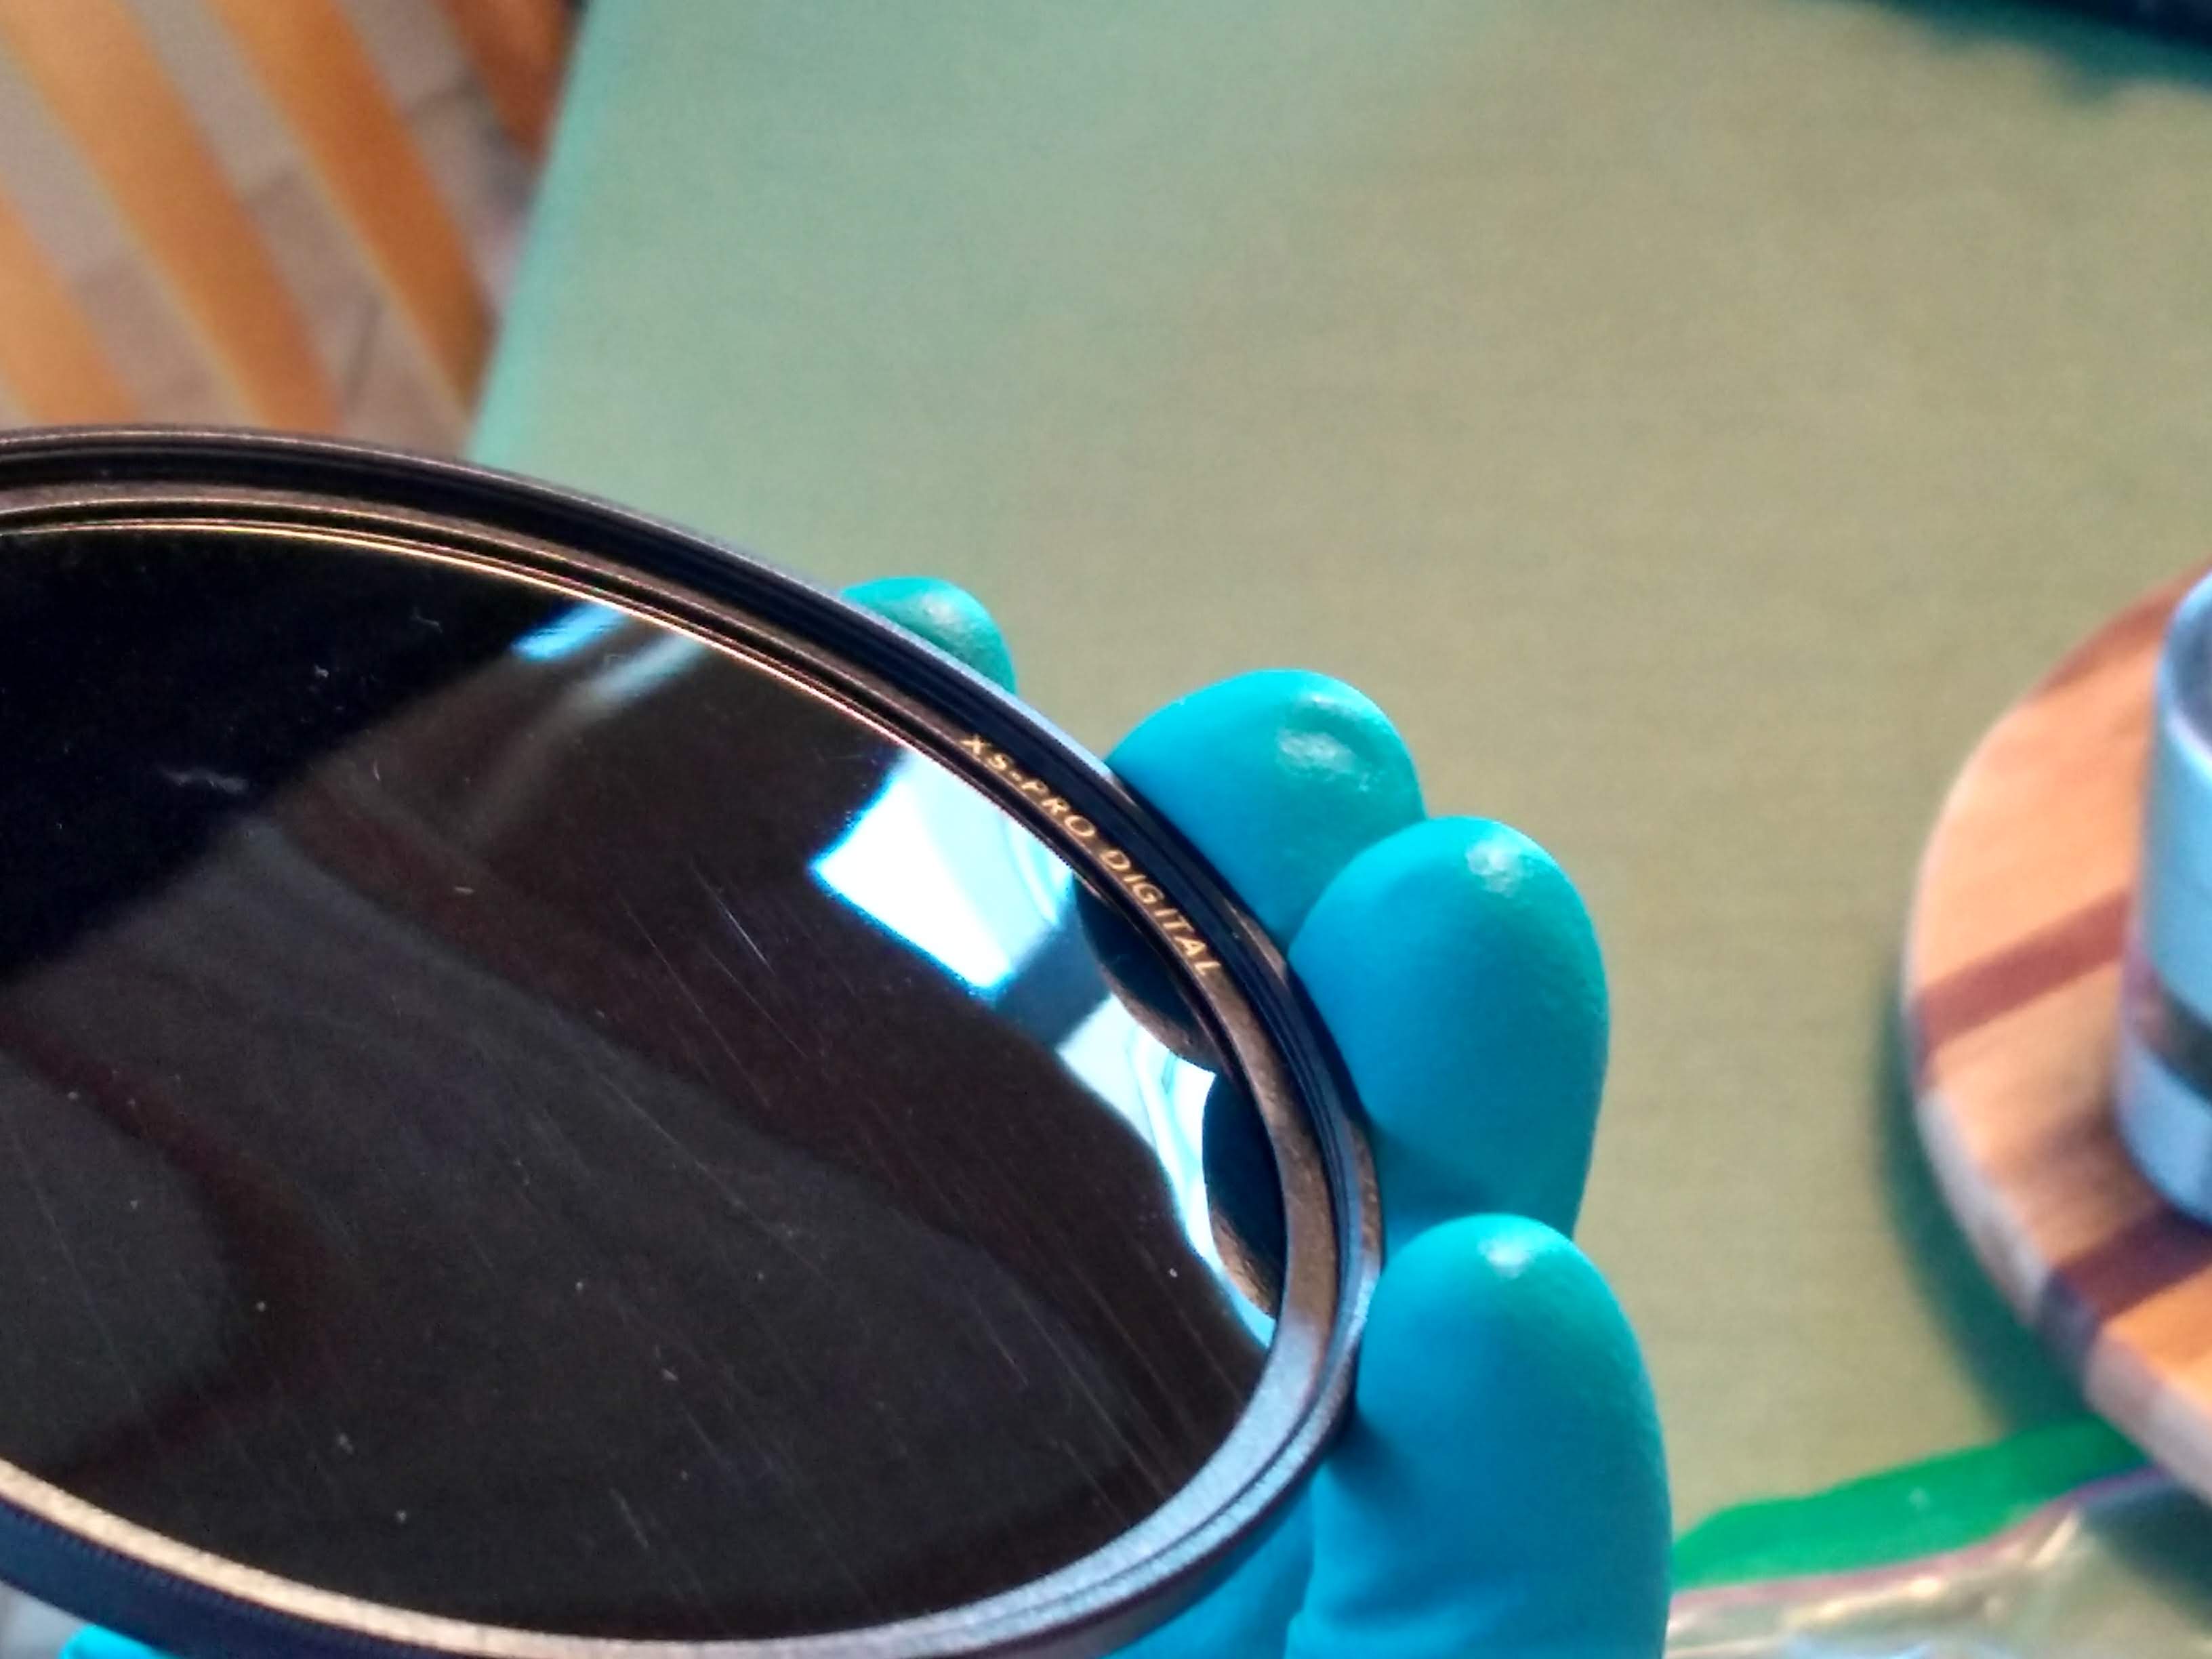
It also, unfortunately, attracts dust and scratches.
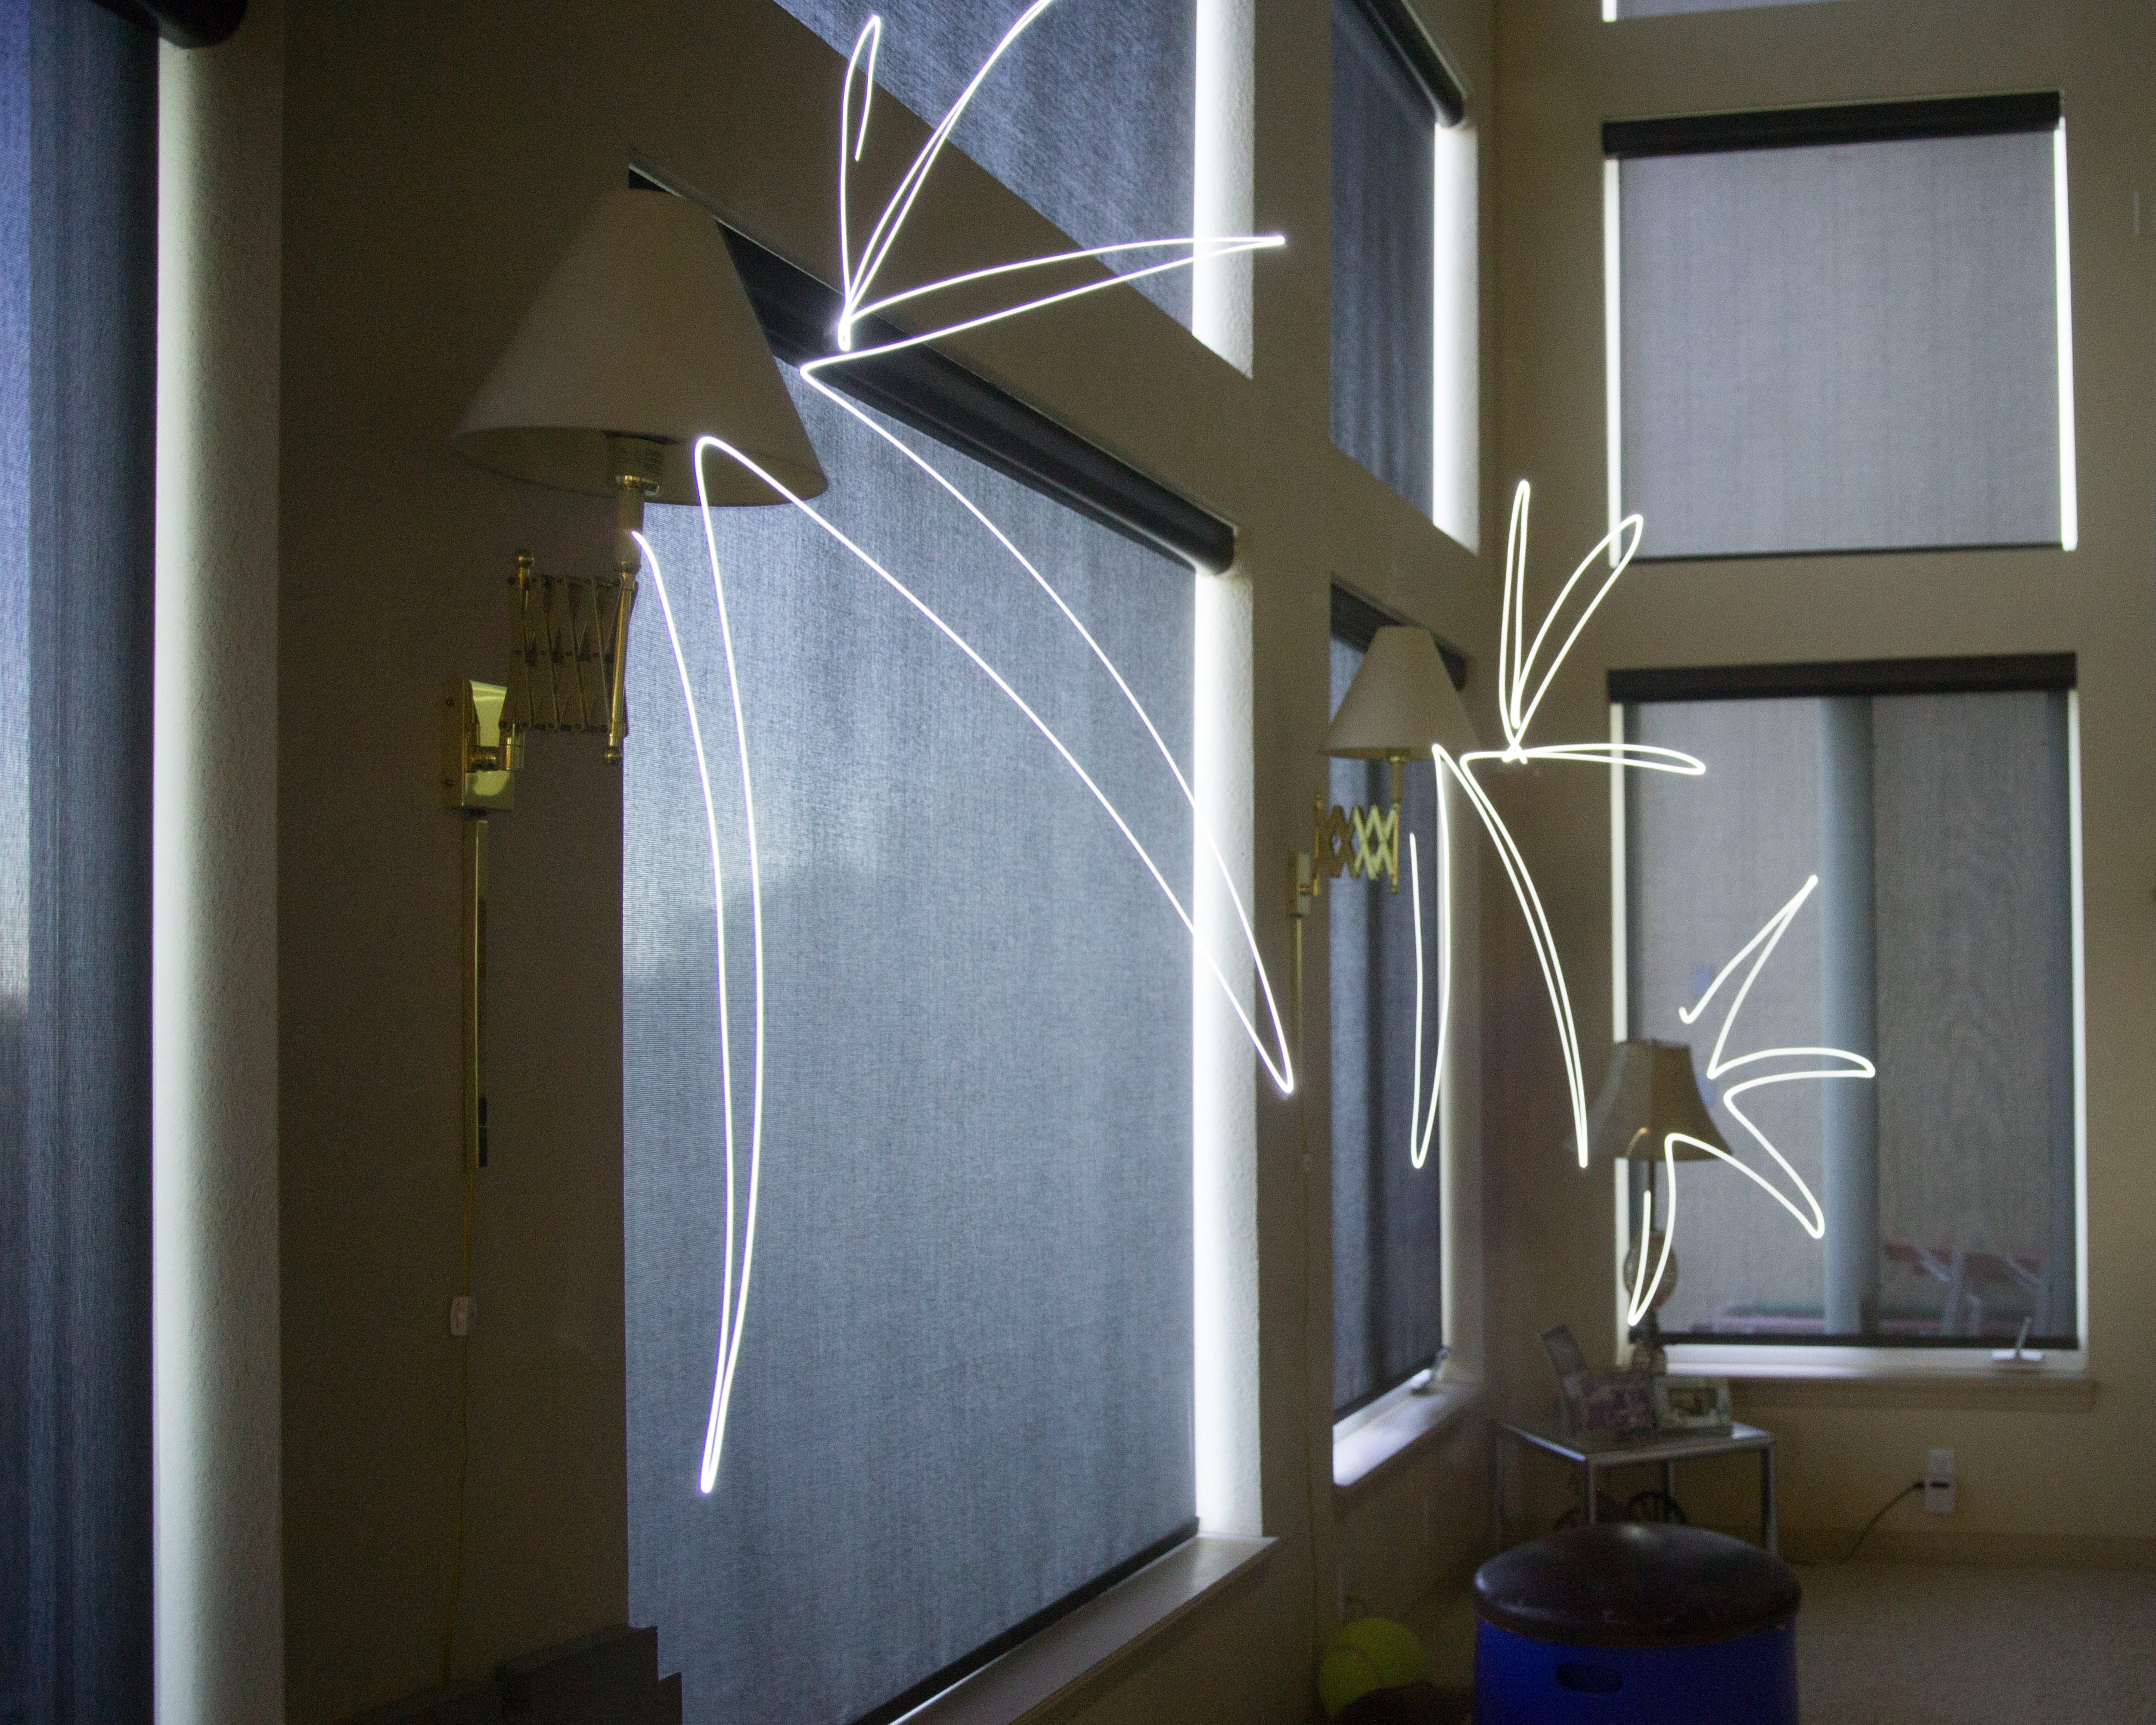
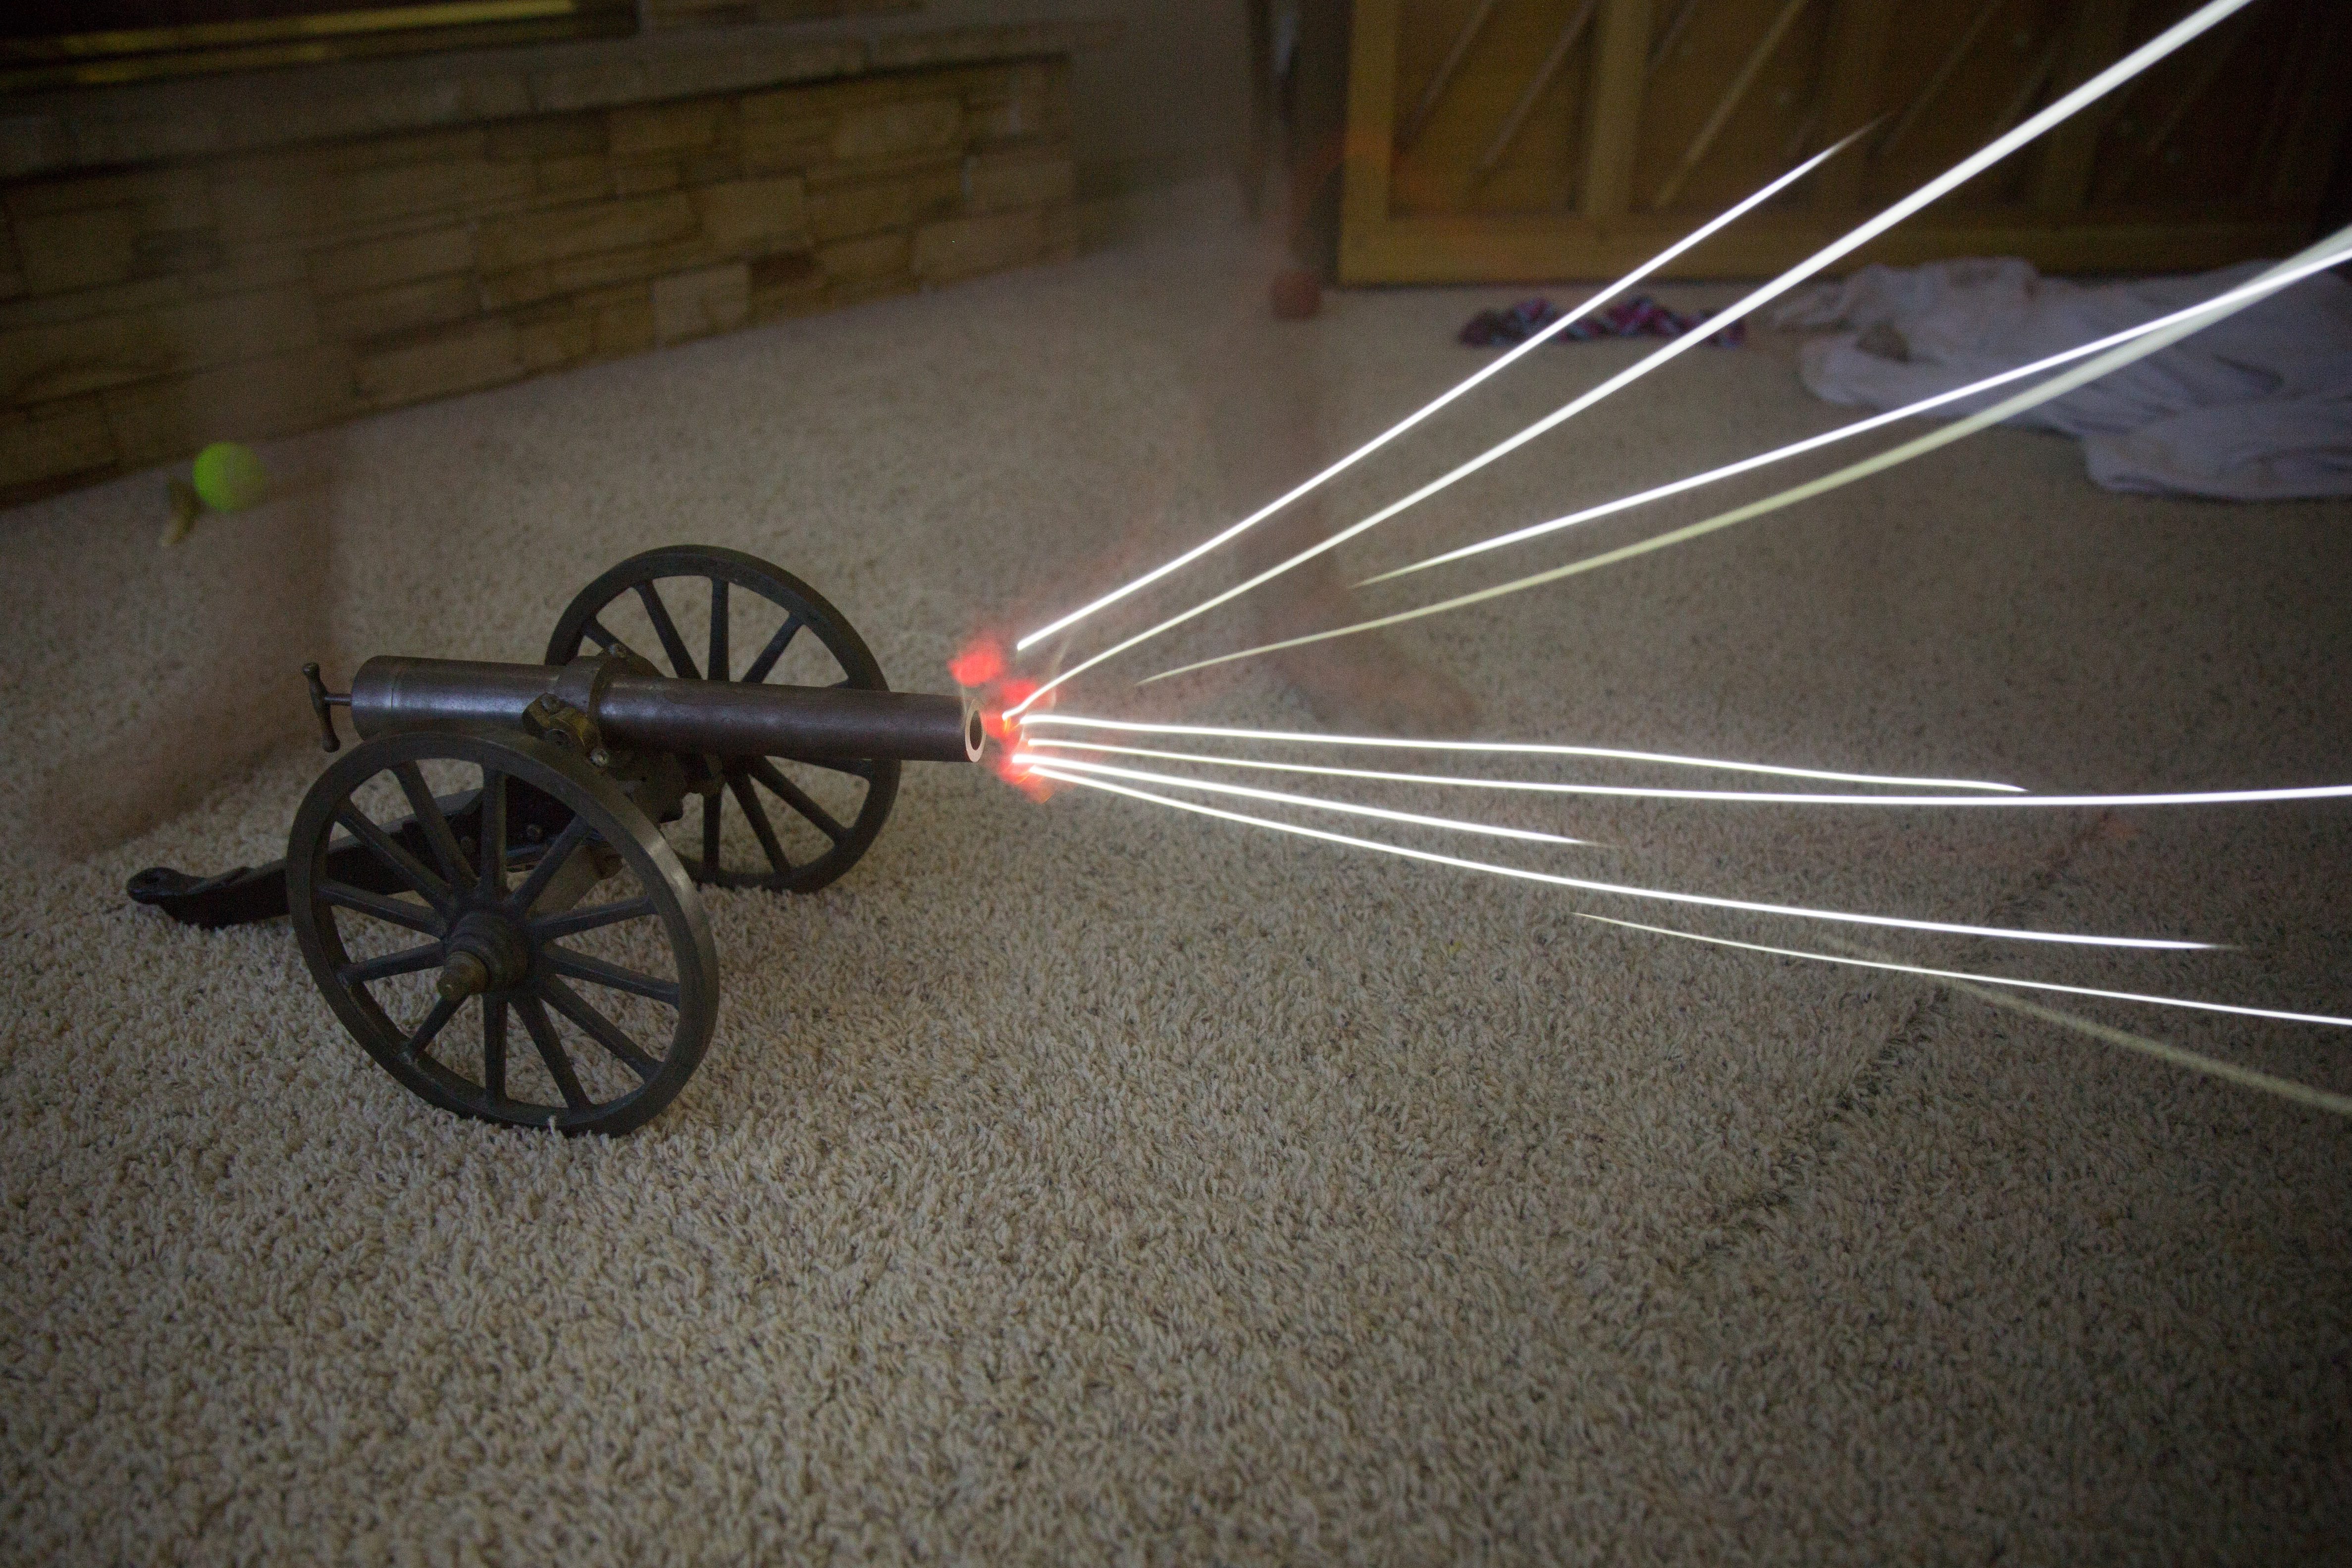
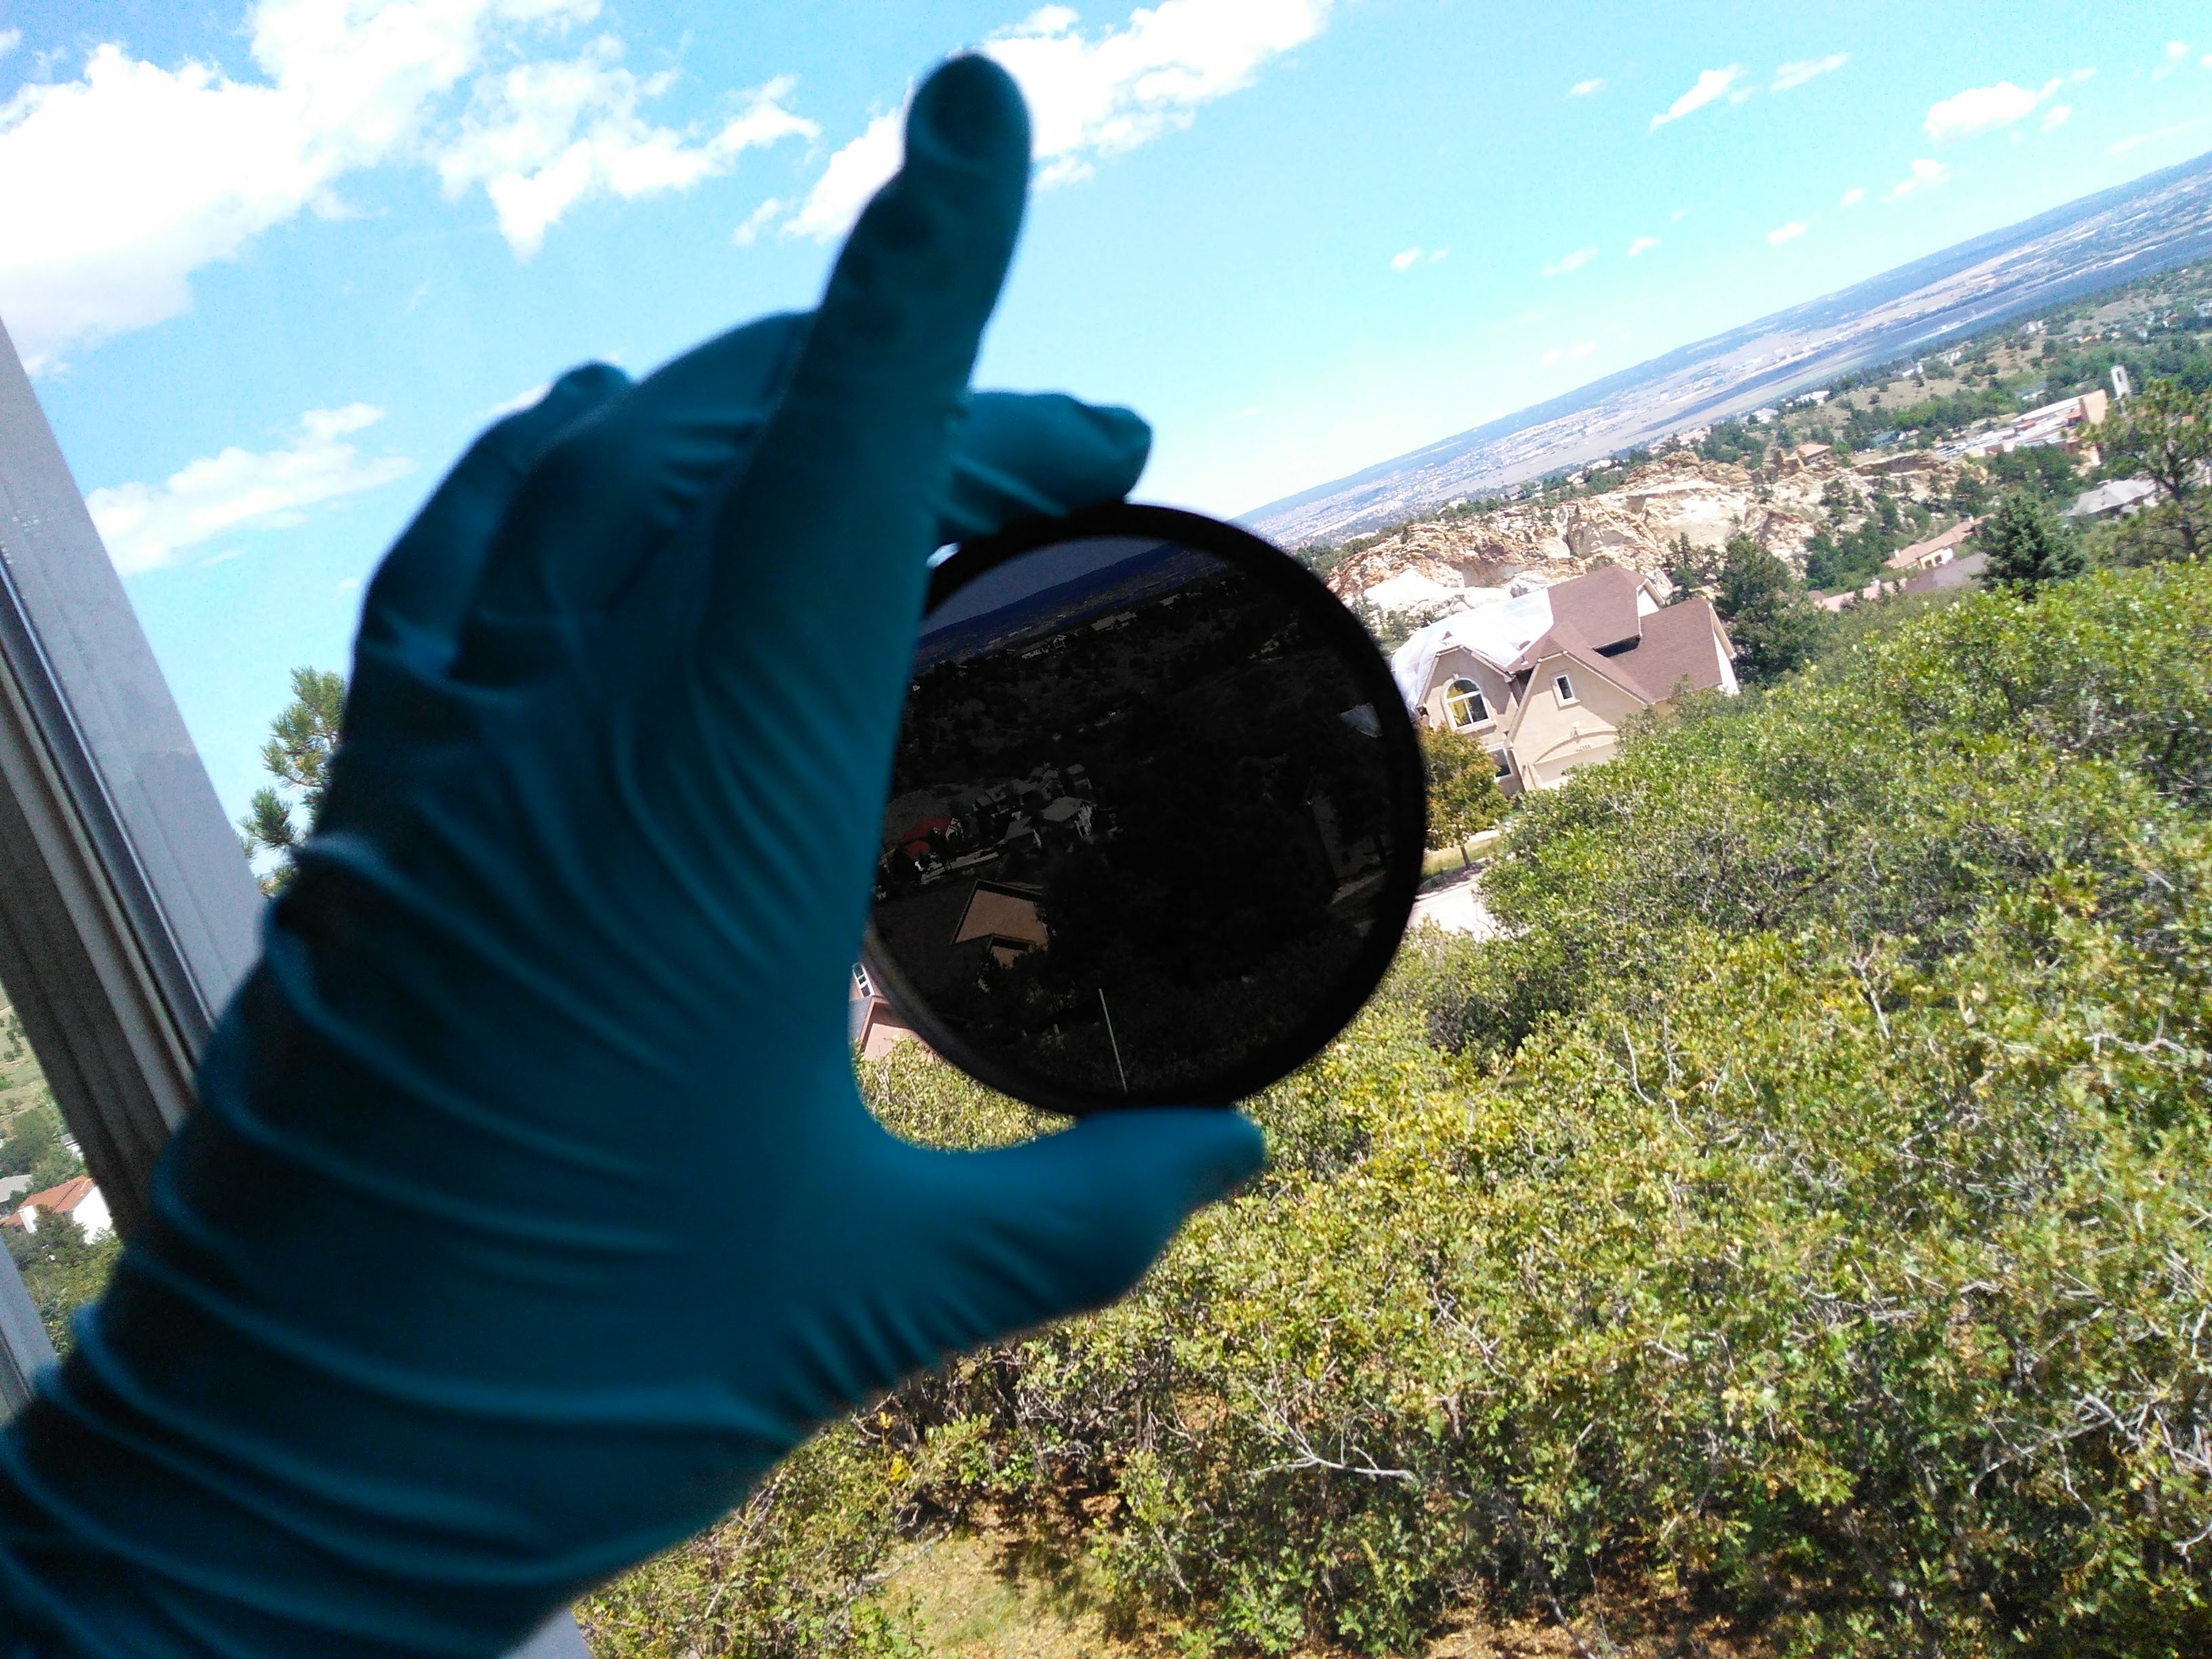
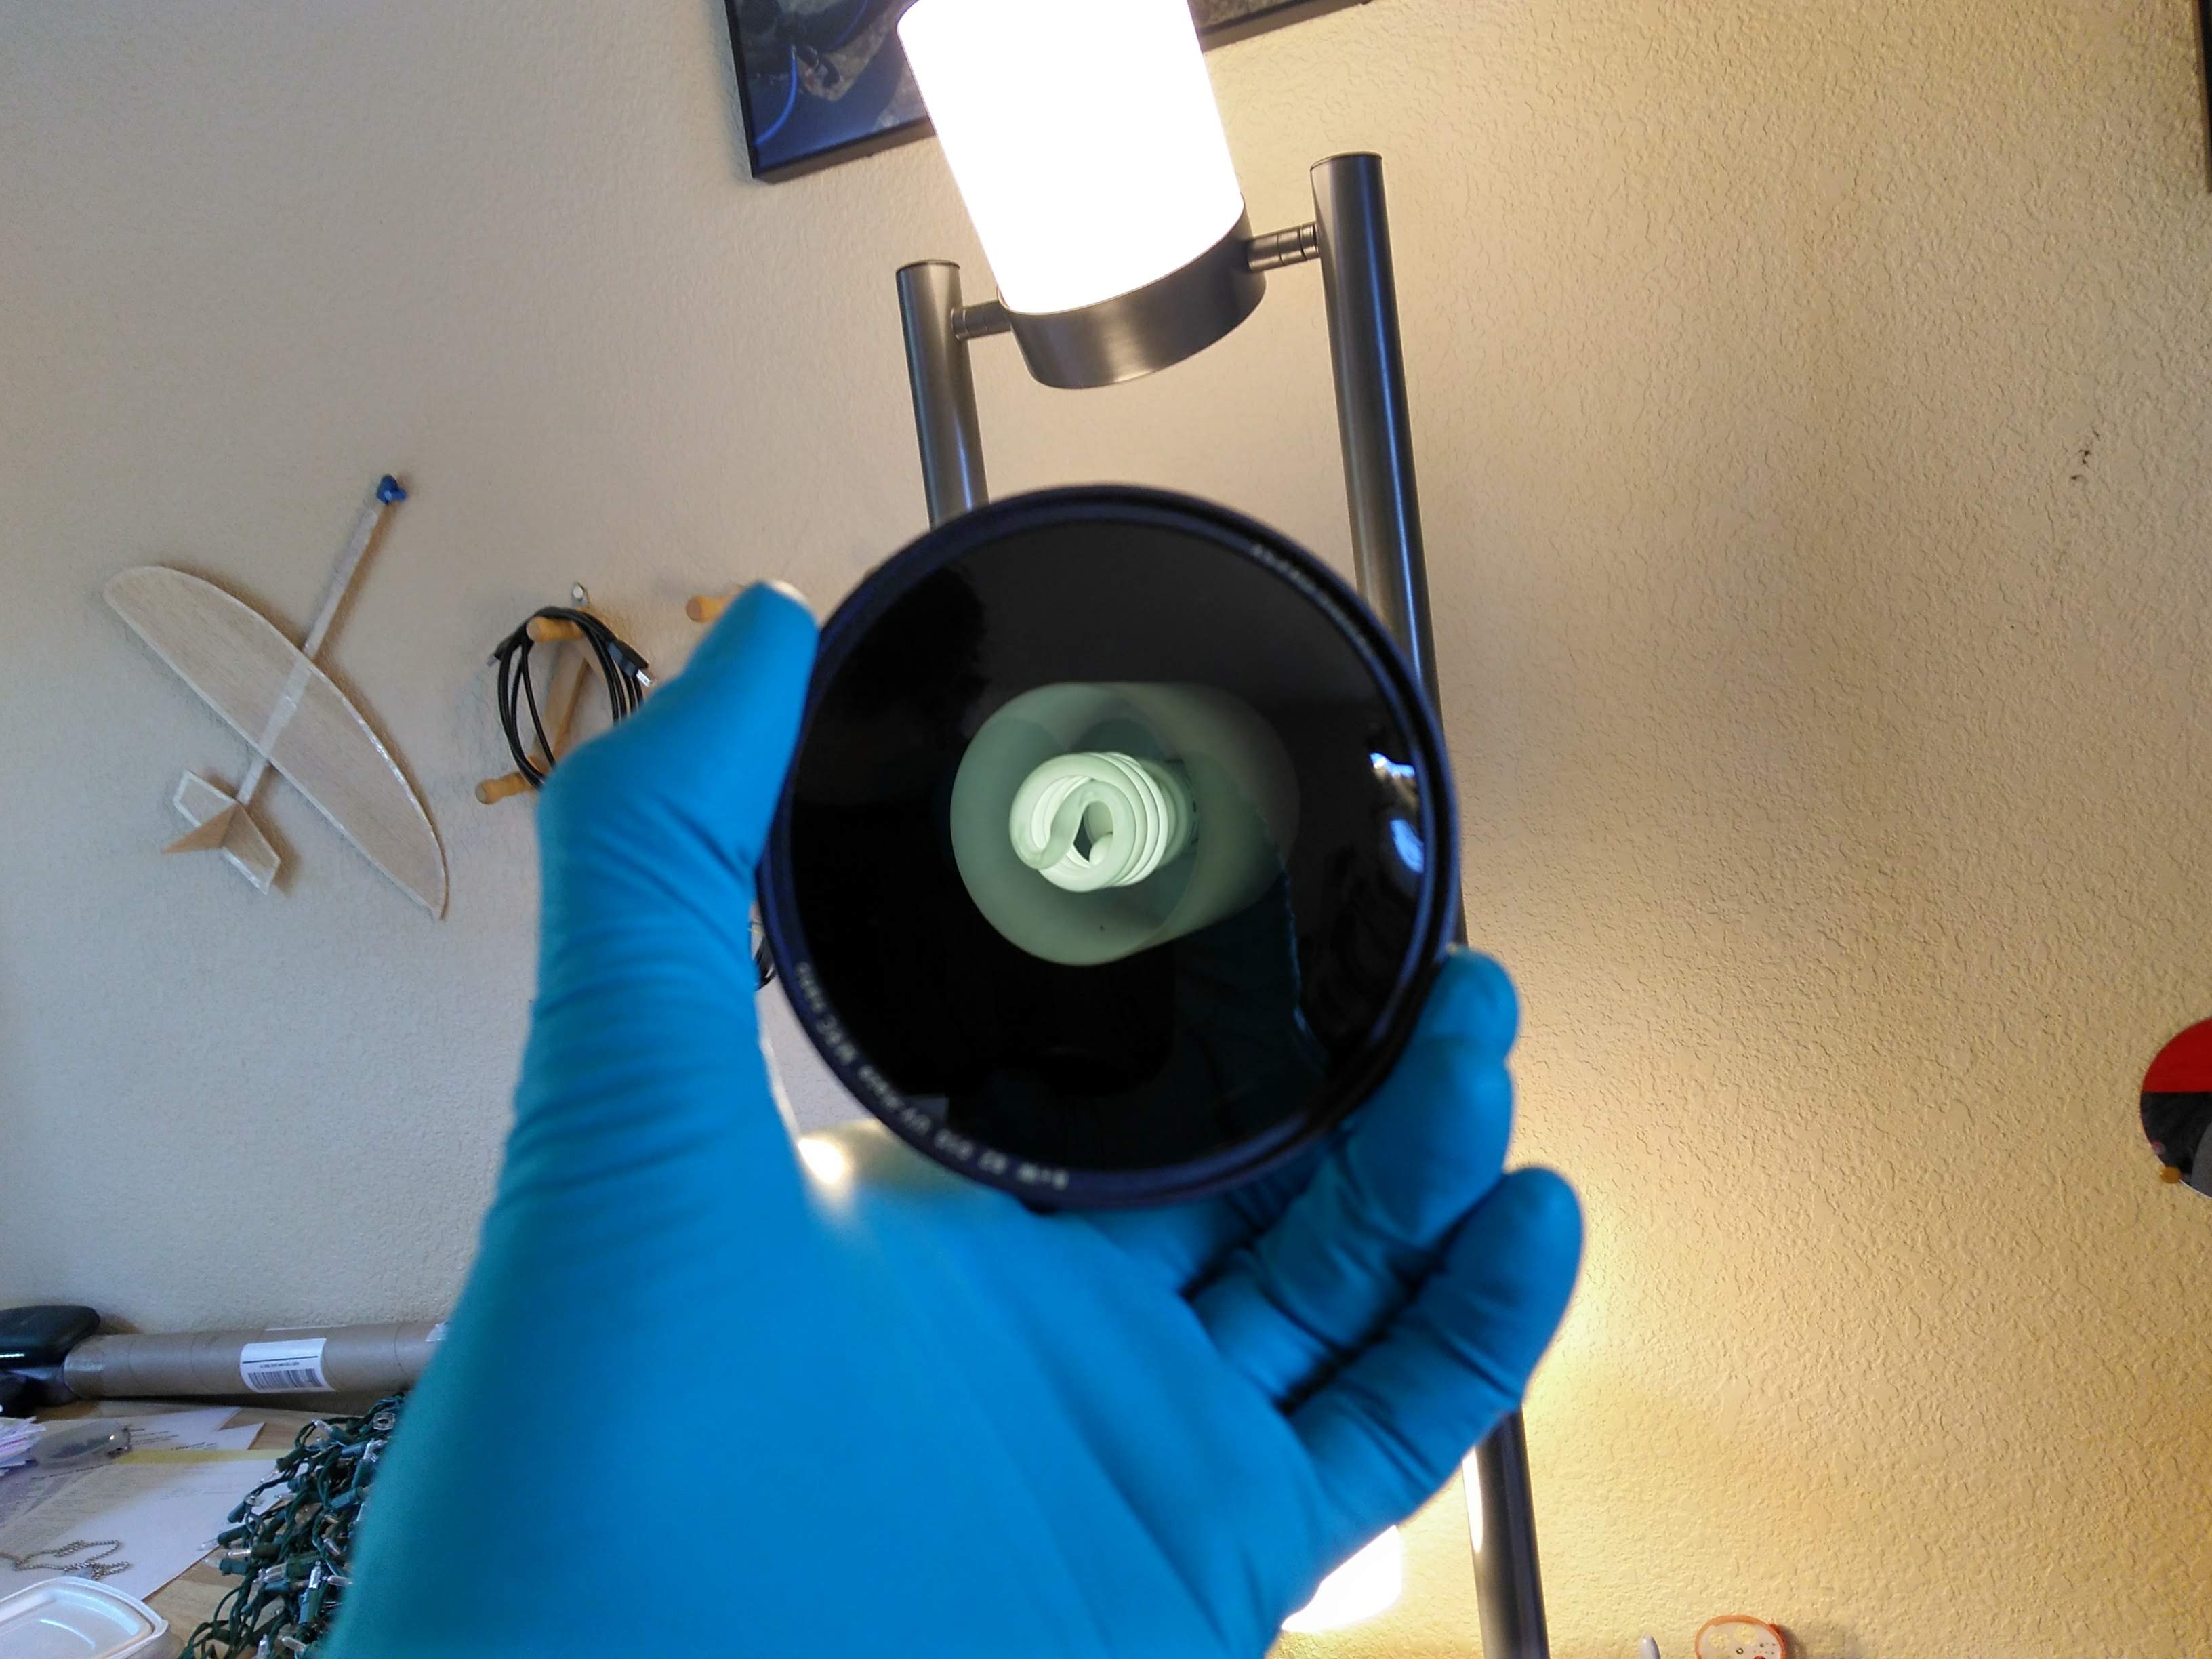
Thanks to the 12 stops of darkening ability, interesting long exposure effects with a fast aperture can be achieved even in bright environments (like the light painting seen below). I'd like to use this for some photos of moving water in the future, but I haven't quite had the chance to do so yet.