(the images will load somewhat slowly on this page, for now)
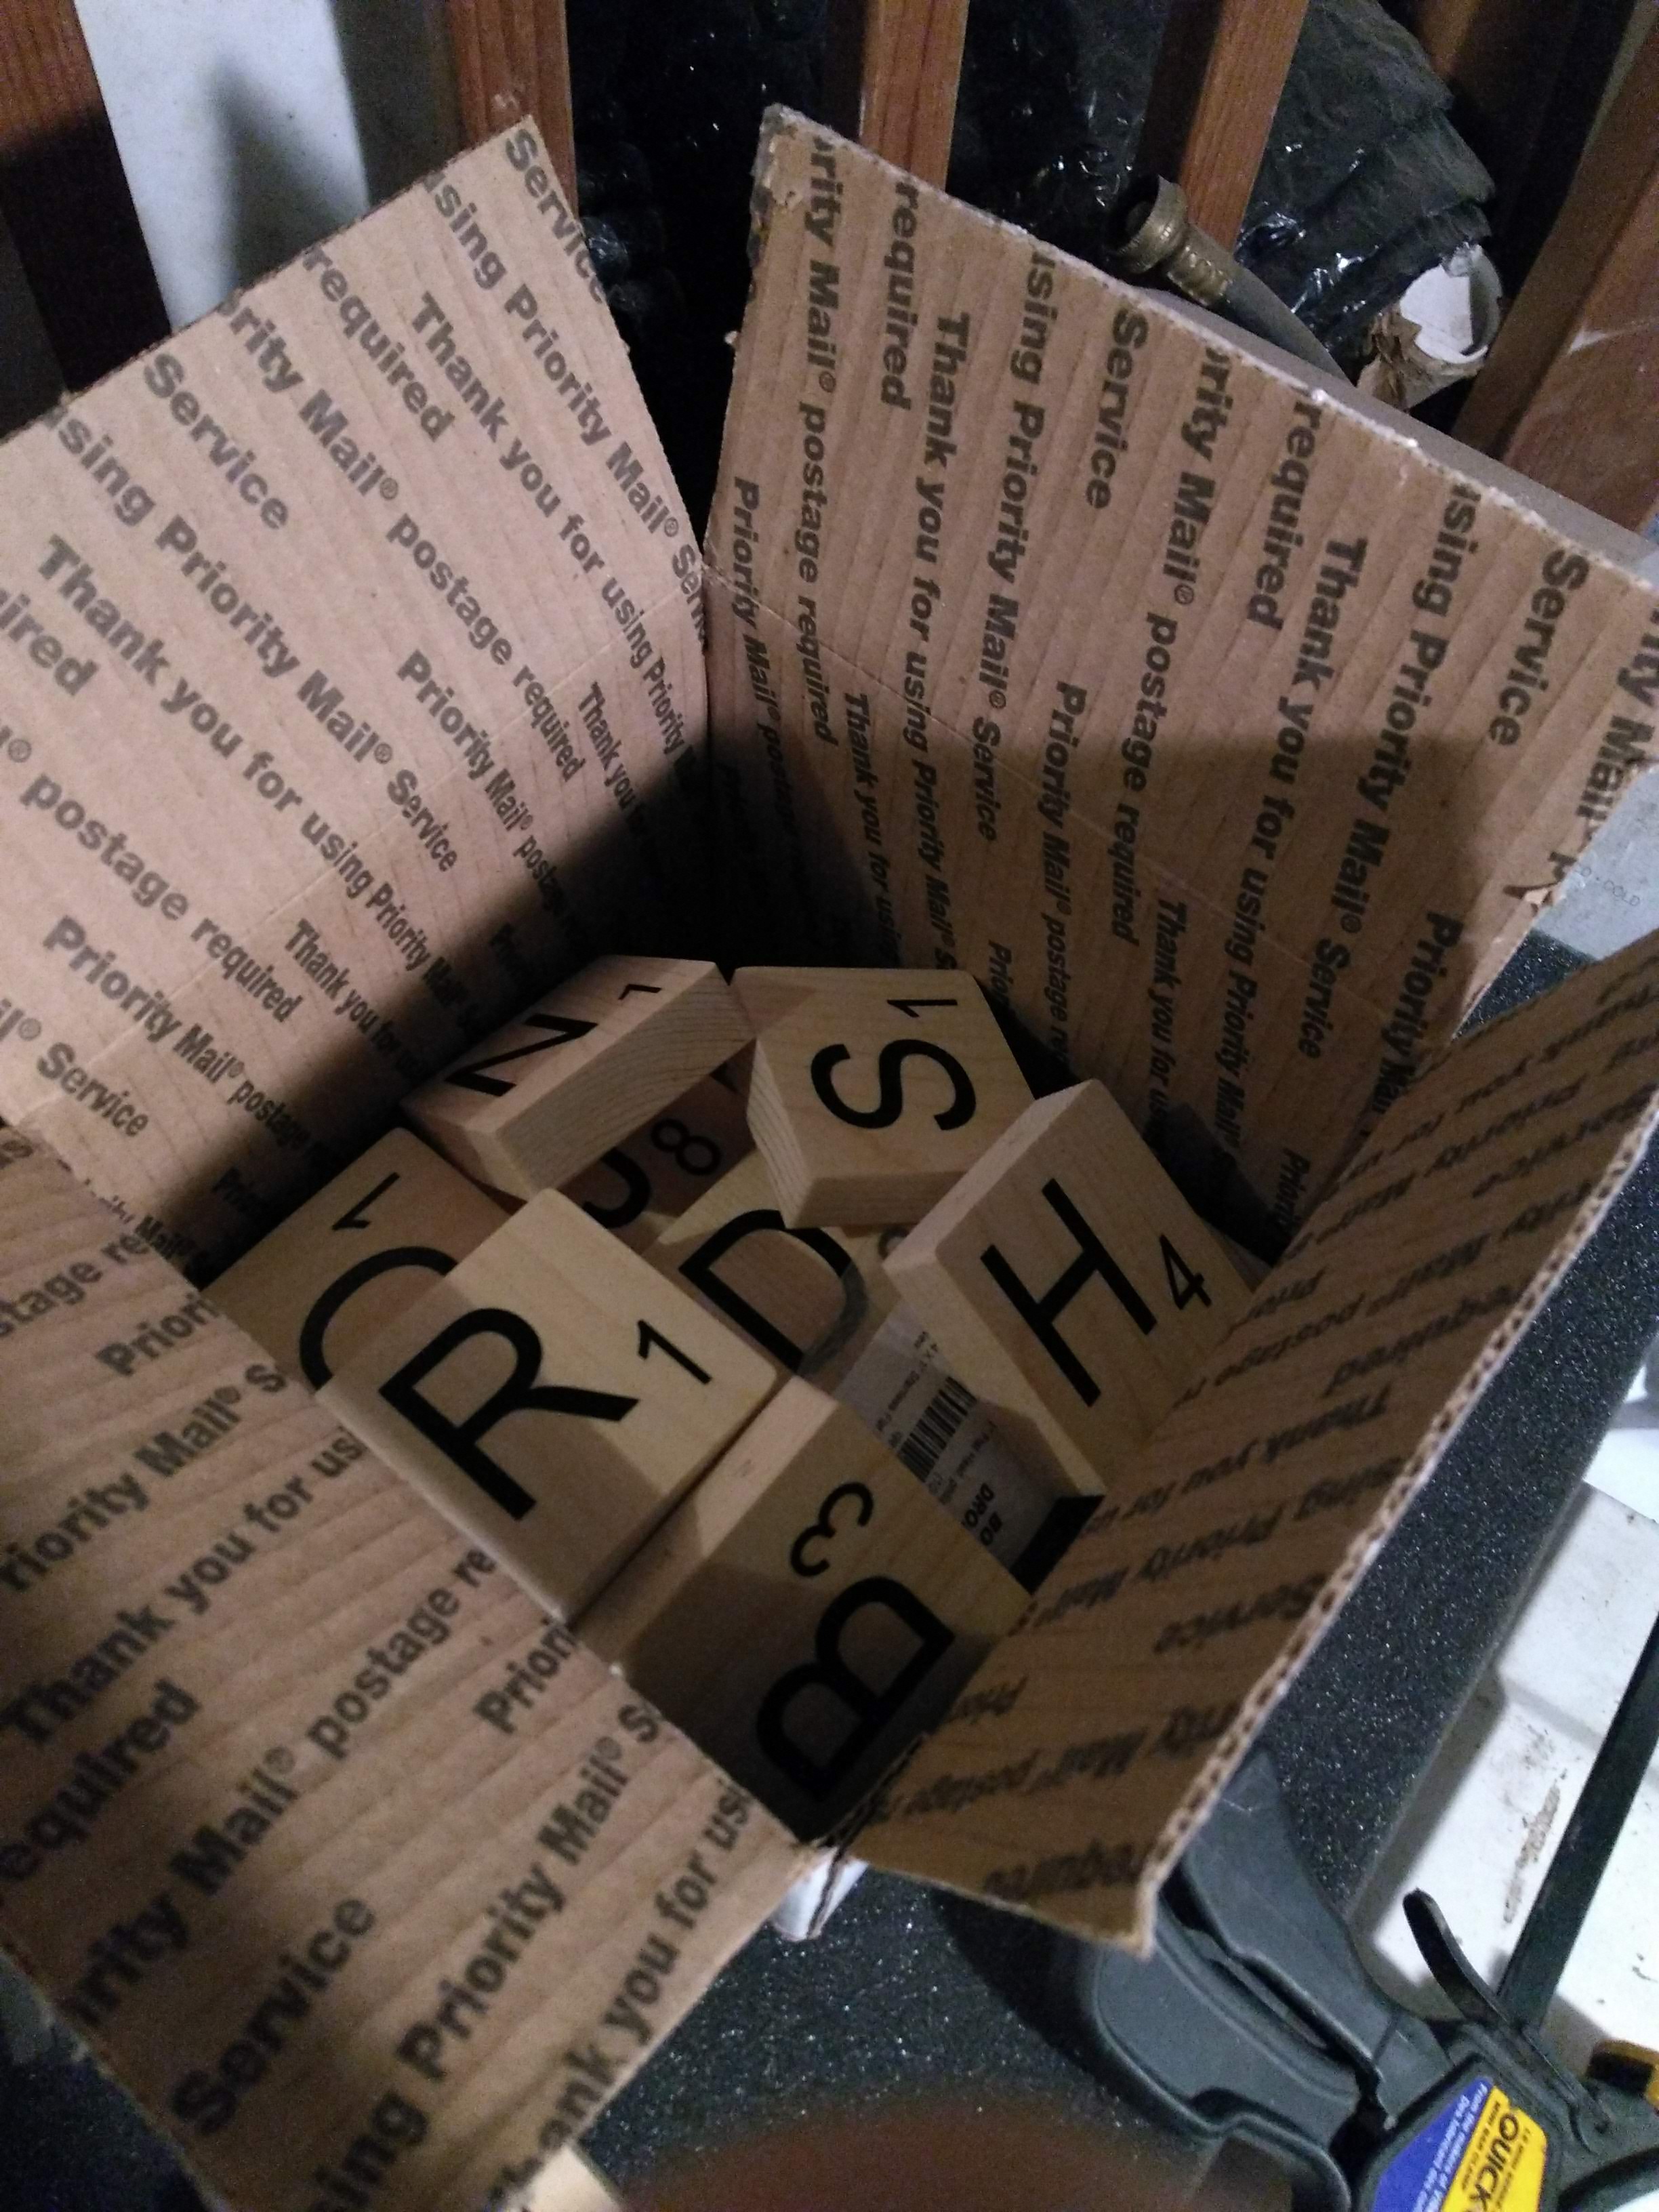
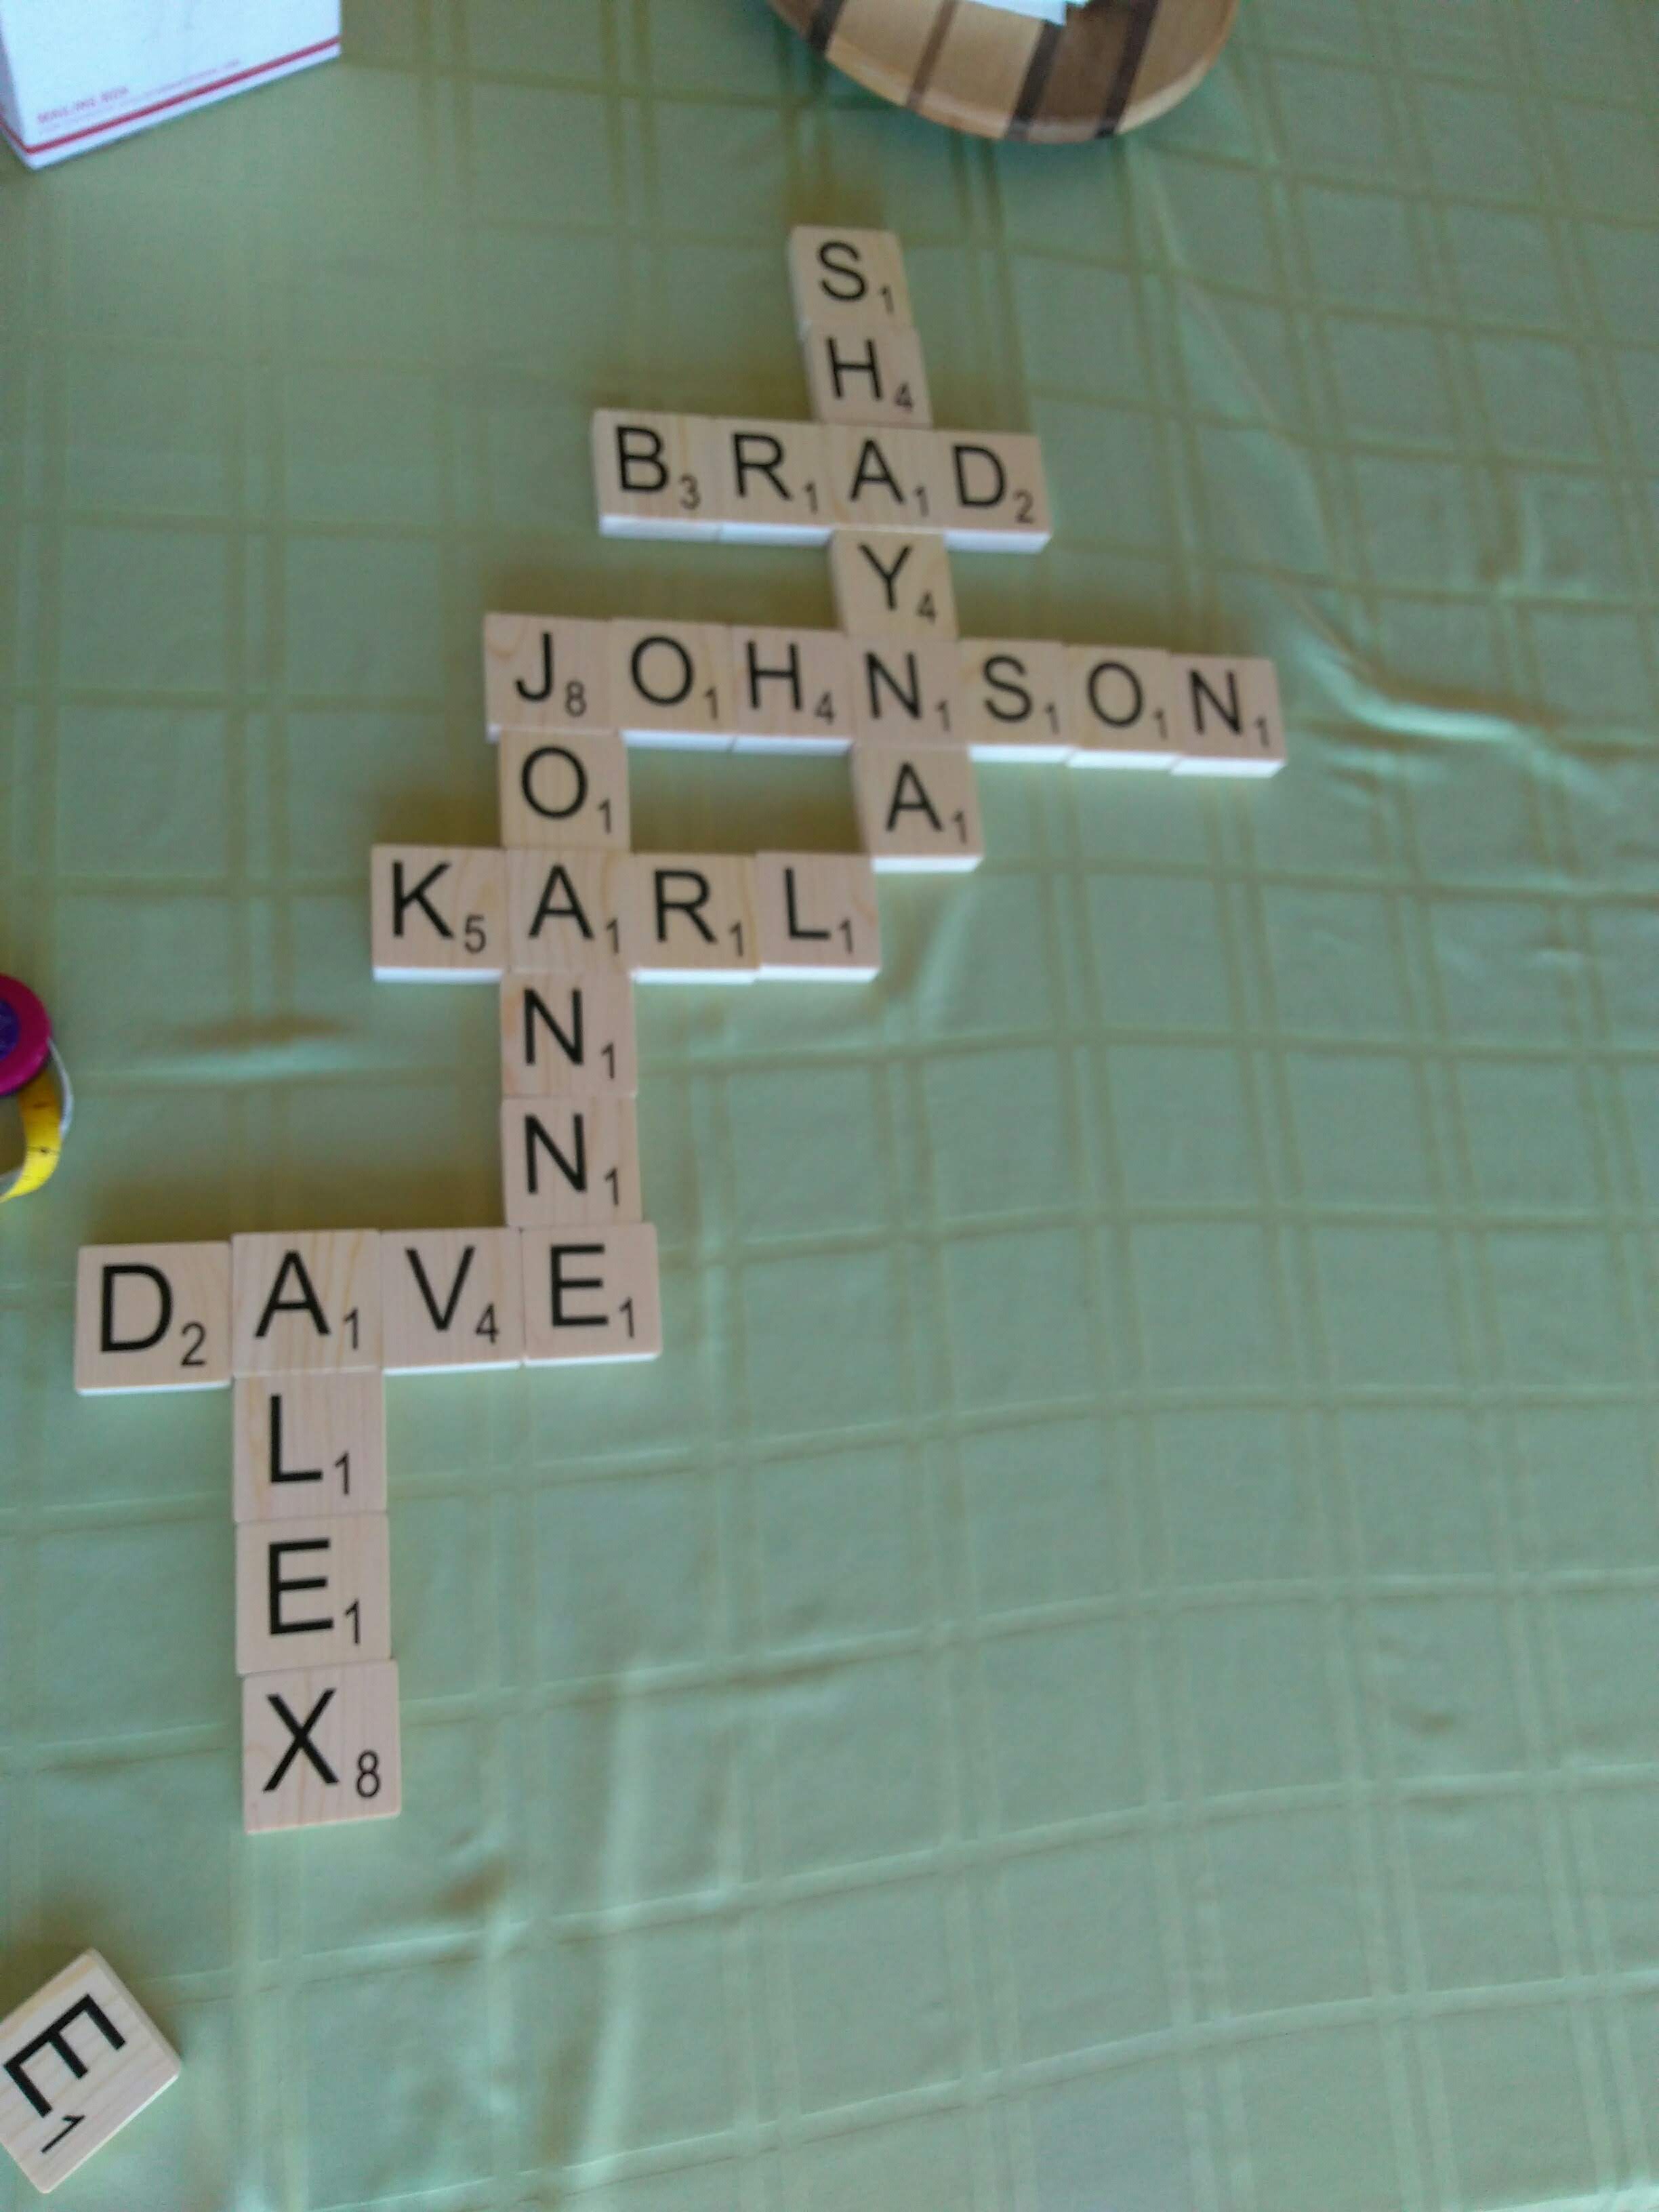
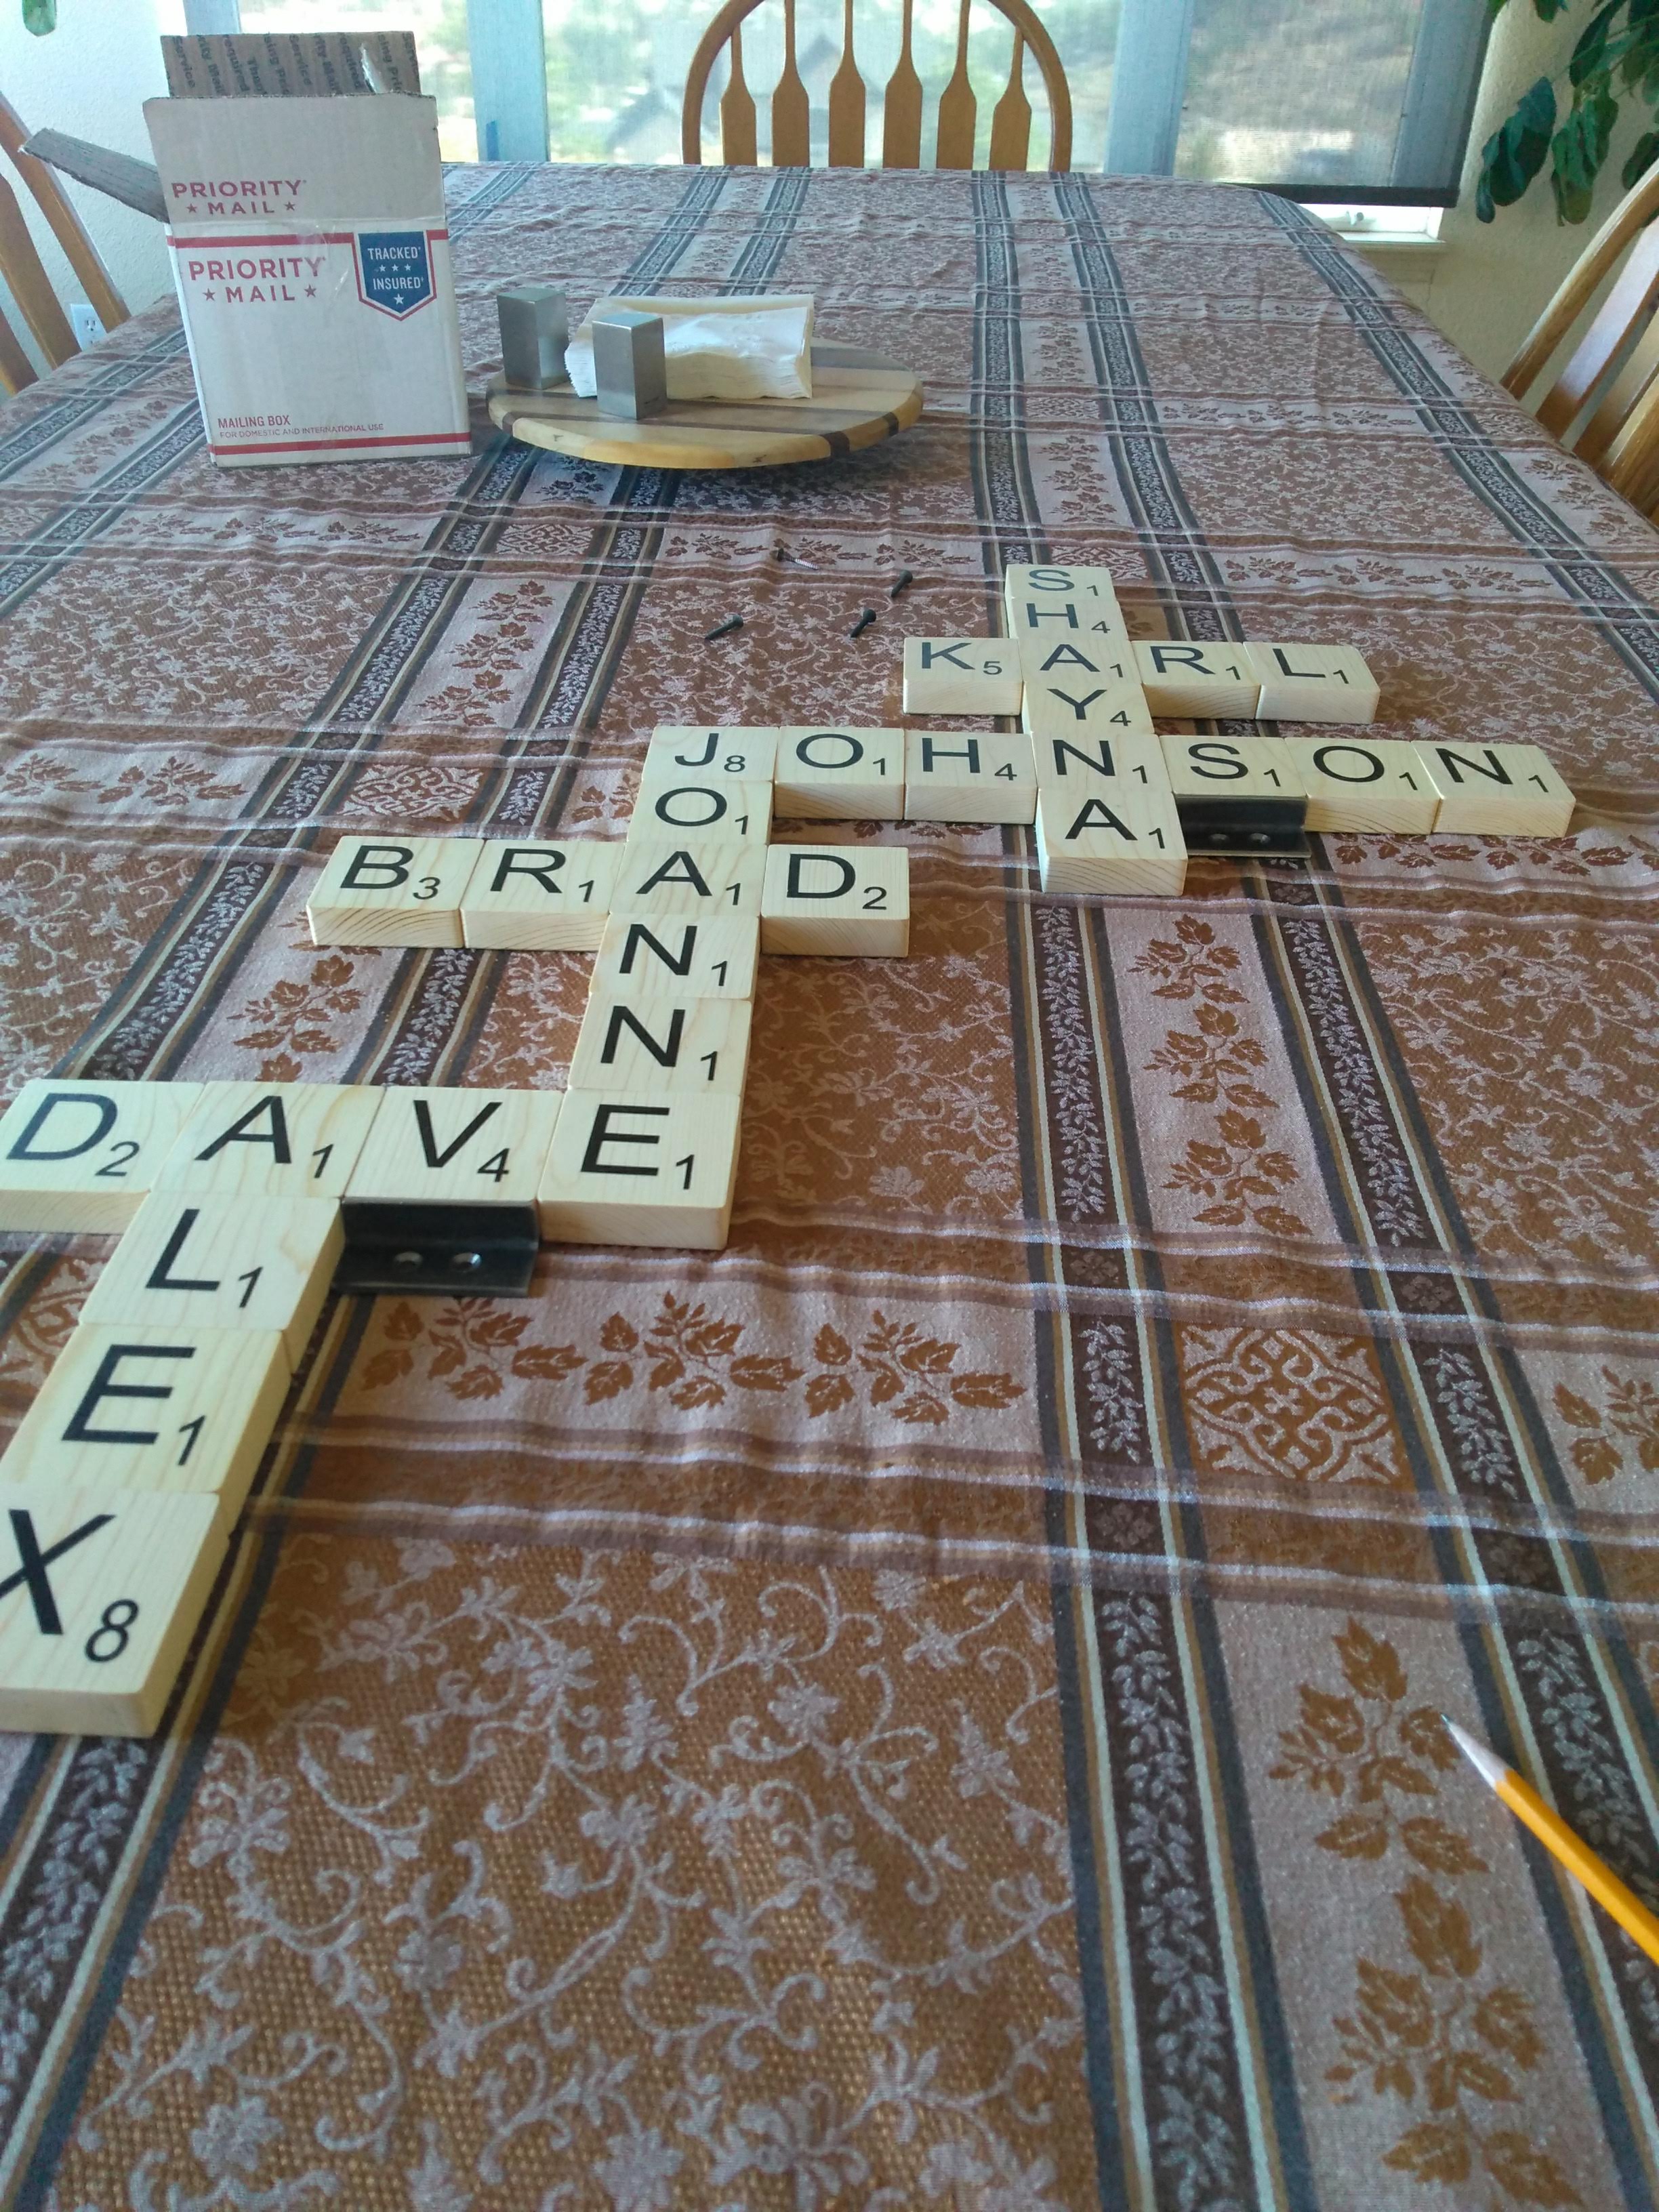
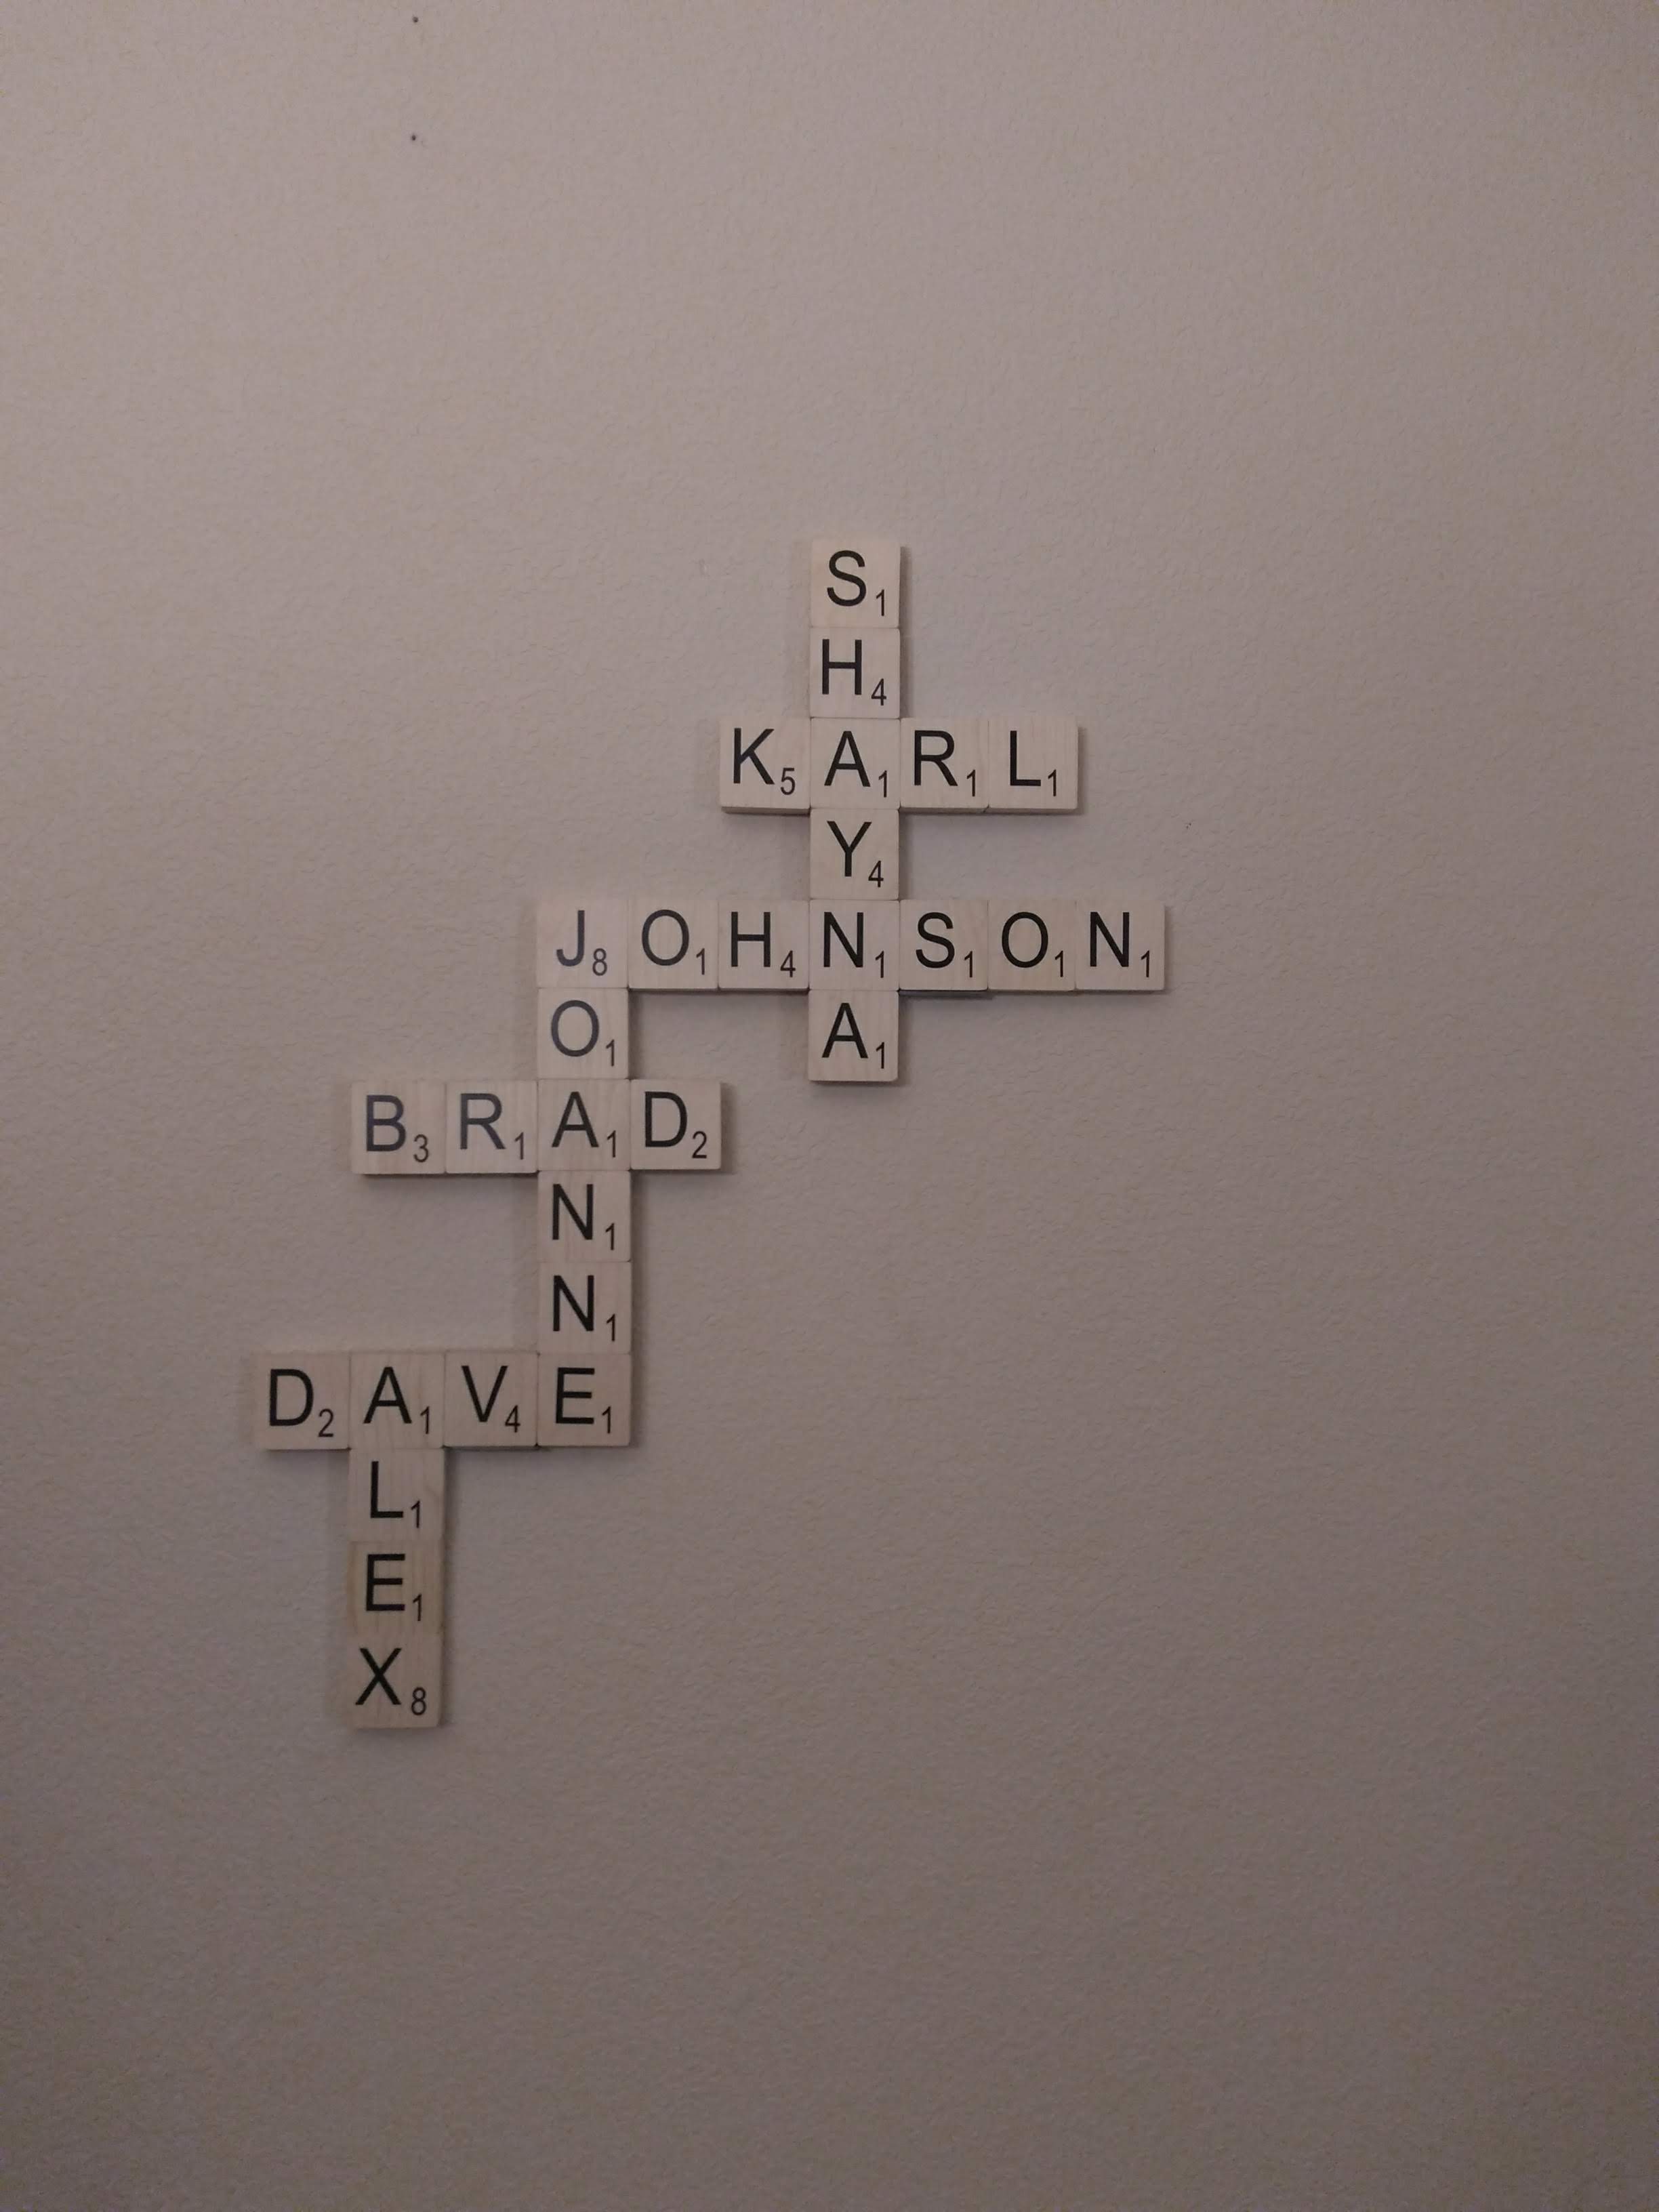
For Mother's day, my siblings and I got my mom a set of giant (~2.5 inches square) scrabble tiles, which spell out all the names in our family when put together correctly.
We wanted to mount these in their proper arrangement on the wall. However, these tiles are just blocks of wood with letters printed on them, and there is no easy way to hang them as is. I thought the nicest way to connect all the blocks together would be with two magnets on each edge, as the tiles would be securely connected, but would be easy to pull apart and adjust. The structure, held together with magnets, would then be placed on 2-3 ledges screwed into the wall.
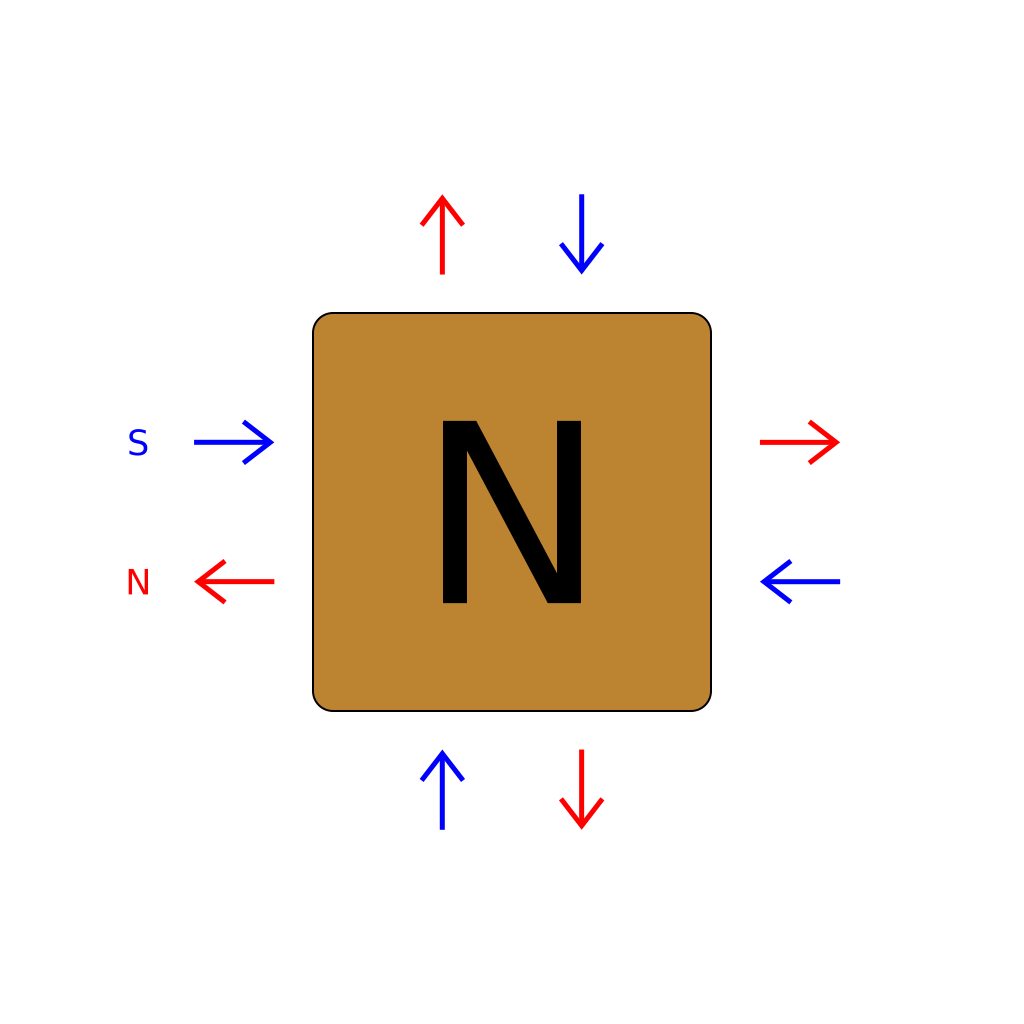
First, I had to figure out how I was orienting the magnets. If I put magnets of similar polarity on each edge of the block, I thought I might have issues (easy to misplace magnets, hard to figure out what polarity goes on what side, etc.). Instead, I used a "pinwheel" arrangement, which made the arrangement of magnets the exact same on every block. This arrangement also ensures that blocks cannot be stuck together in such a way that the face of the block (the side with the letter) is facing the wall.
Another advantage is that the attraction between blocks is slightly (probably negligibly) stronger; since opposite polarities are closer to eachother, the field lines eminating from the north pole of the magnet travel a shorter distance before 'looping back around' to a south pole. This is hard to explain in words, so I plan to make a diagram sometime. It's a similar principle as to why fridge magnets have an alternating pattern of north/south on their backs.
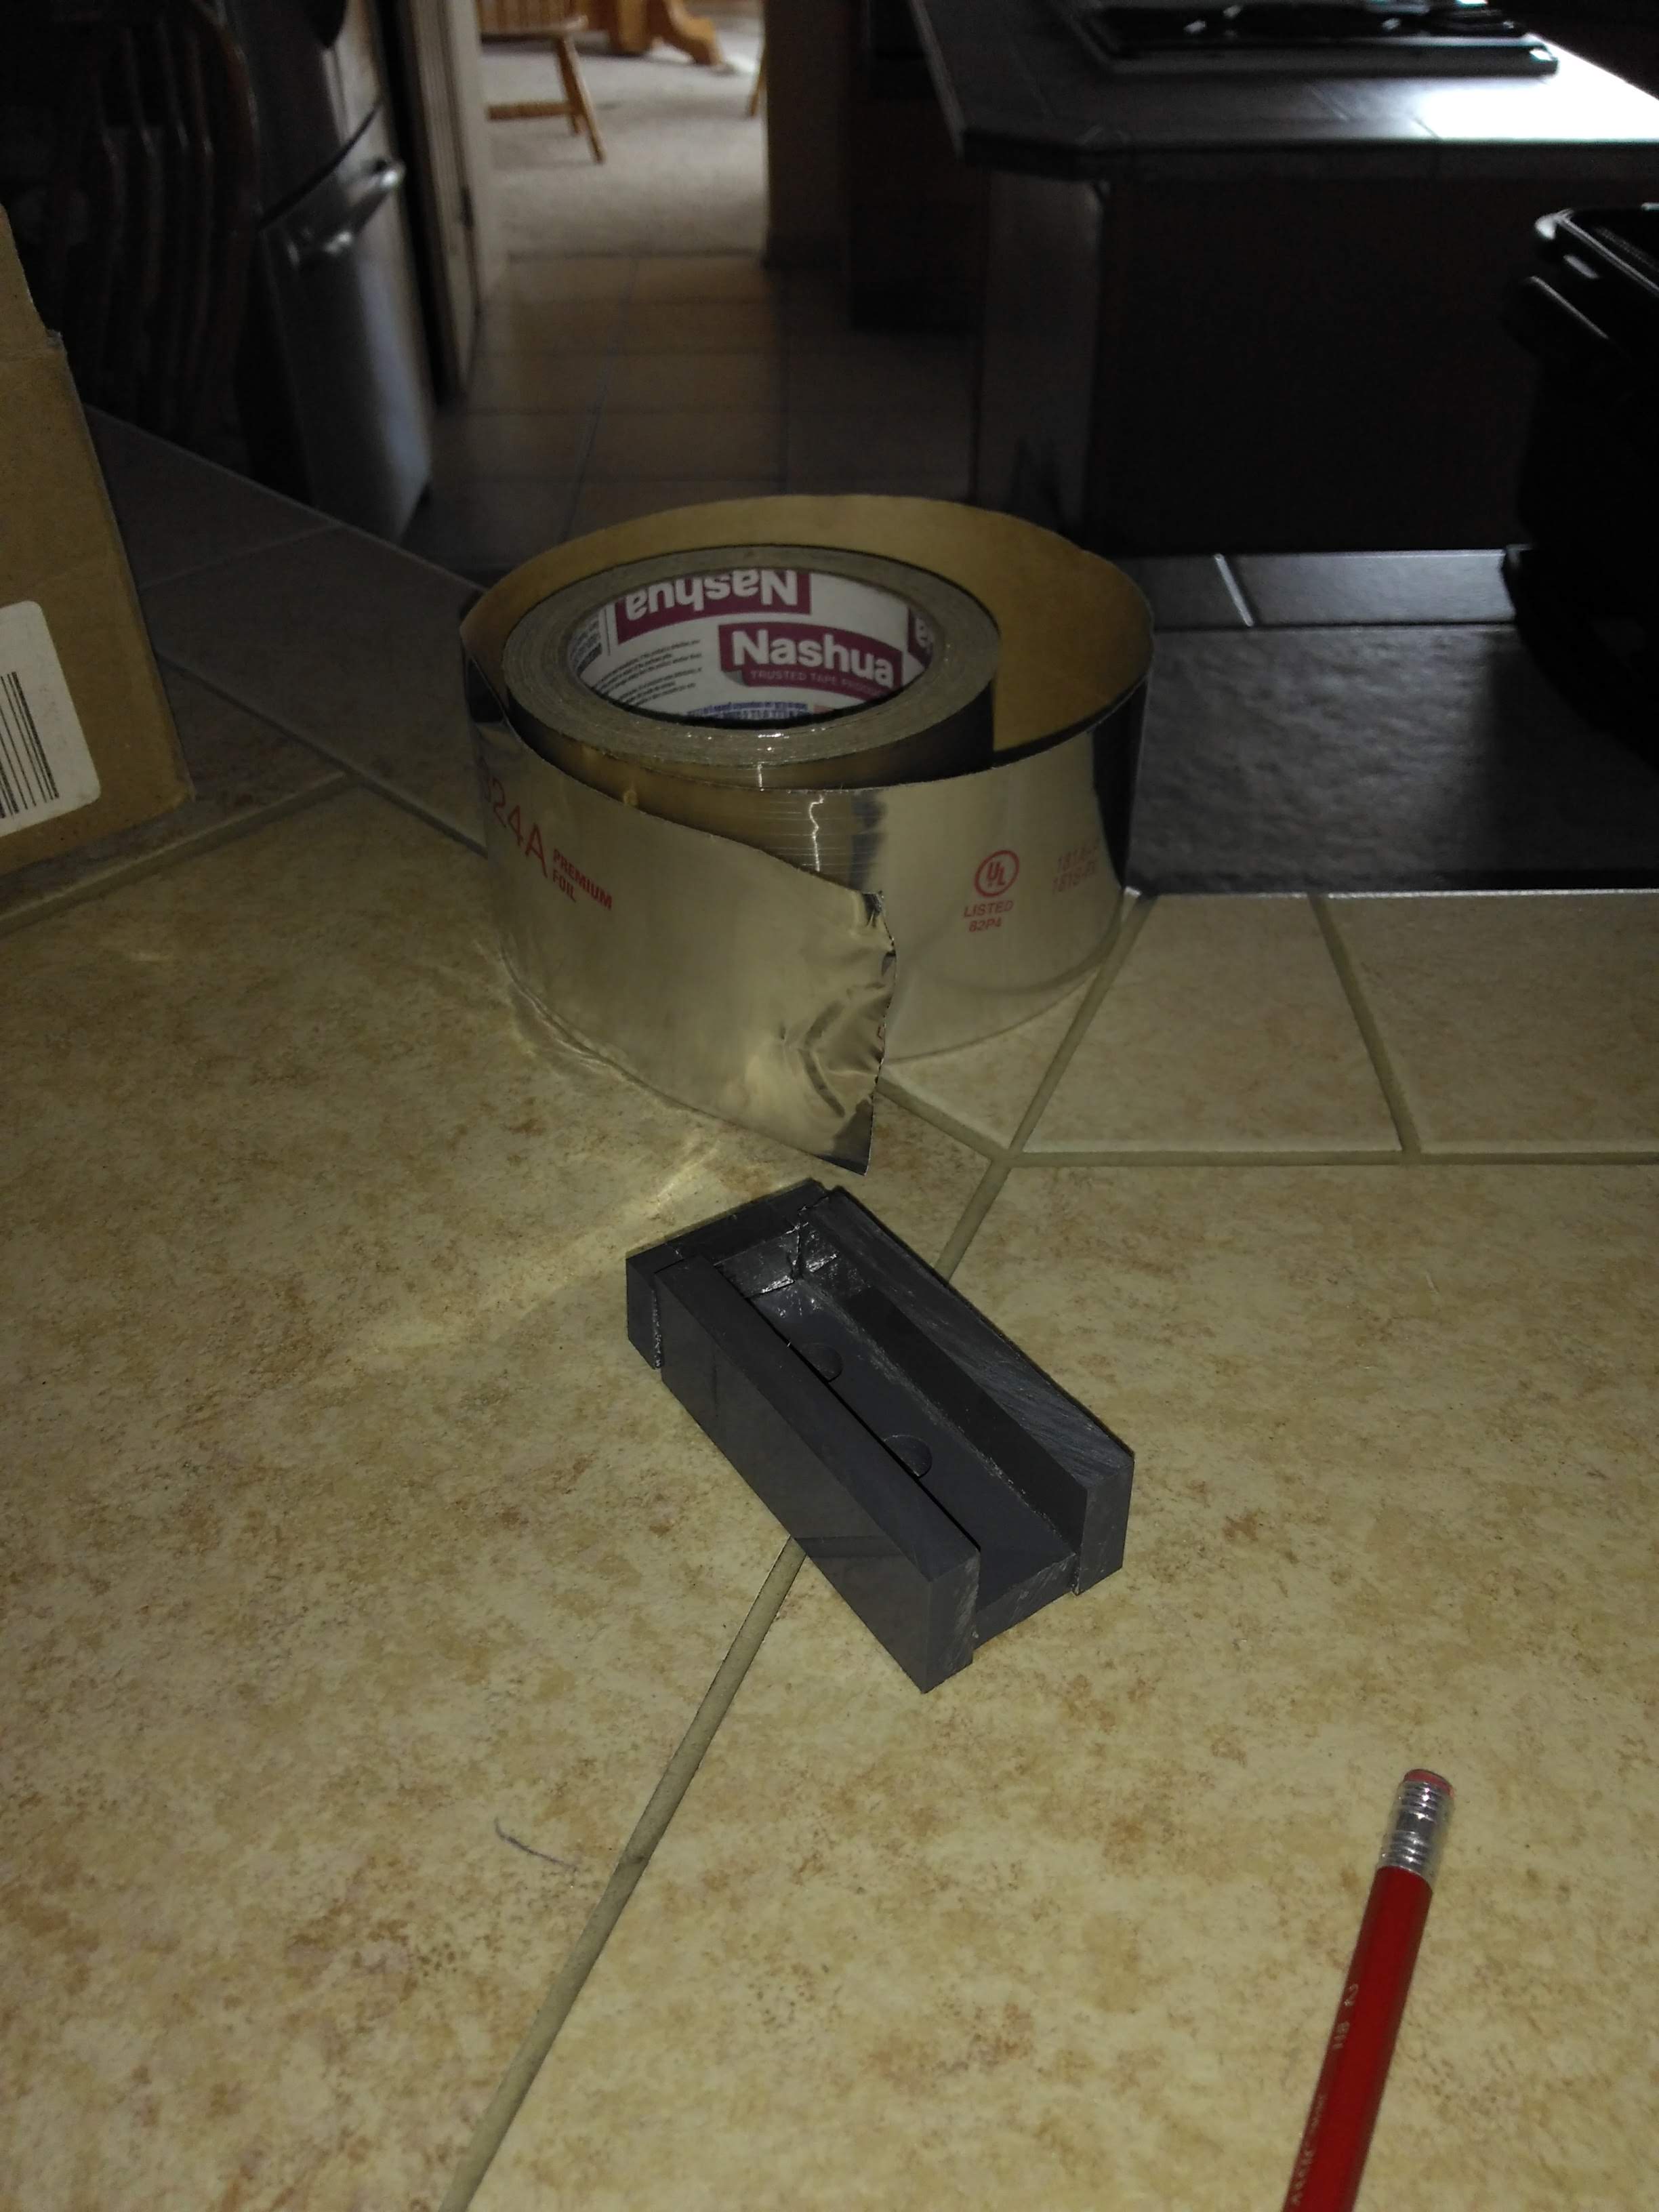
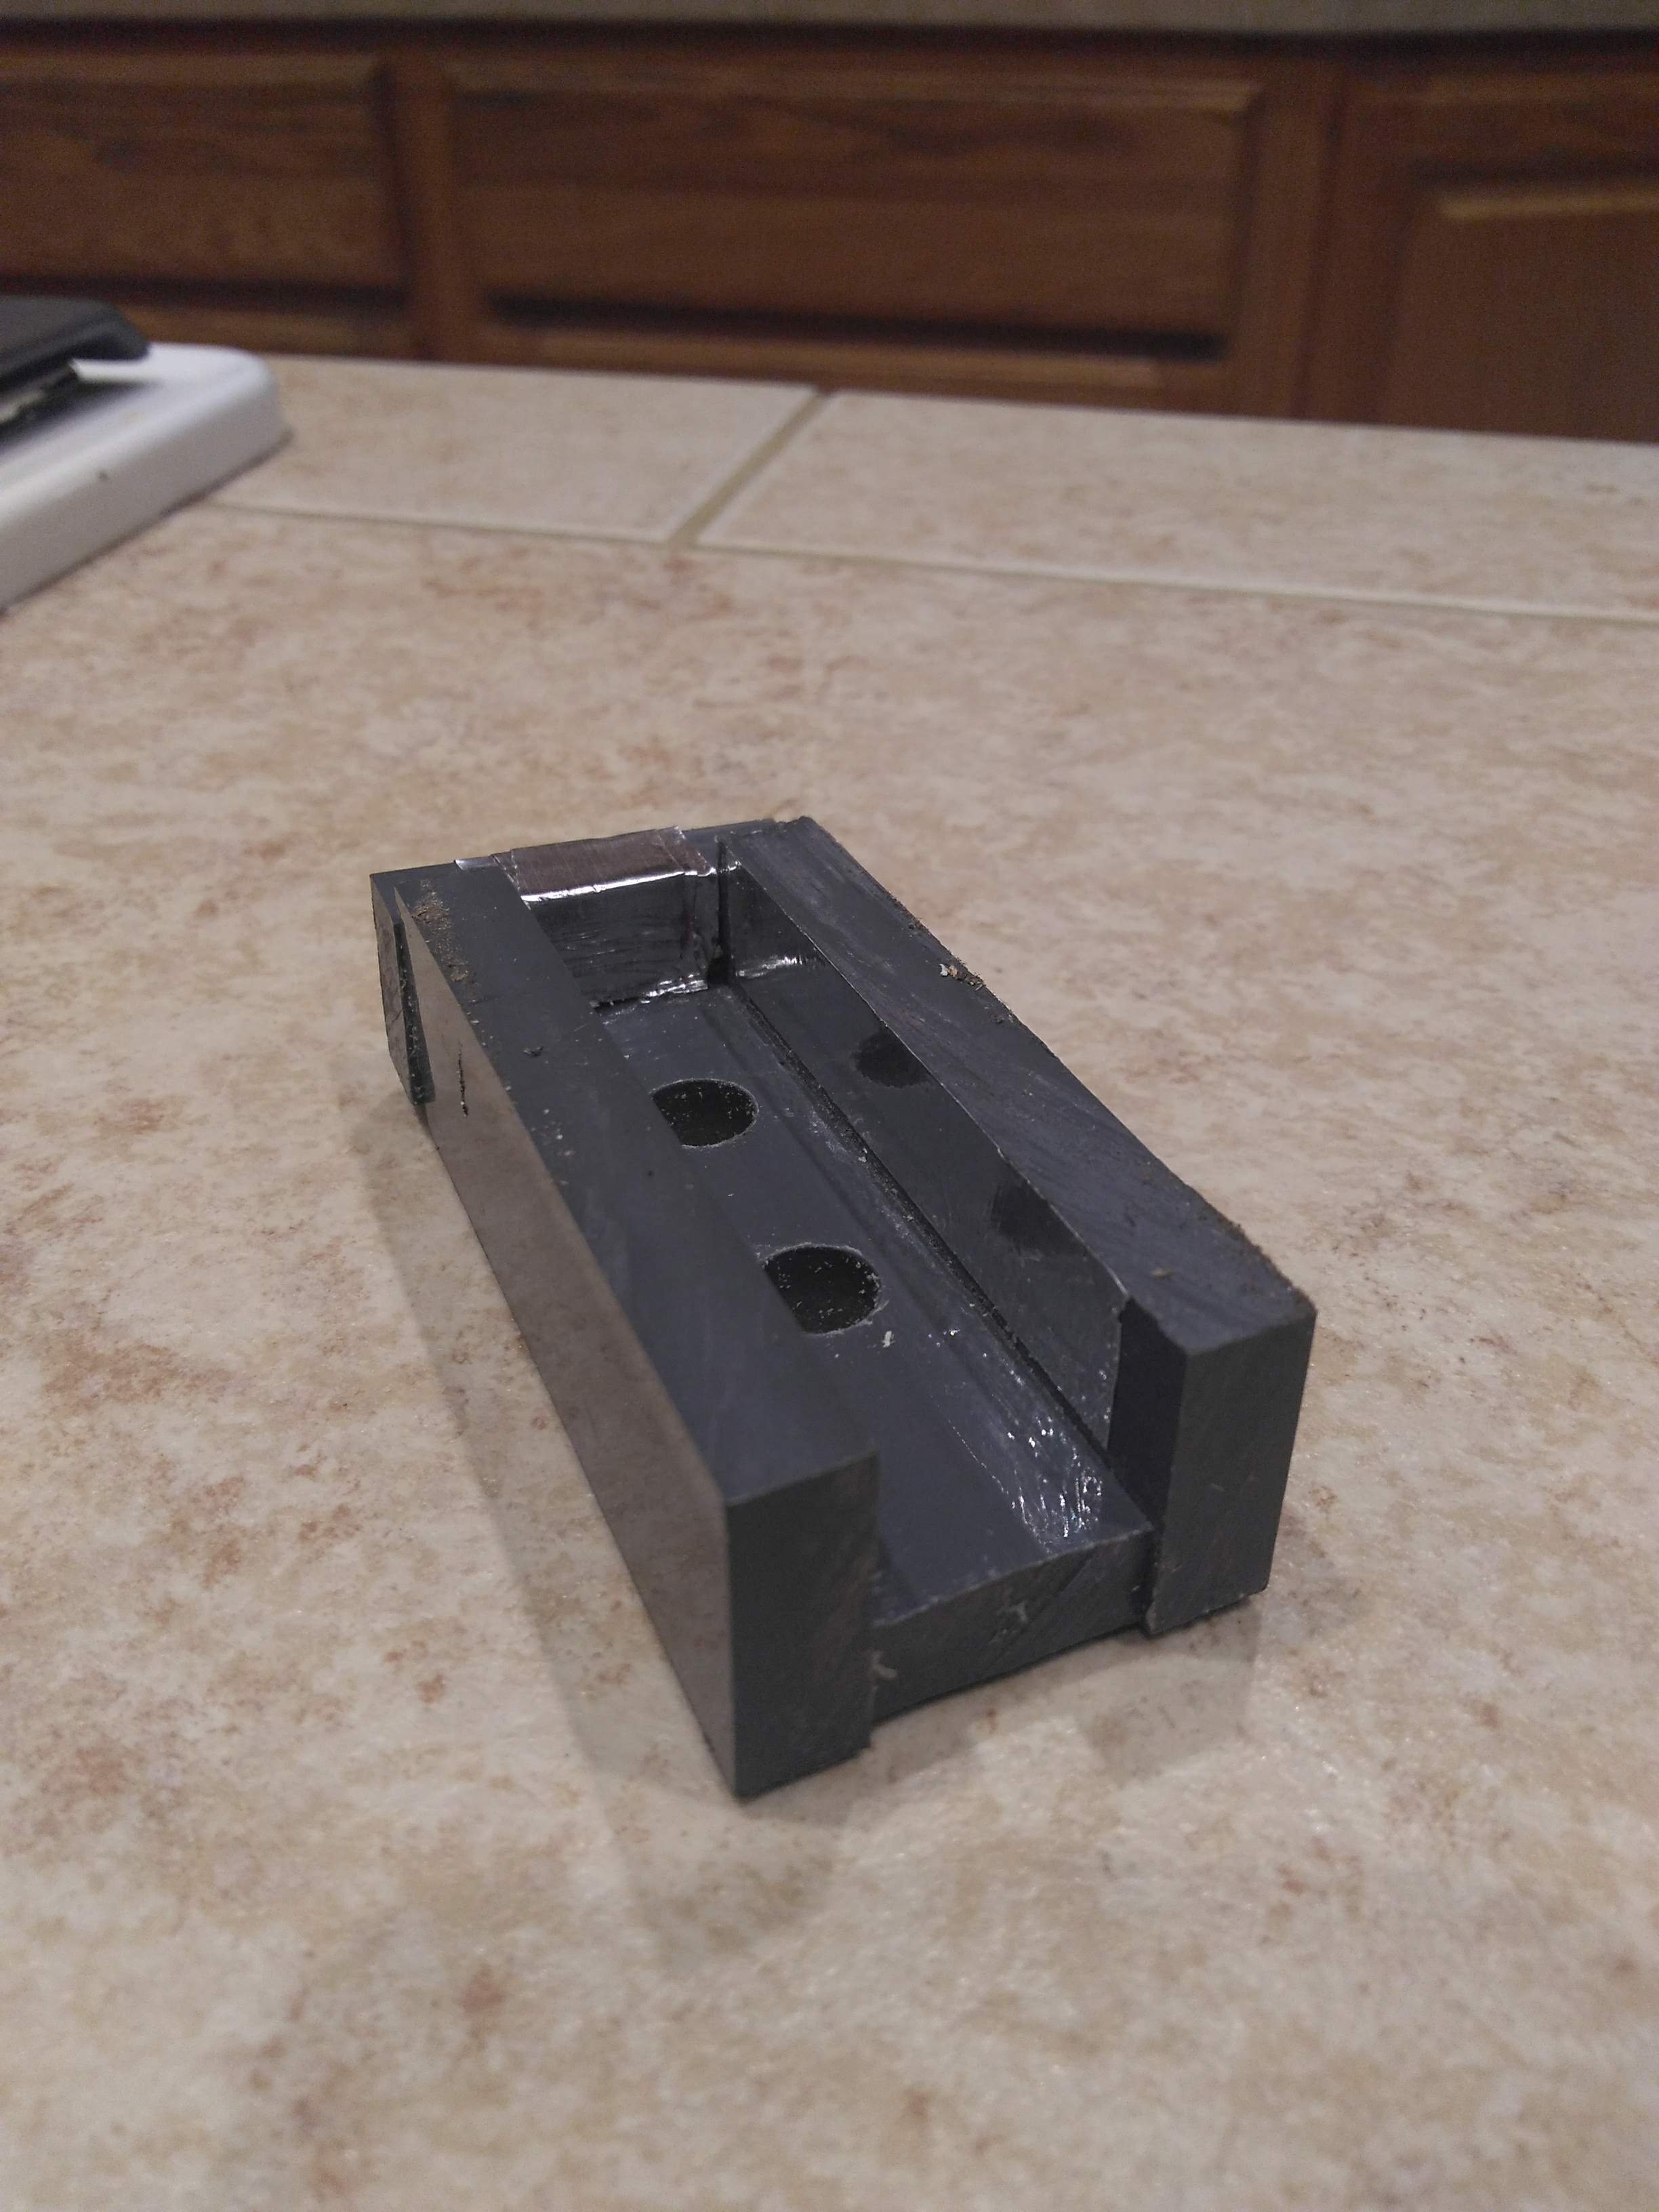
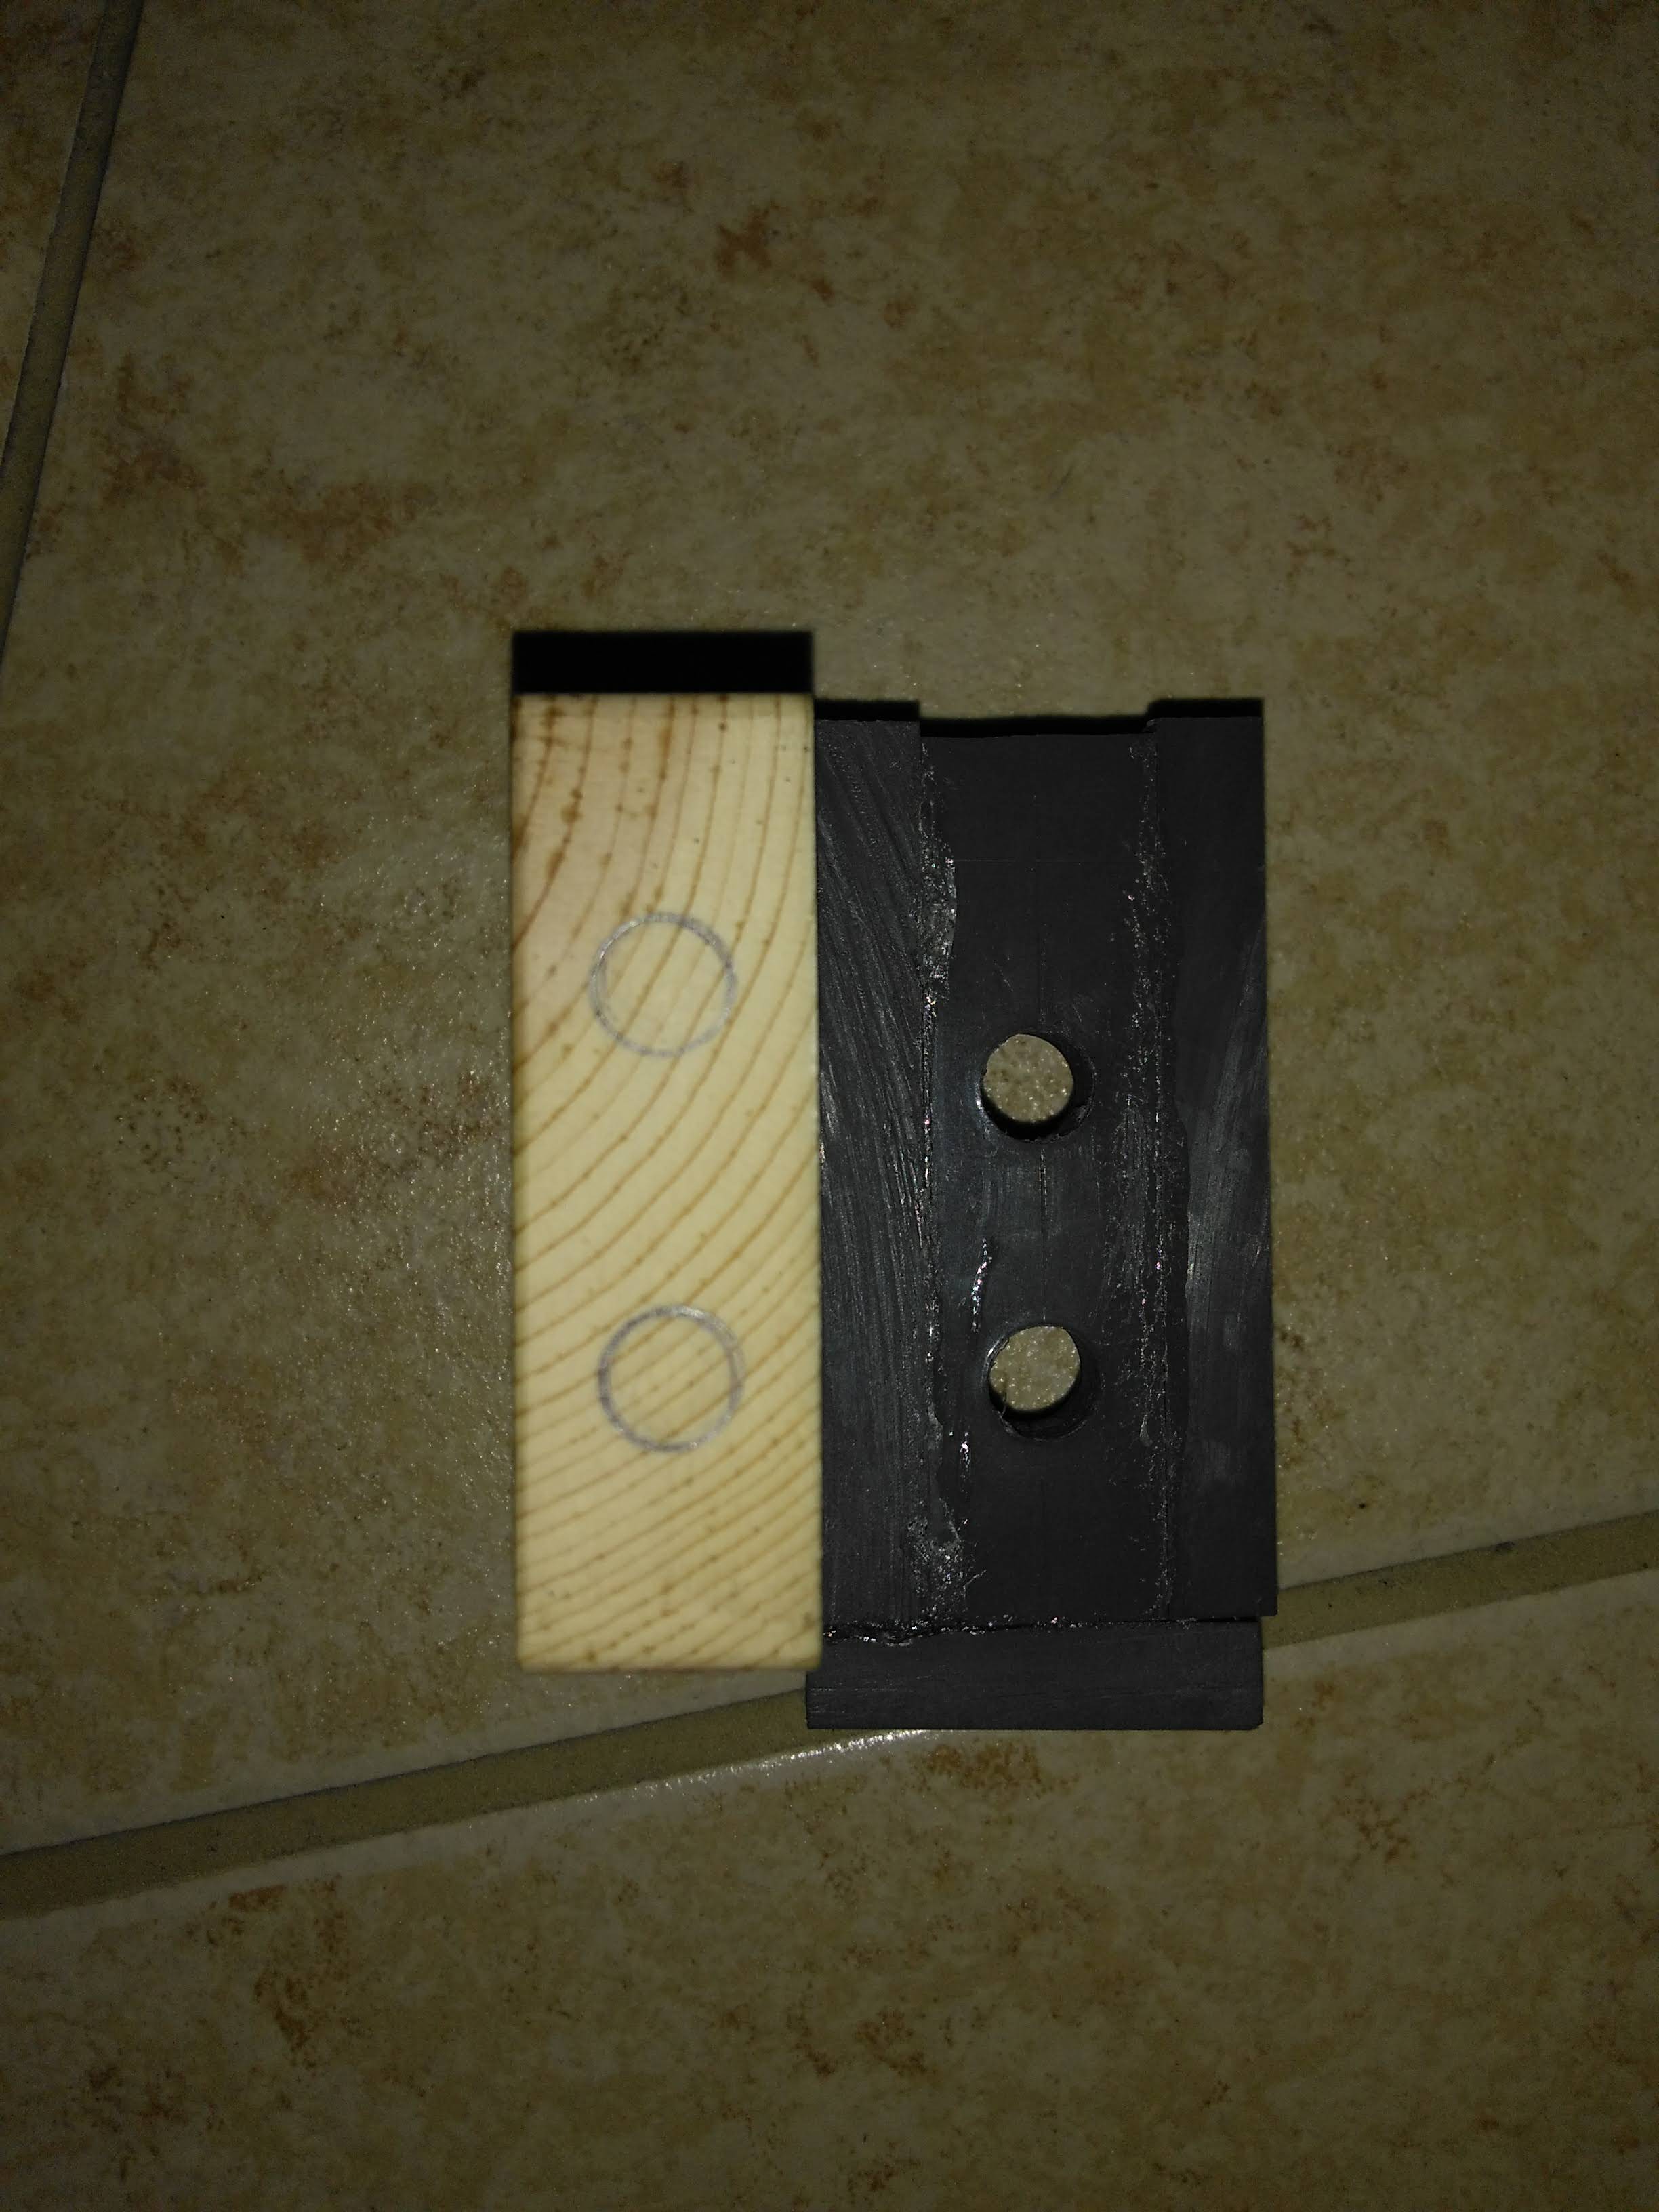
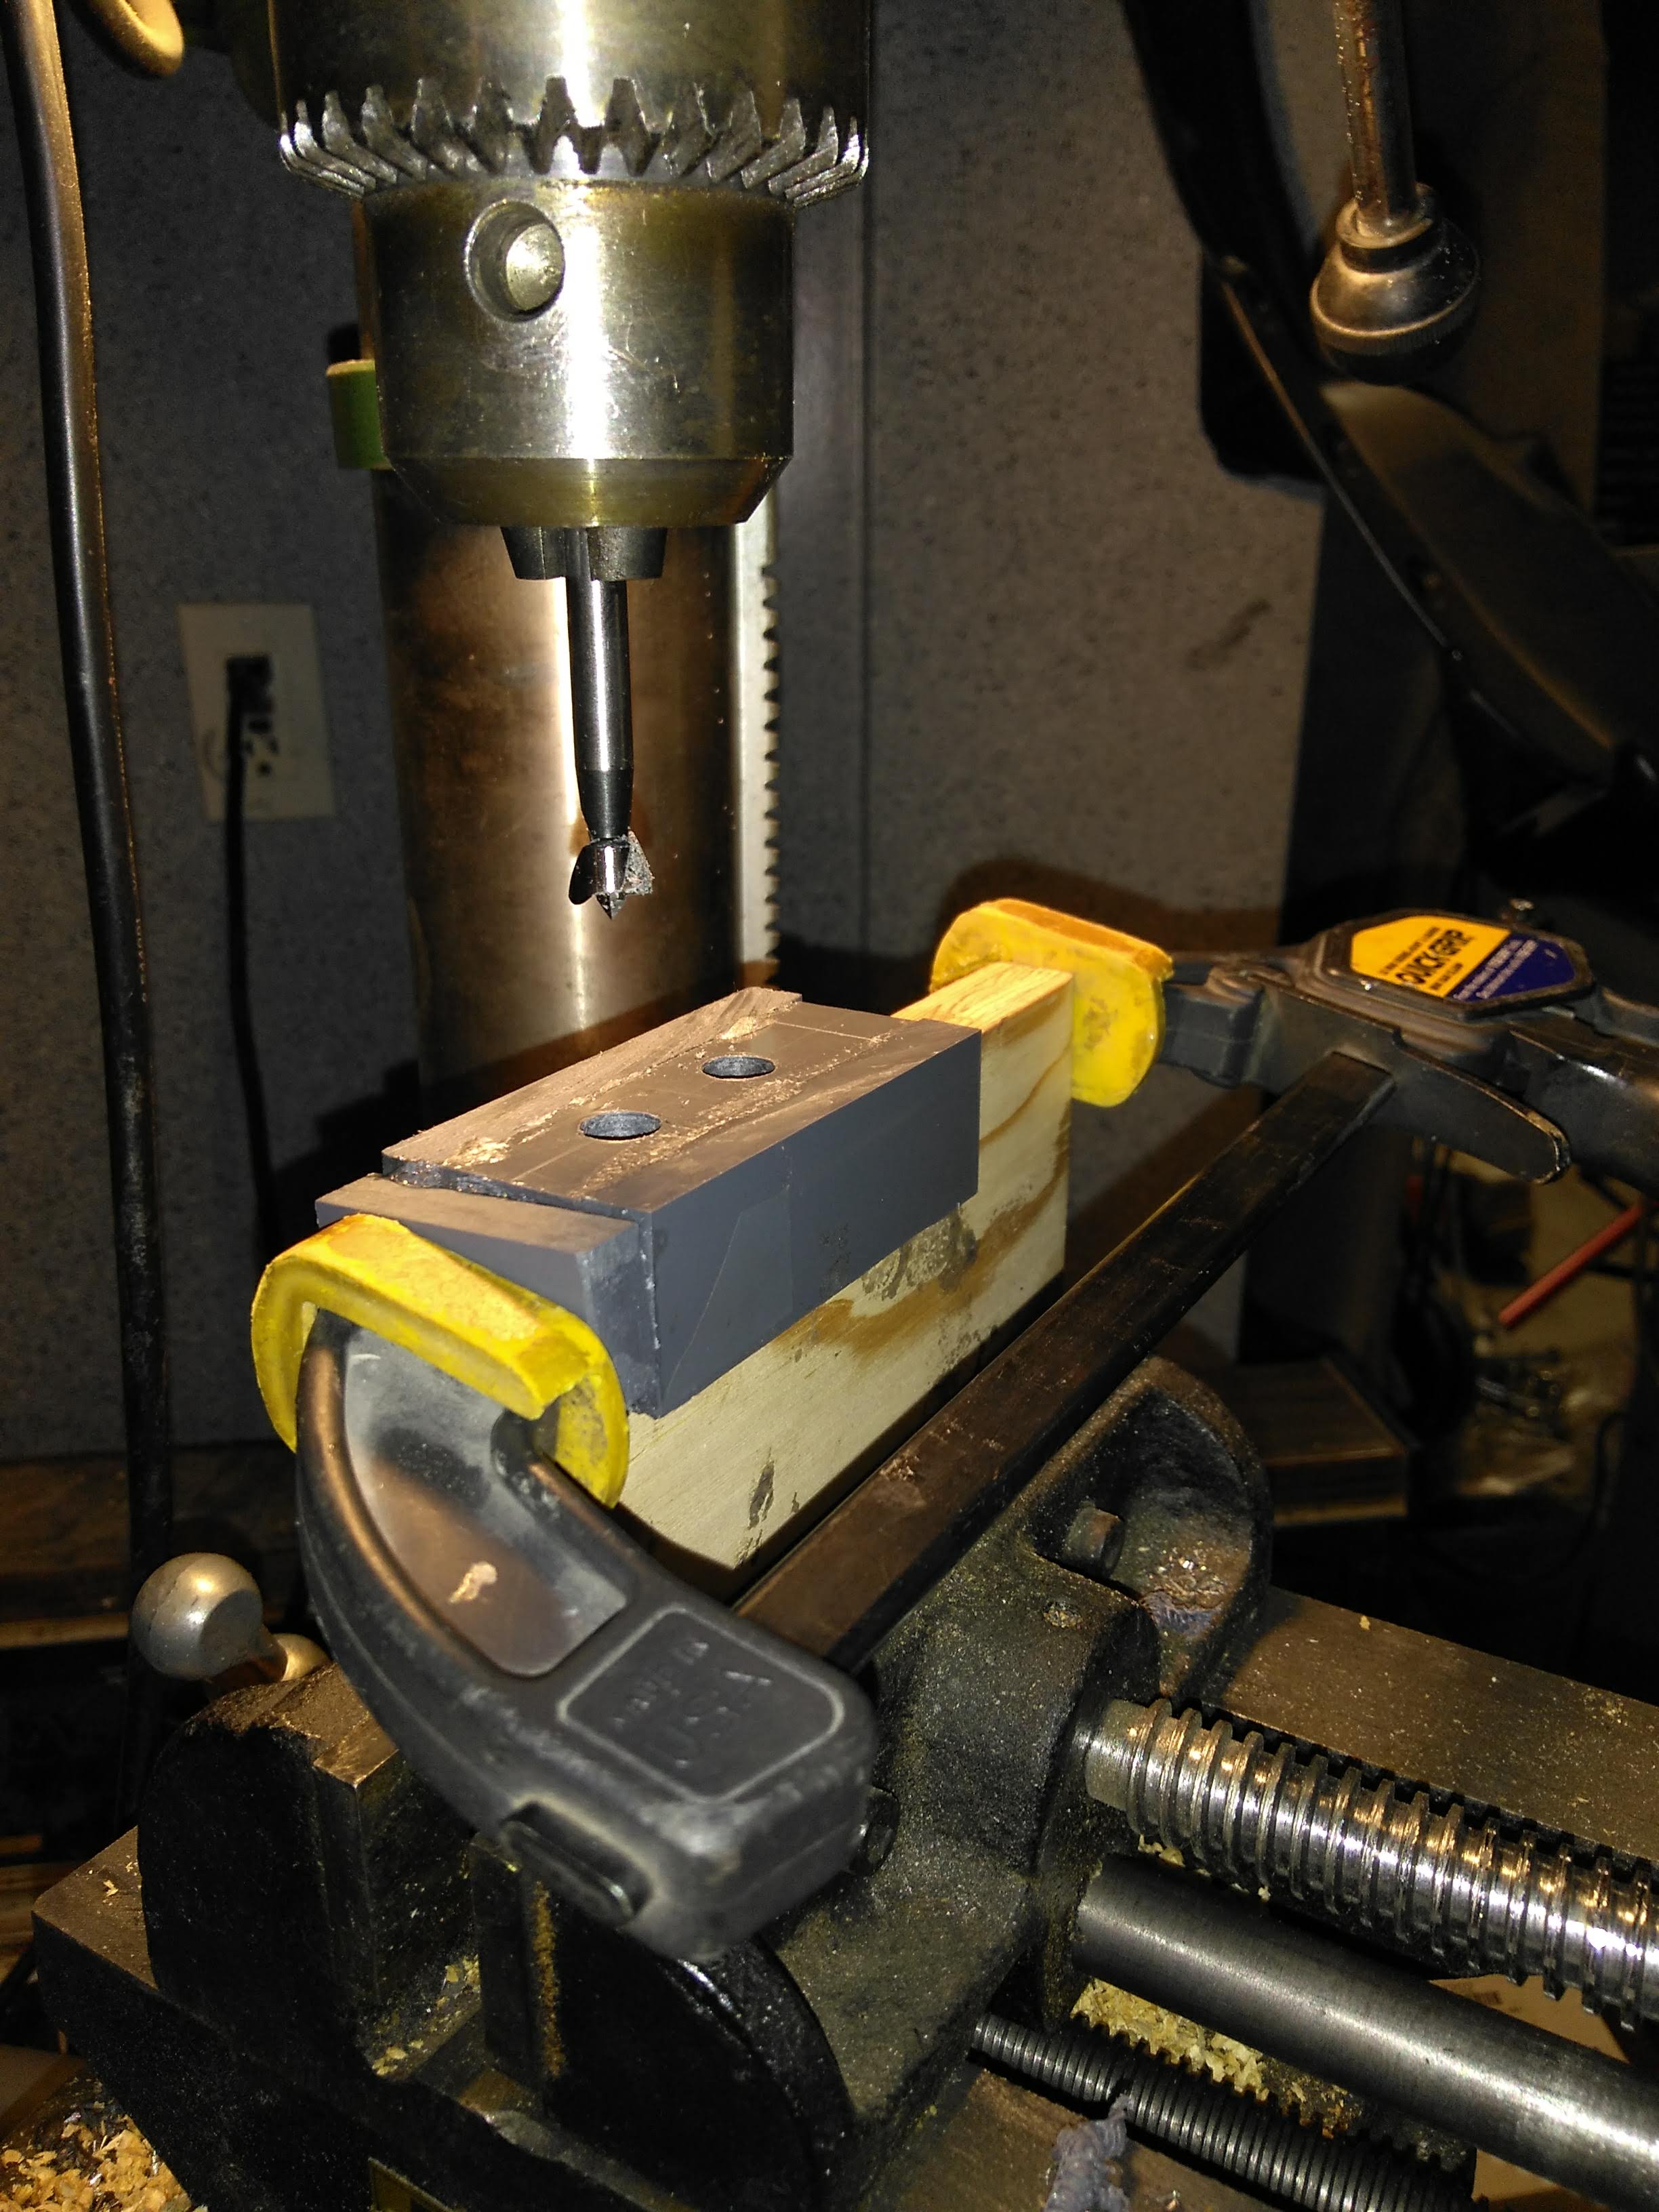
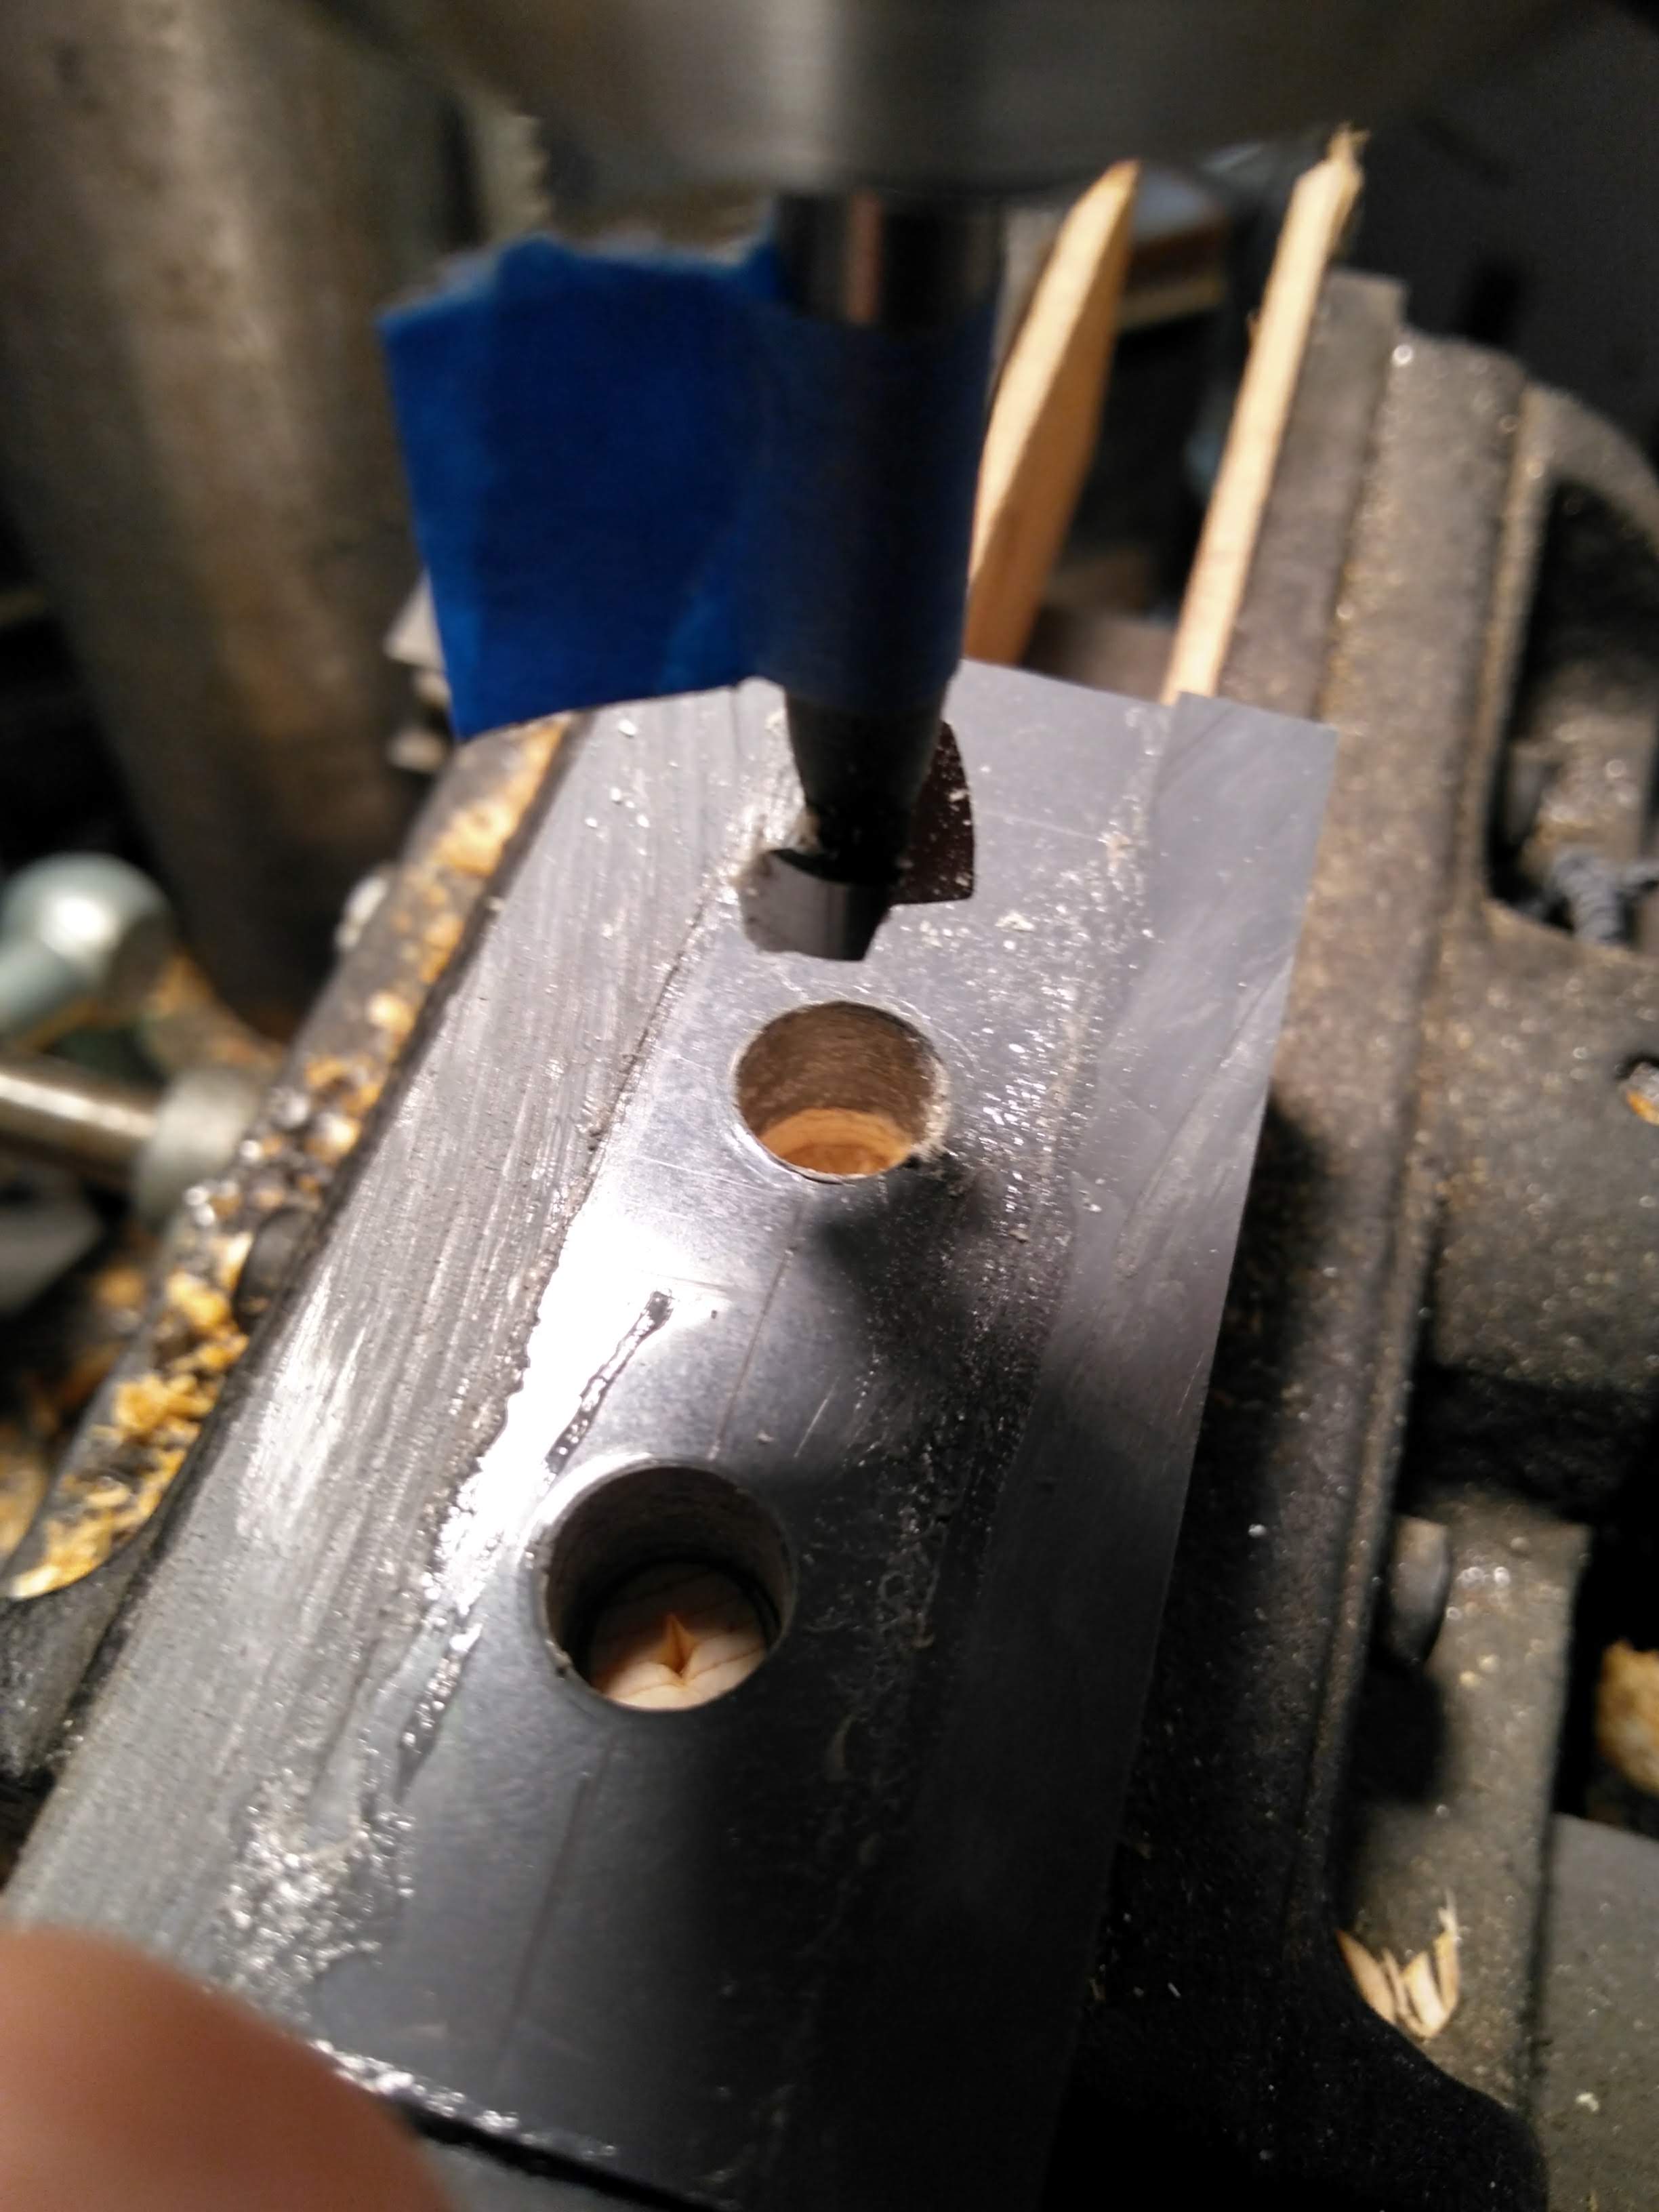
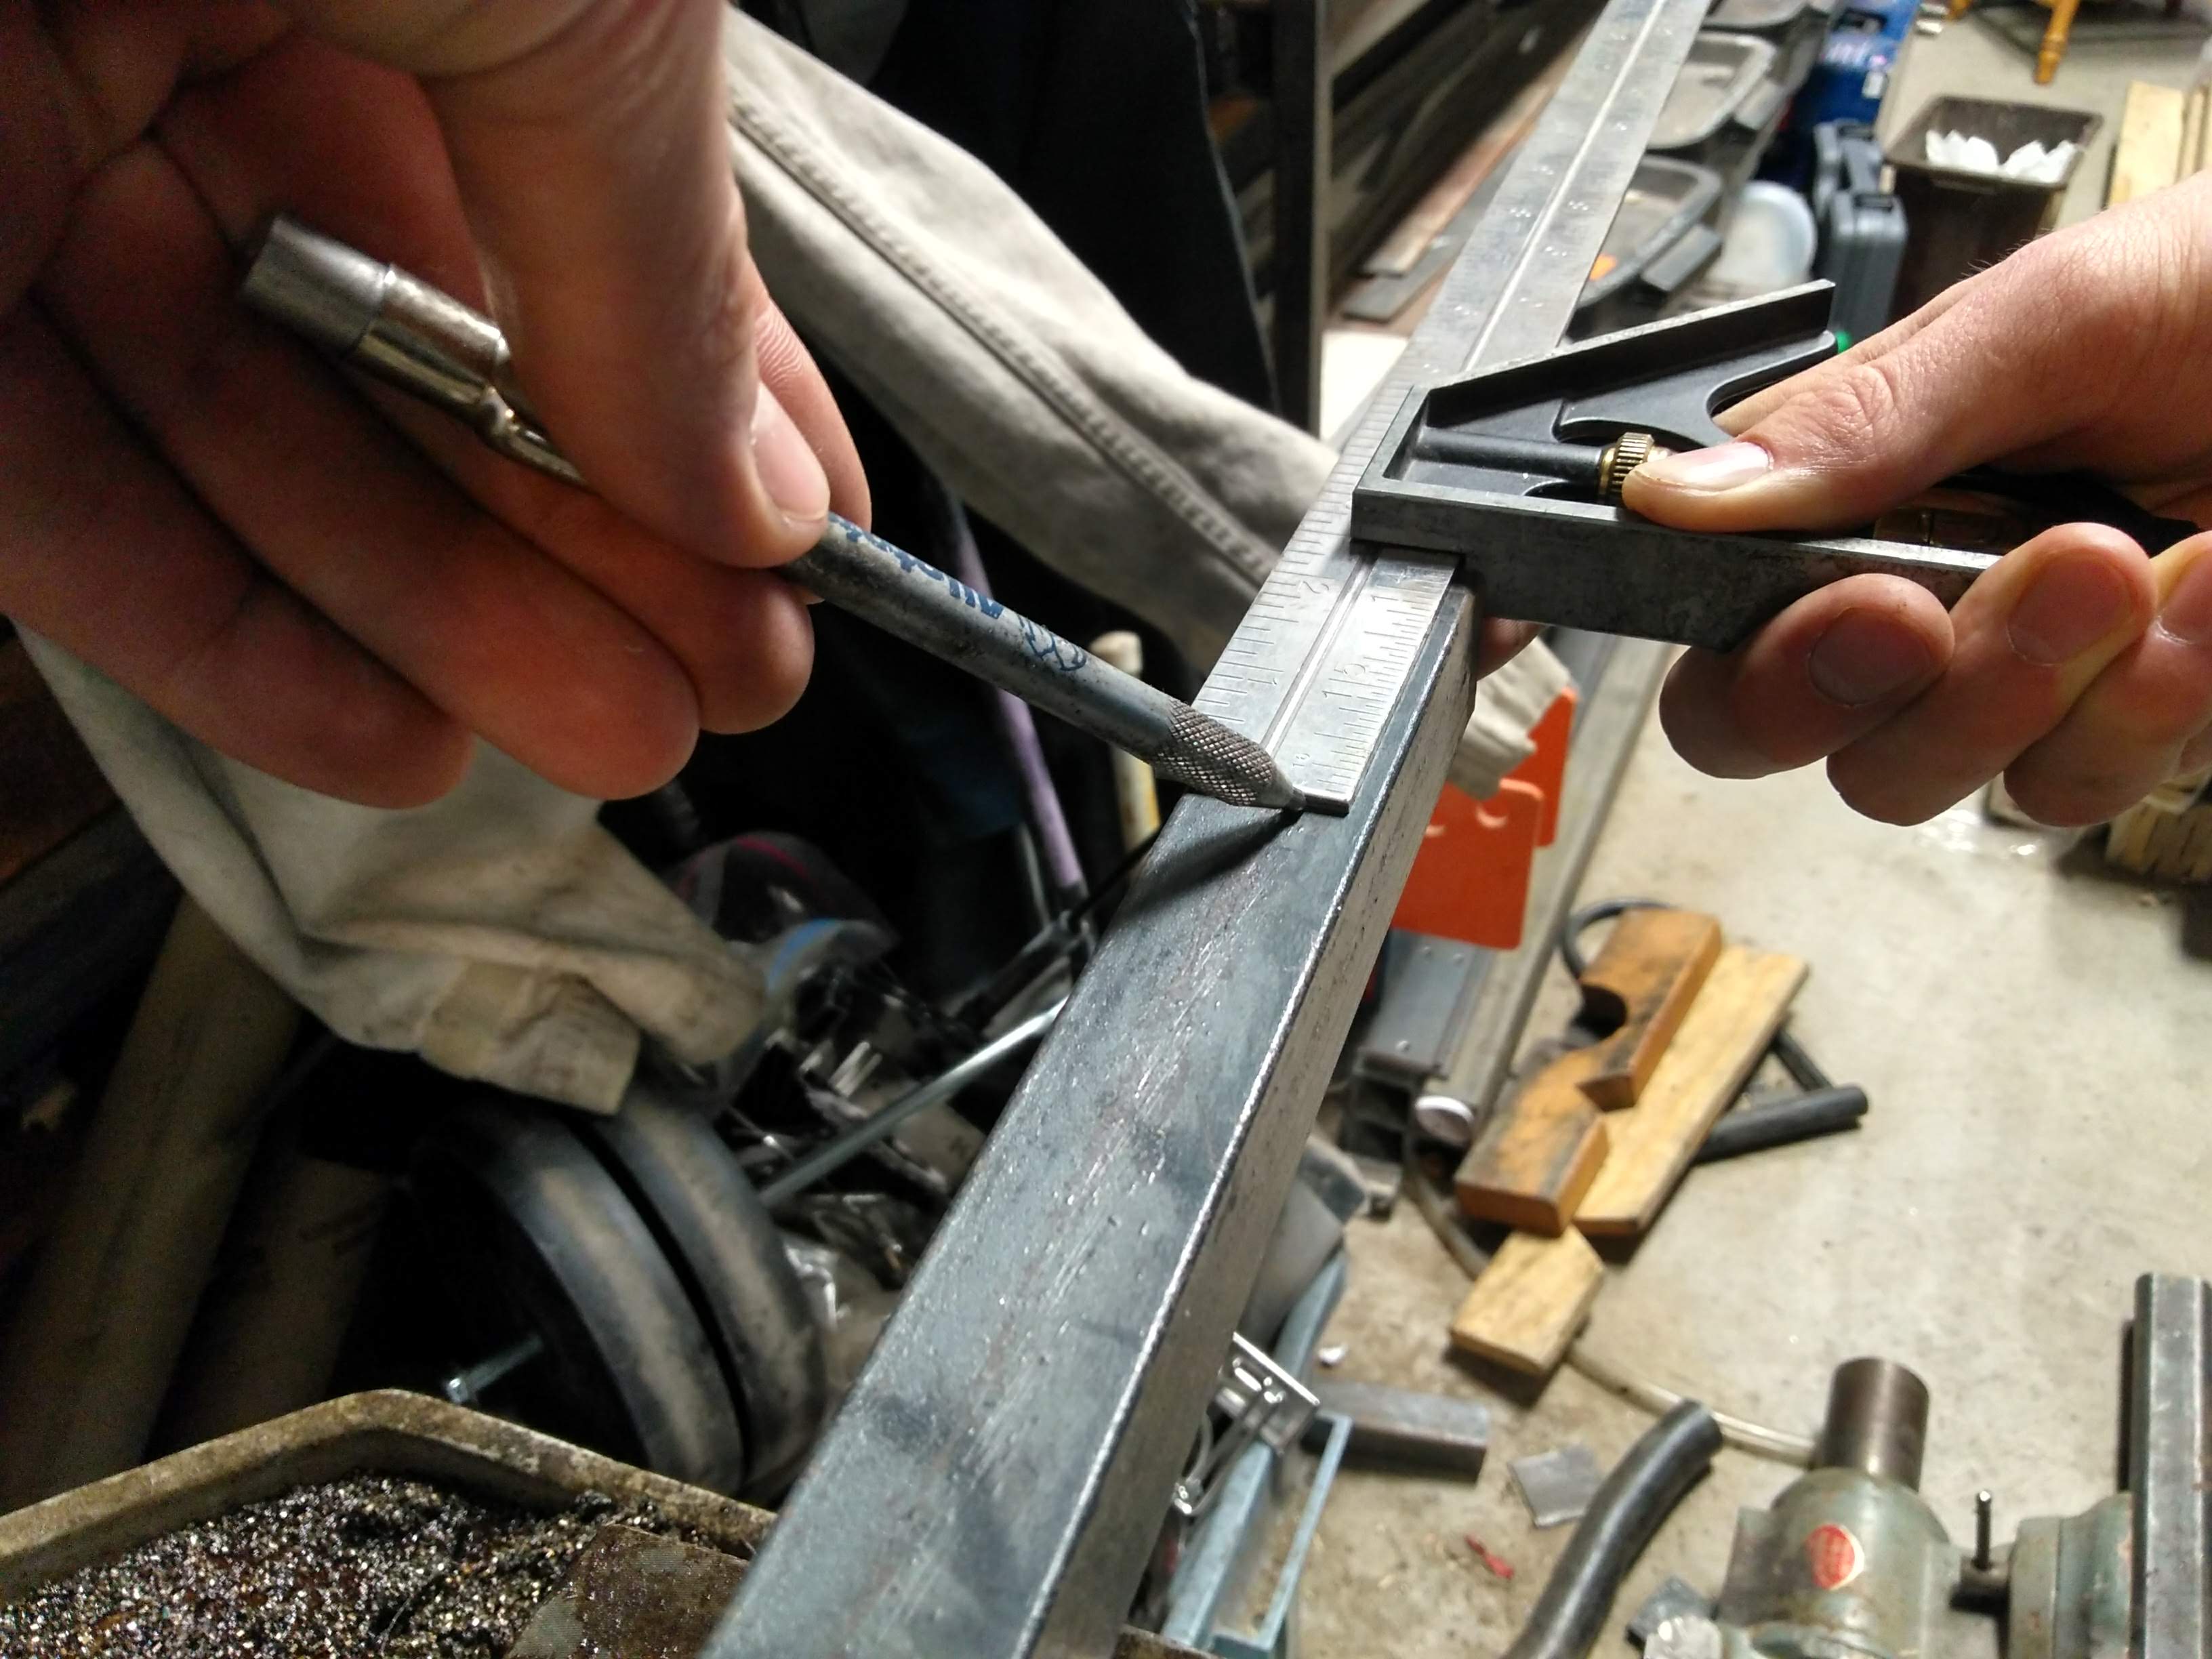
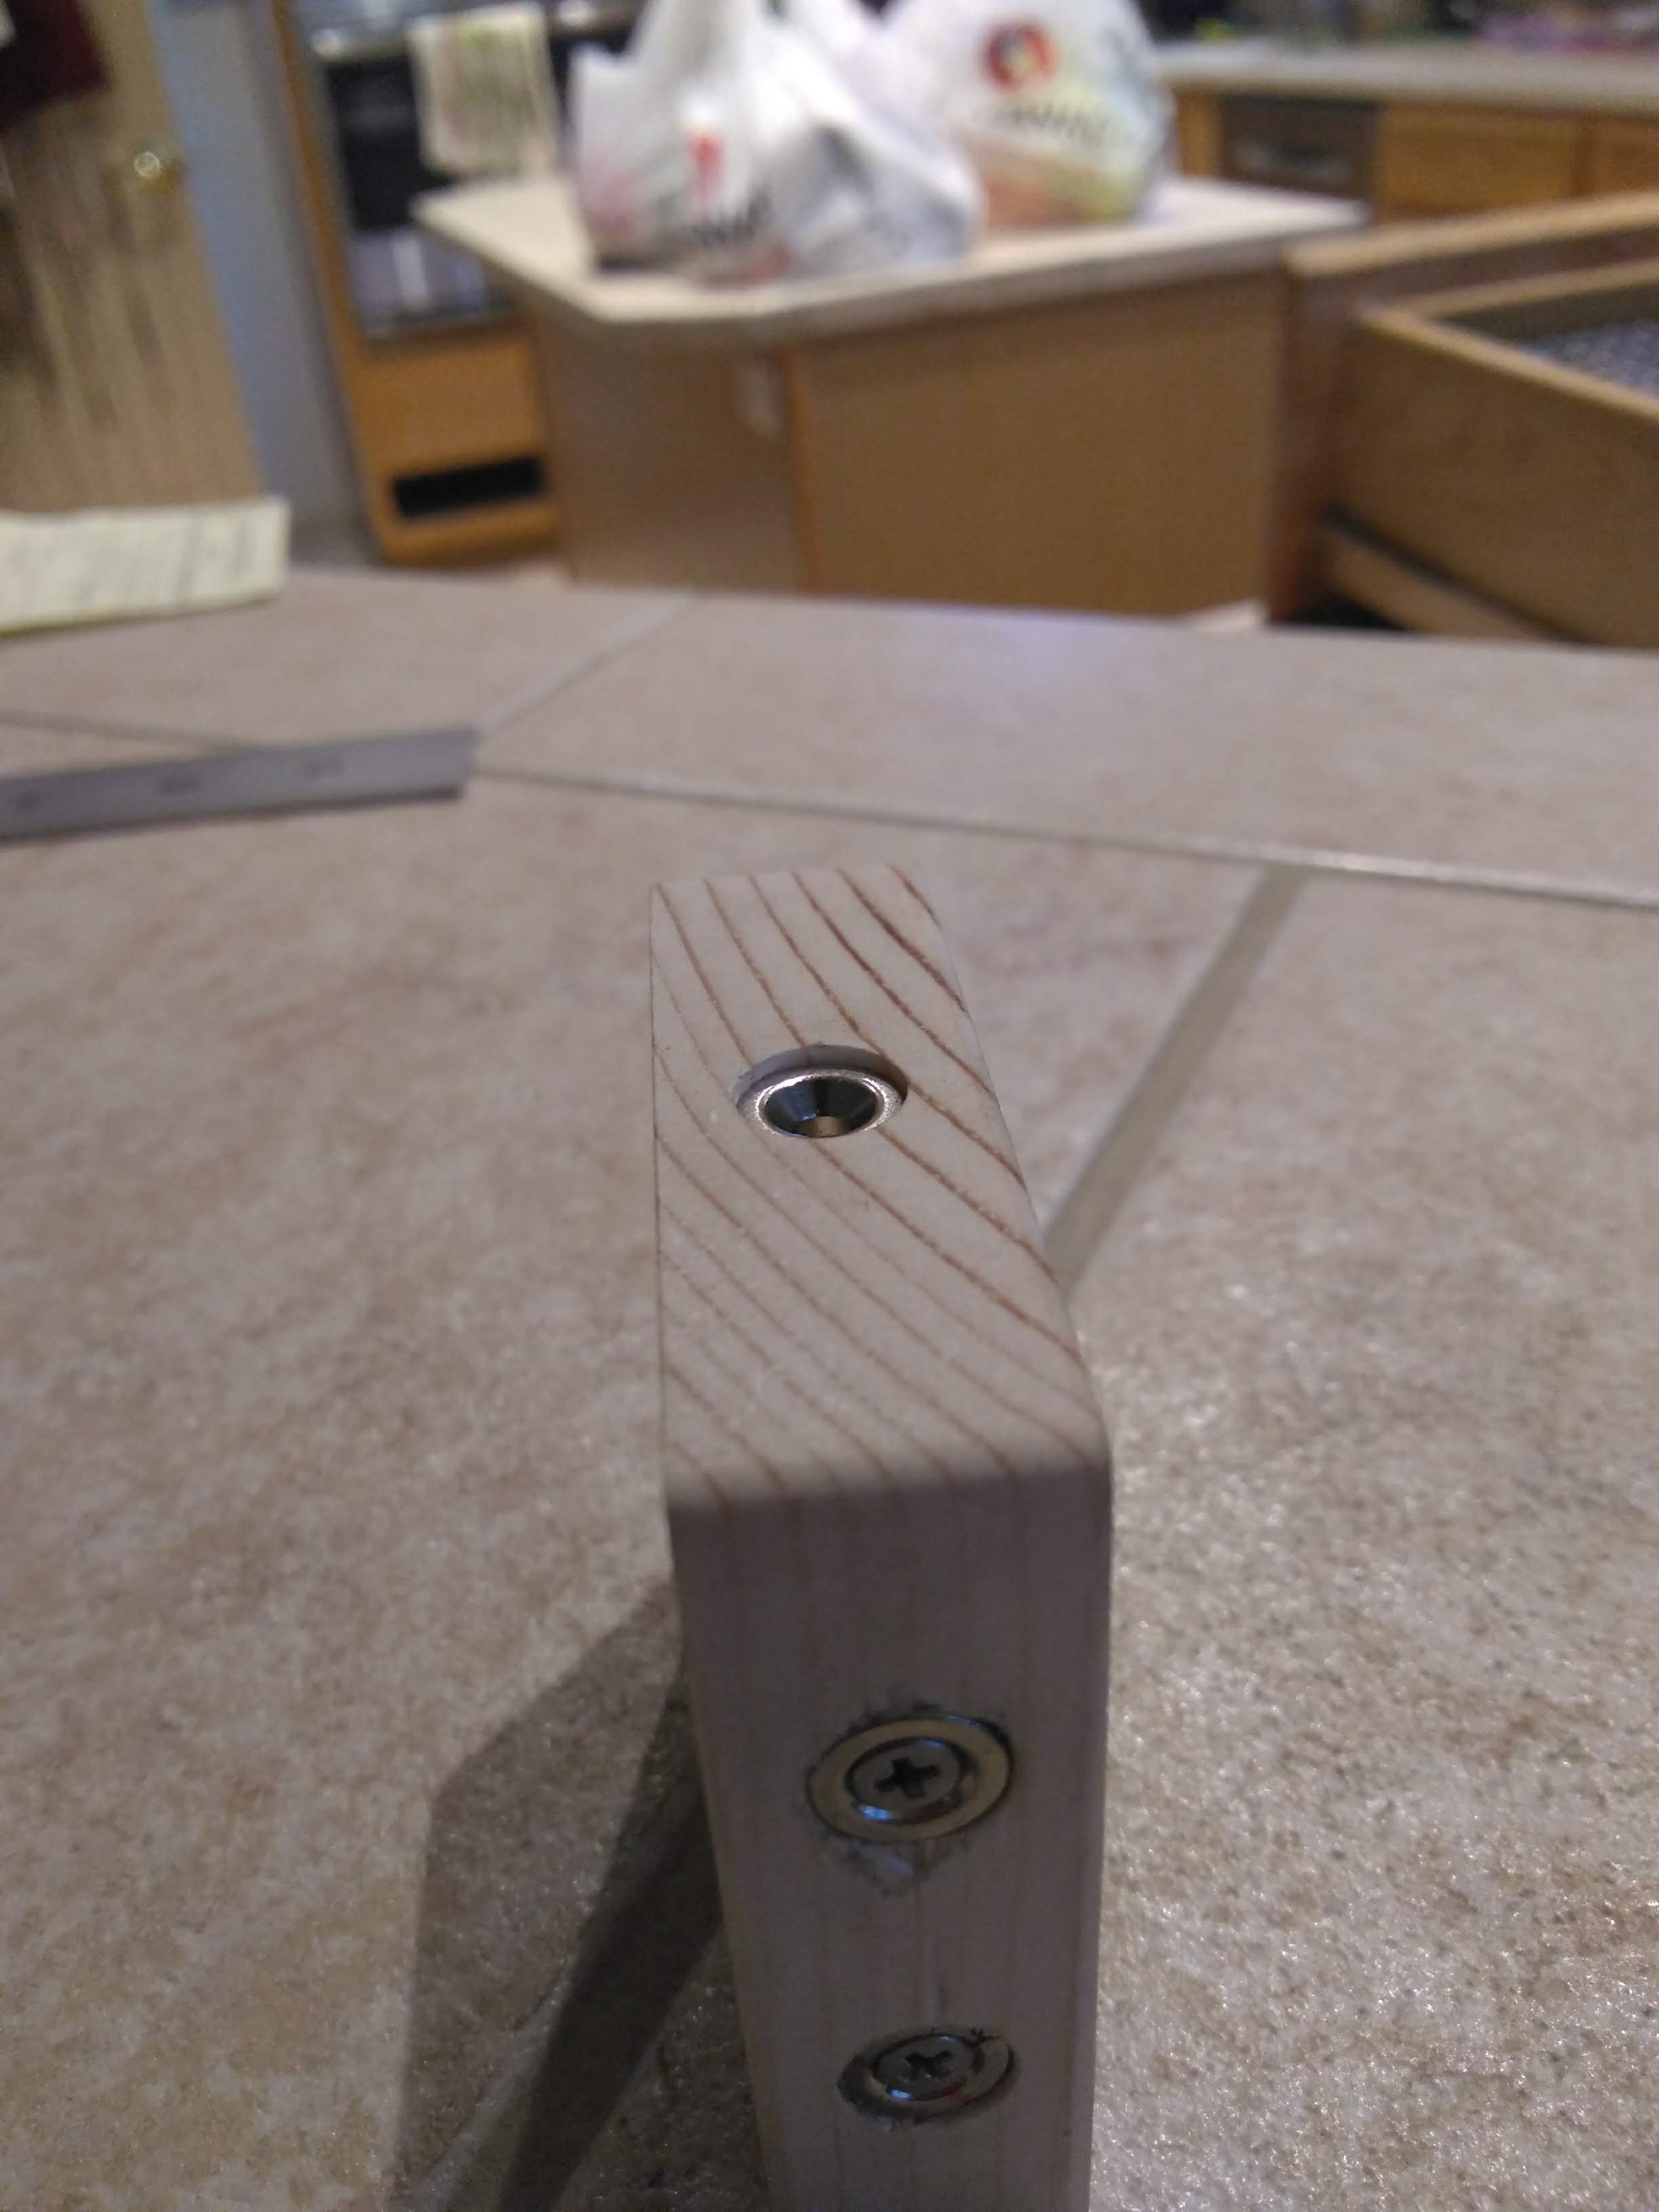
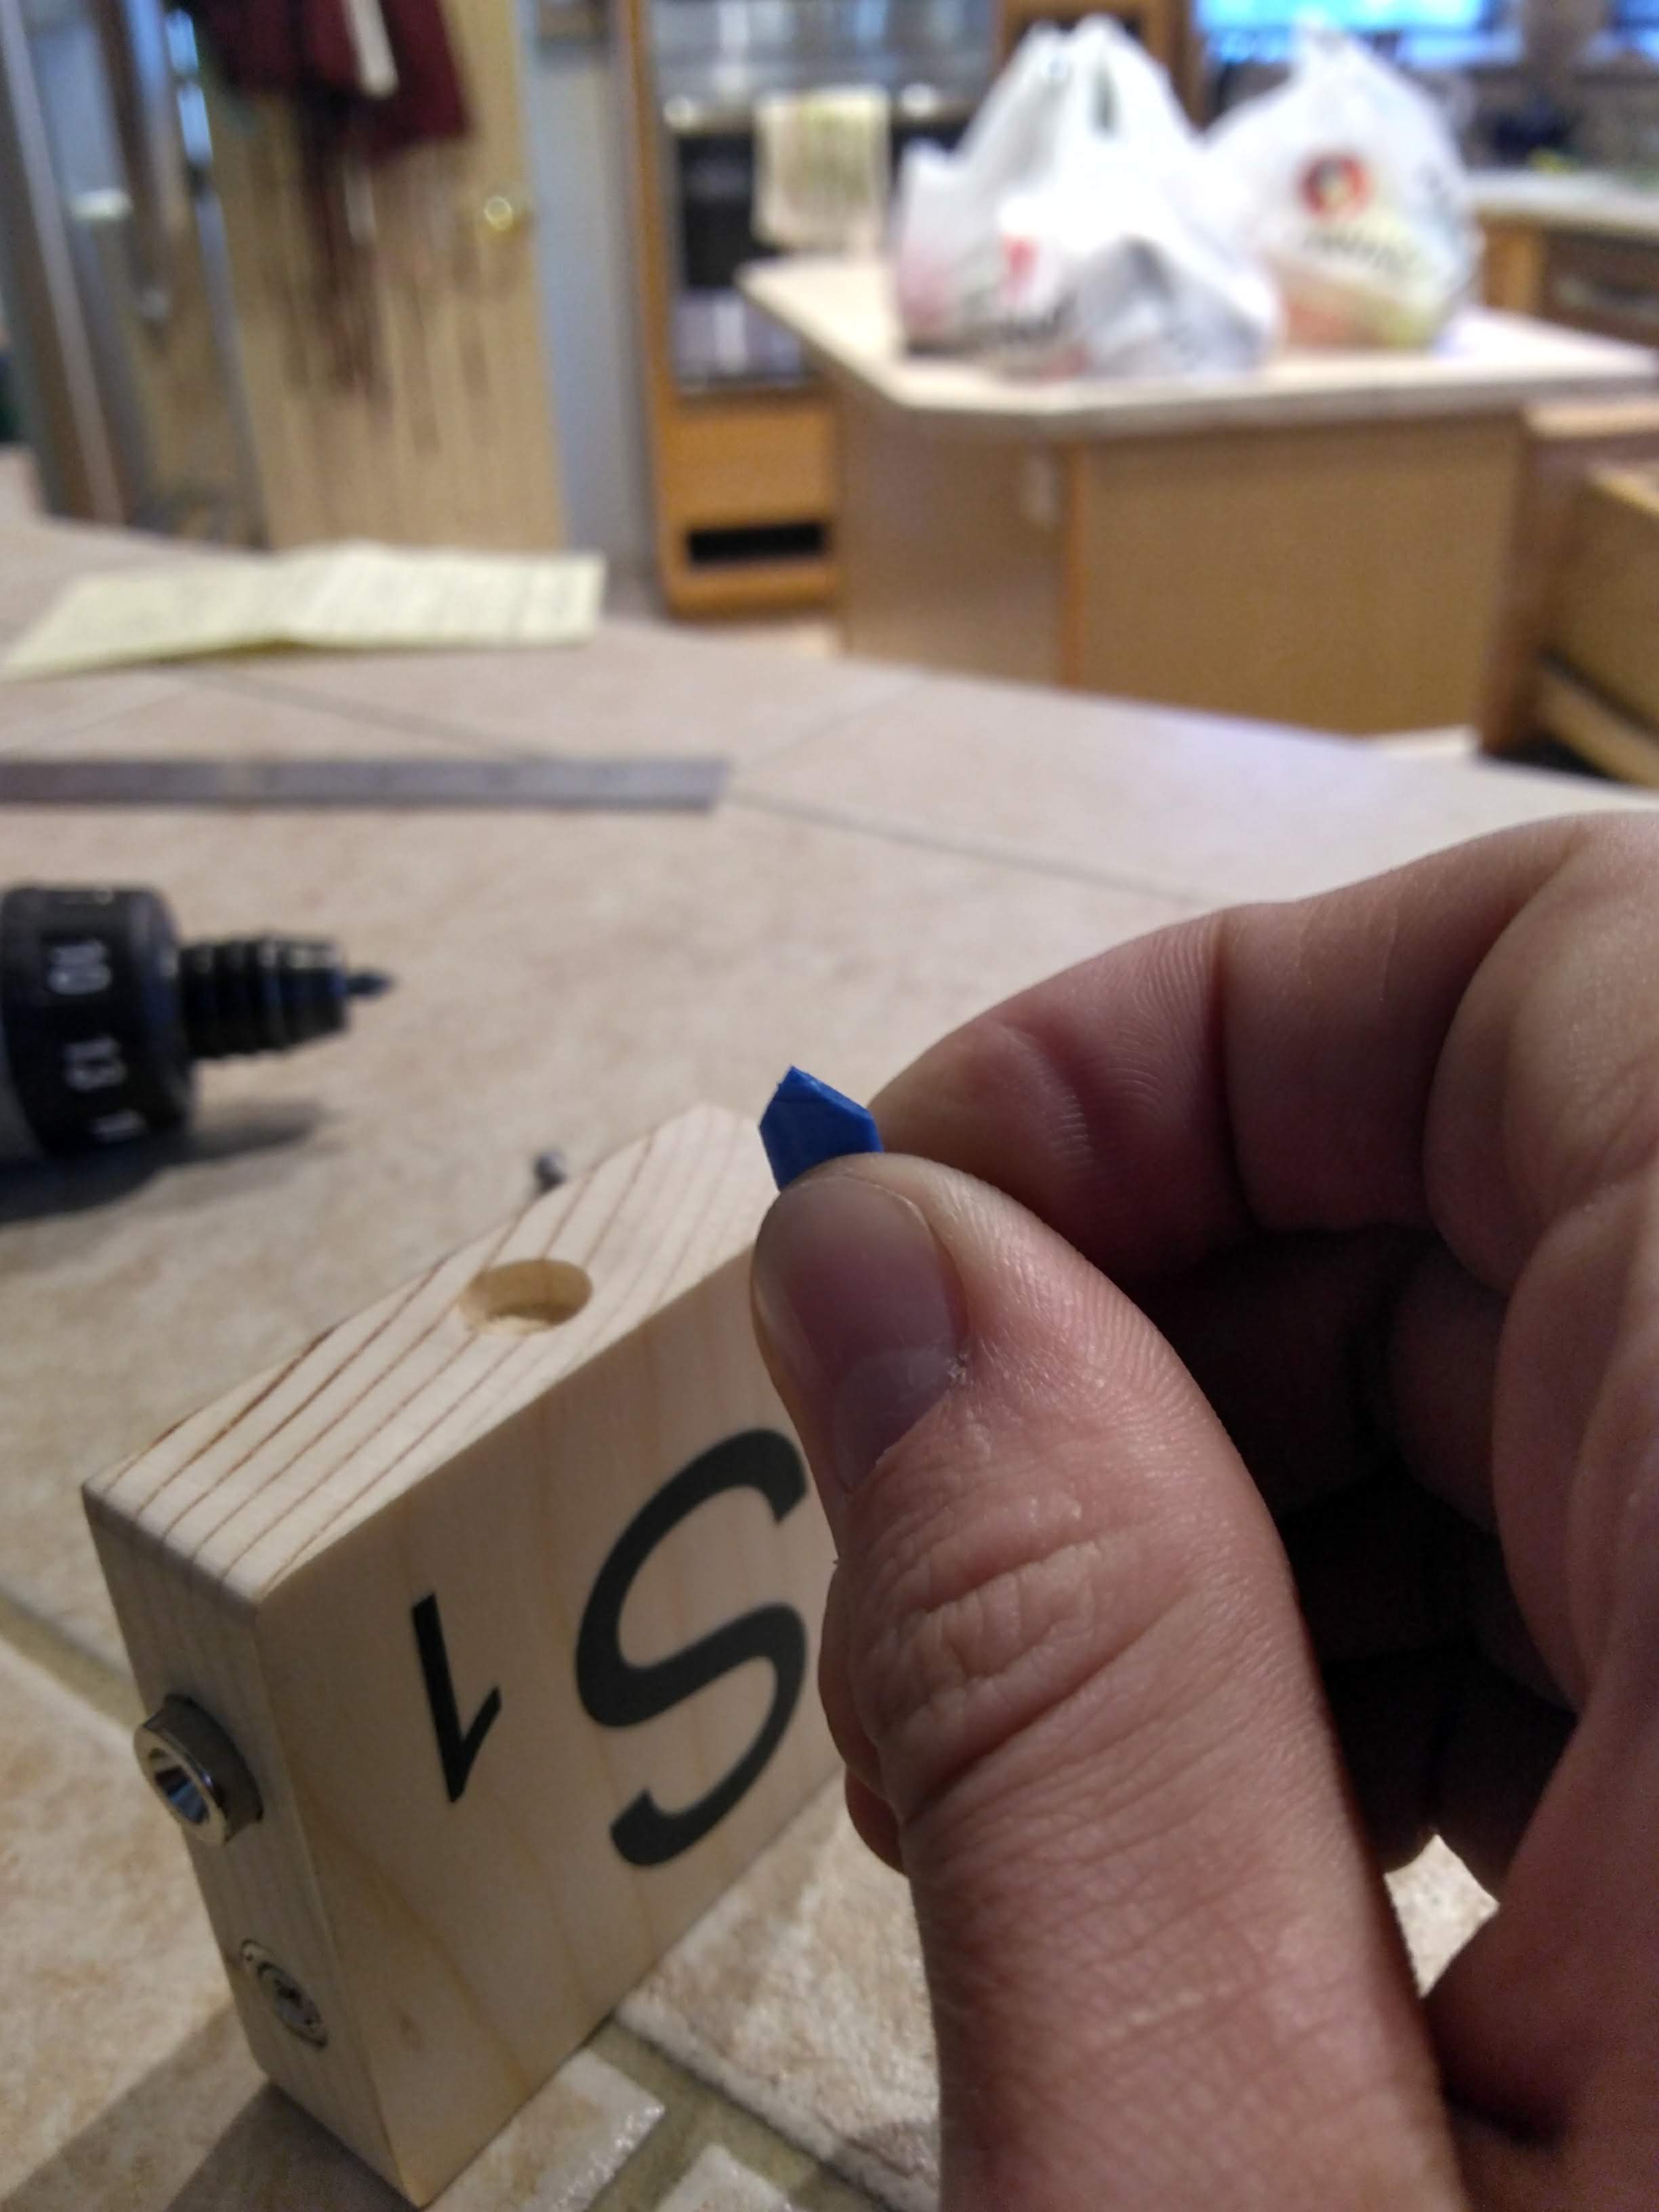
Next, I had to make sure that the magnets were positioned consistently on each block, but in way that wouldn't take forever - I had over a hundred magnets to bore holes for. Making the same measurement with a ruler over a hundred times would be both inconsistent and tedious. Instead, I made a template with some PVC sheet I had lying around. The template slides on top of each block. There are two holes drilled precisely where I need to drill each block, centered along the short edge.
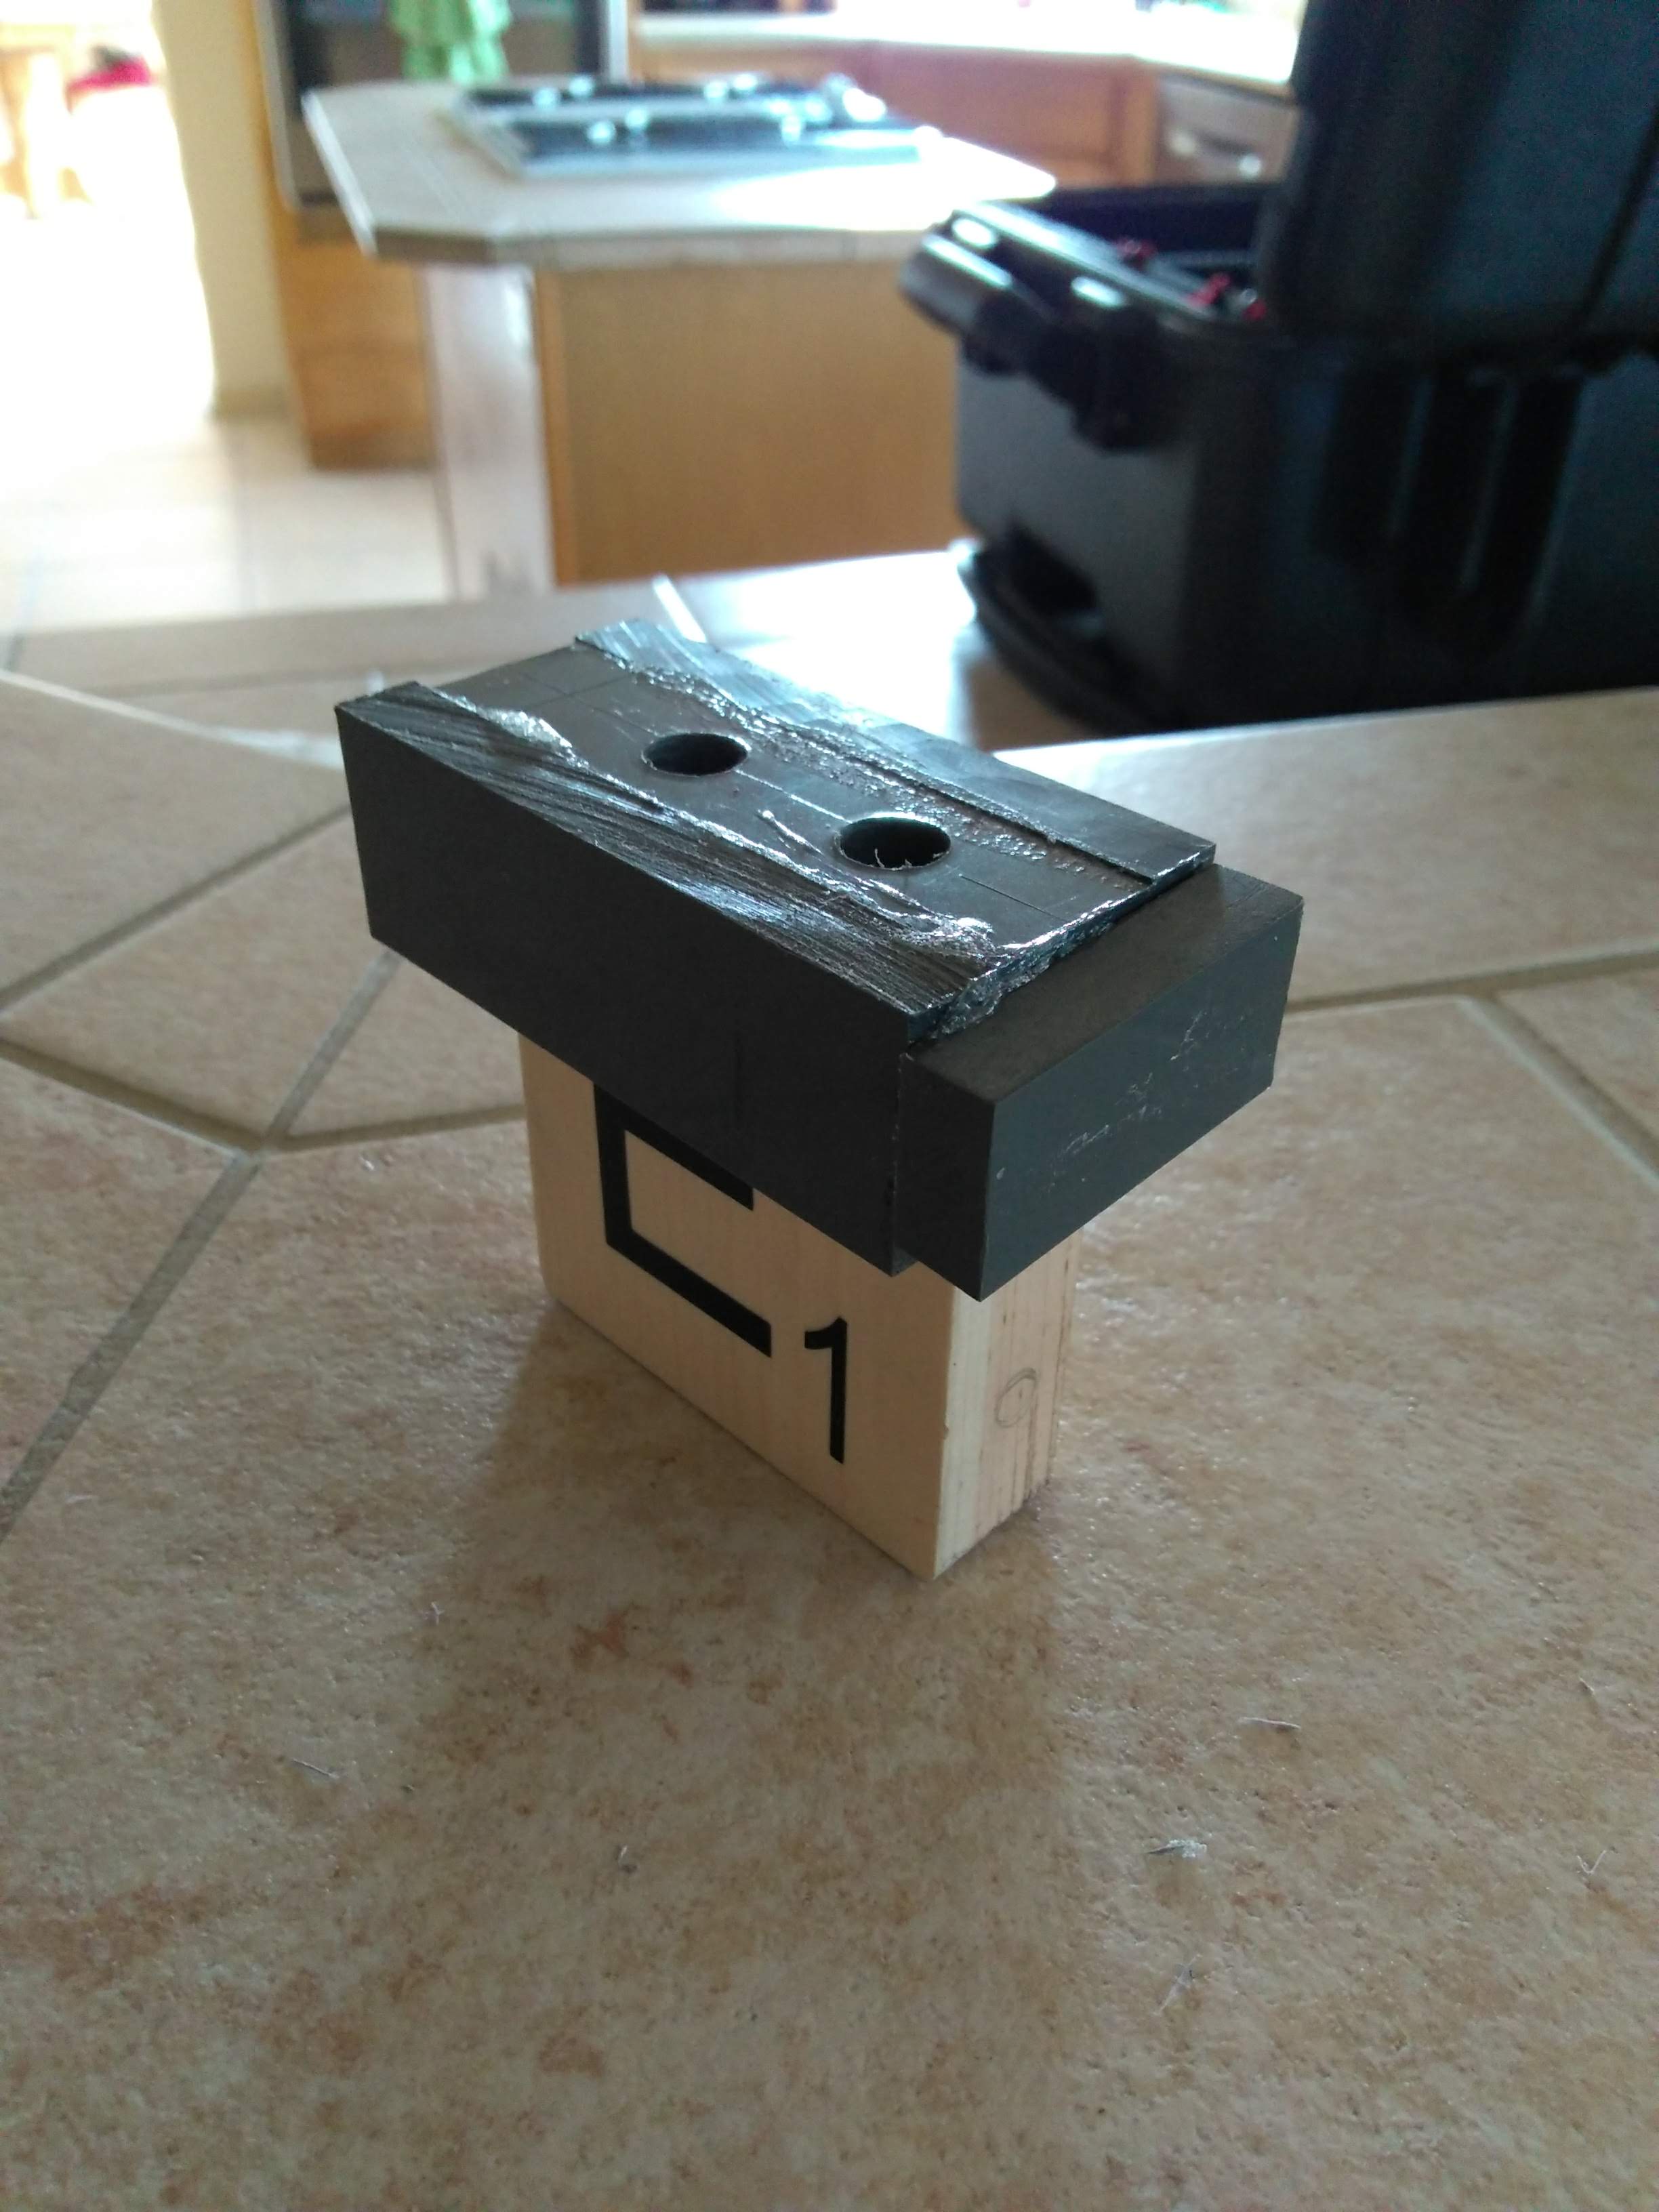
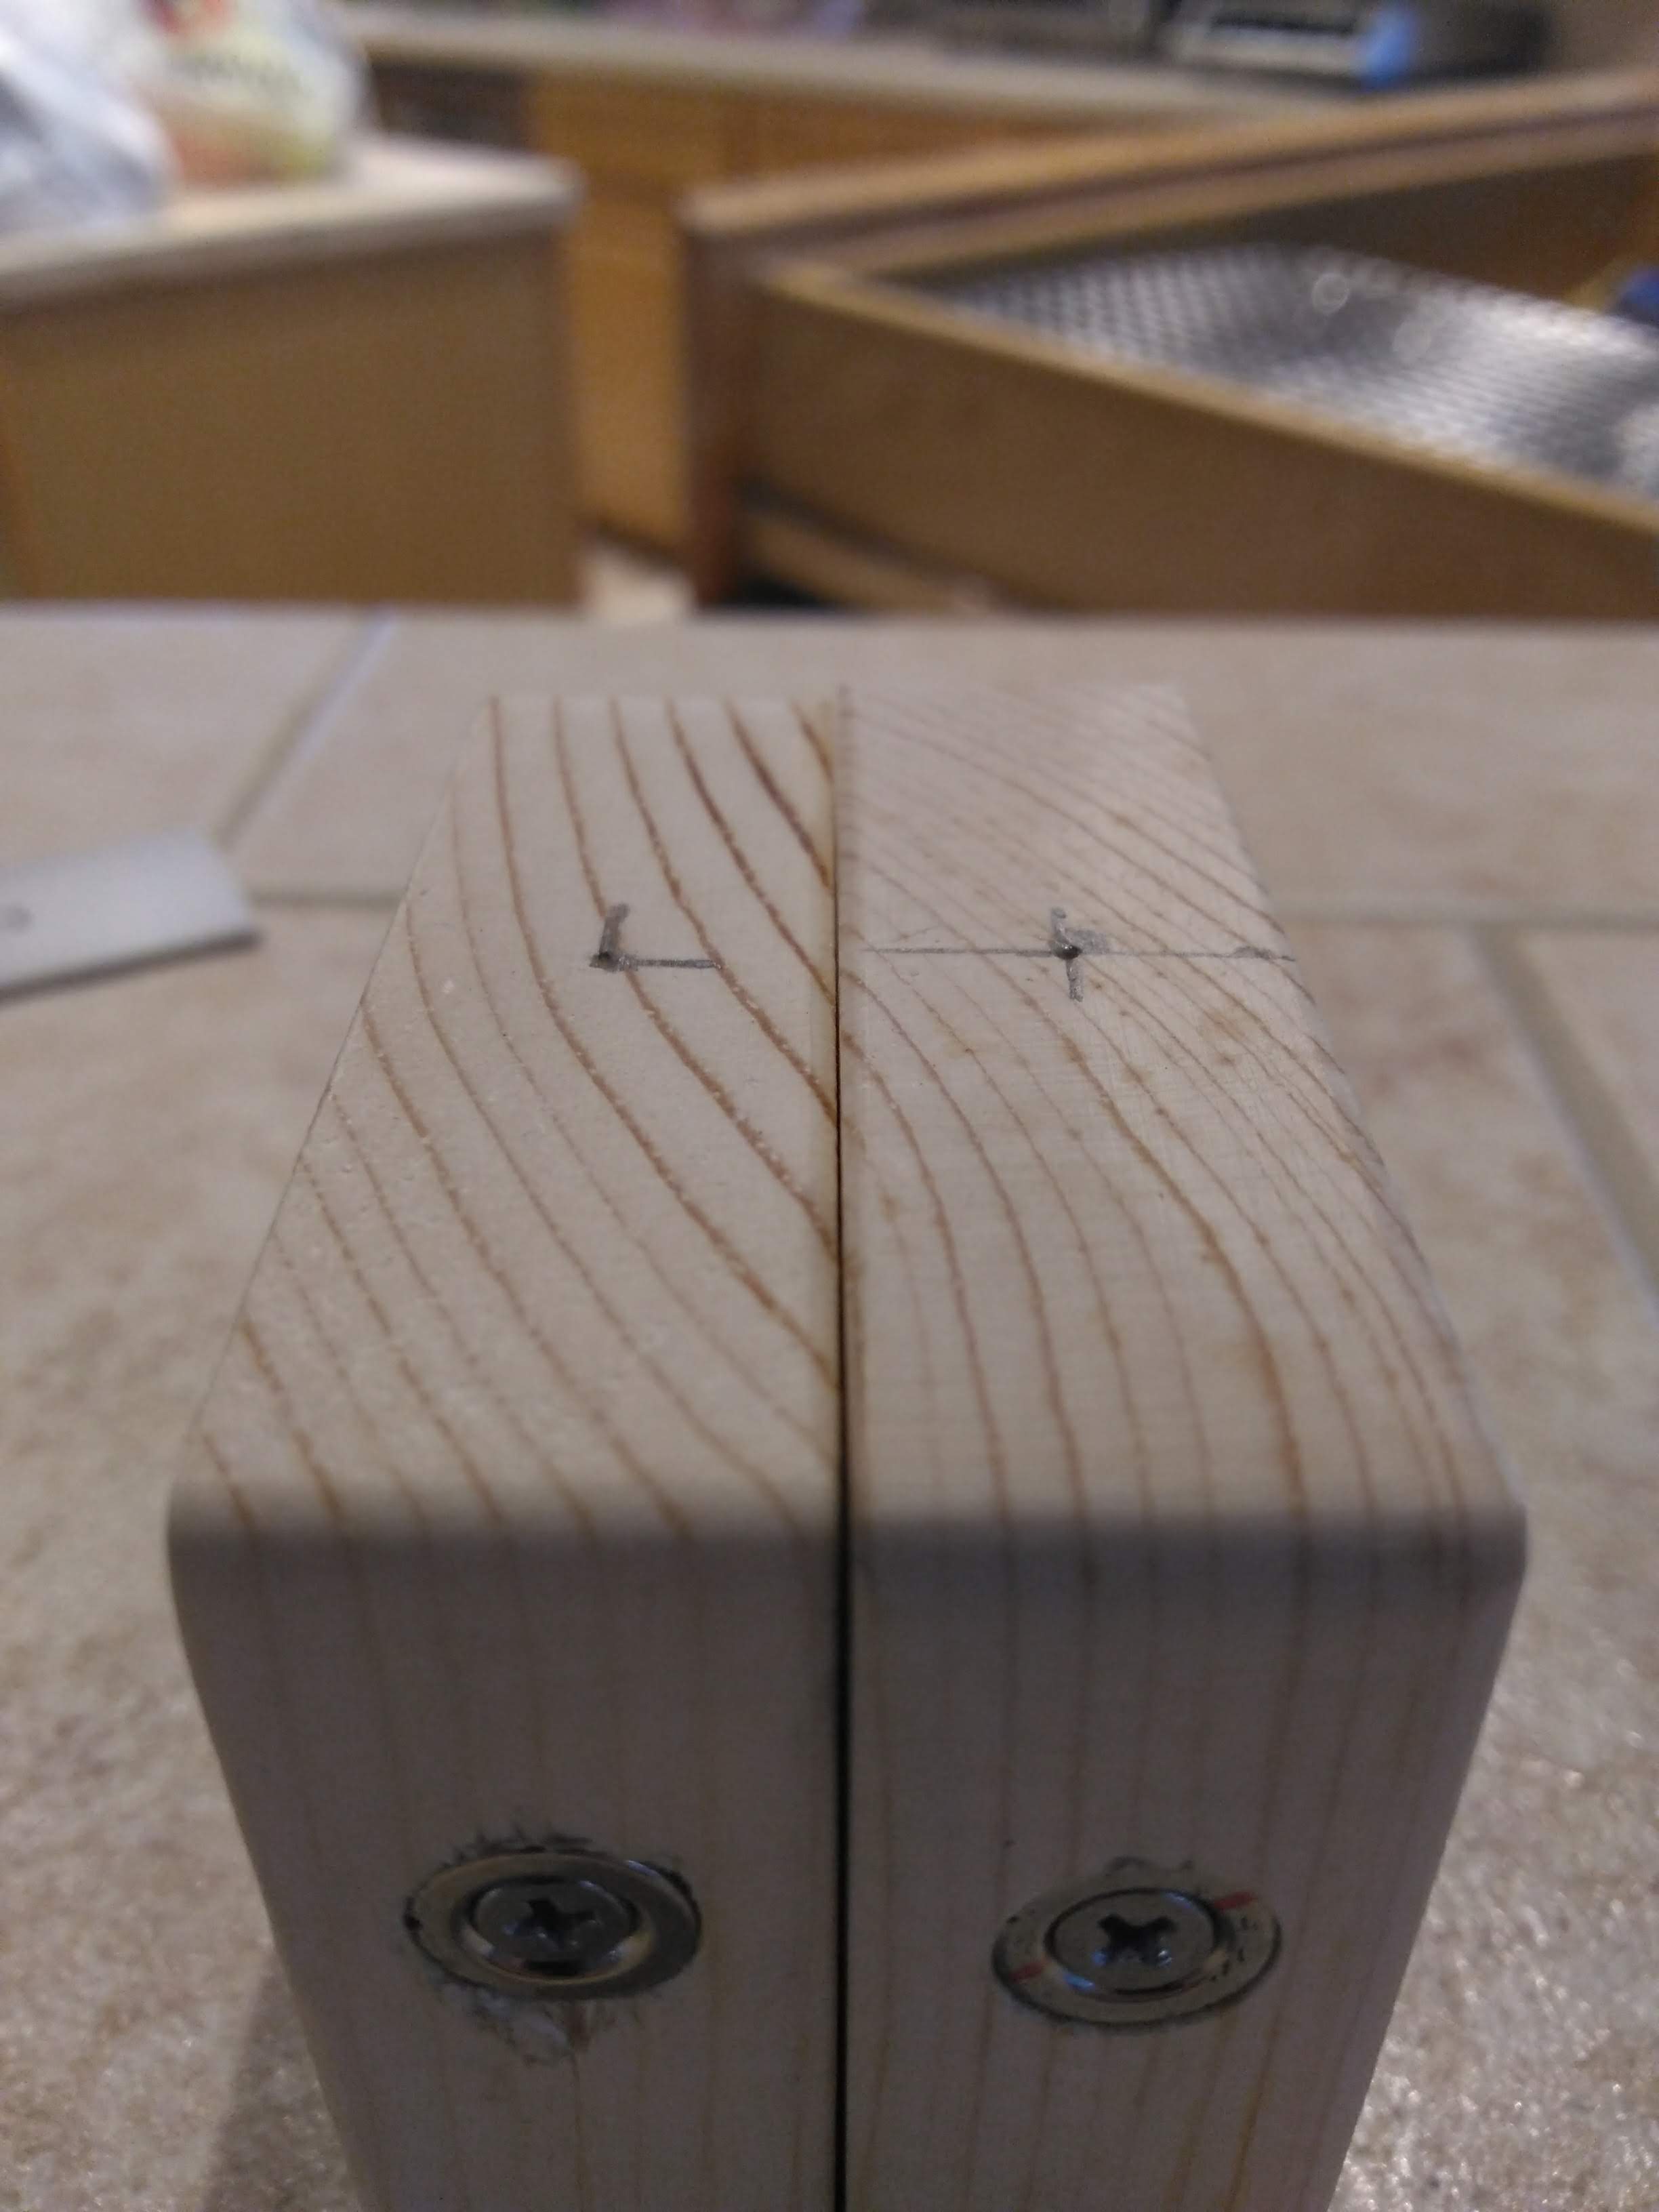
To make sure that this template was accurate, I used a pencil to mark where the drilled holes lined up on the block, then flipped the template around and marked it again. As you can see, the holes don't line up - this means that the holes are not centered properly on the template.
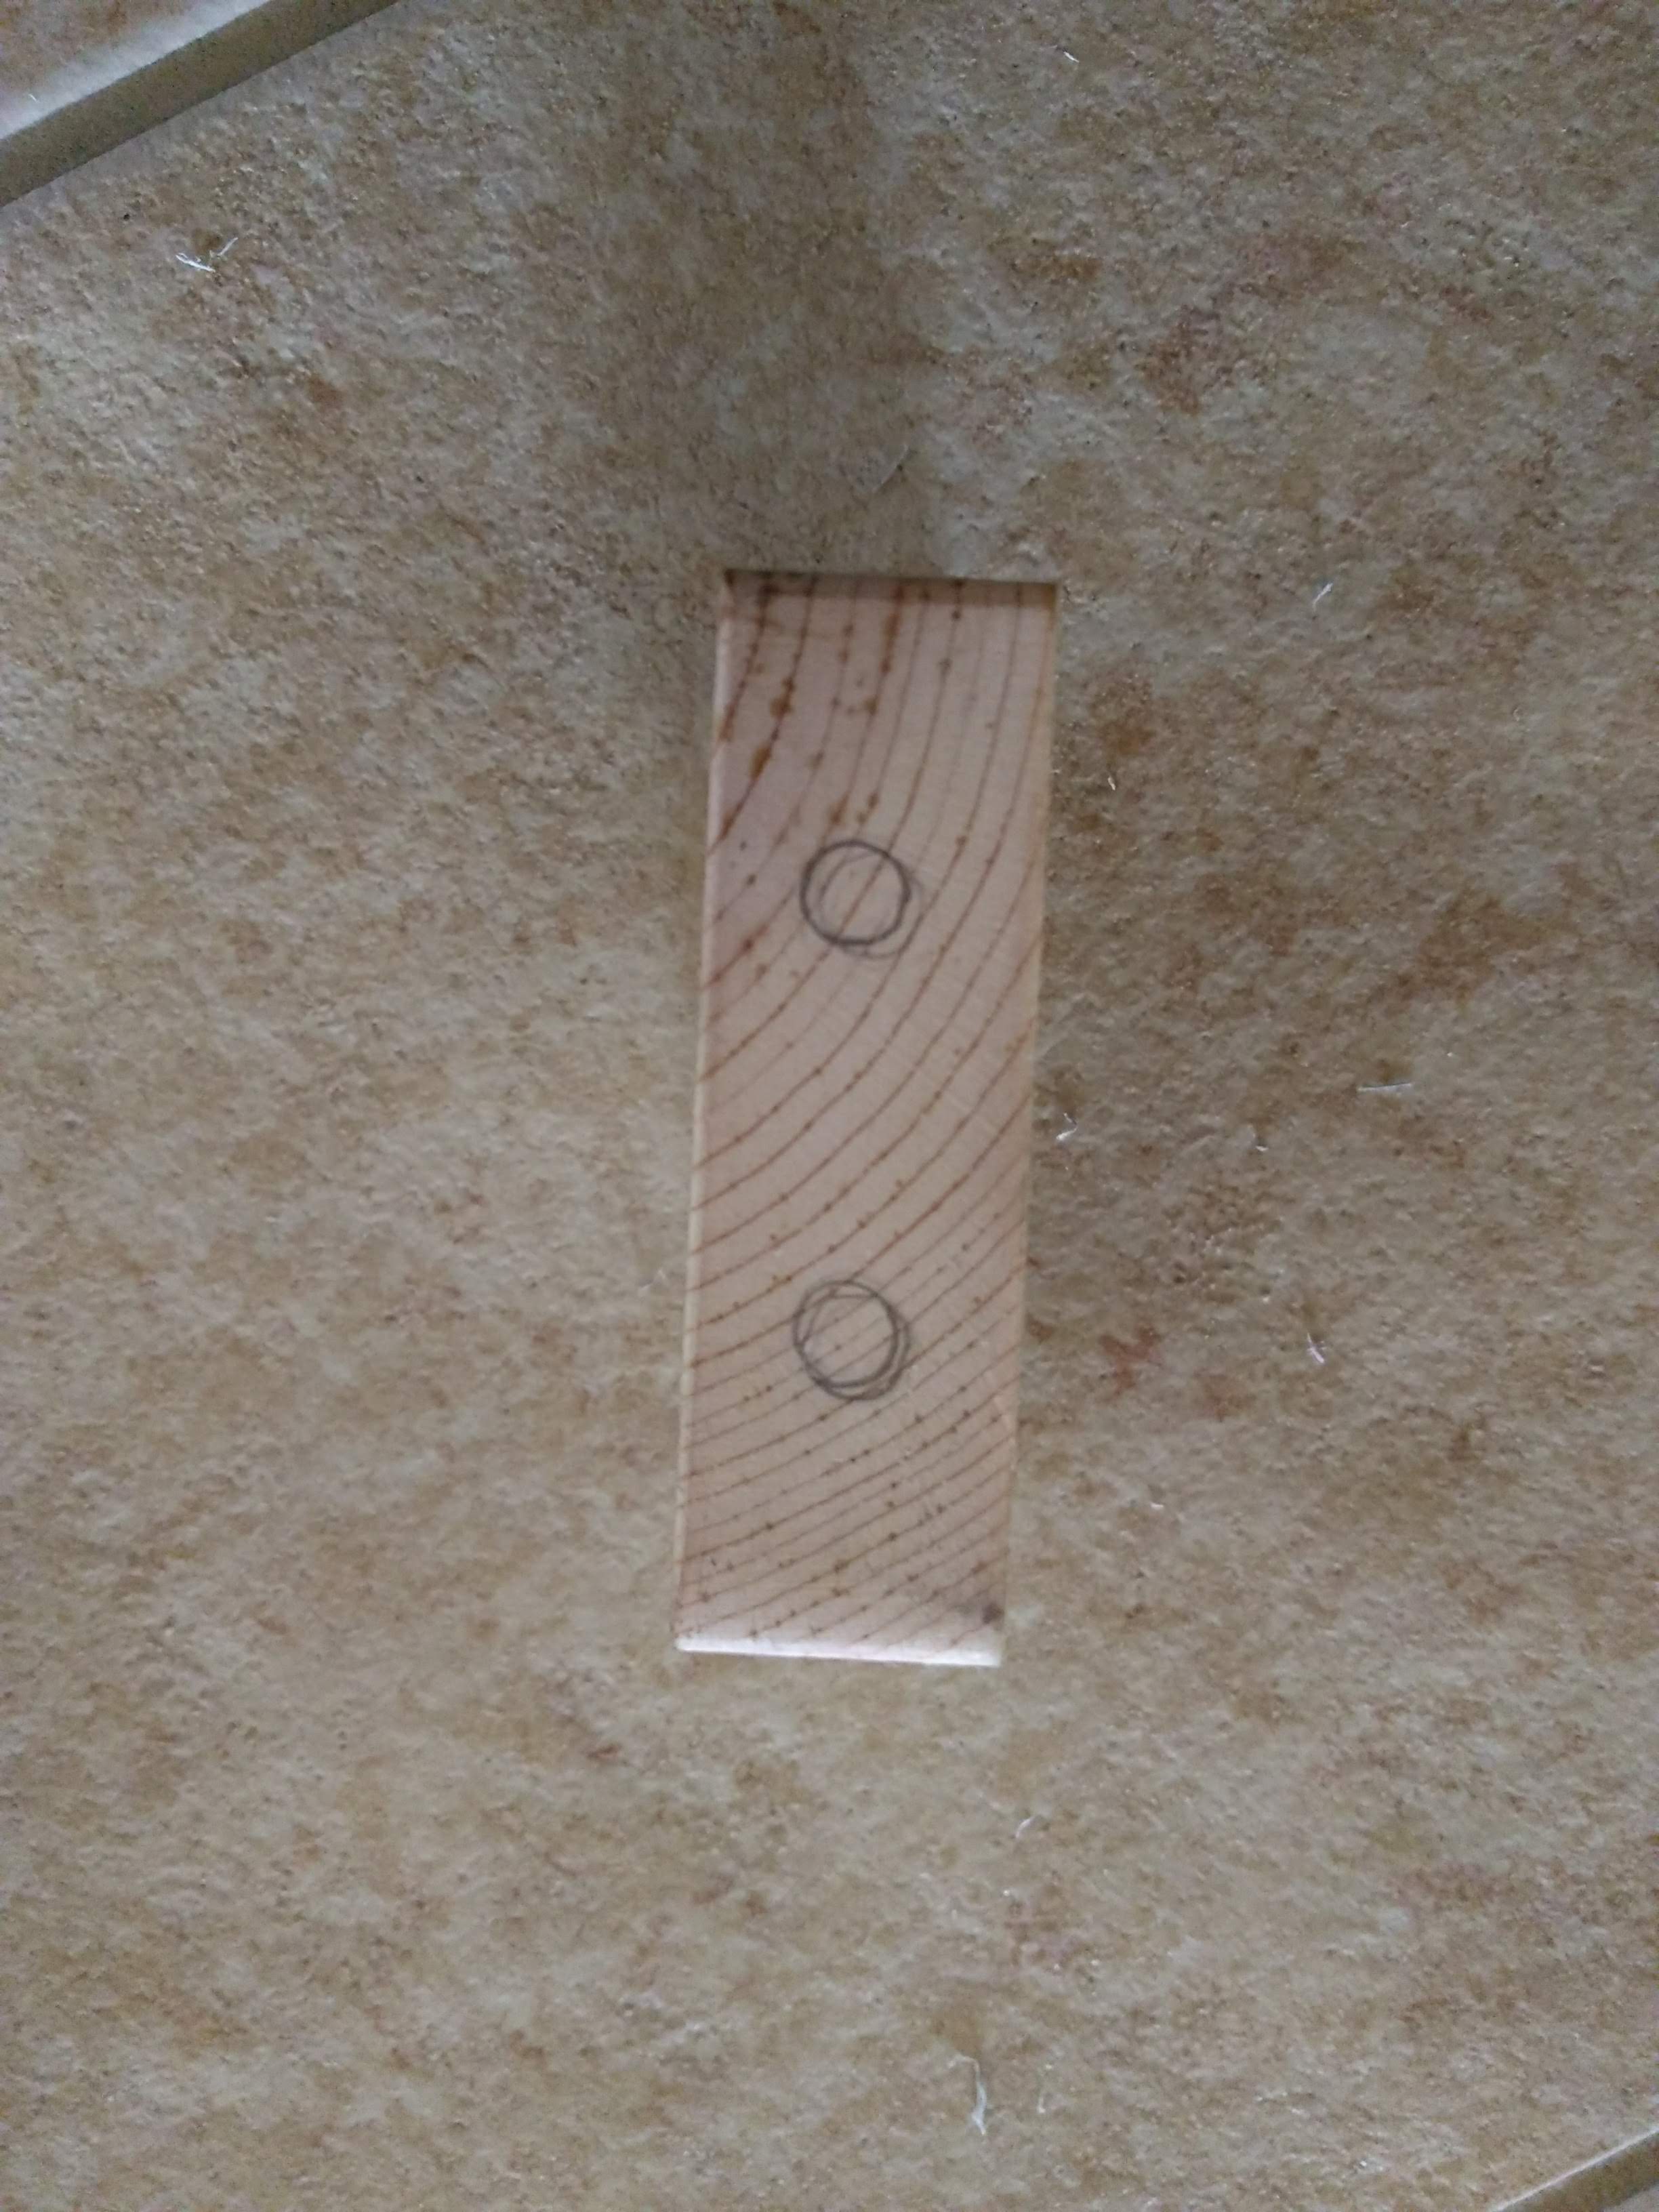
While this shouldn't be a huge issue, I'd like for these innaccuracies to be fixed now so future errors won't be amplified. The template was a little loose around the tiles, so I shimmed it with some aluminum tape to center it properly. Now, the template was quite accurate and ready for use.
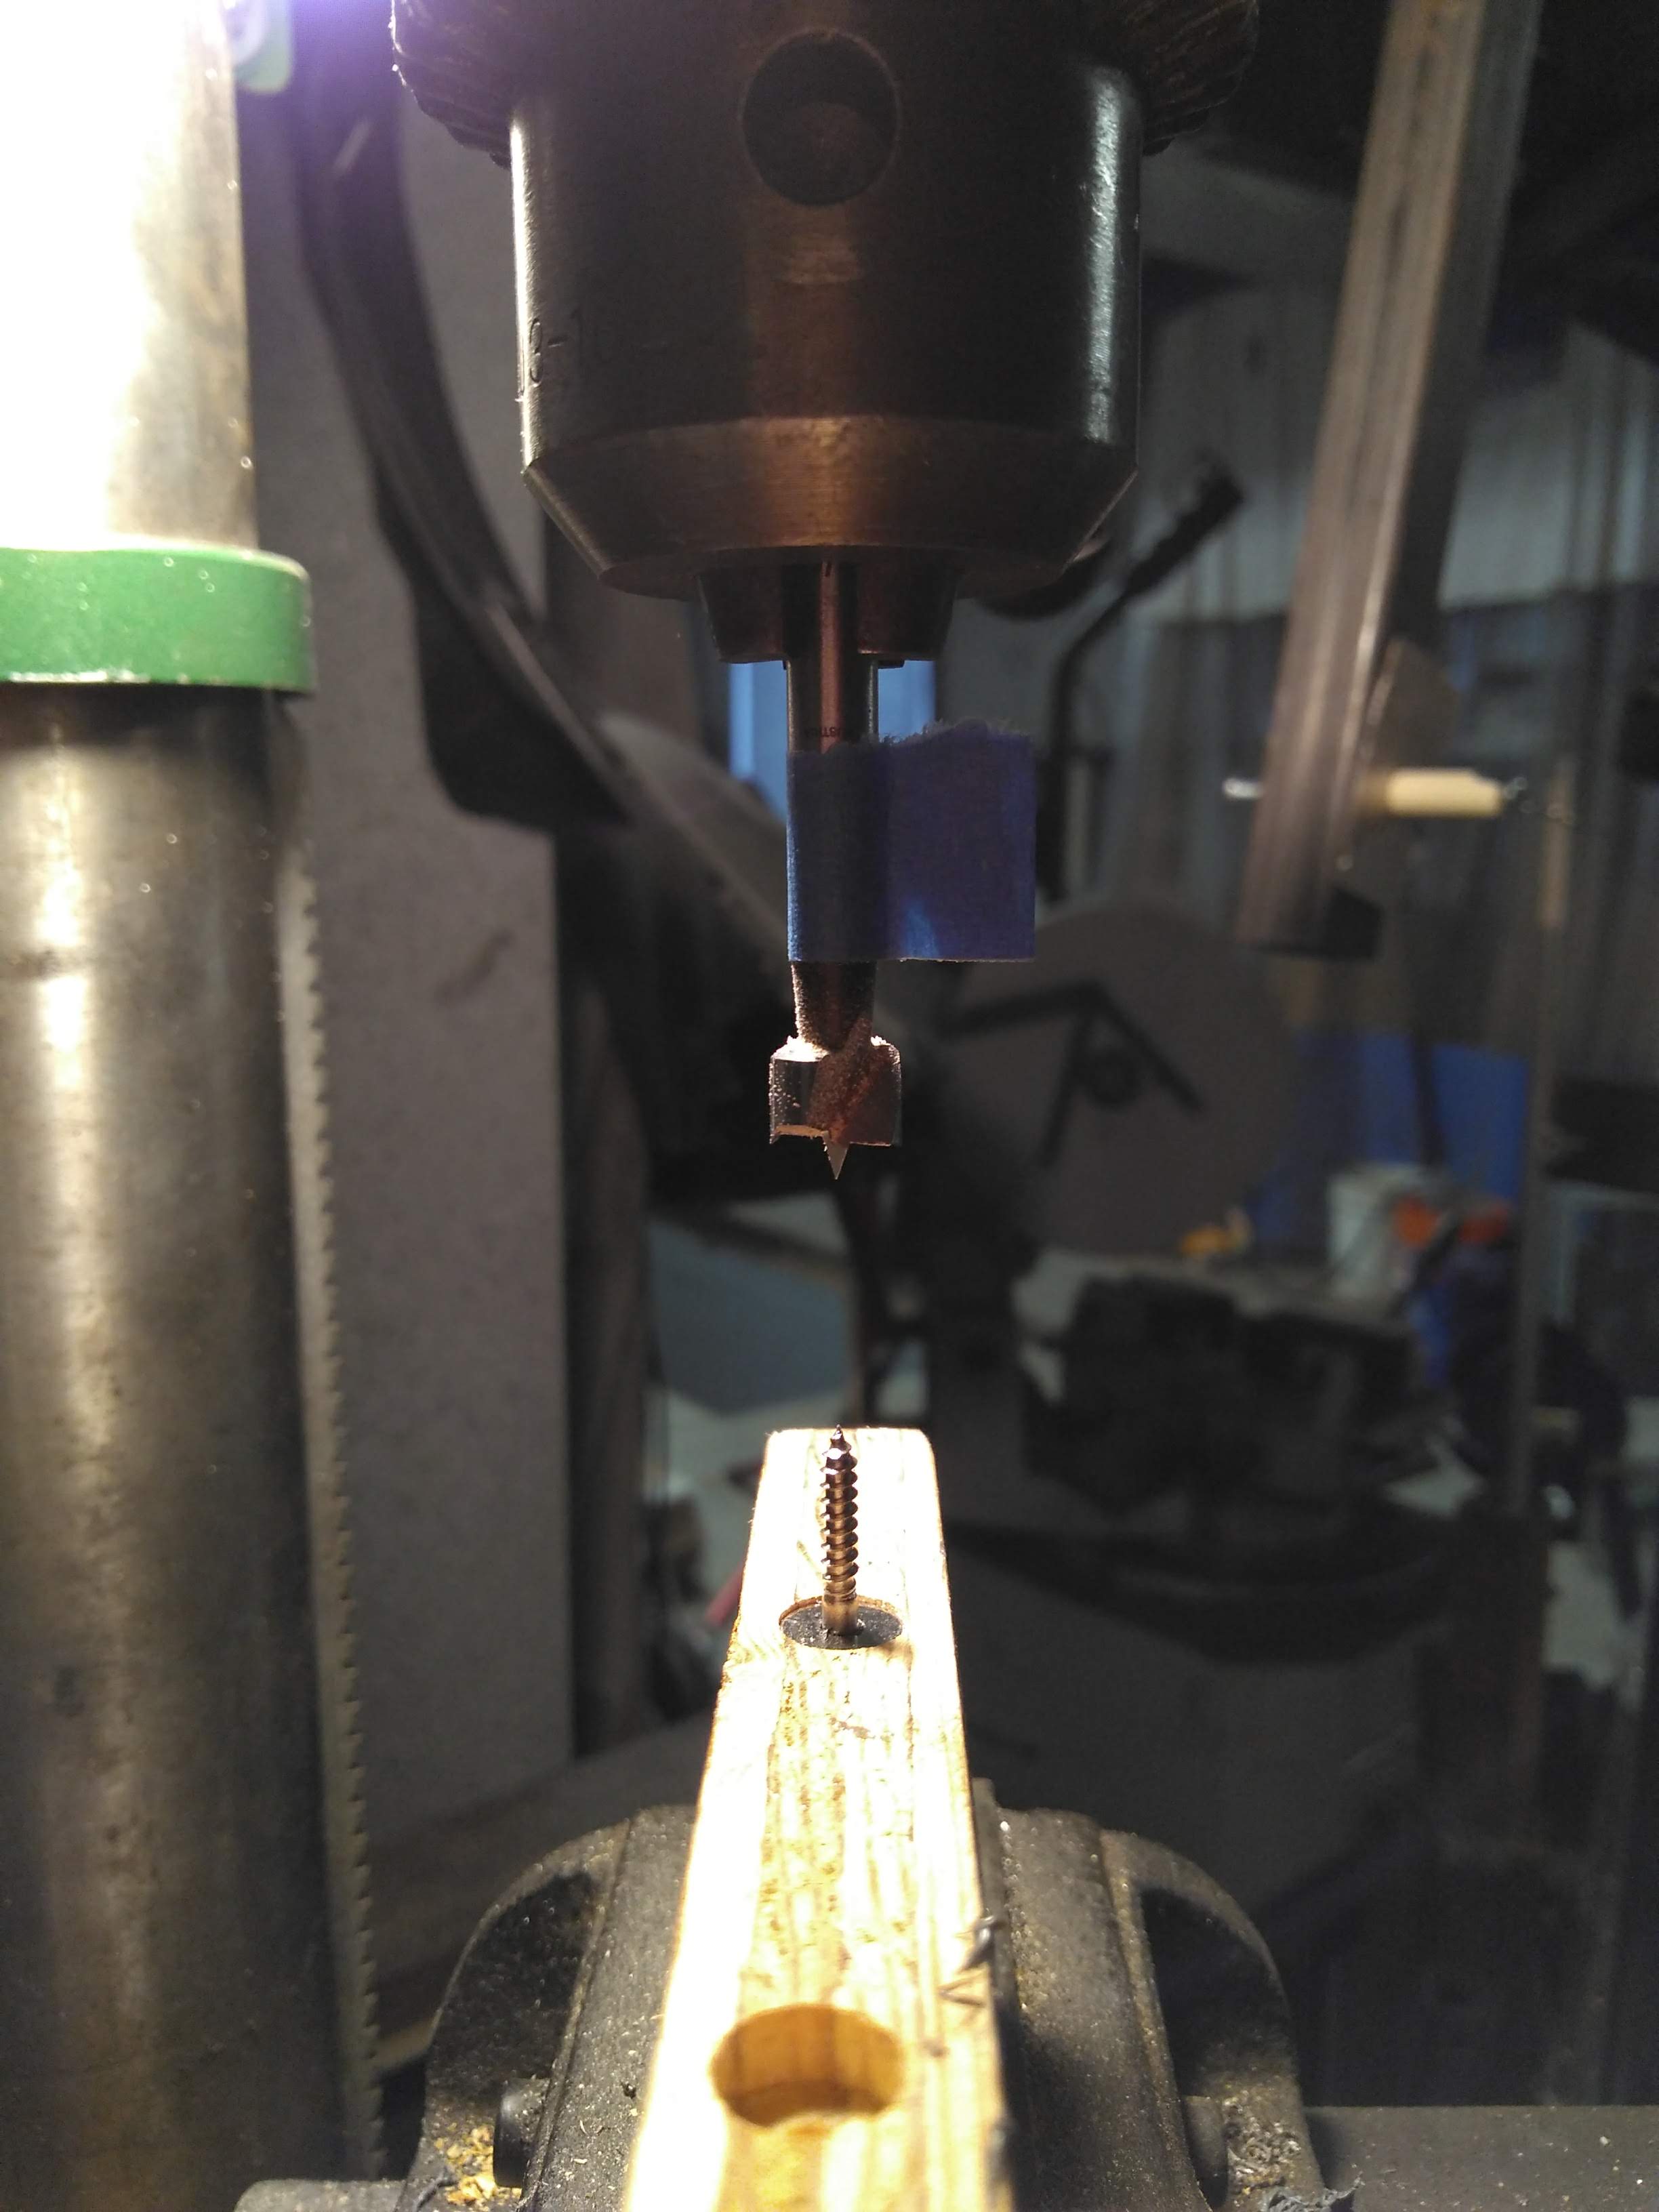
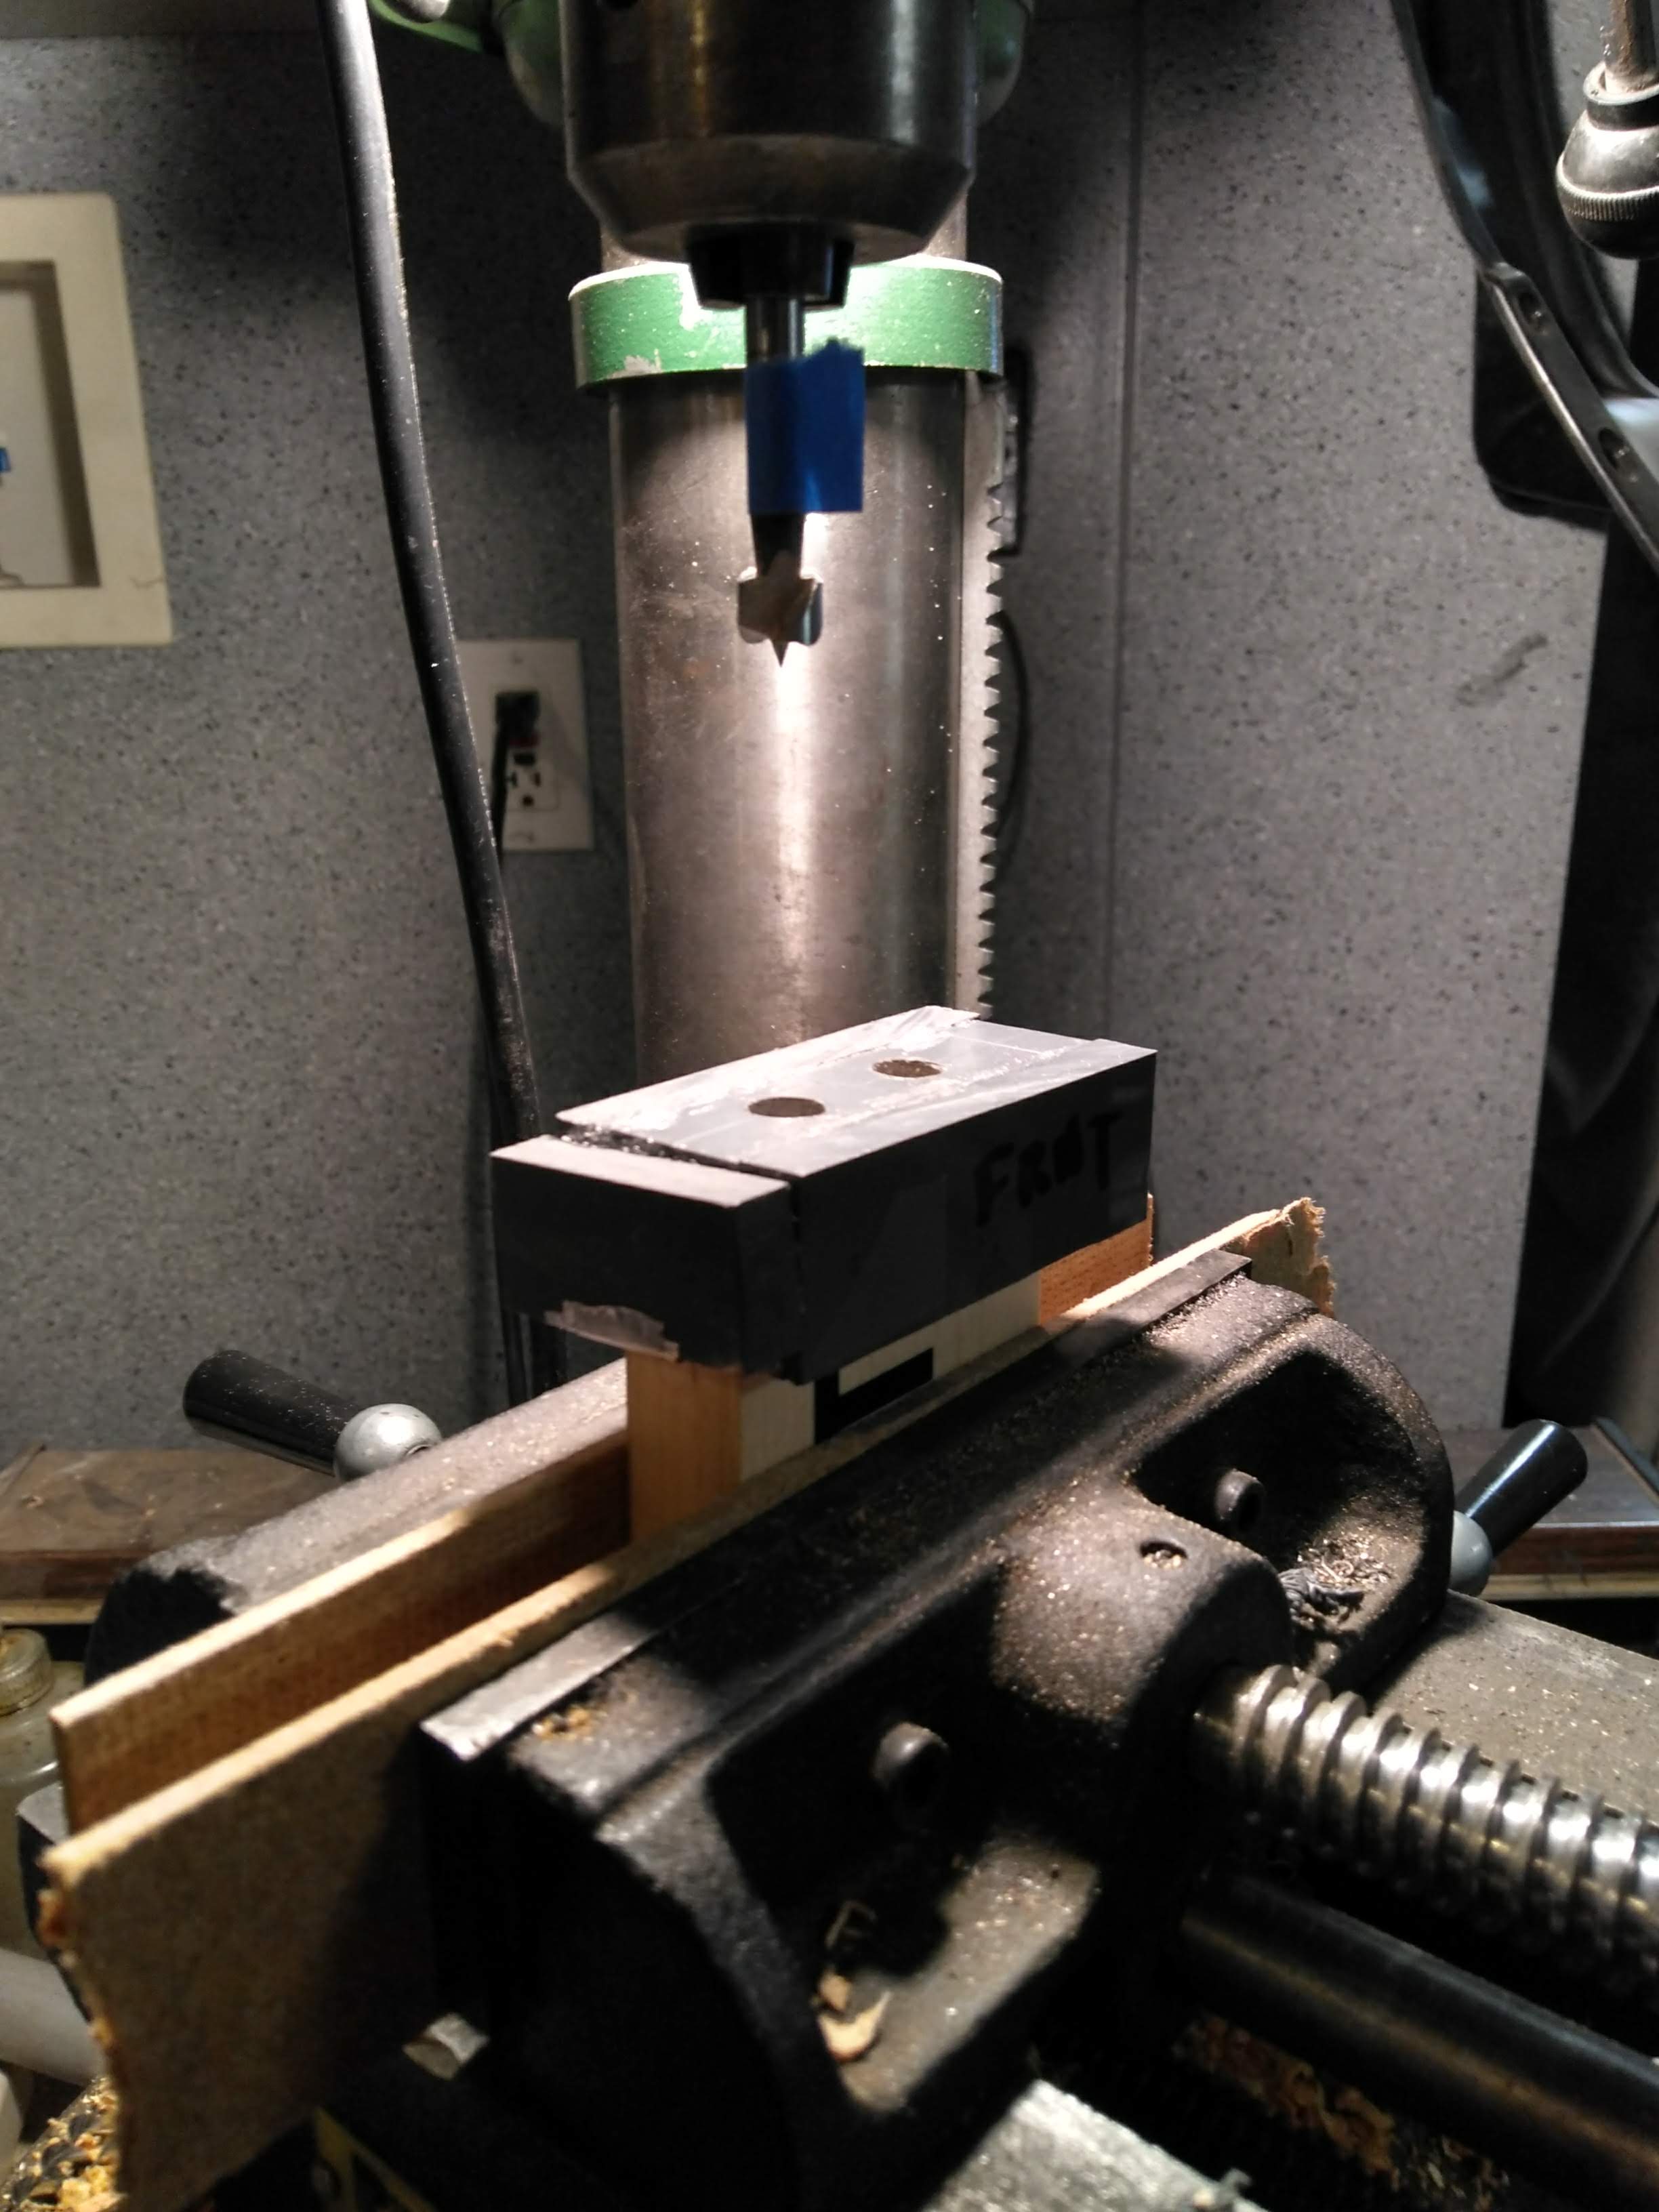
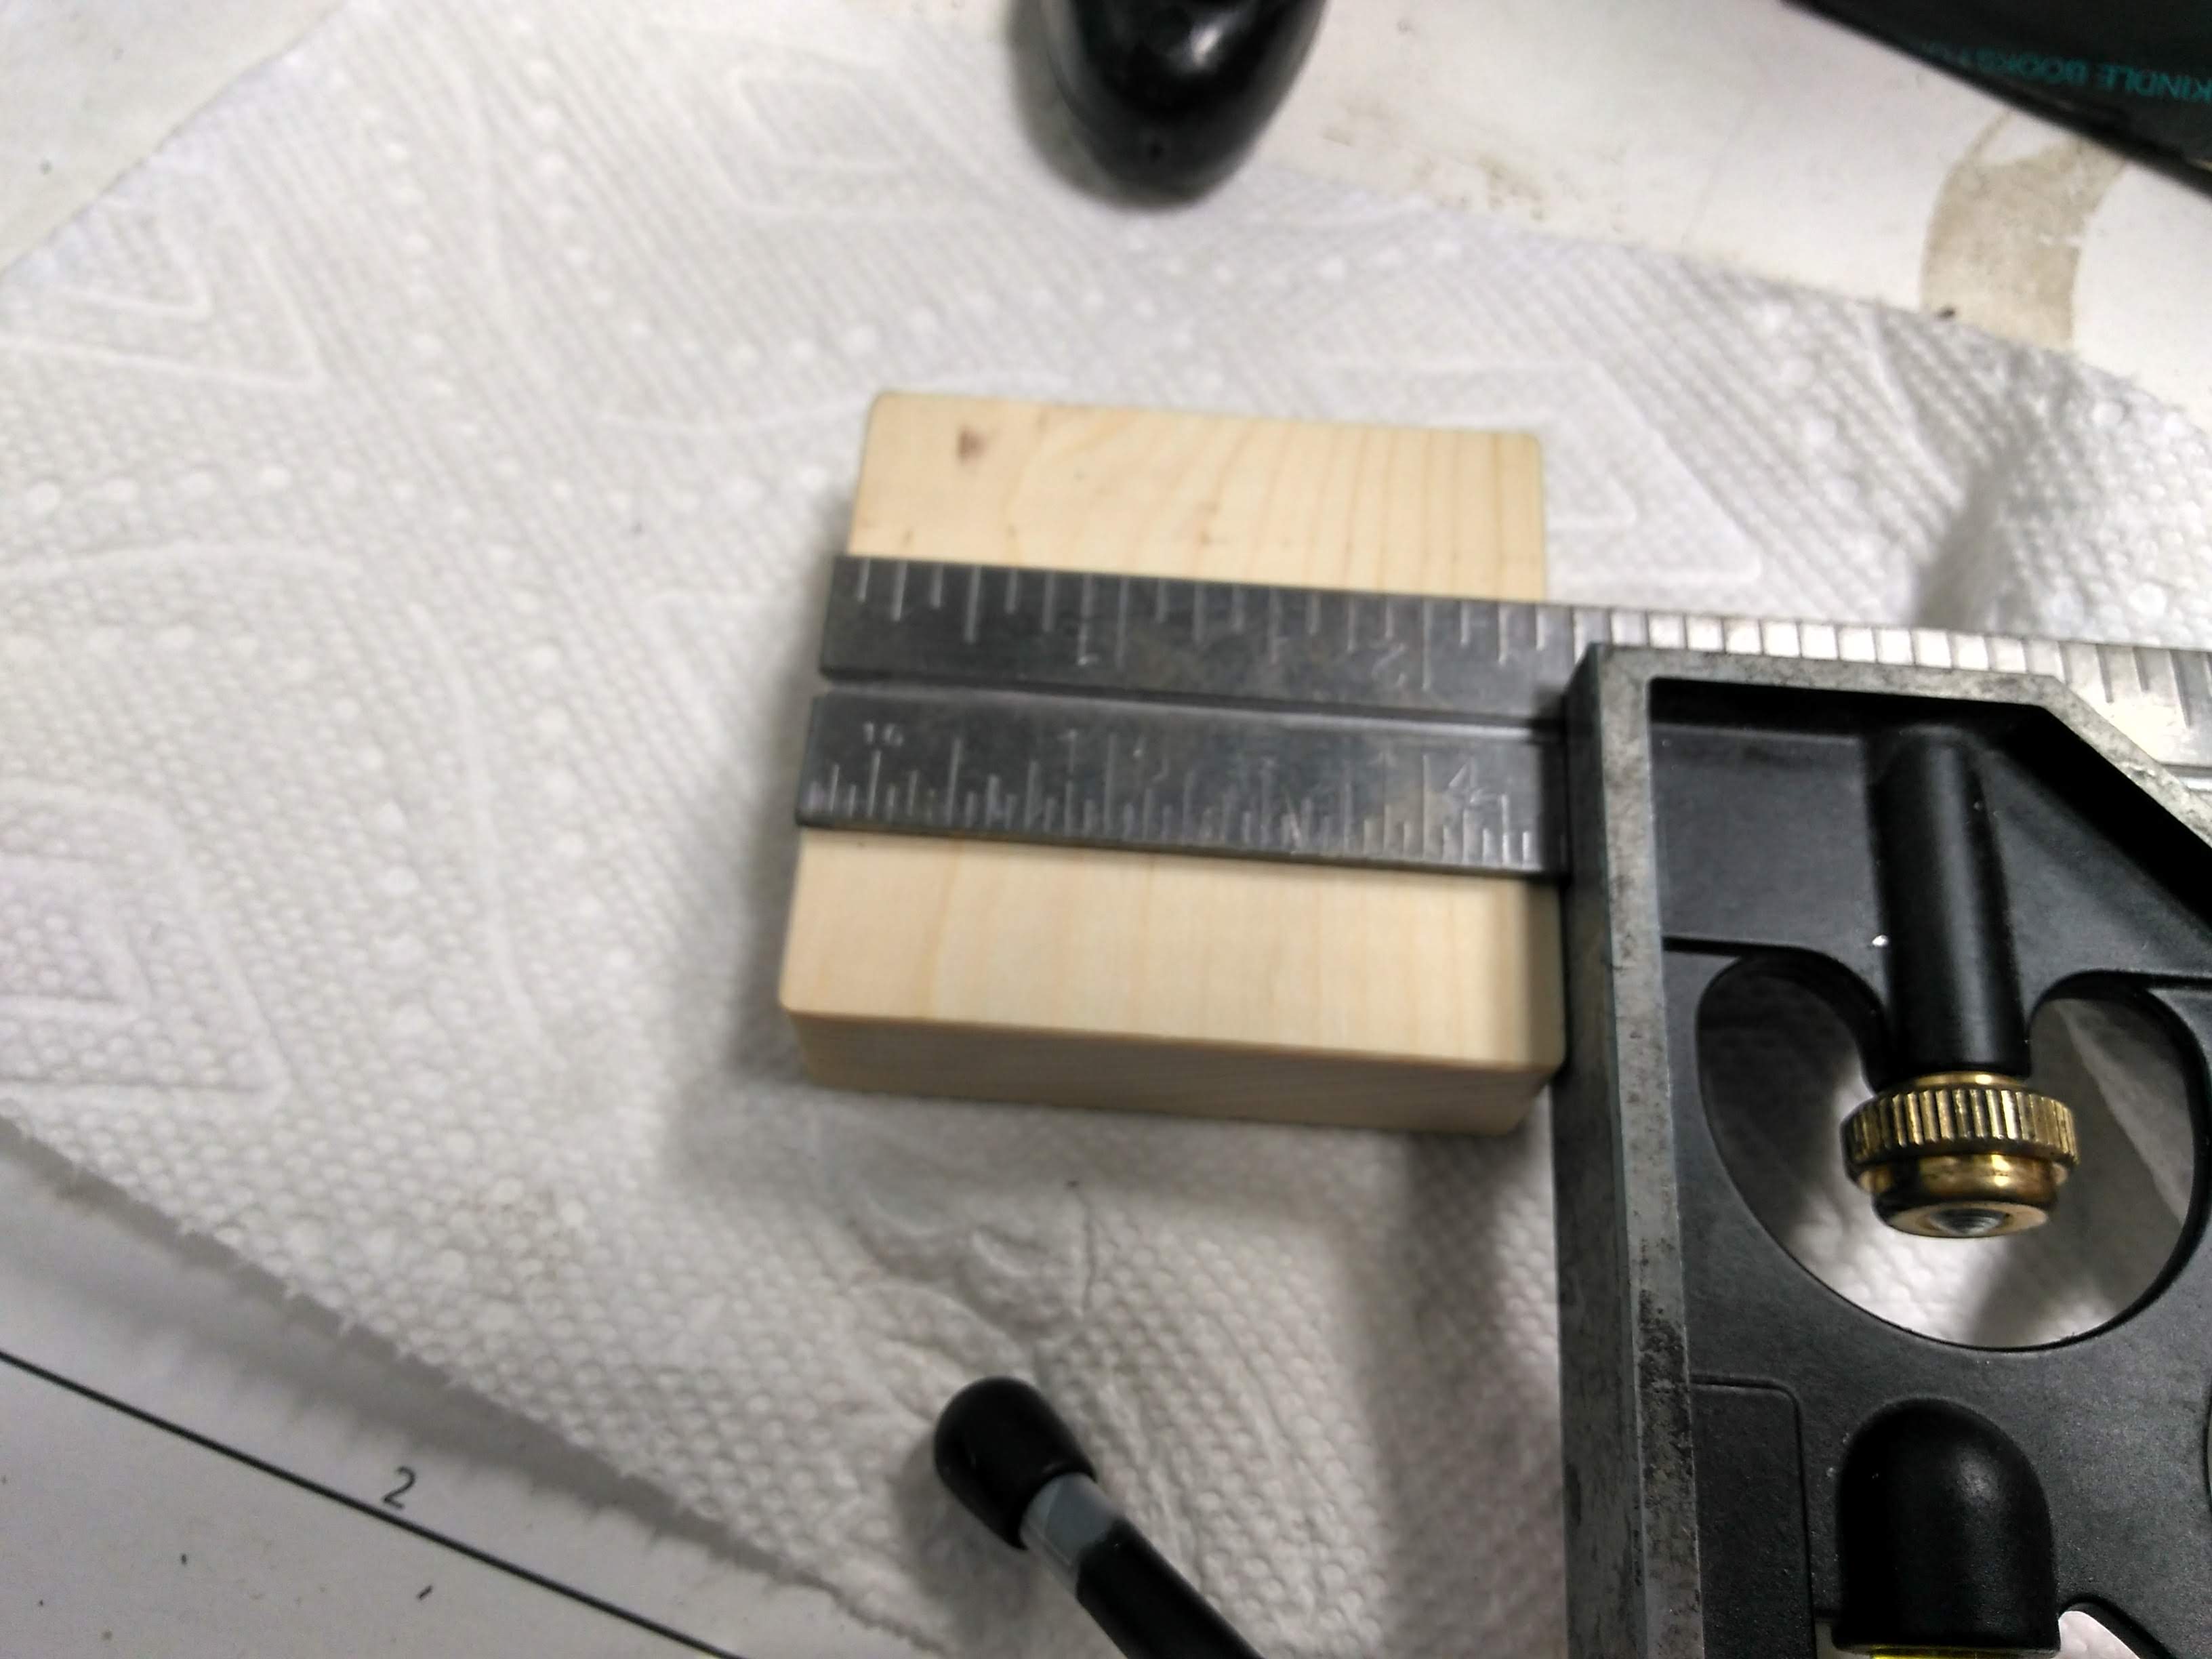
I figured out the appropriate depth for drilling on a test piece of plywood first, then marked that depth on my drill bit with a piece of masking tape.
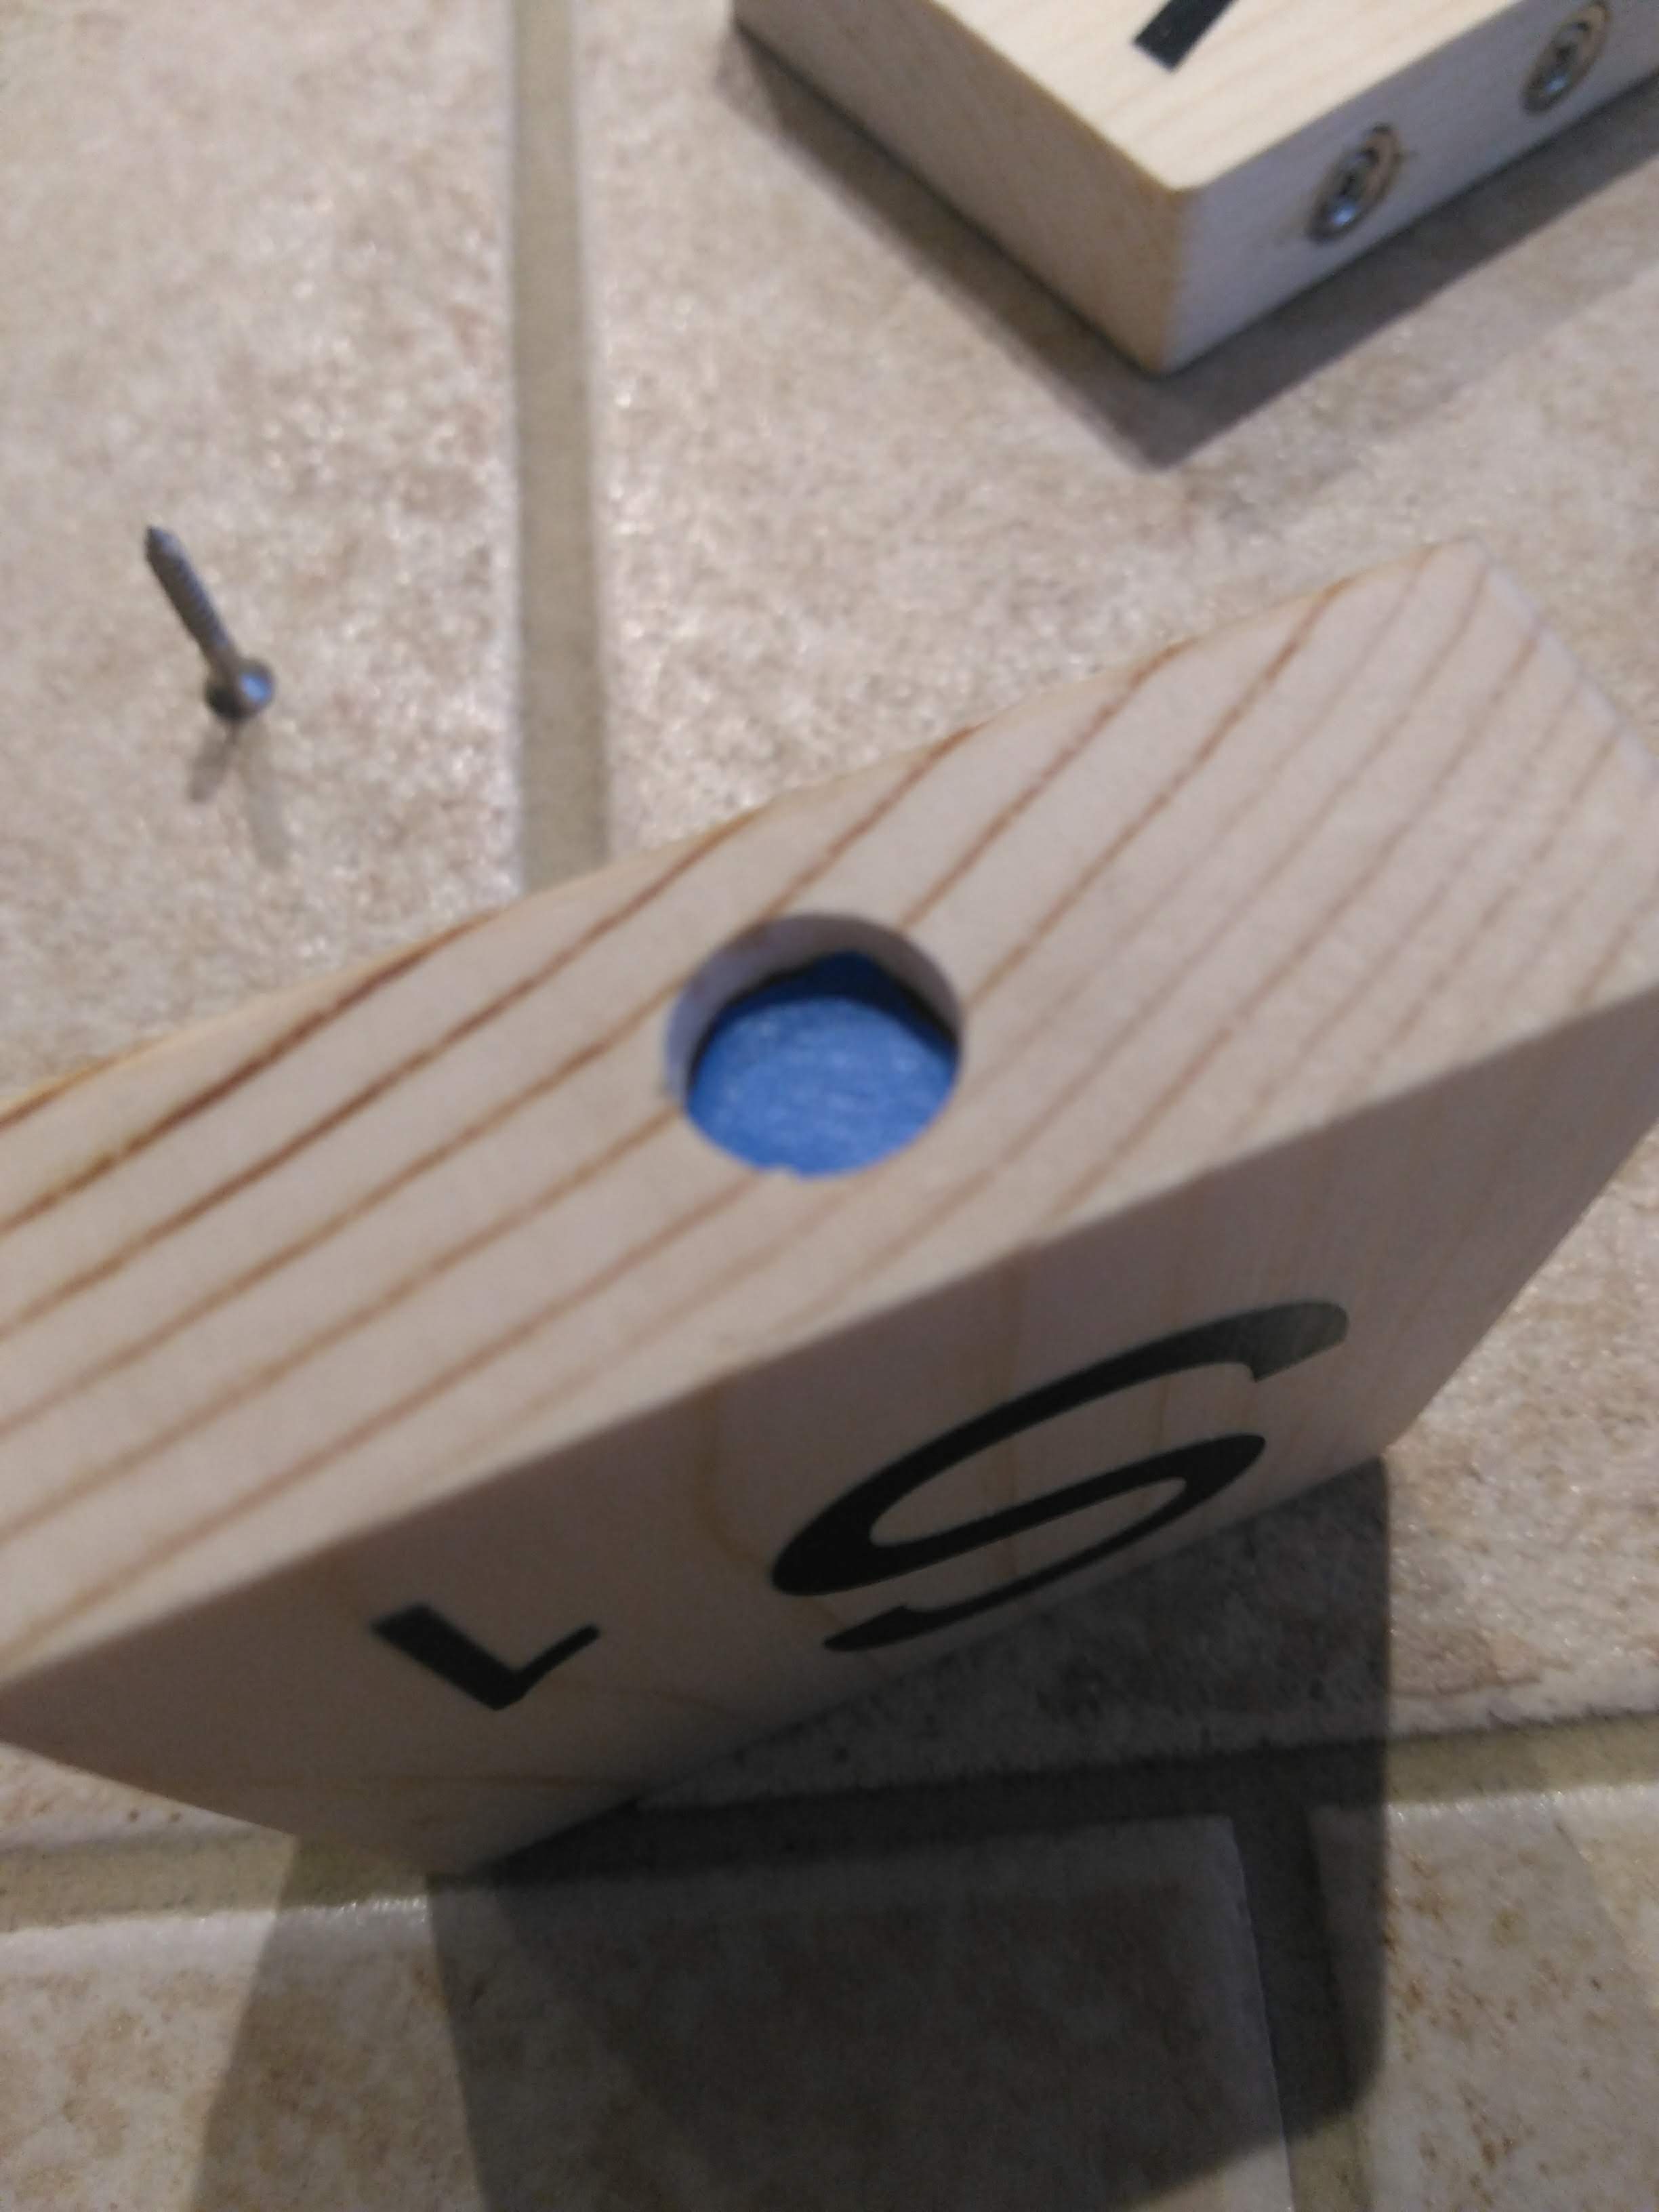
I wasn't going to put magnets on all four sides of every block, as I didn't have that many magnets, so instead I marked only which sides needed magnets, and drilled those.
(Putting magnets only on the necessary sides saves tons of magnets, but unfortunately only allows for the blocks to be assembled in one way, making the puzzle much easier.)
I also stuck hardboard on the vise jaws so I wouldn't dent the soft wood of the tiles when I clamped the vice down on them.
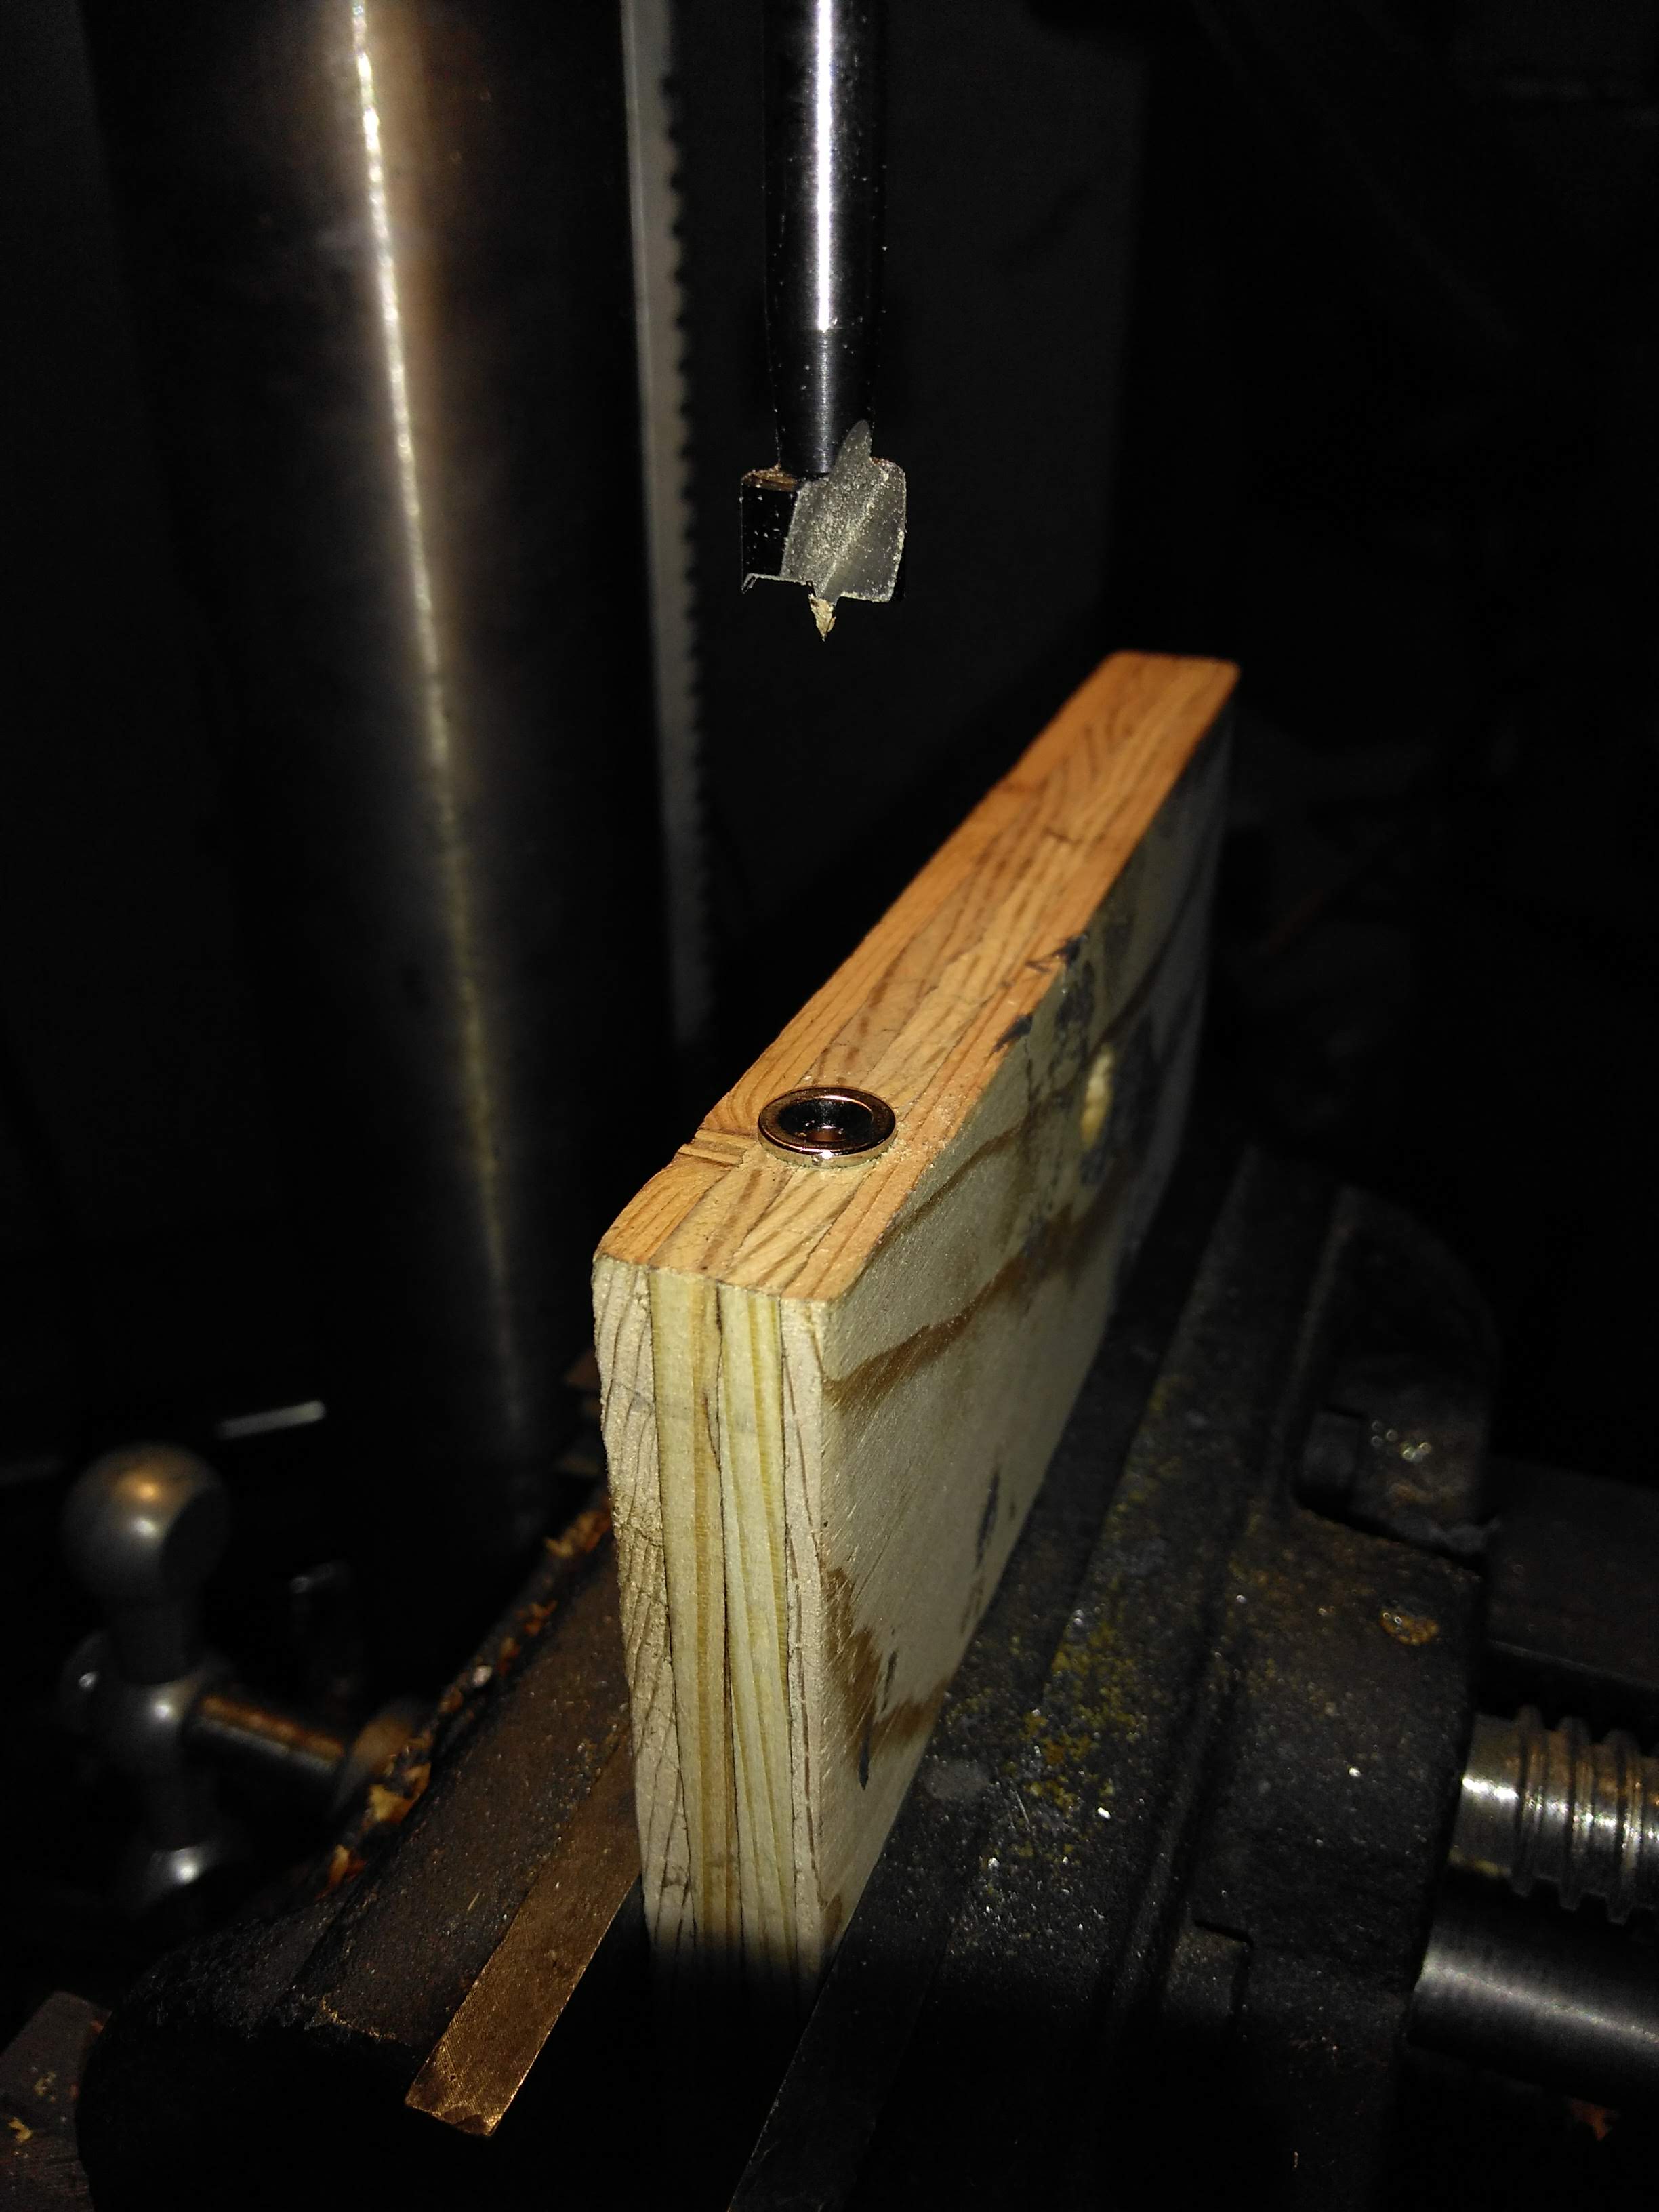
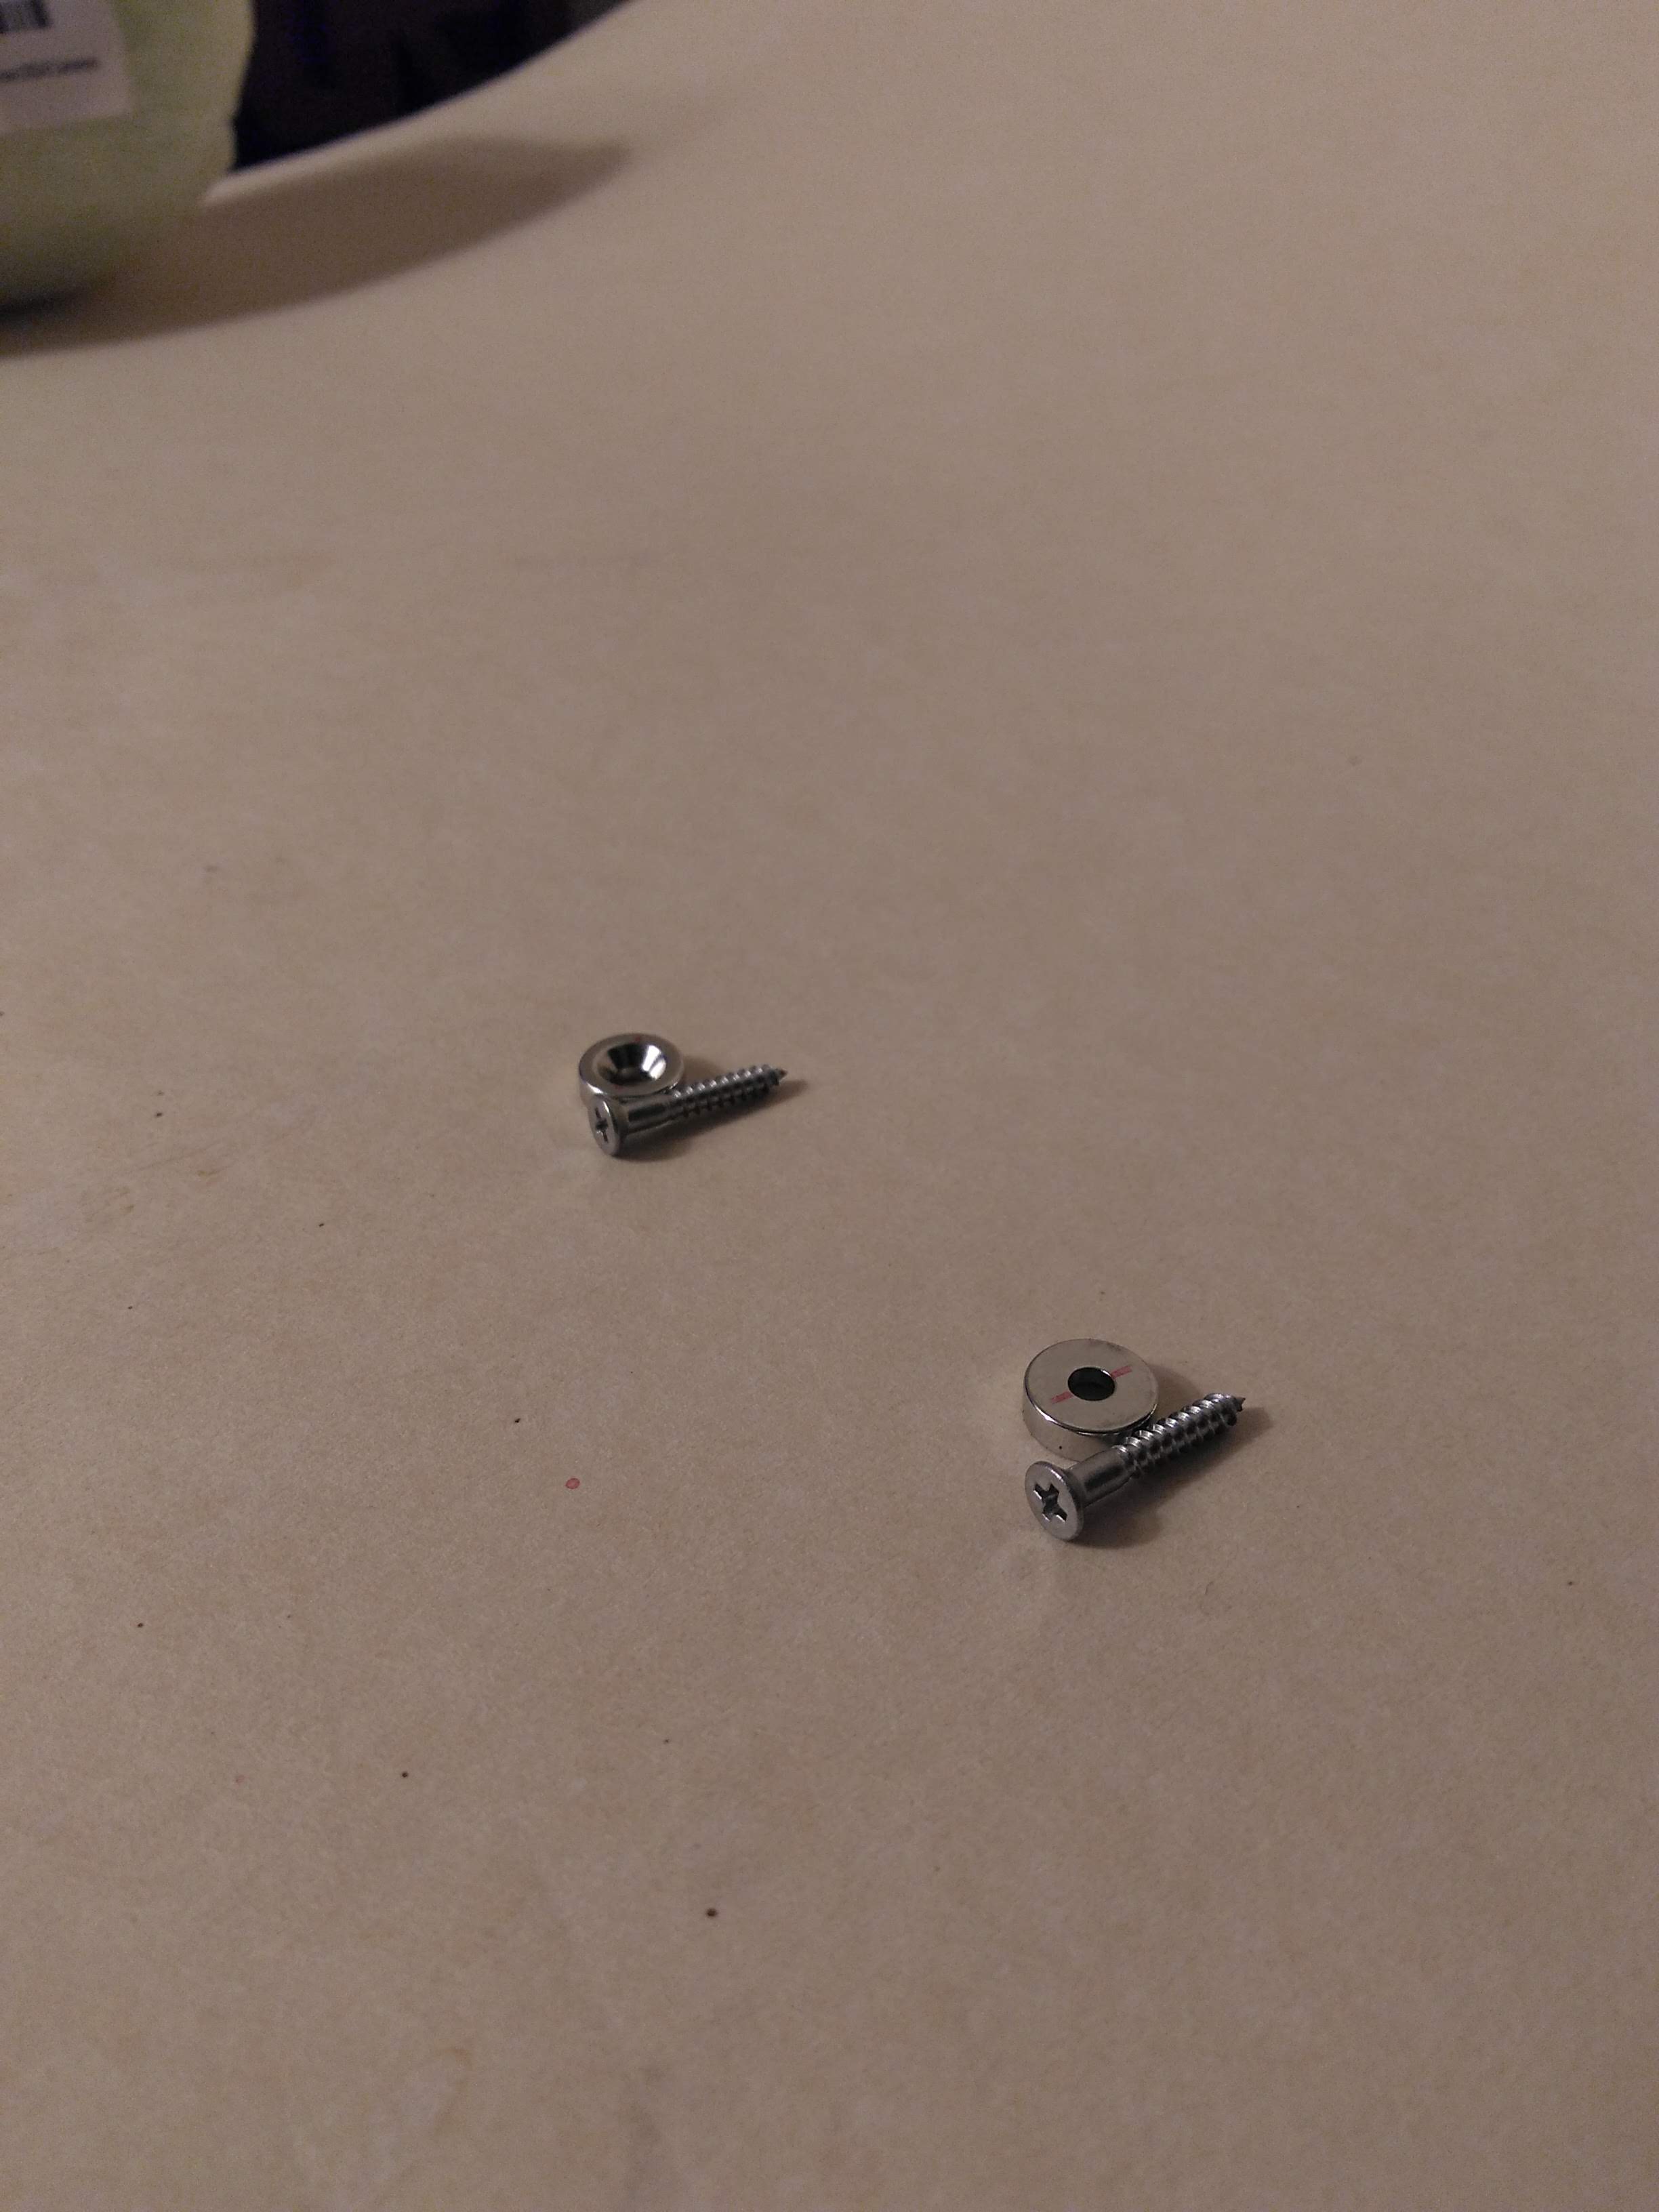
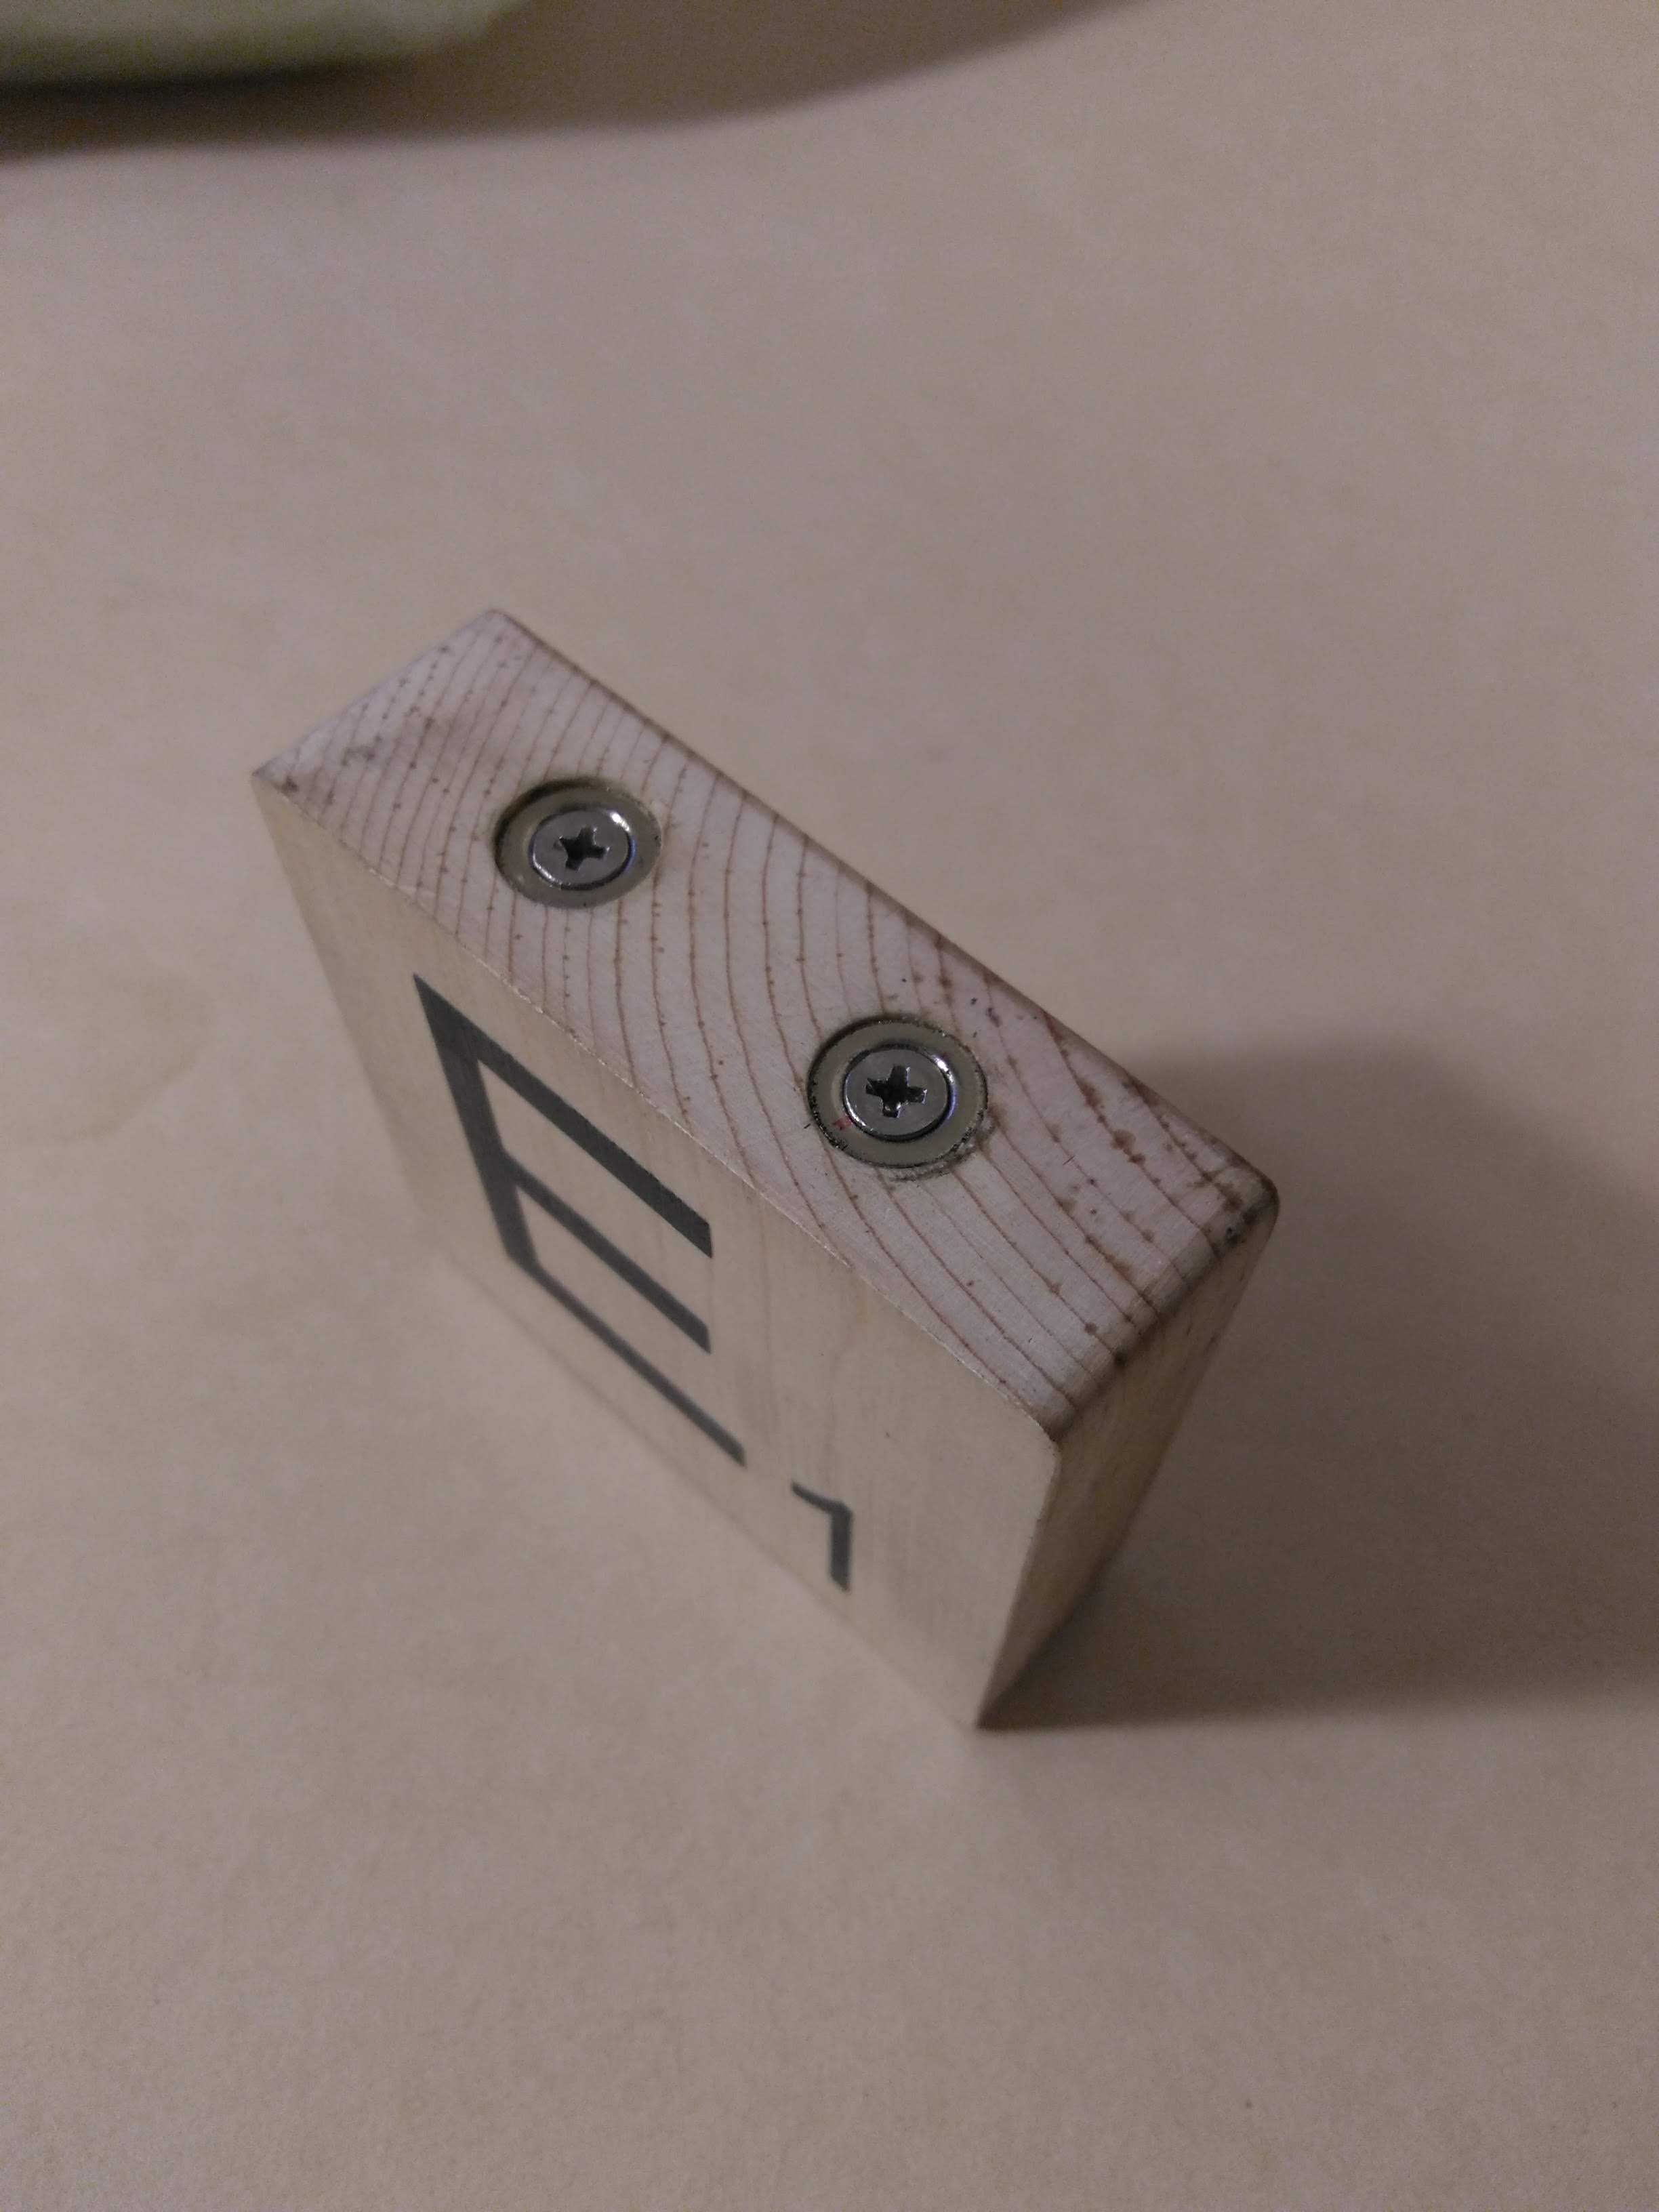
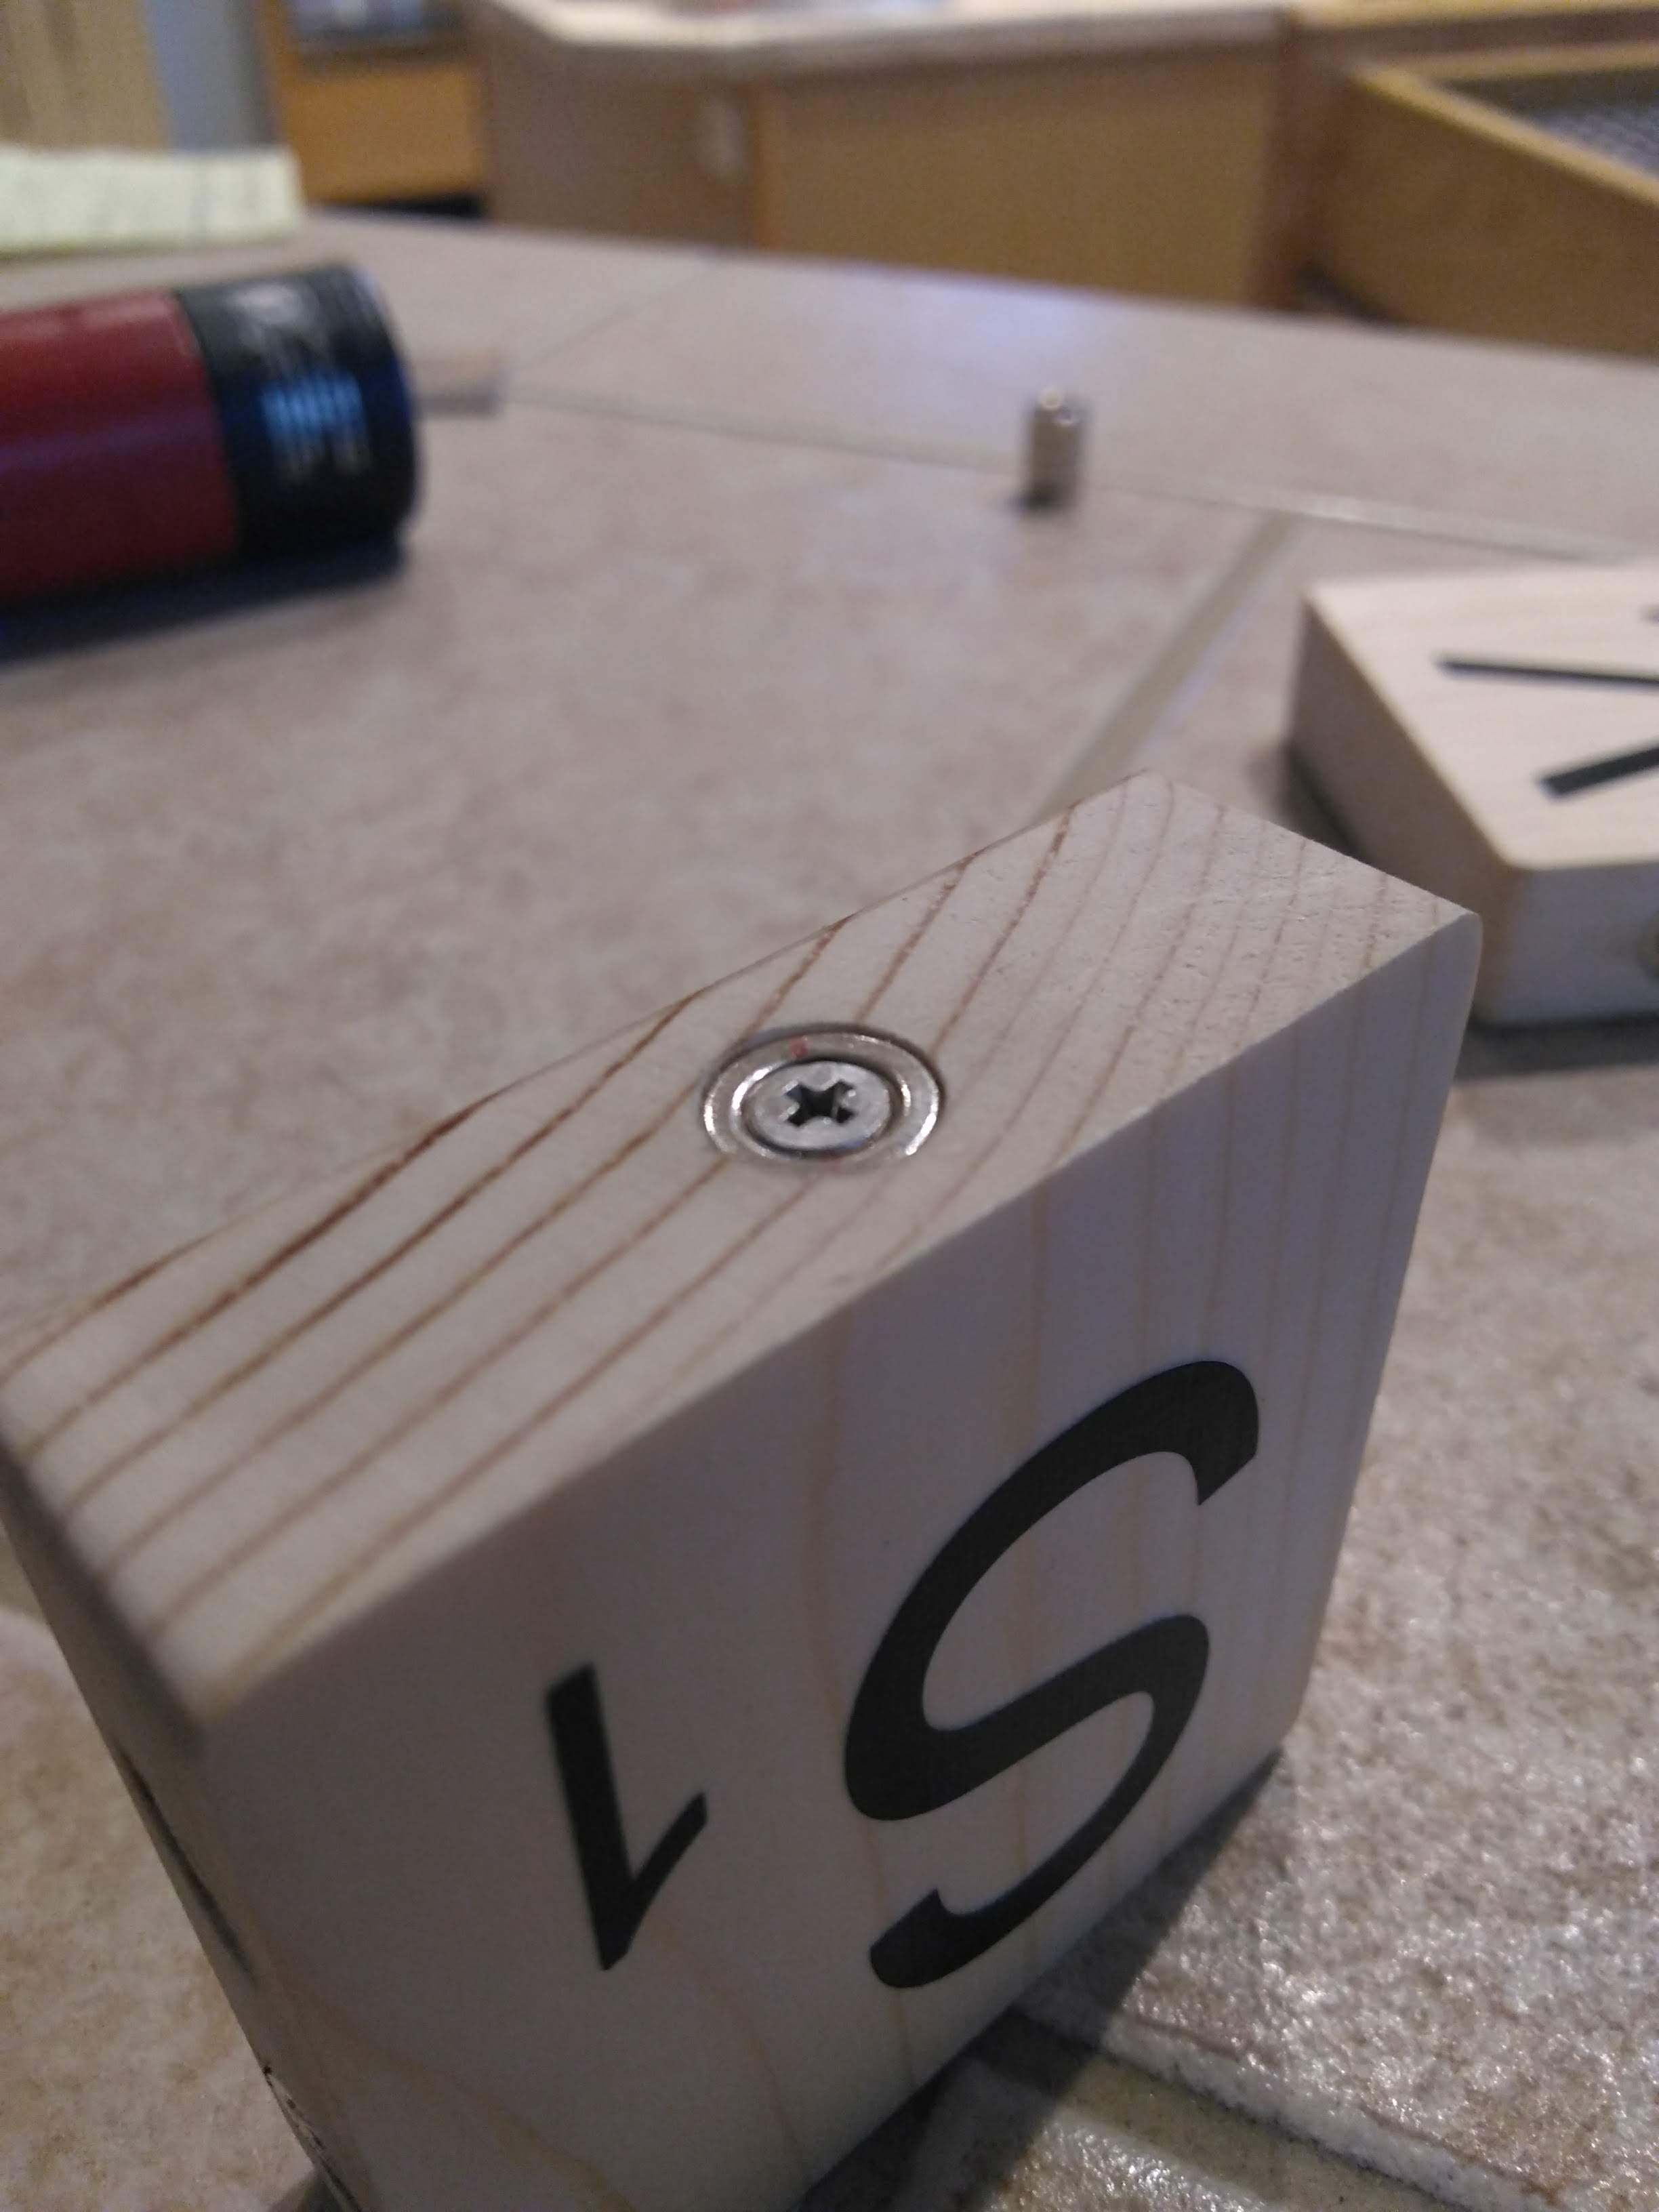
To install the magnets, I simply pressed the small magnets with my fingers into the holes I'd just drilled, then I secured the magnet with a screw. I used 3/8" by 1/8" N42 magnets with a countersunk hole and #4 flathead screw with a small shoulder. Half the magnets have their north pole on the same side as the countersunk hole, while the other half have the opposite polarity. Fortunately, the magnets have small red lines printed on the north side, making distinguishing between polarities easy. Thanks to the "pinwheel" pattern I settled on for the magnets, figuring out what polarity goes where when installing the magnets is simple: if the printed side of the block is facing me, and I'm placing magnets in the top edge of the block, I place a north magnet (a magnet with its north side countersunk) in the right hole, and a south magnet in the left. This rule applies to all blocks, regardless of what block it is and what edge is up.
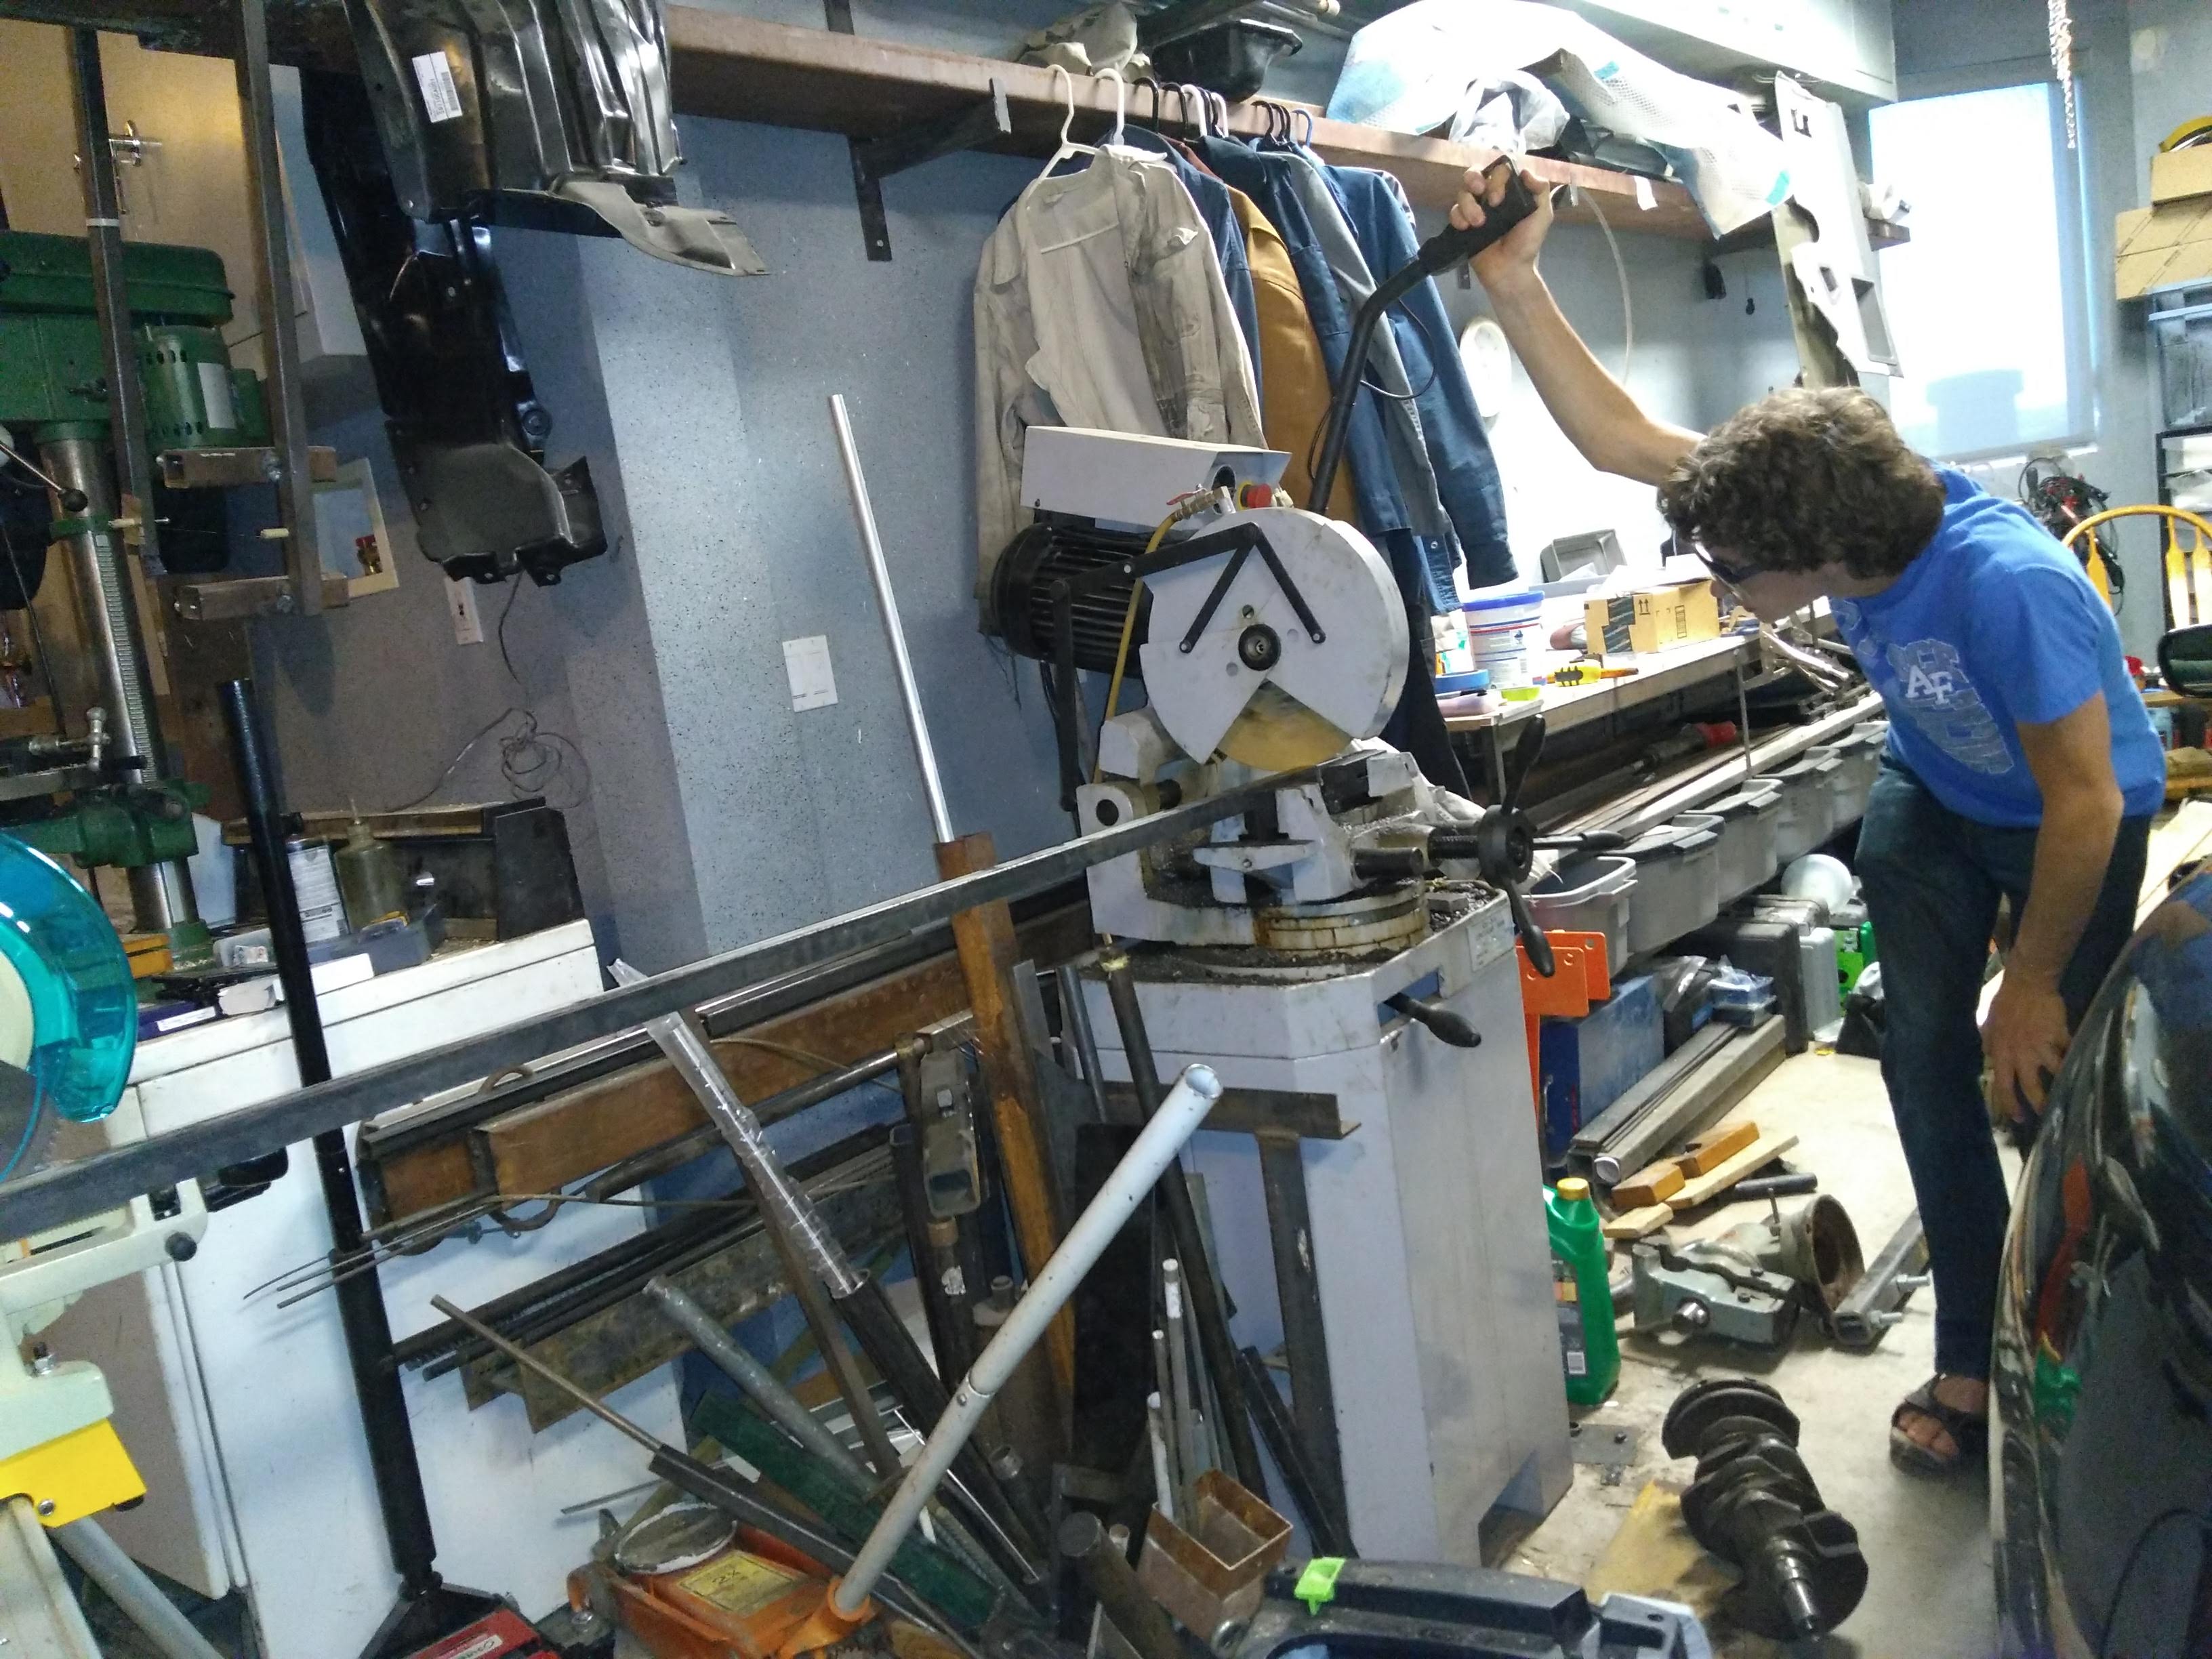
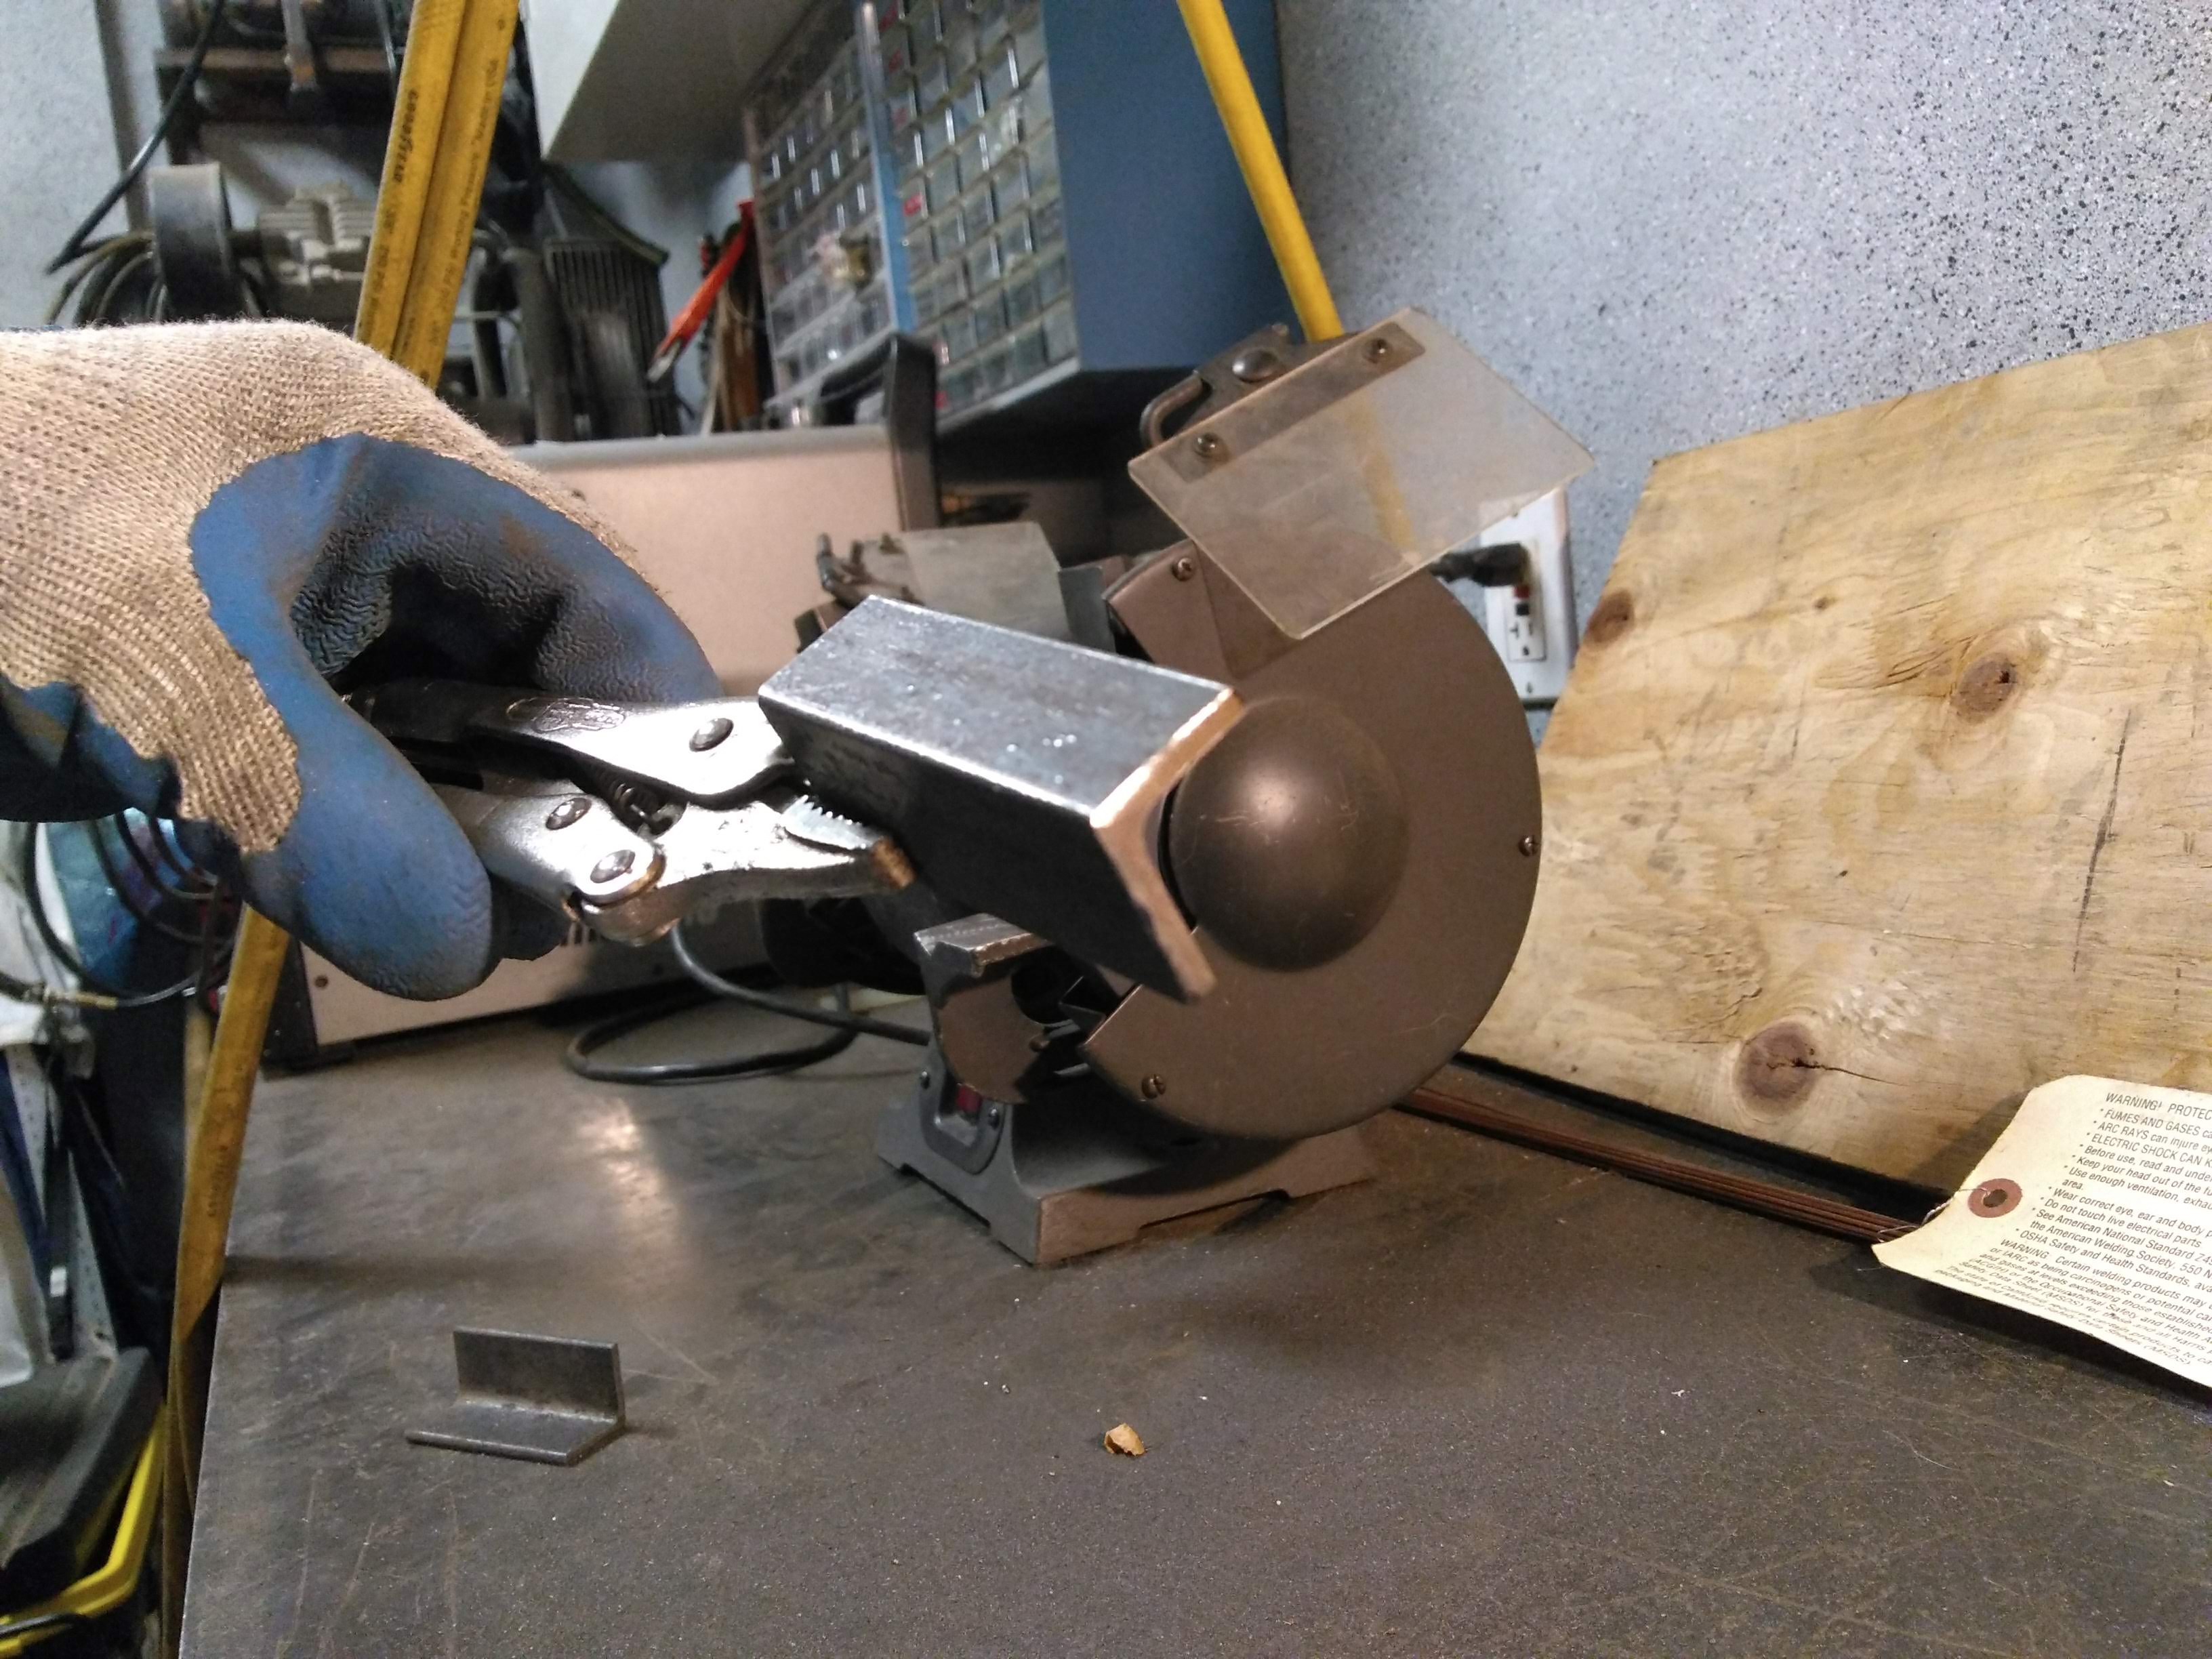
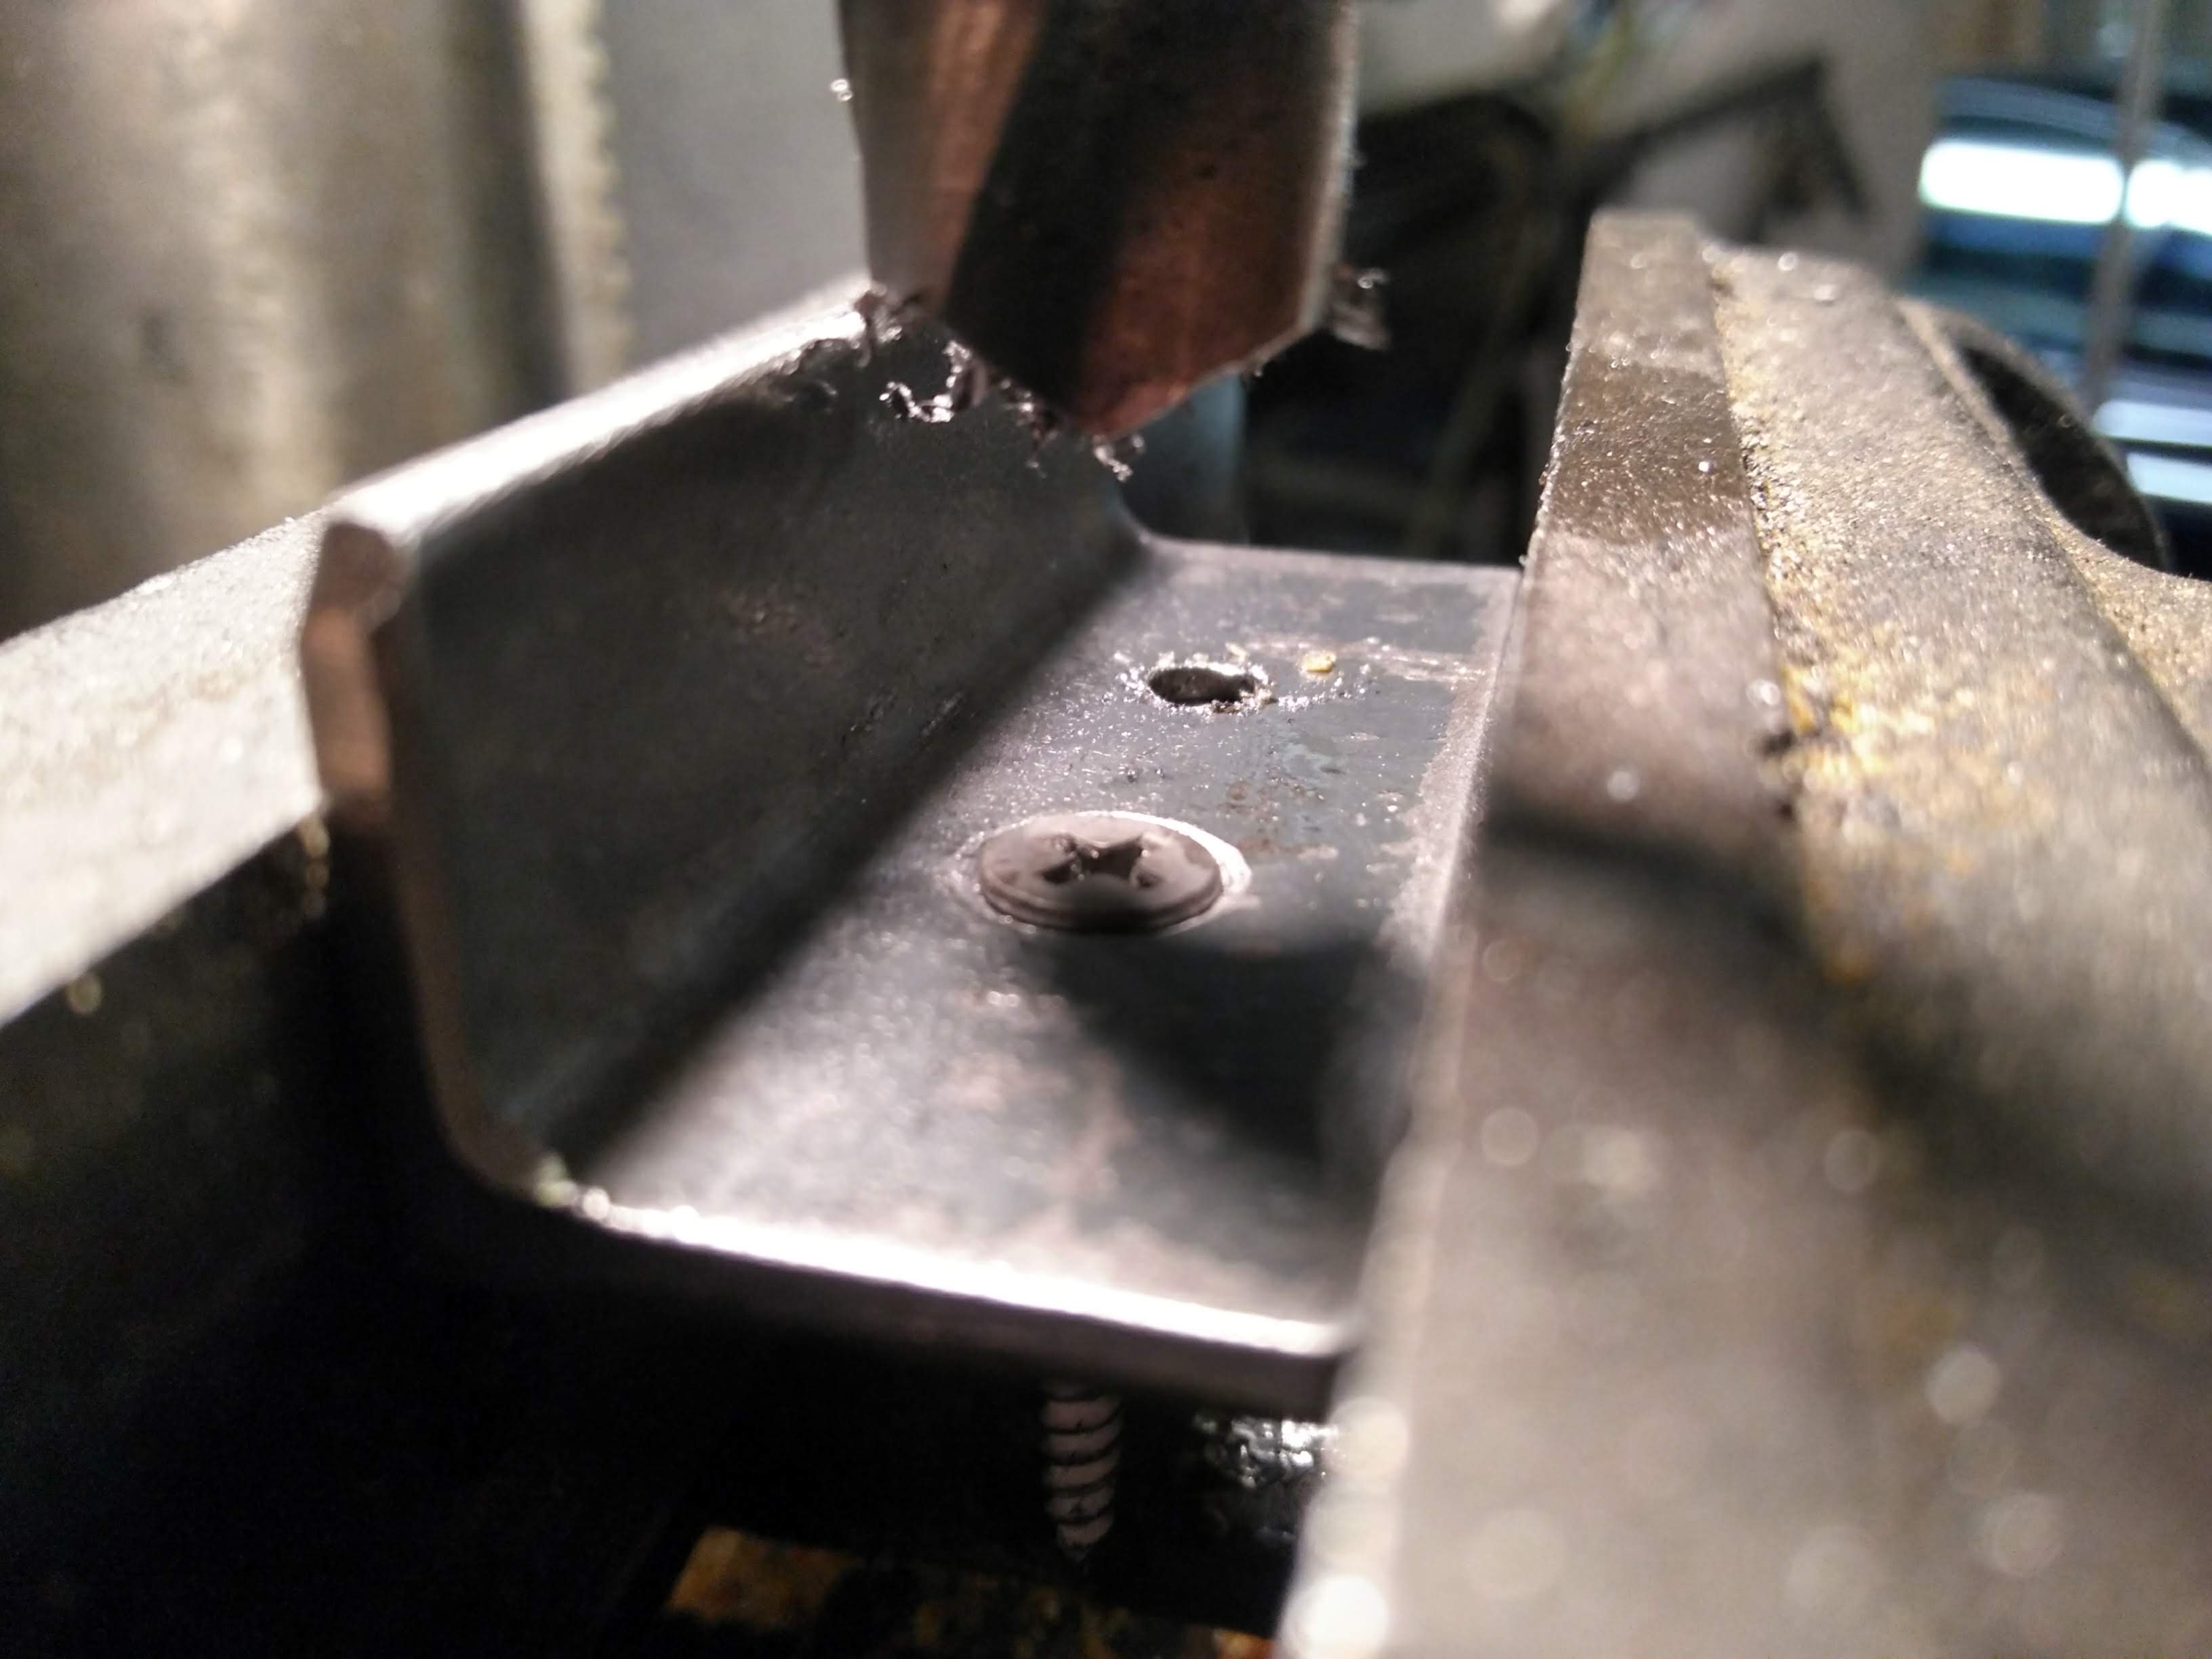
With all the blocks finished, I now had to build the brackets that would mount the blocks to the wall. First, I cut sections of 11-guage 1" steel angle the same length as the side length of the tiles.
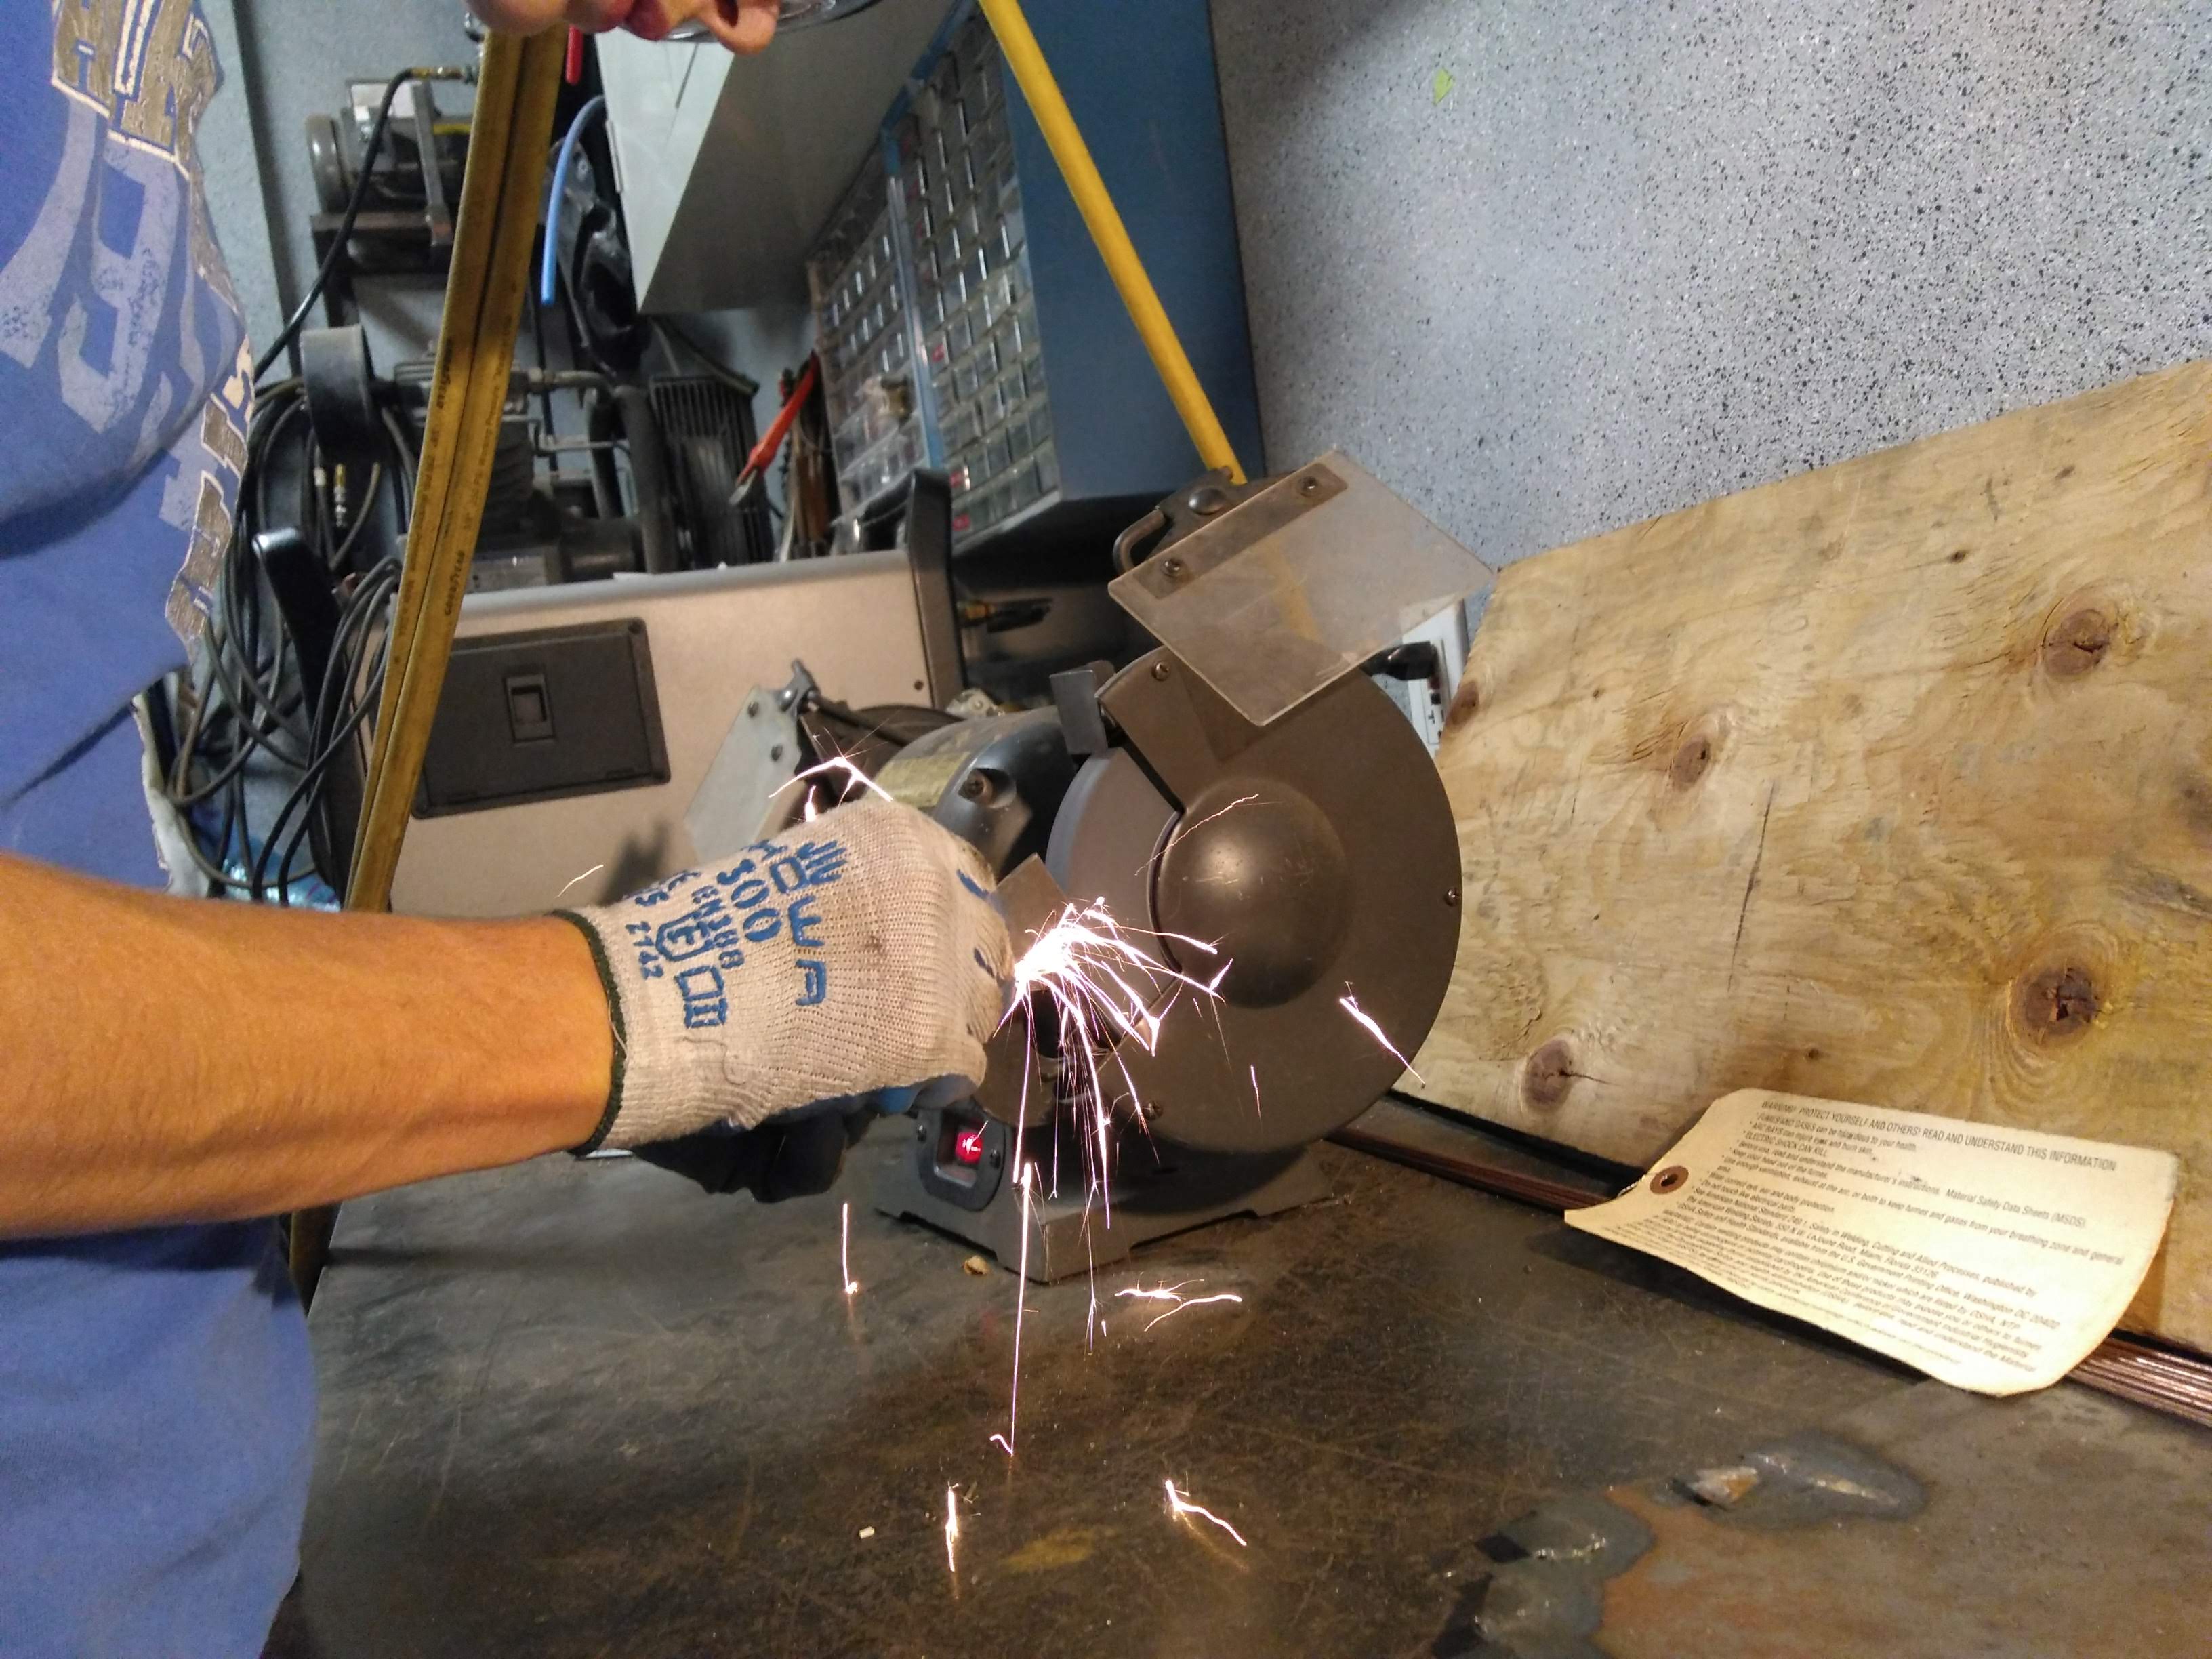
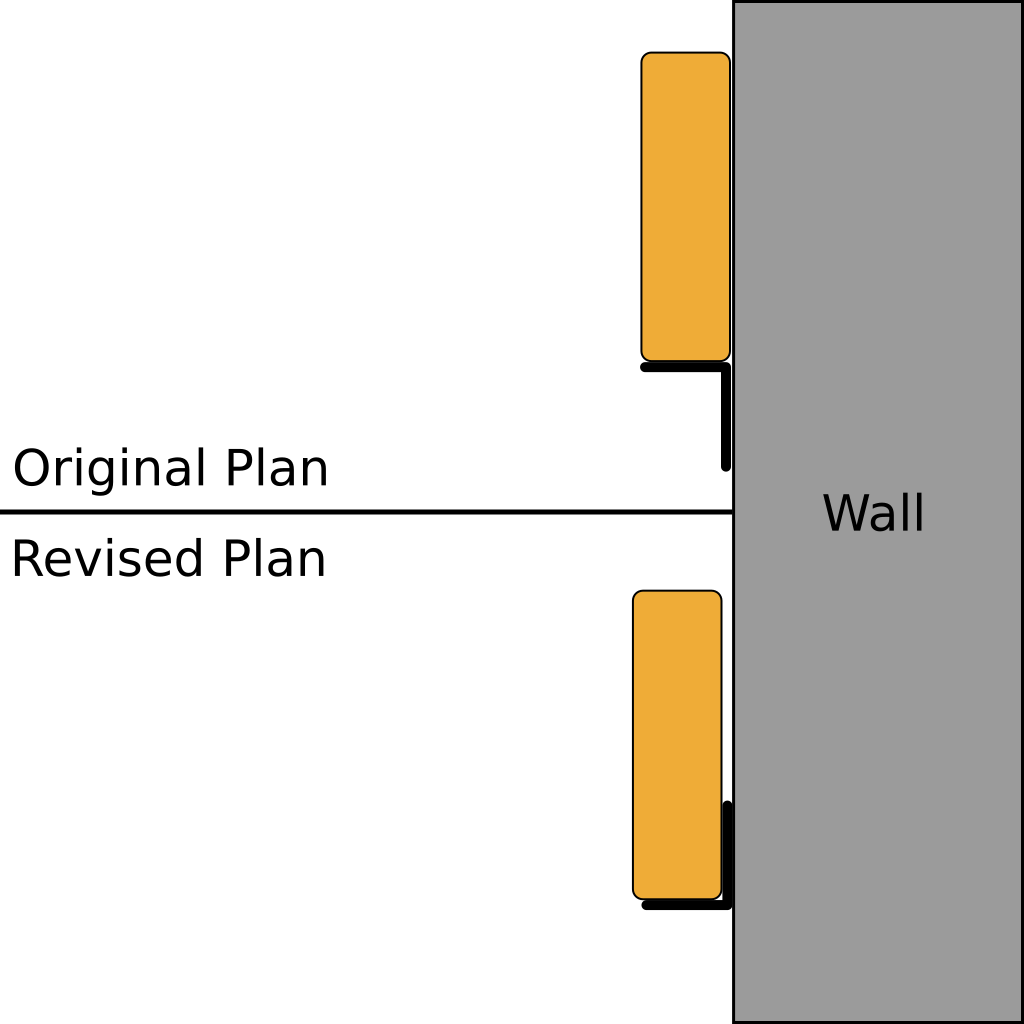
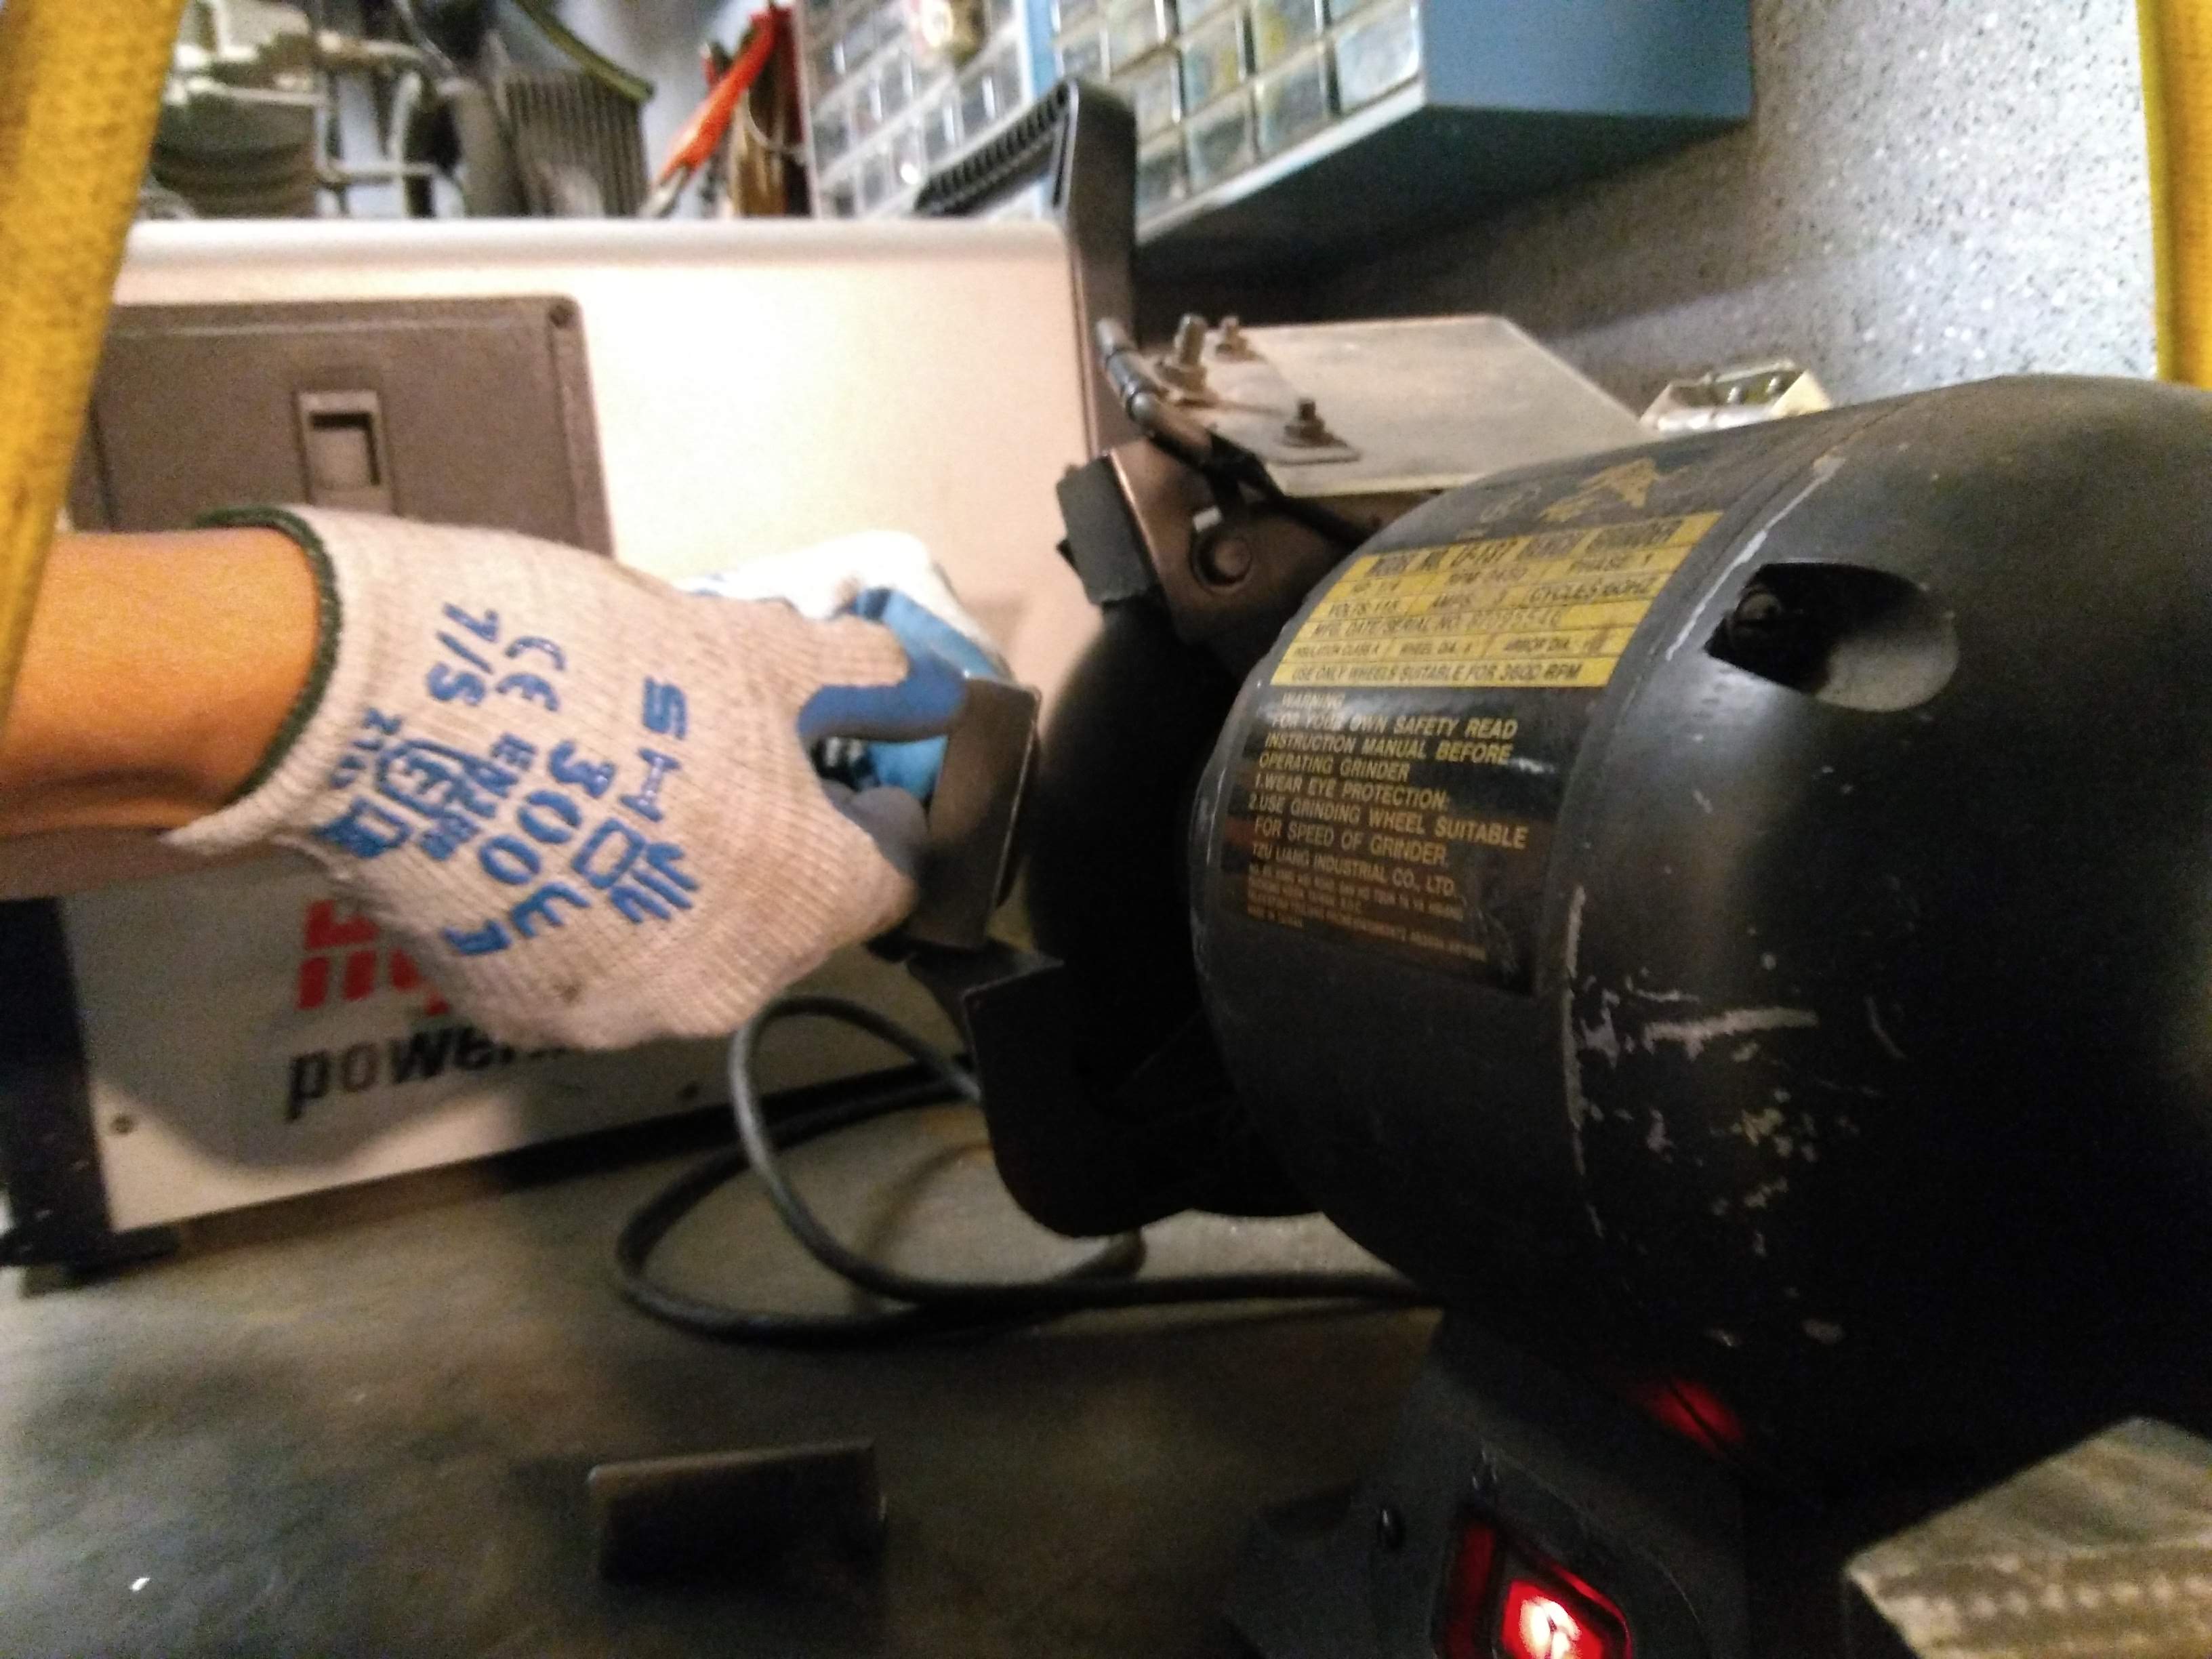
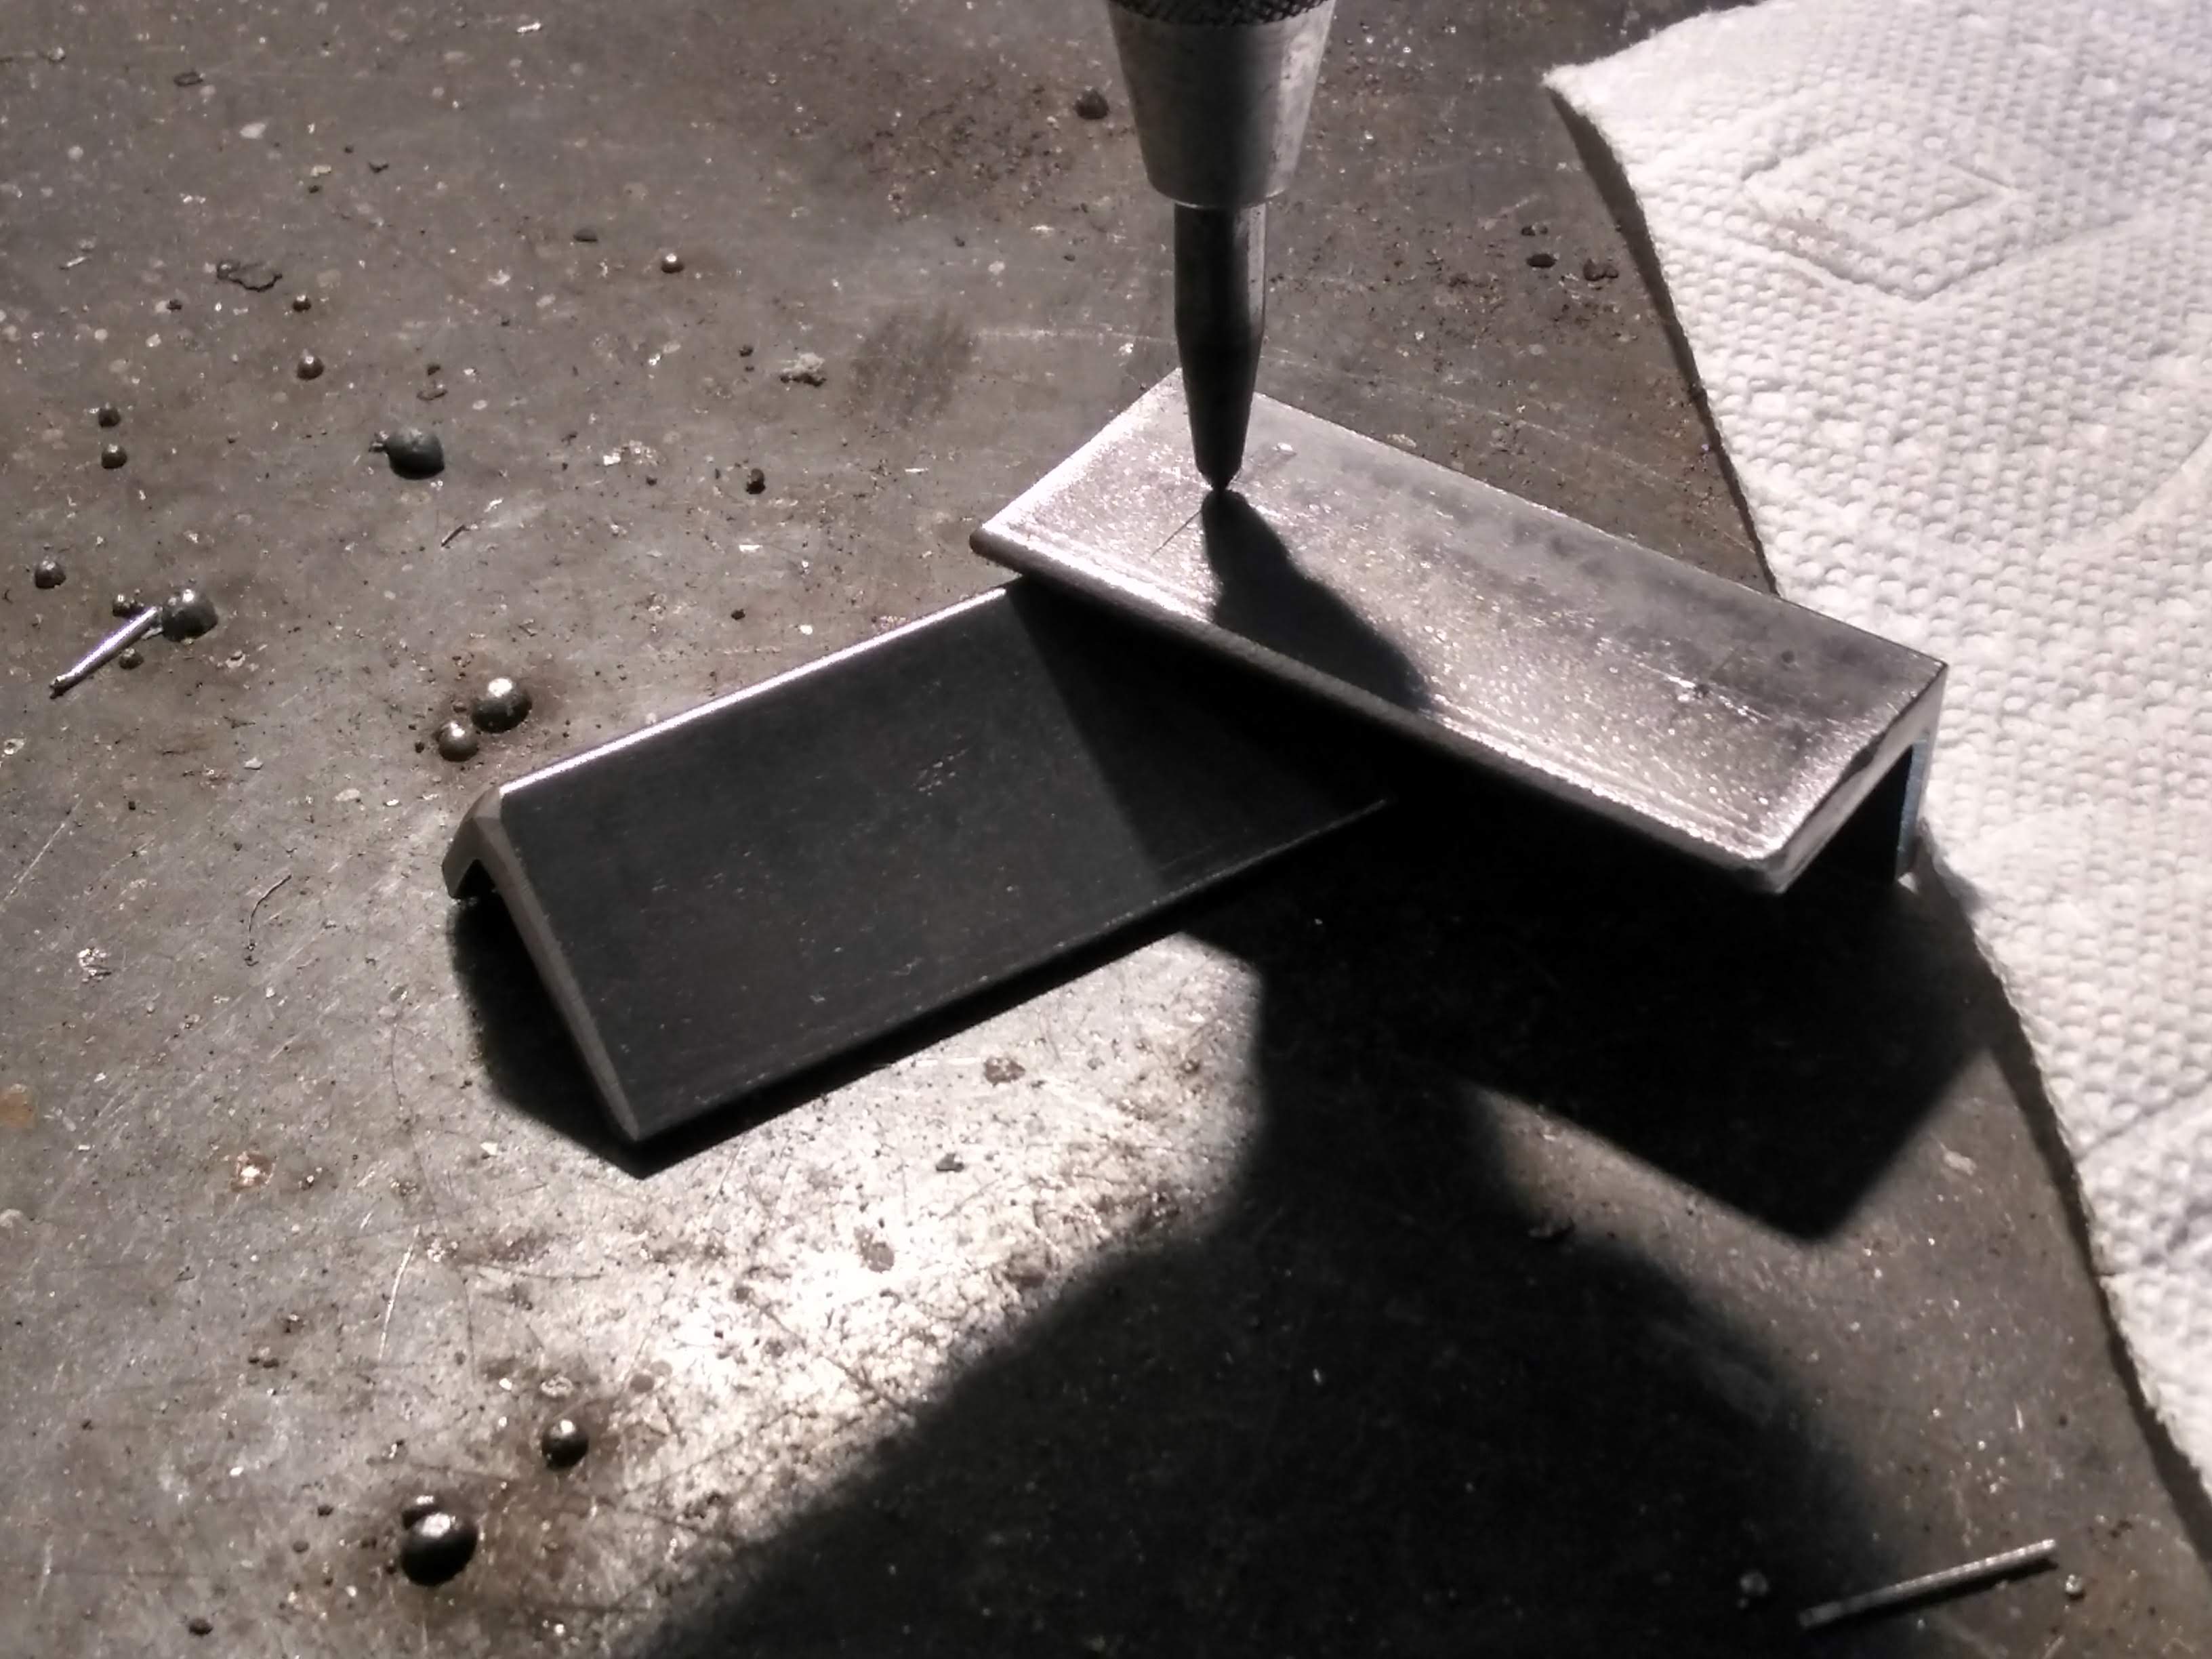
Next, I ground the brakets such that one side was the same width as the tiles. I originally planned on mounting the brackets in a different way than I actually ended up doing (see the diagram below), so I ground one edge of the angle down to the width of the block. My later modification would make this step unnecessary. I also used a wire wheel to smooth out the edges on the metal.
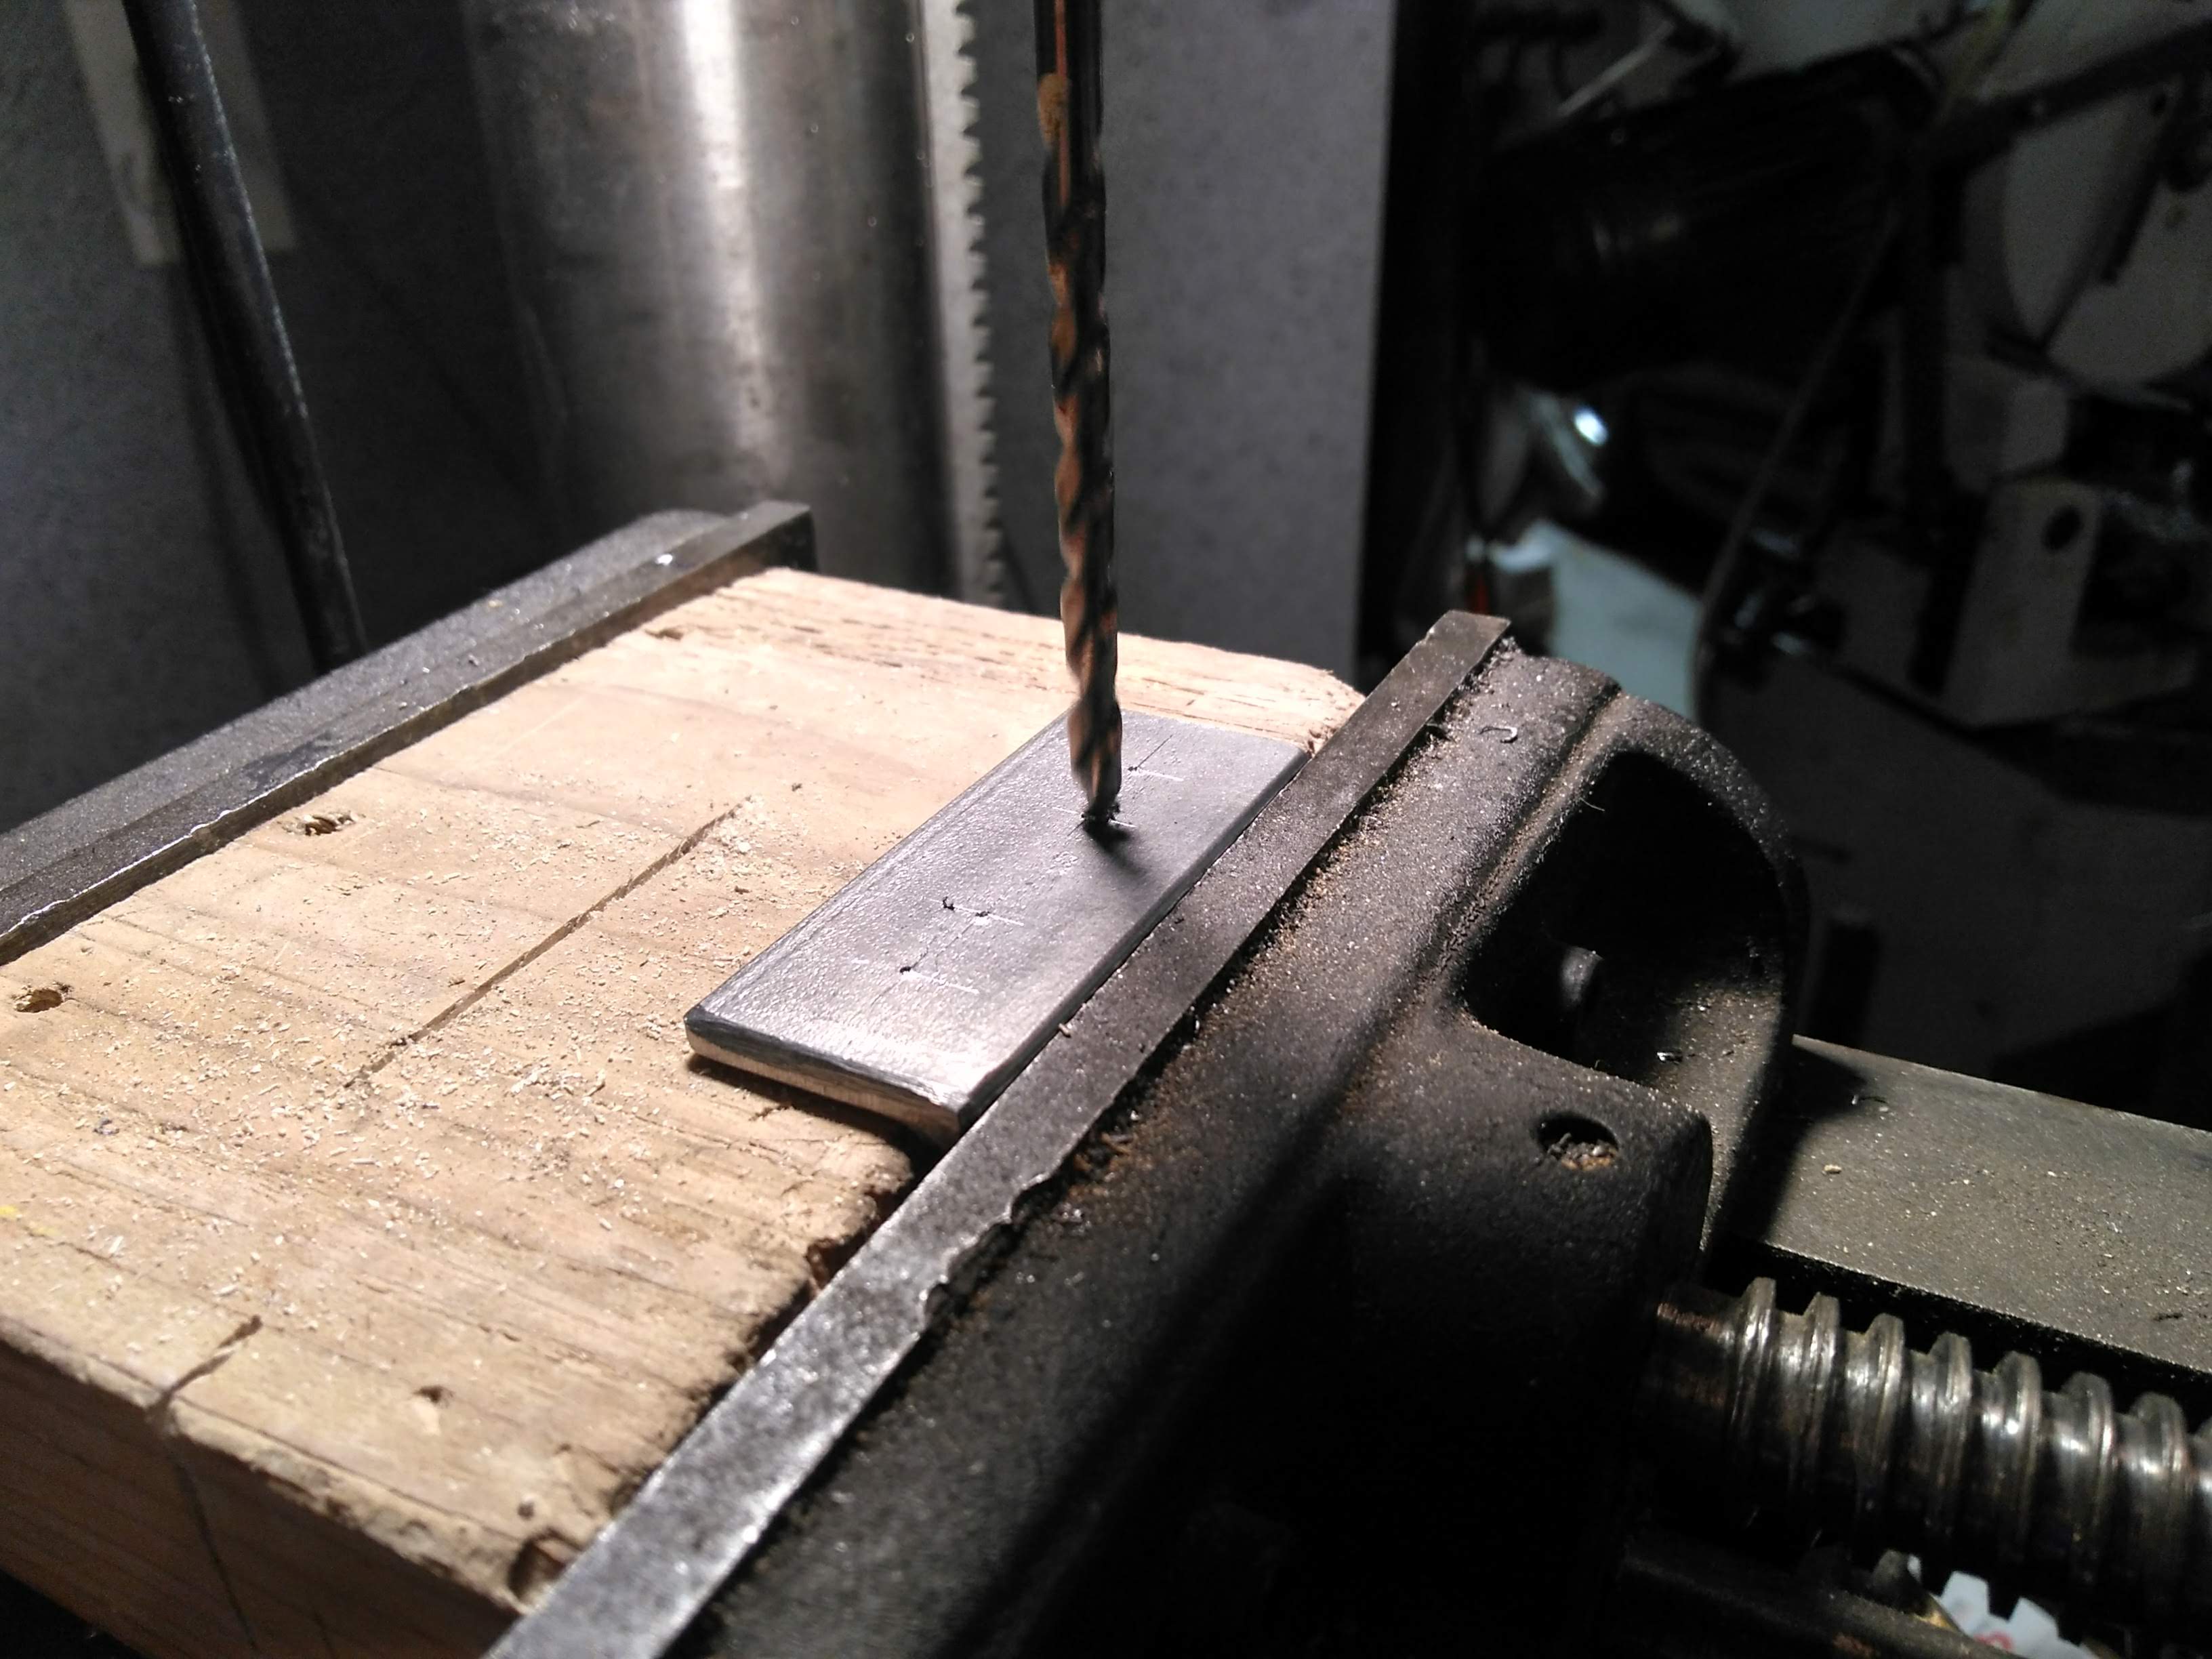
I then marked, drilled, and countersunk holes for the bracket to be screwed into the wall.
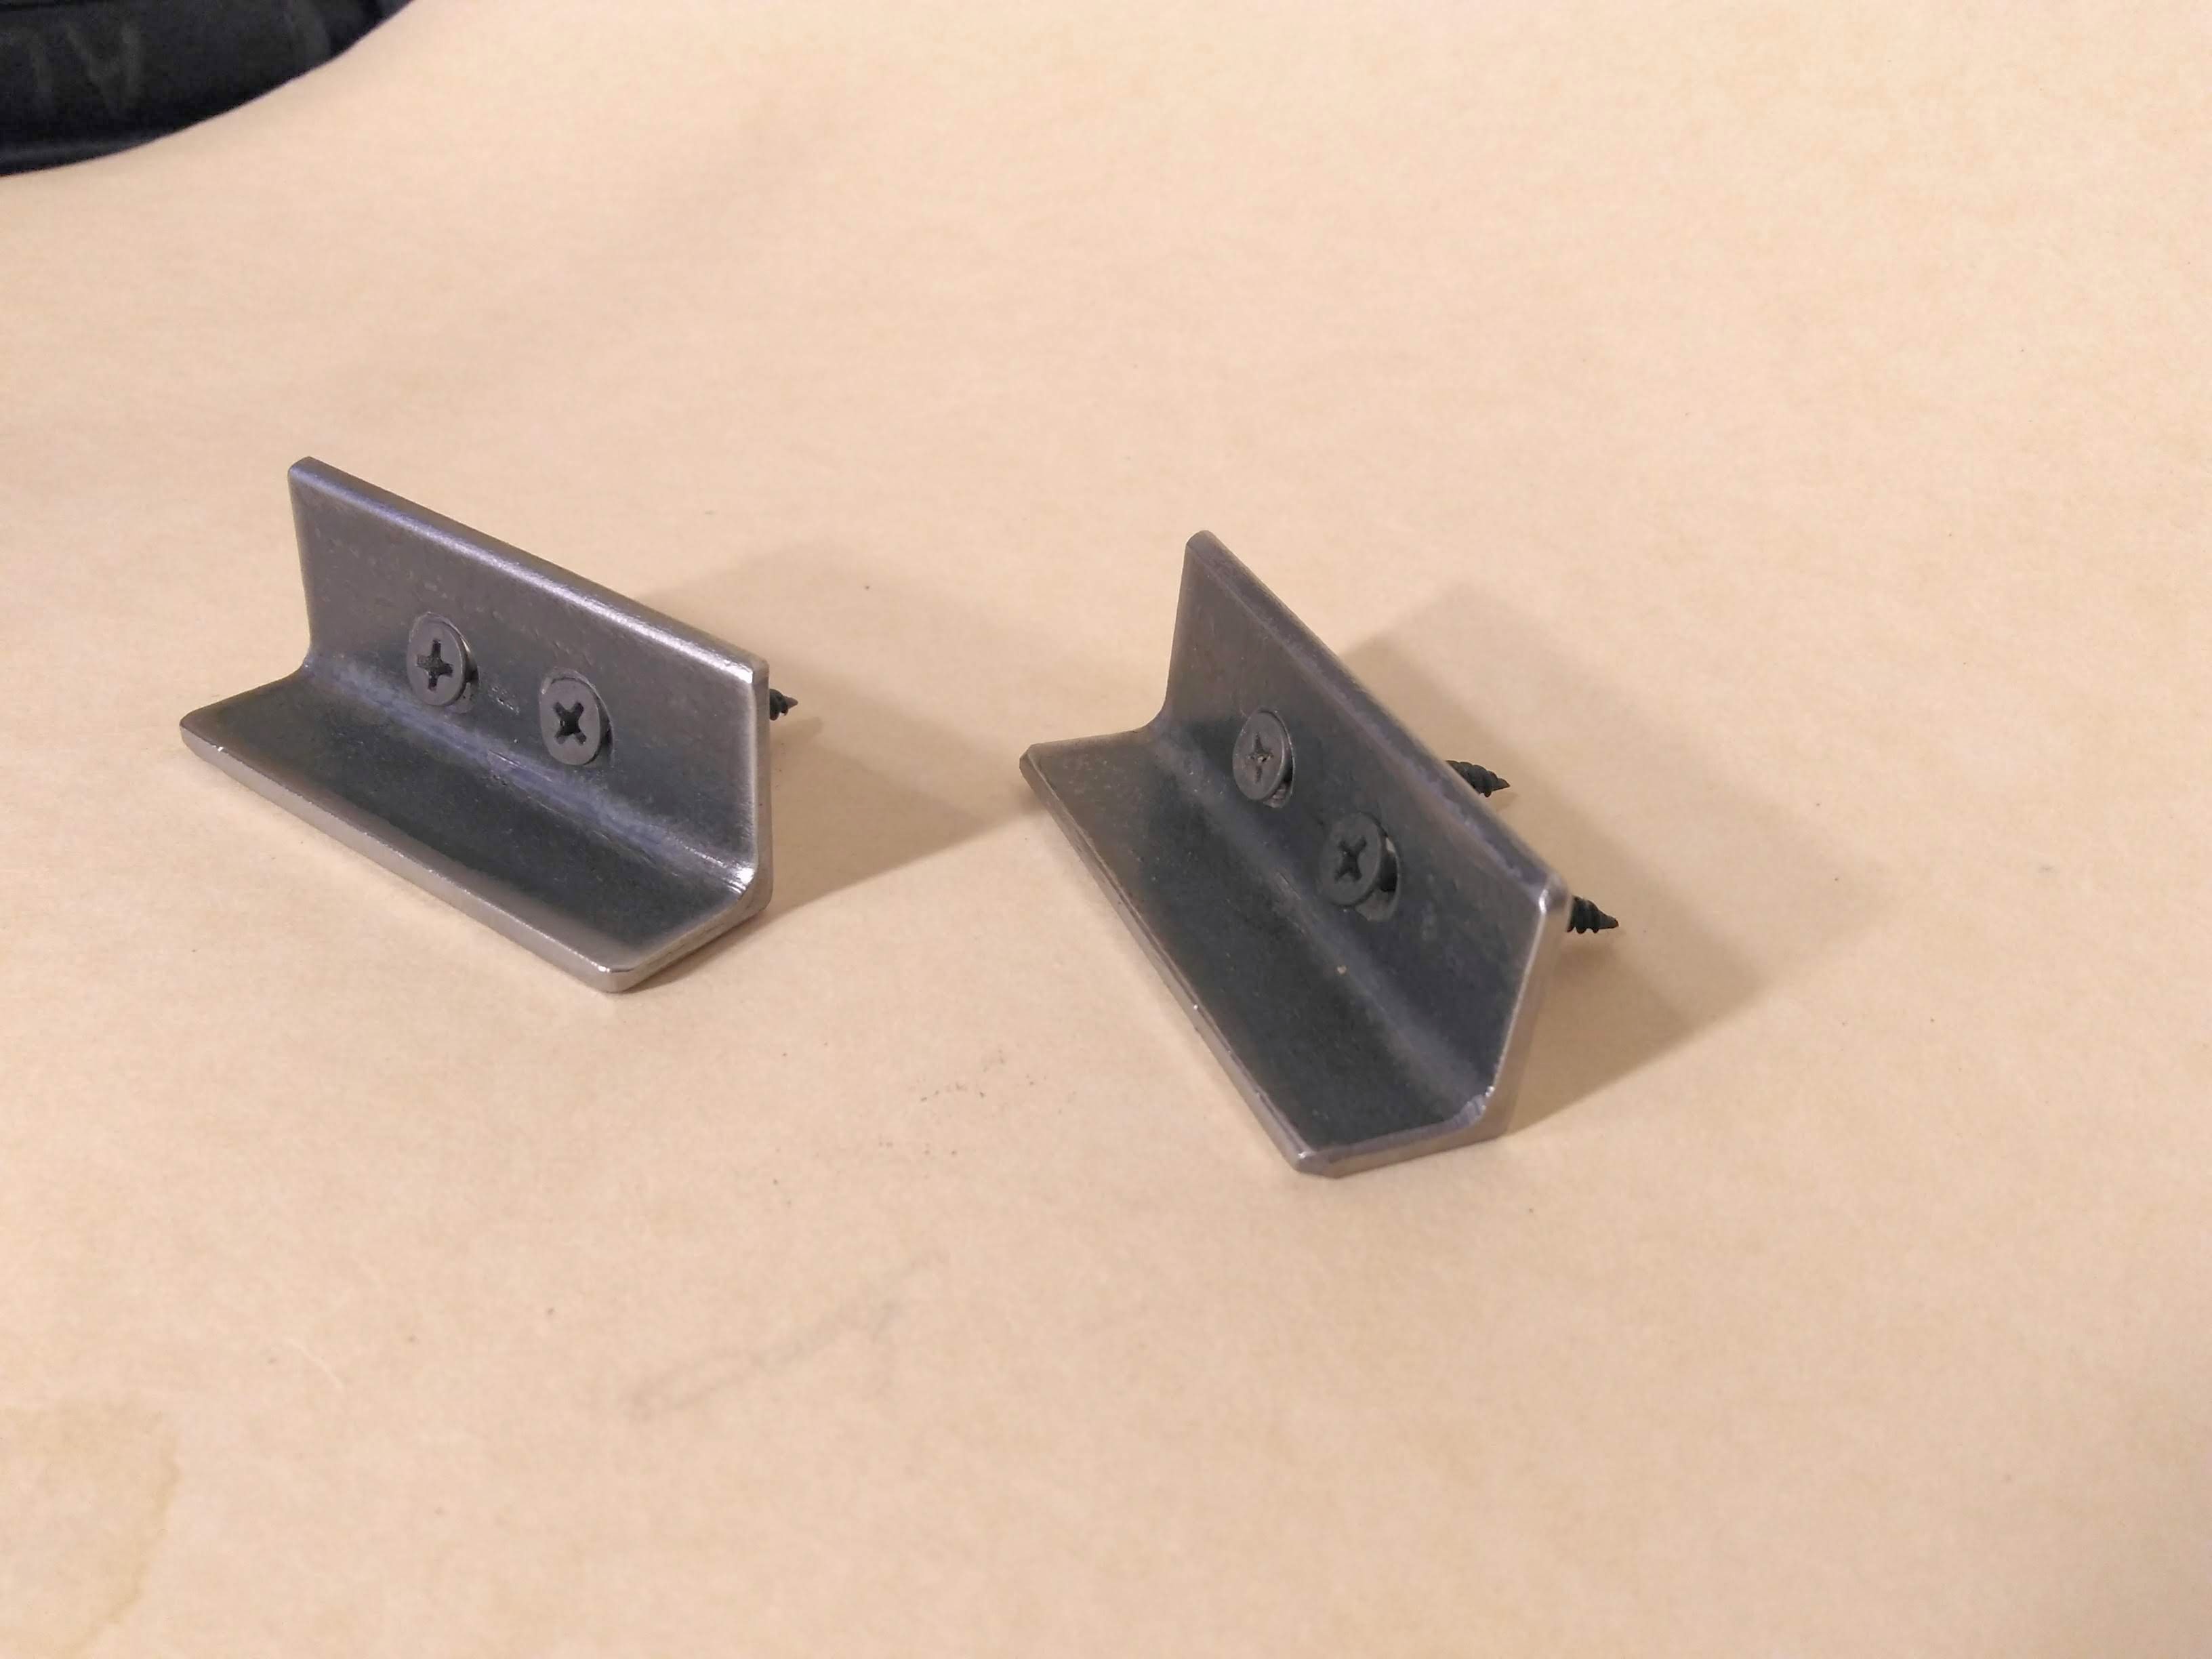
I wanted the brackets to be as secure as possible, so I installed an extra magnet in the two blocks that rested on the brackets - these blocks would not only stick to other blocks, but also the steel bracket they rested on. I accidentally drilled one of the holes too deep, so I had to use a piece of masking tape to shim the magnet such that it was flush with the surface of the block. With all the pieces complete, I assembled the puzzle and laid the whole assembly out on a table.

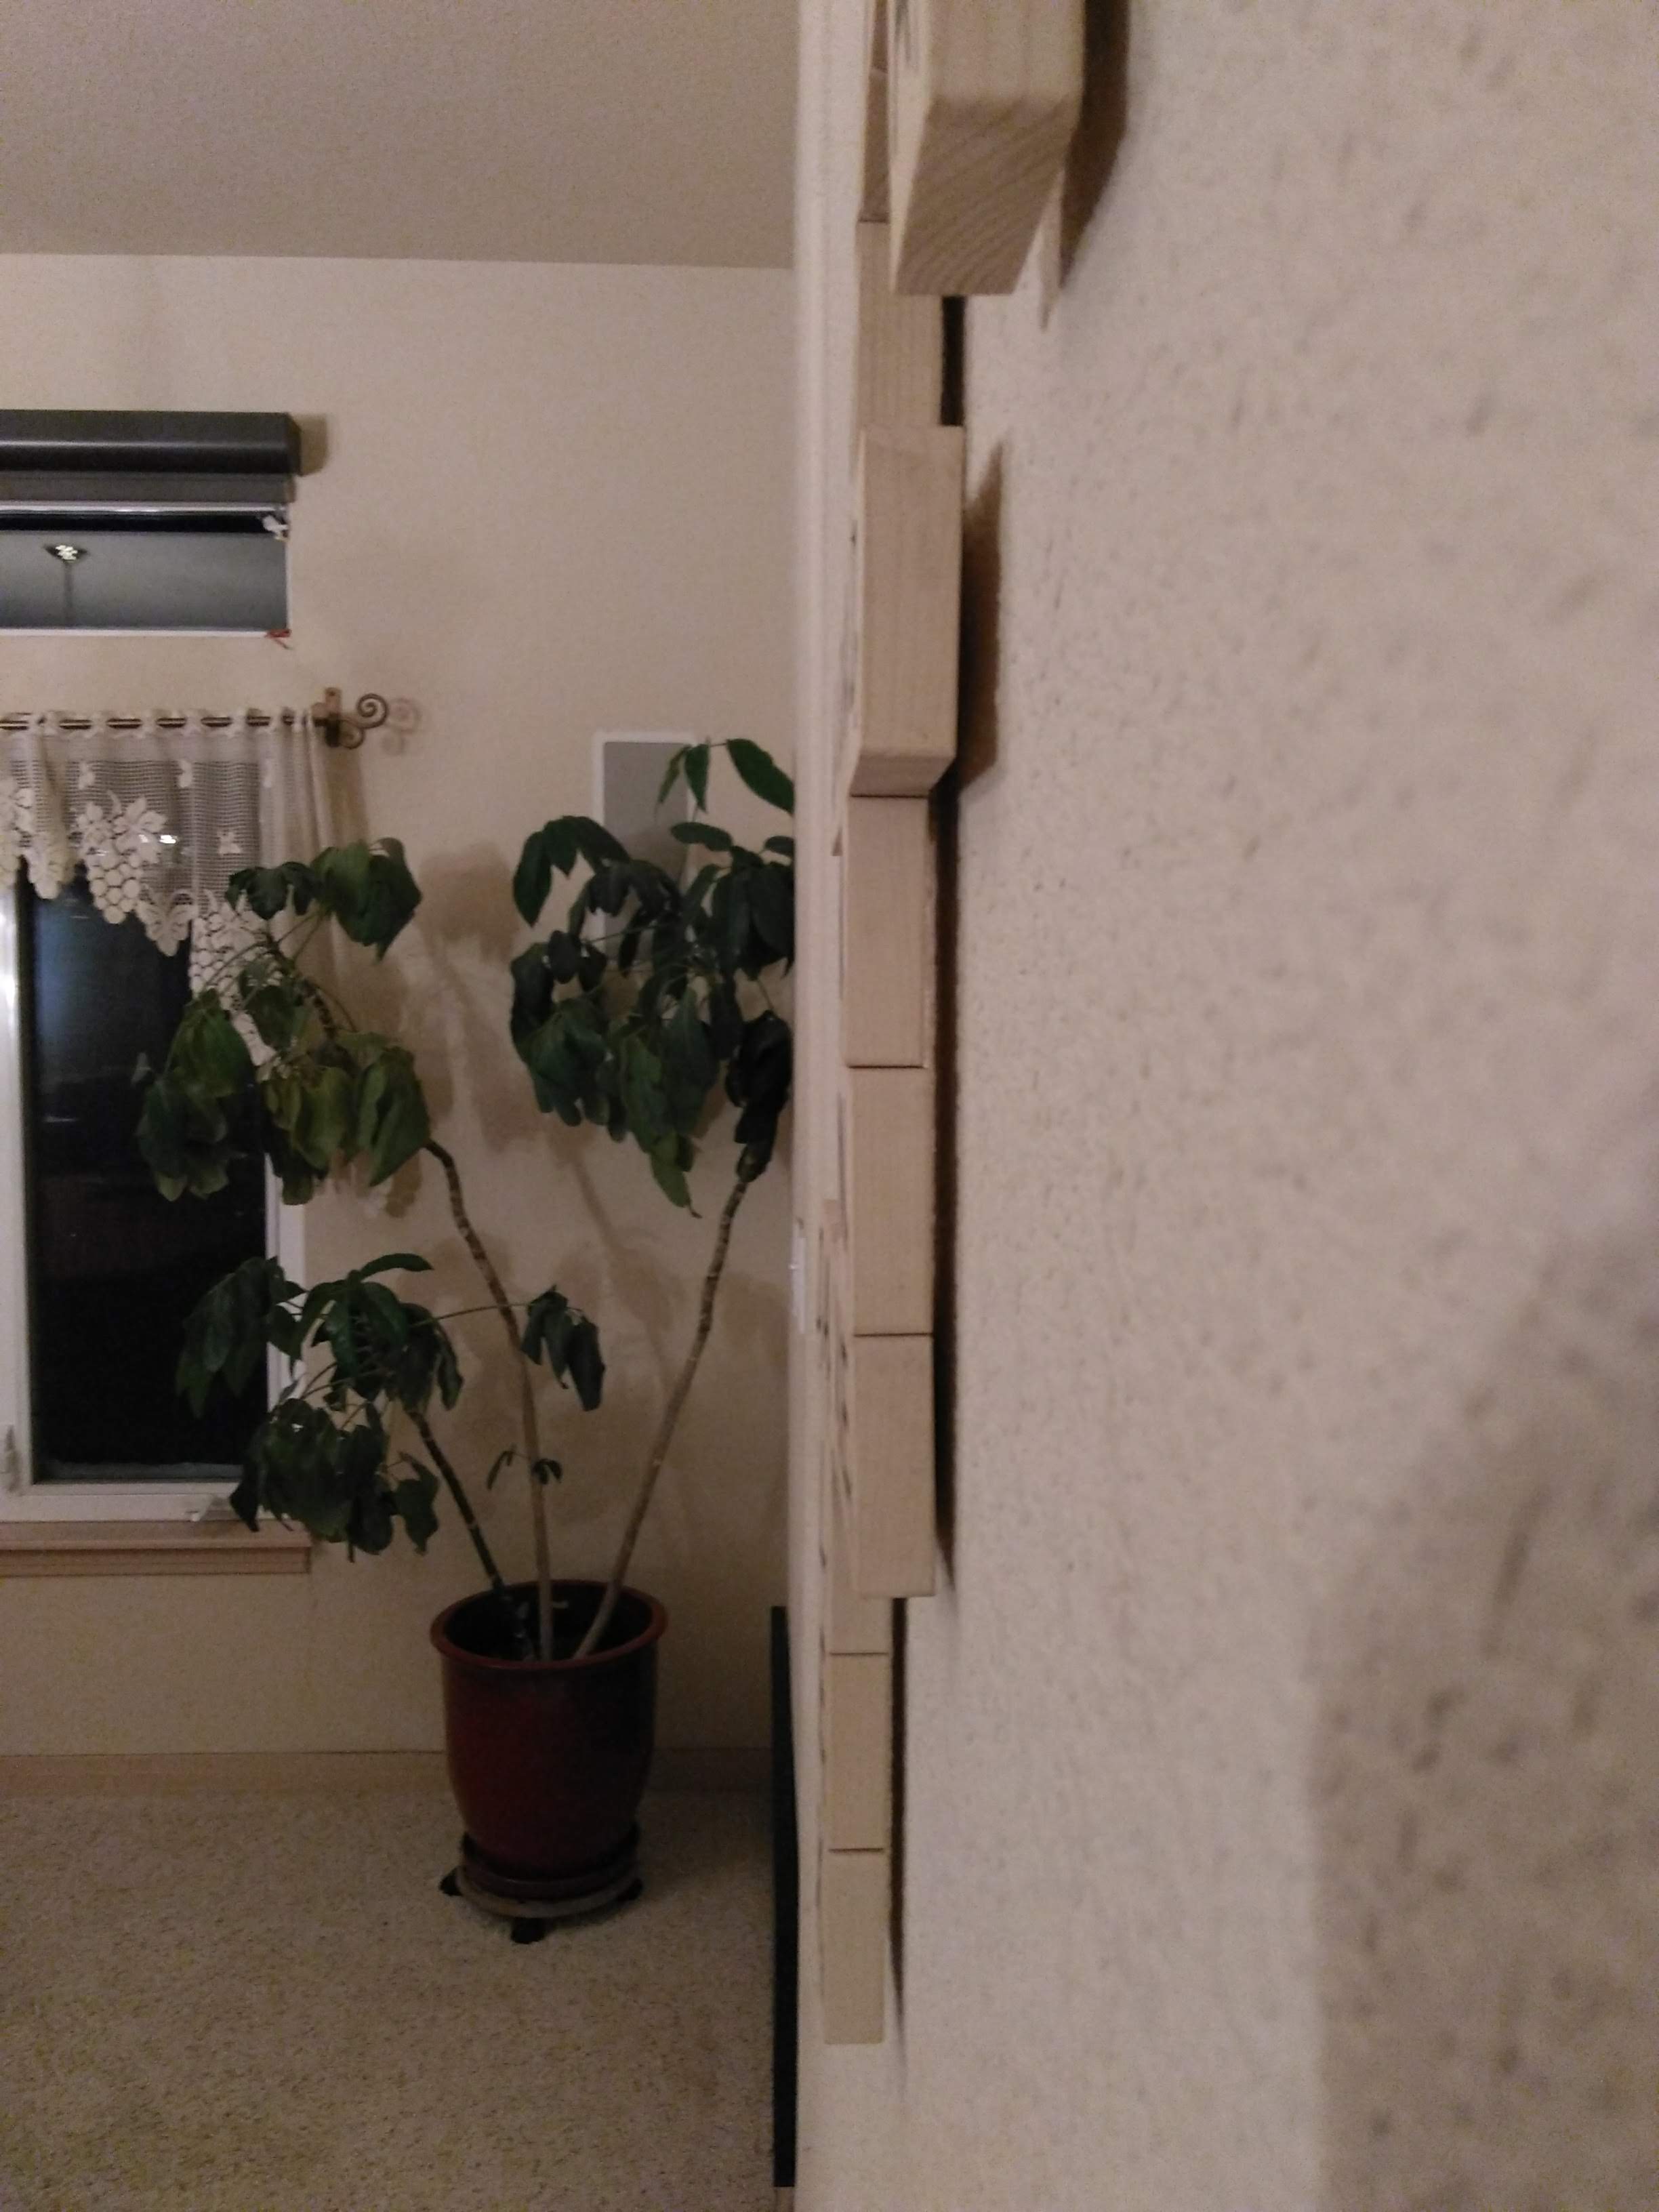
I then screwed the brackets into the wall (using drywall anchors where there weren't studs), and assembled the puzzle around it. Because of the modifaction in mounting method that I mentioned before, the tiles are slightly offset from the wall, but this doesn't make the structure any more fragile, and I think this gap is a nice look.
Here's a video demonstrating the puzzle - hopefully you can see why I used magnets instead of something more permanent.