the board, part 1(return to campus board hub)
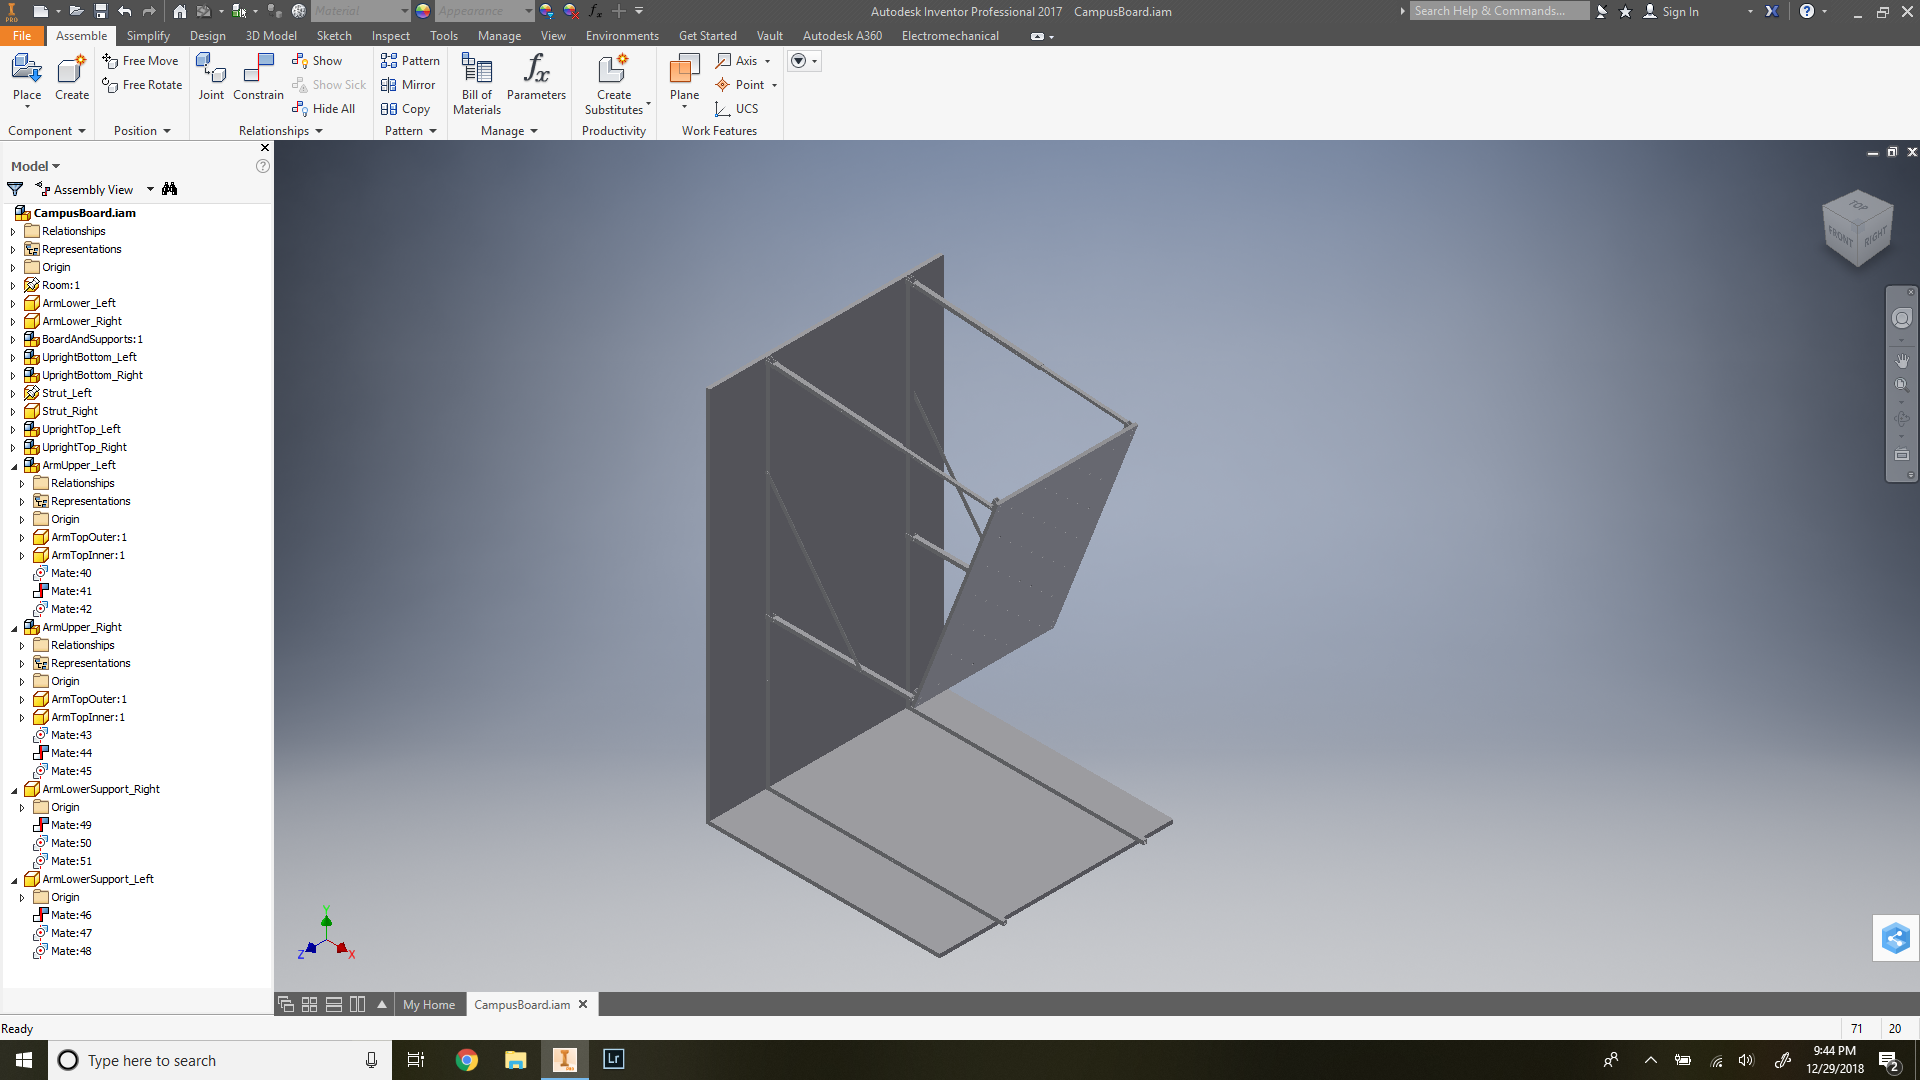
My first idea was to make an almost full sized board (normal campus boards are around 6' tall). The board alone would be 4' across by 5' tall; to save space, it would fold out from the wall, and for versatility, its angle would be adjustible. I almost finished a whole CAD model in Autodesk Inventor of this idea:
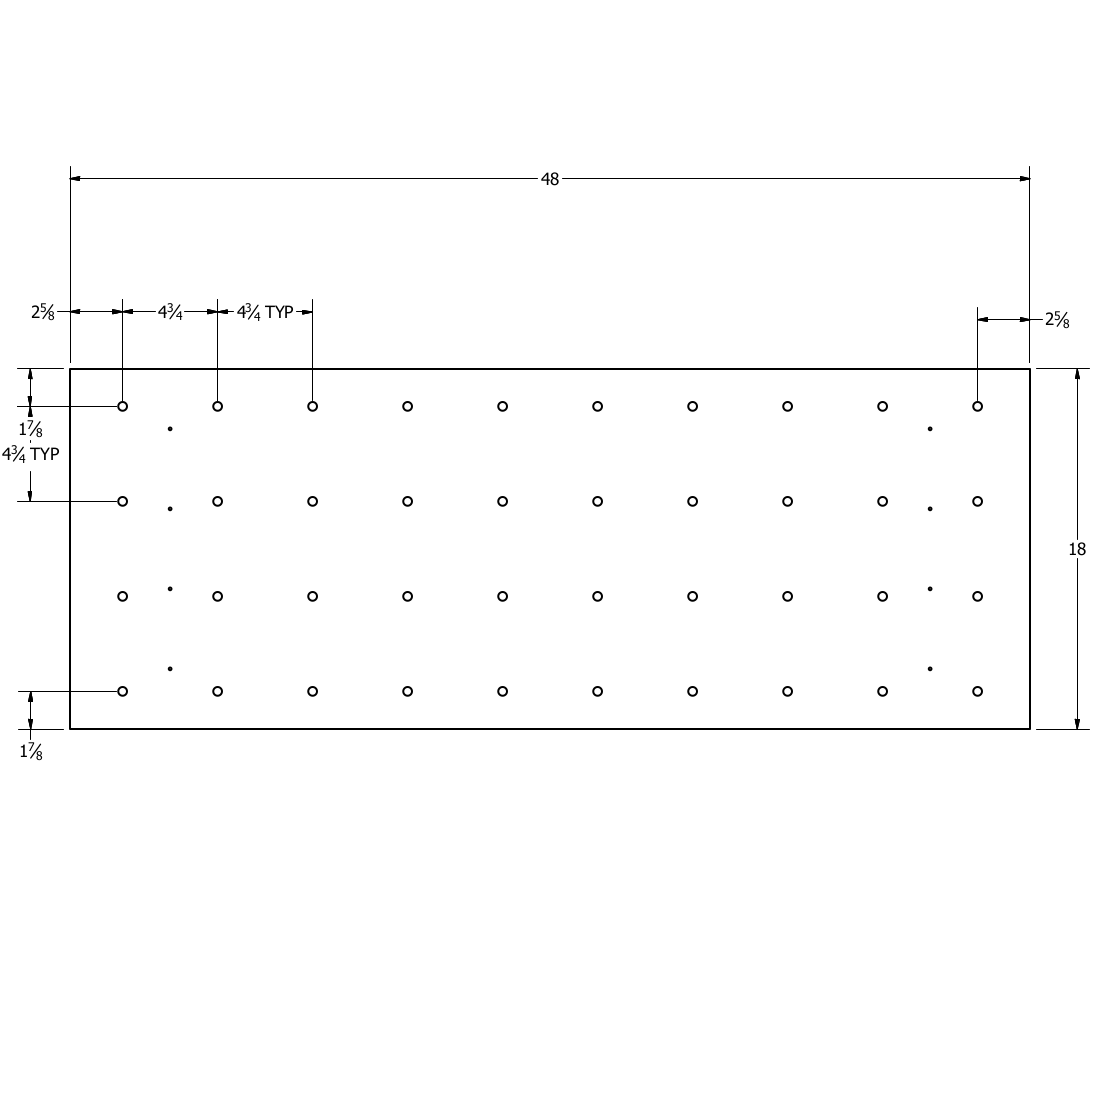
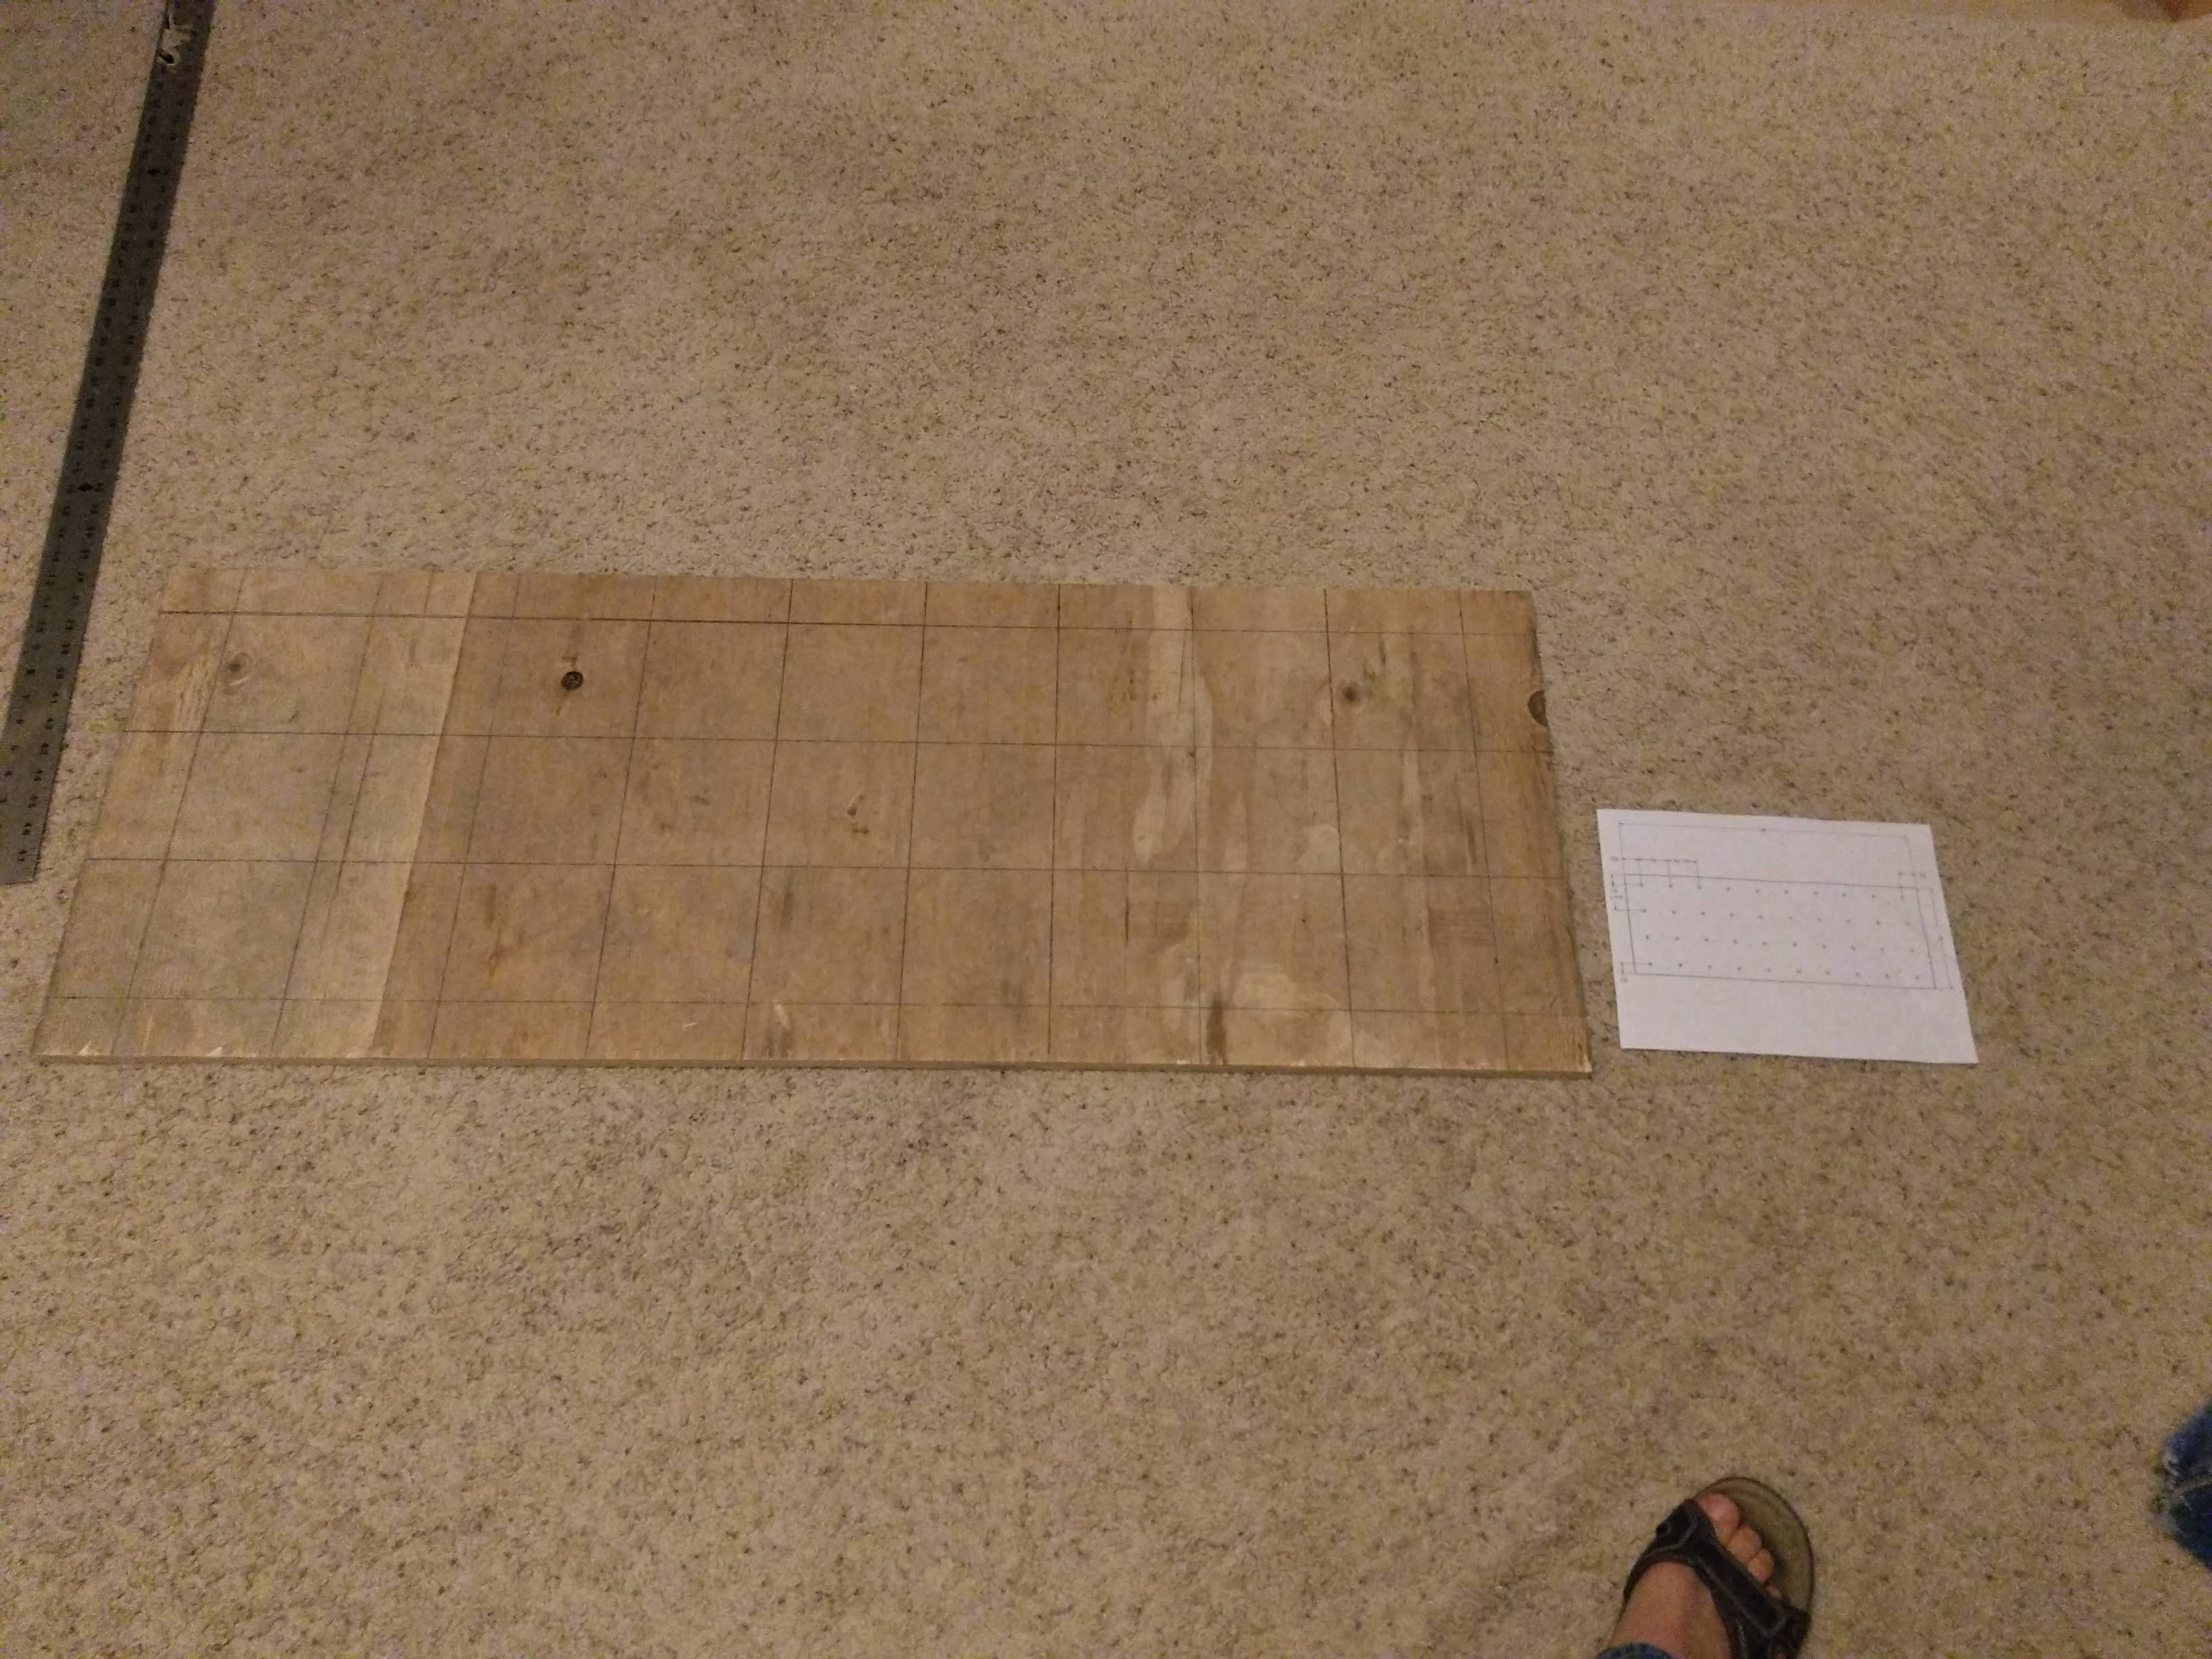
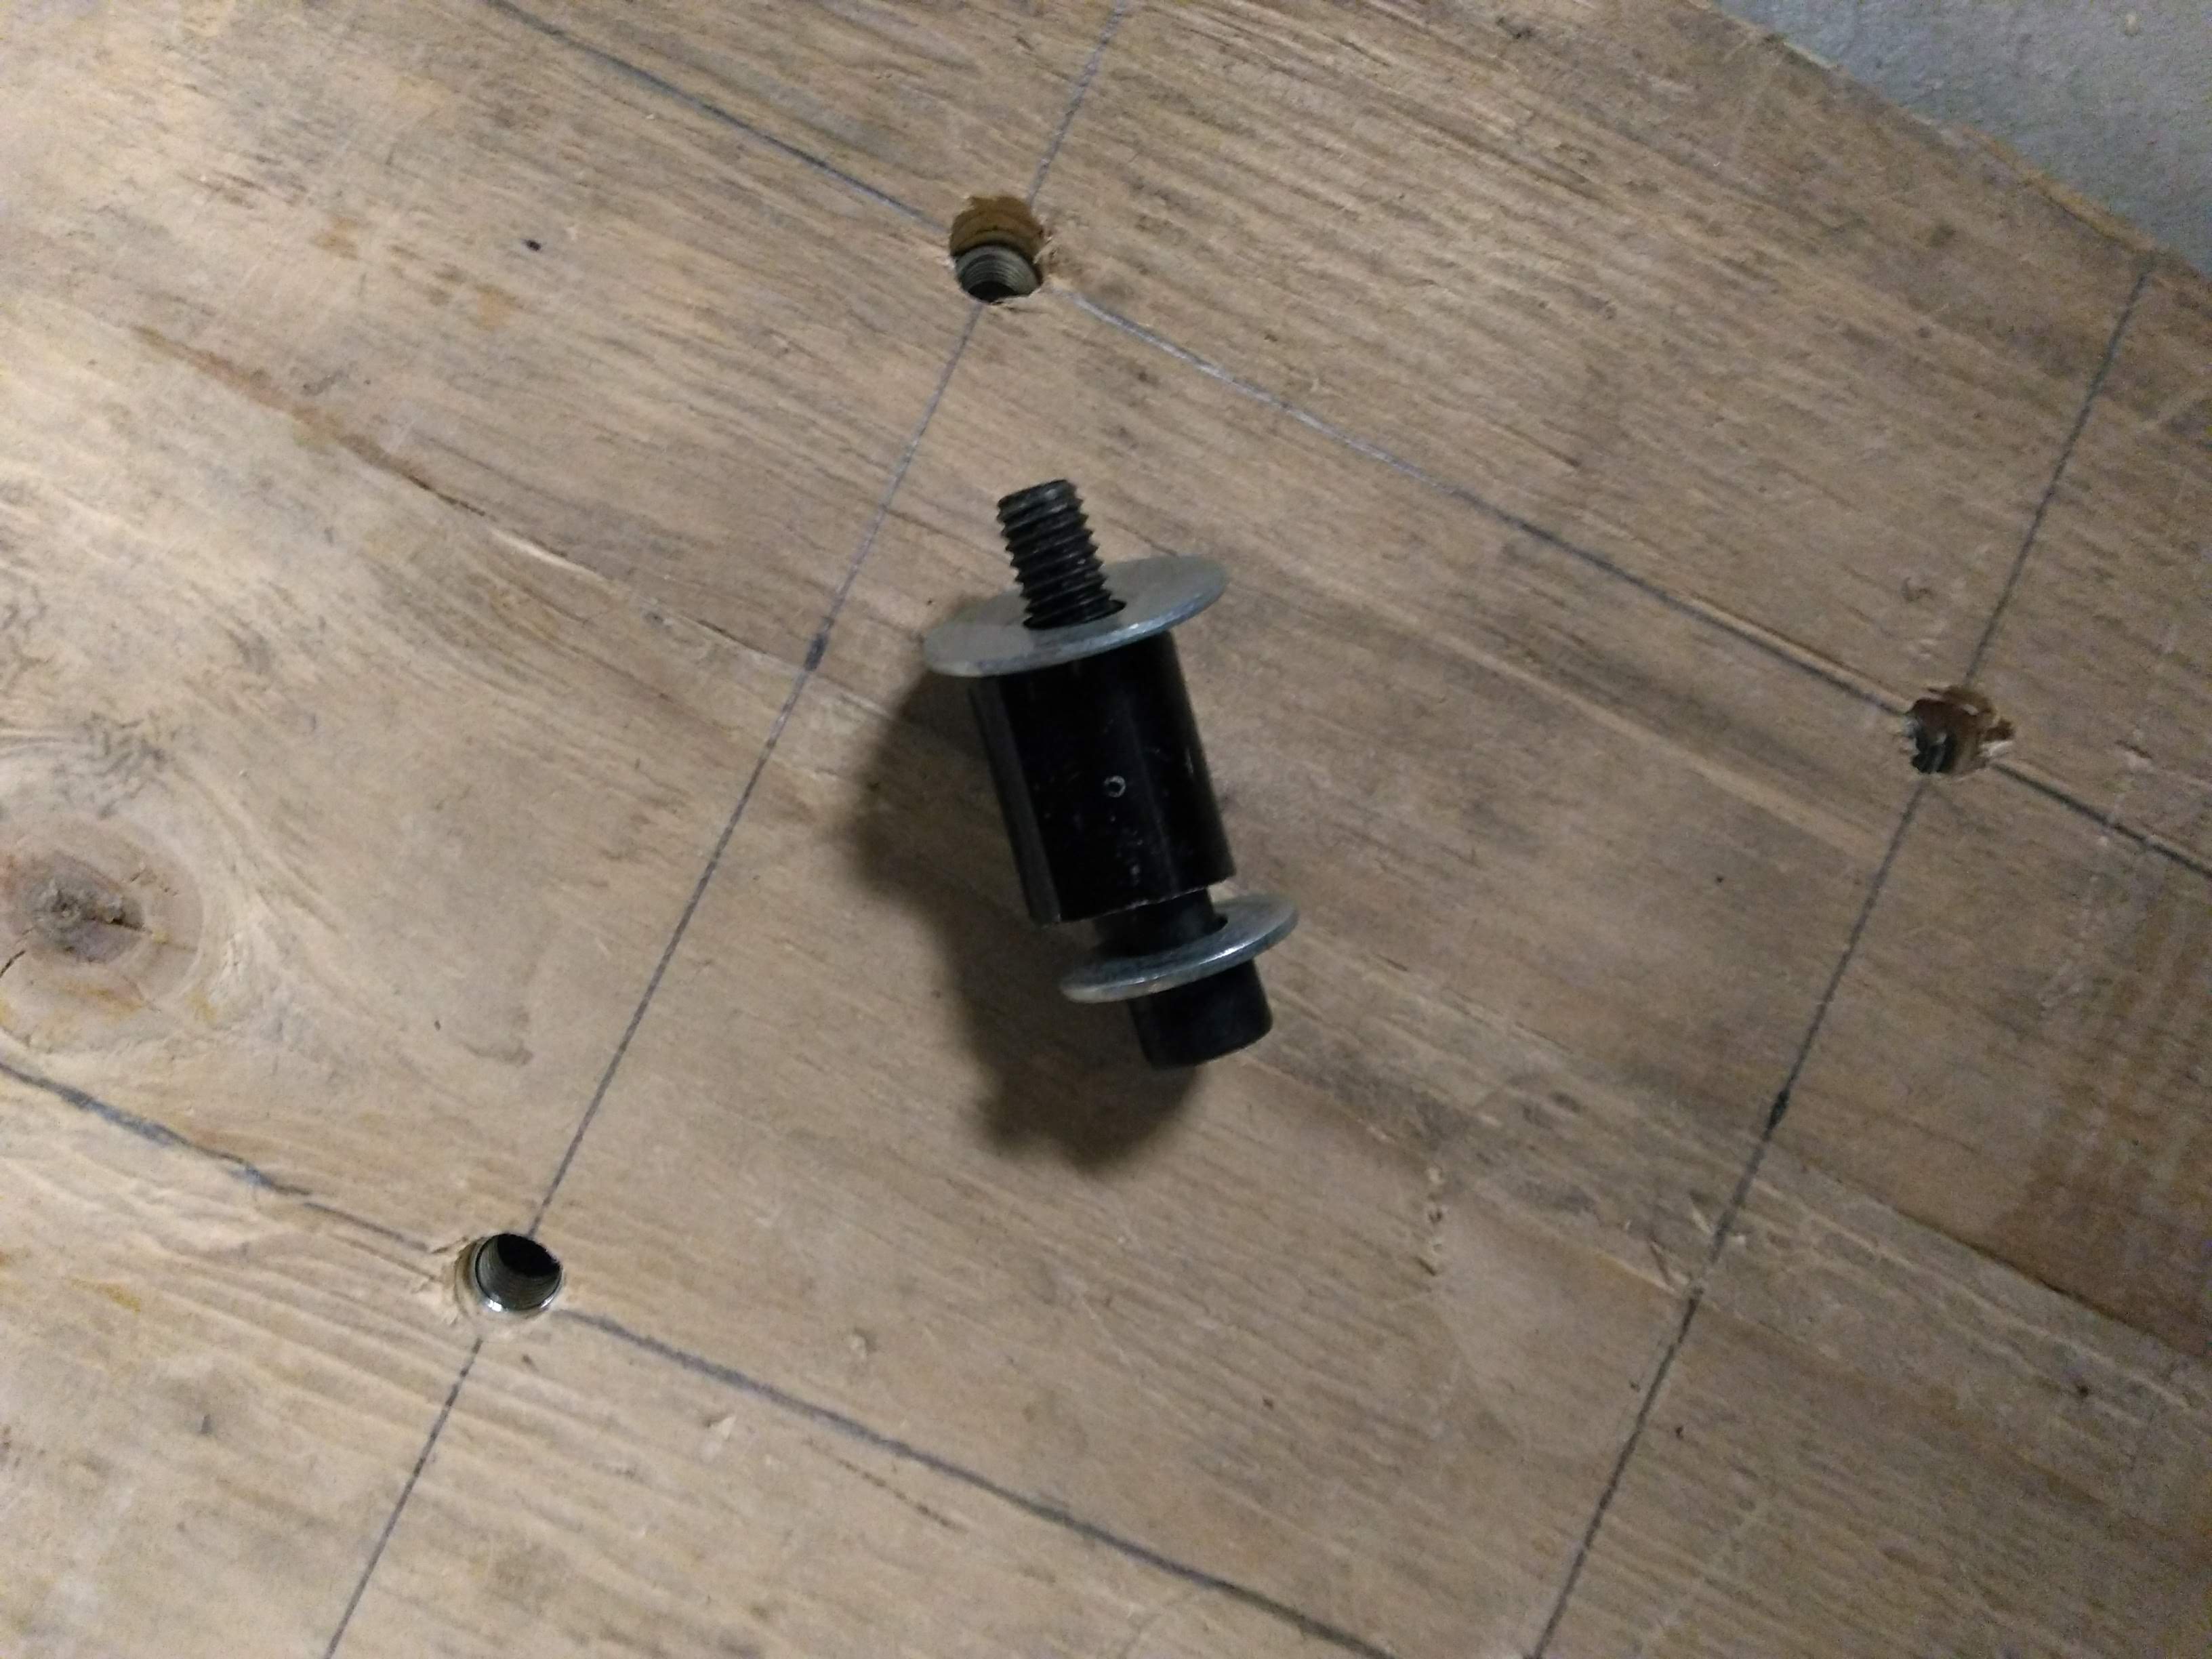
However, after visiting my brother's dorm, I realized this was far too large to fit in the room. Instead, I created a completely new model, where the board was only 4' by 1.5', with no complicated structure behind it. This smaller board was much more likely to fit somewhere in the apartment, whether mounted over a doorway or bolted to one of the exposed joists. Instead of permanently bolting the campus board rungs to the board, I decided to construct the board much like a normal climbing wall, where each hole is threaded to accept a standard 3/8"-16 climbing bolt. This allows for the types and arrangment of holds to be changed at will.
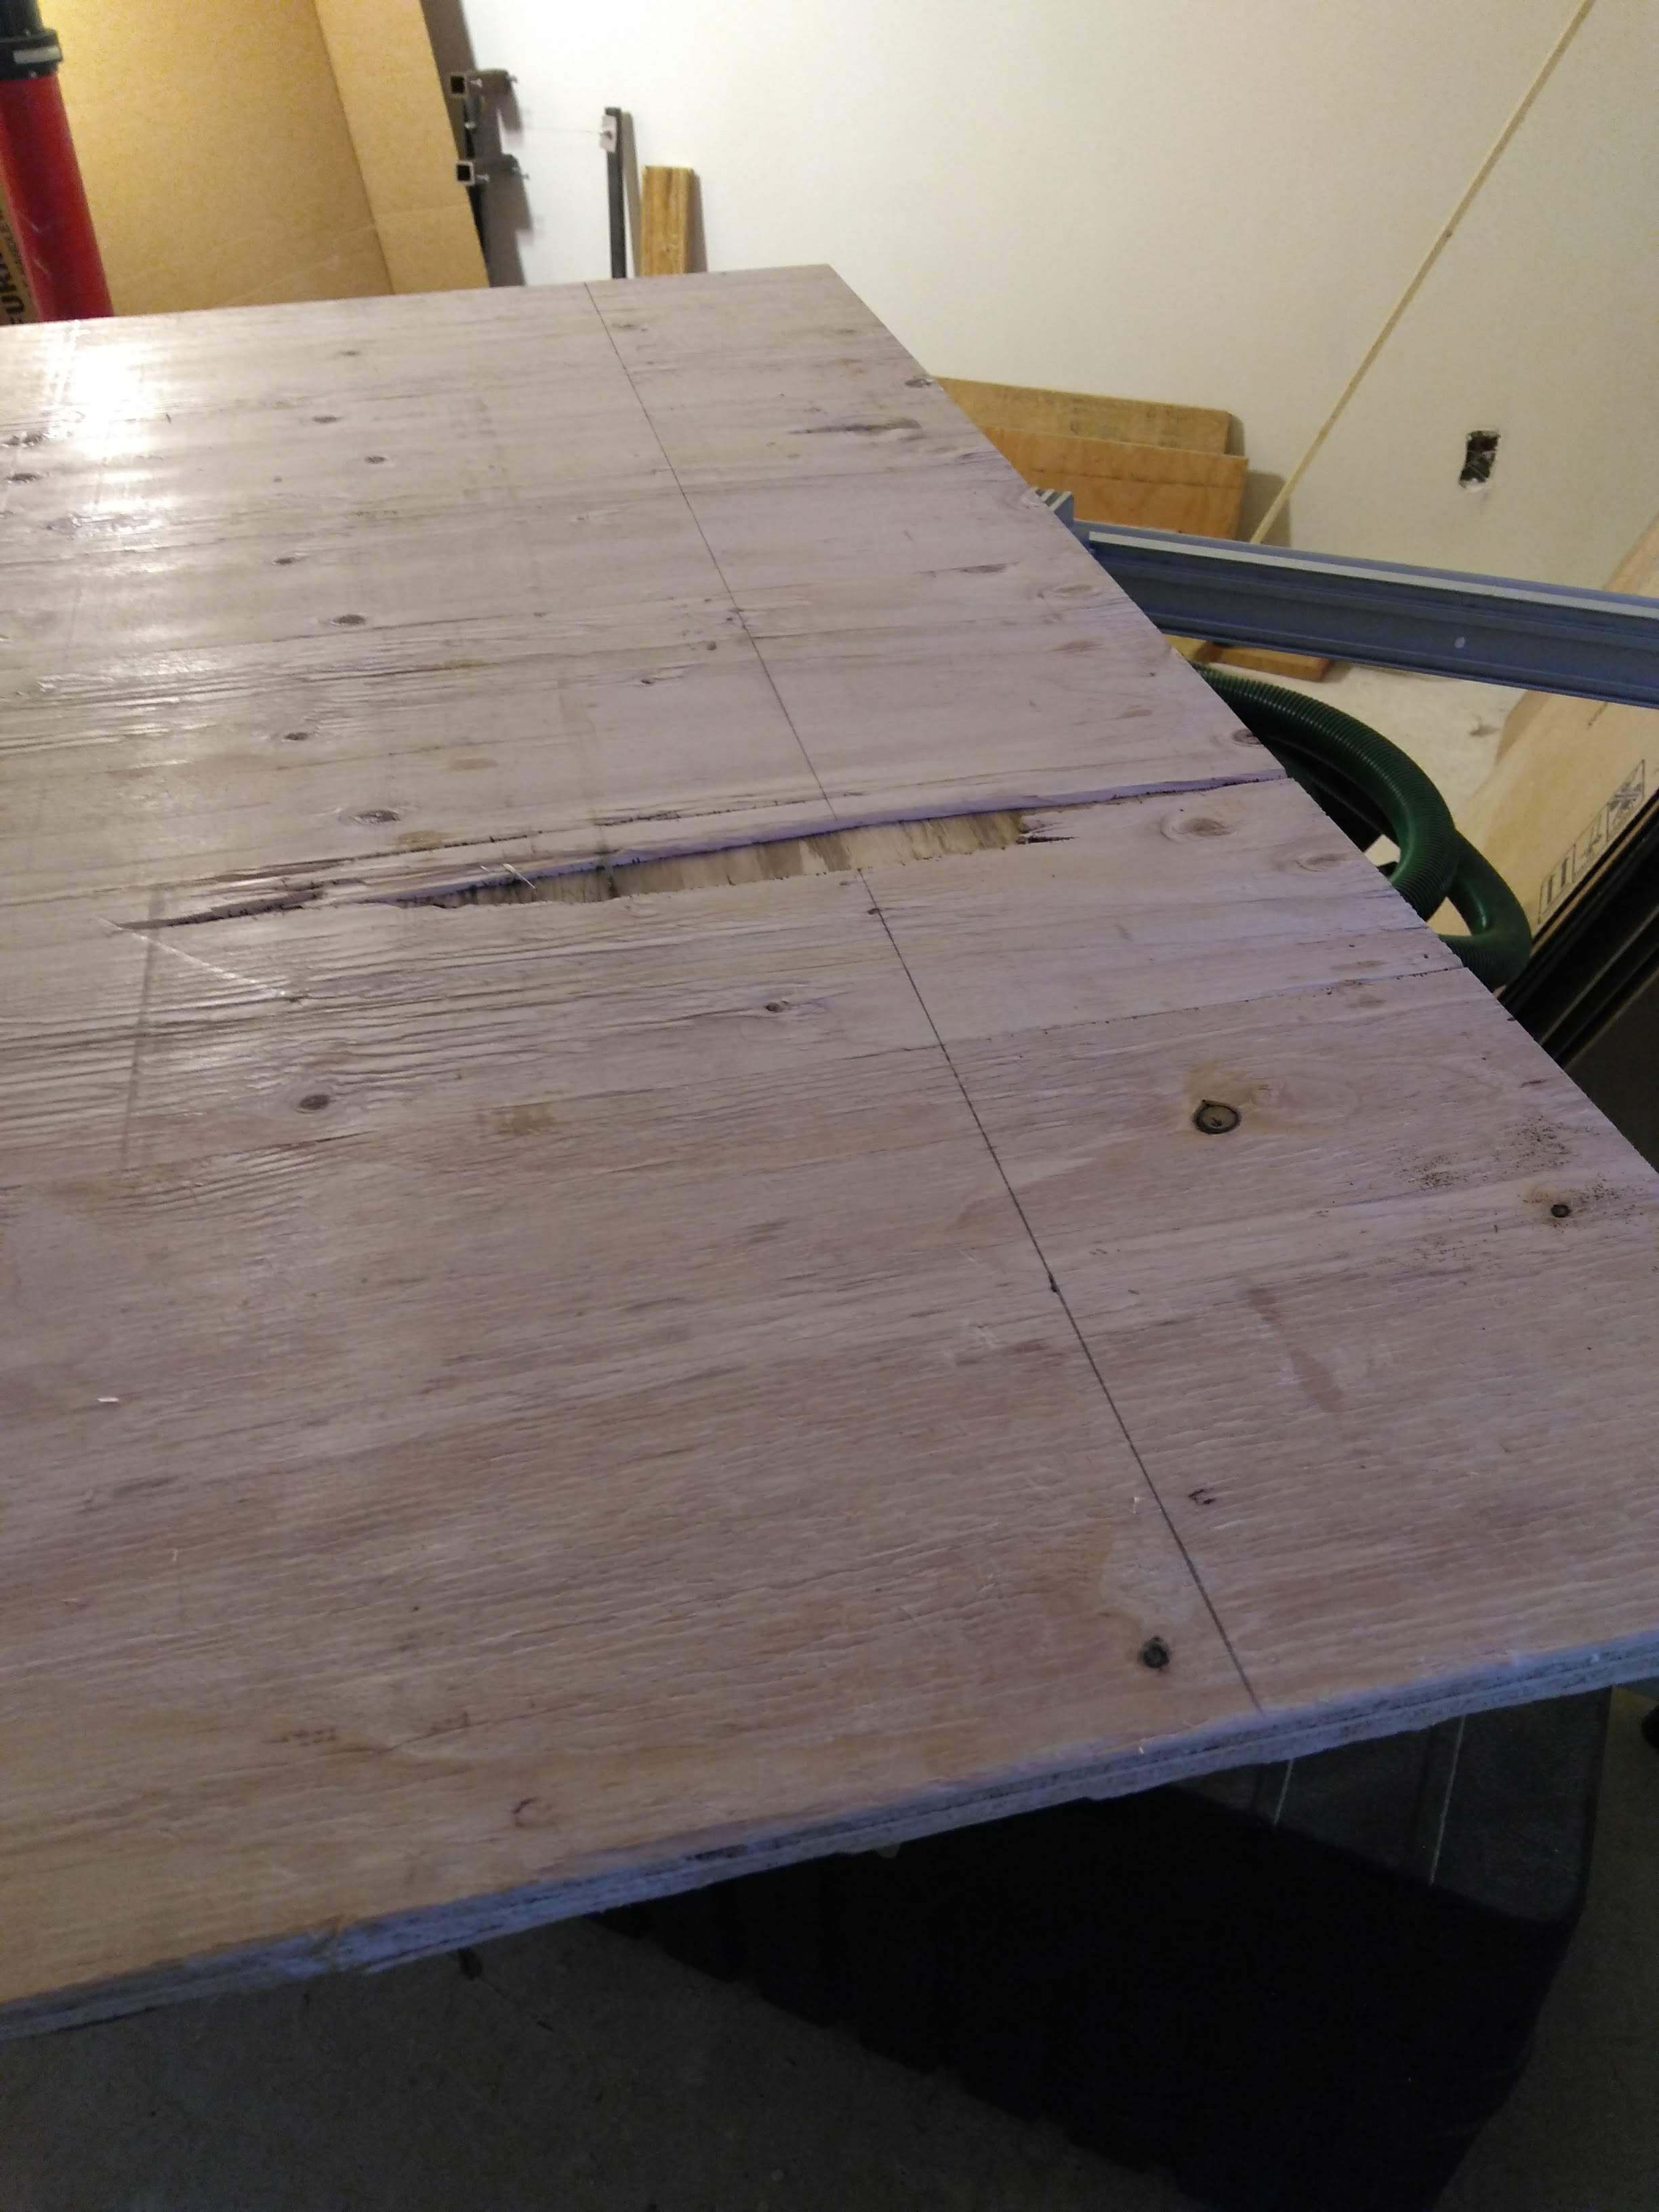
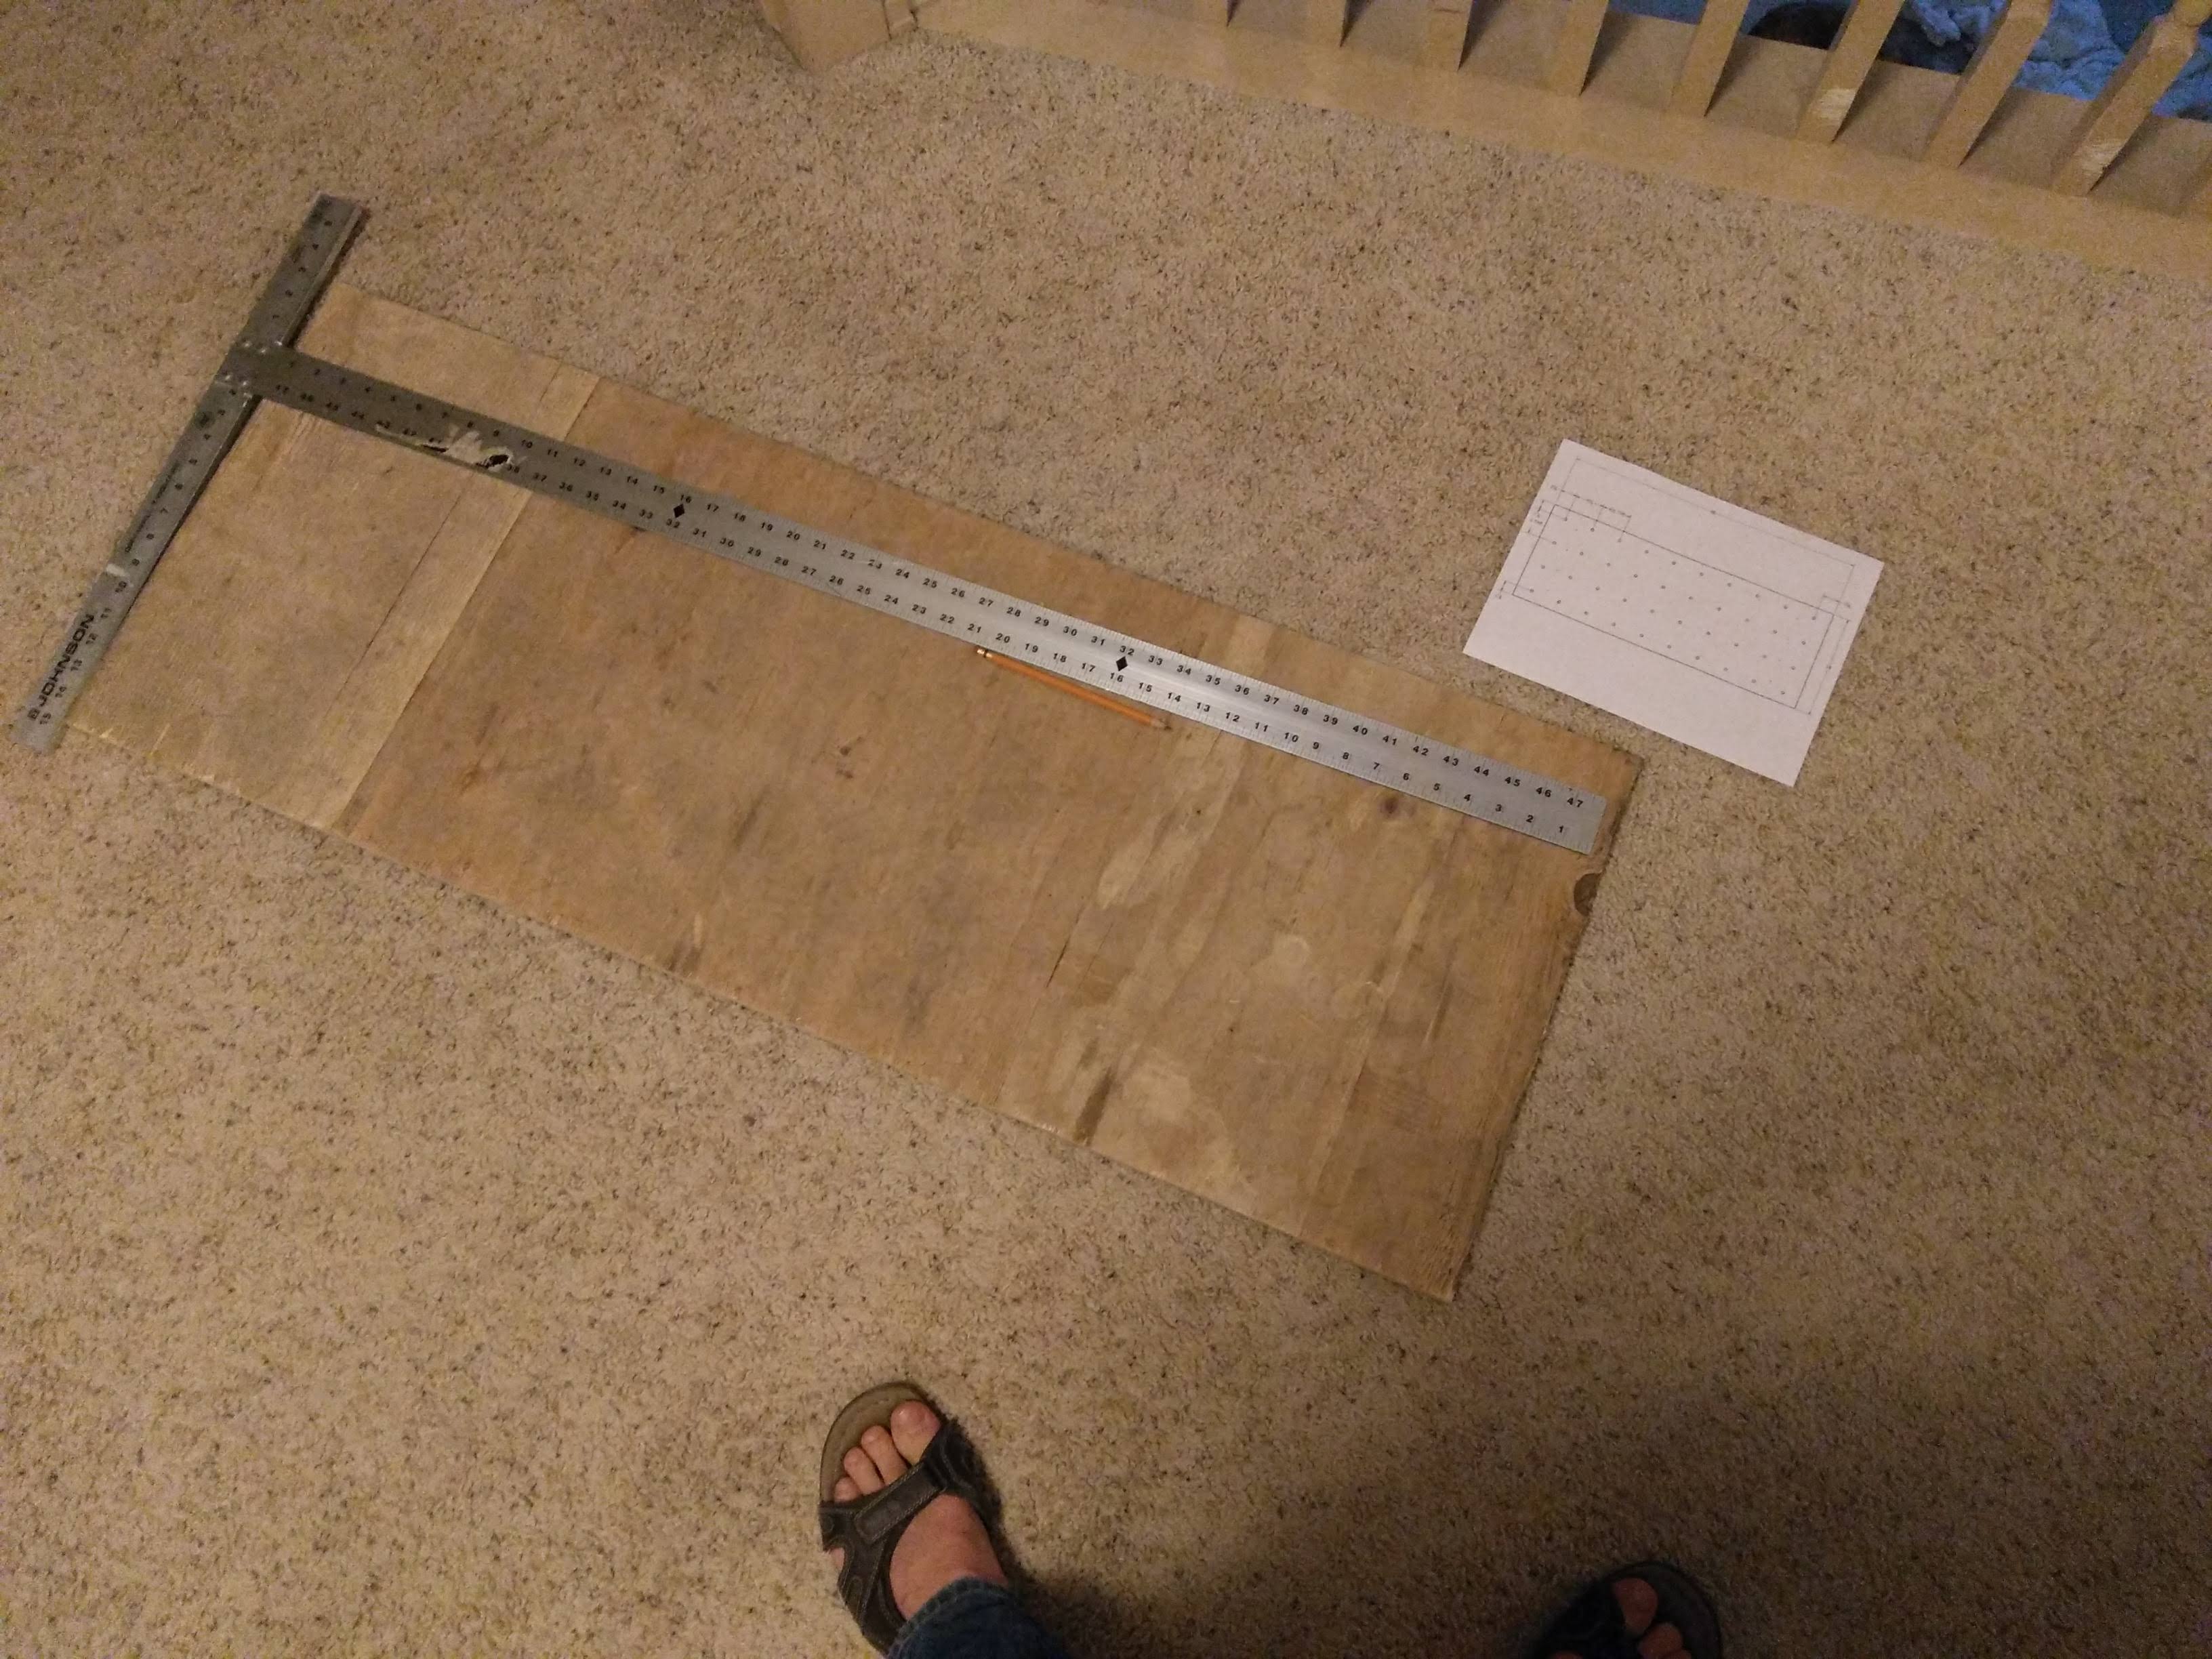
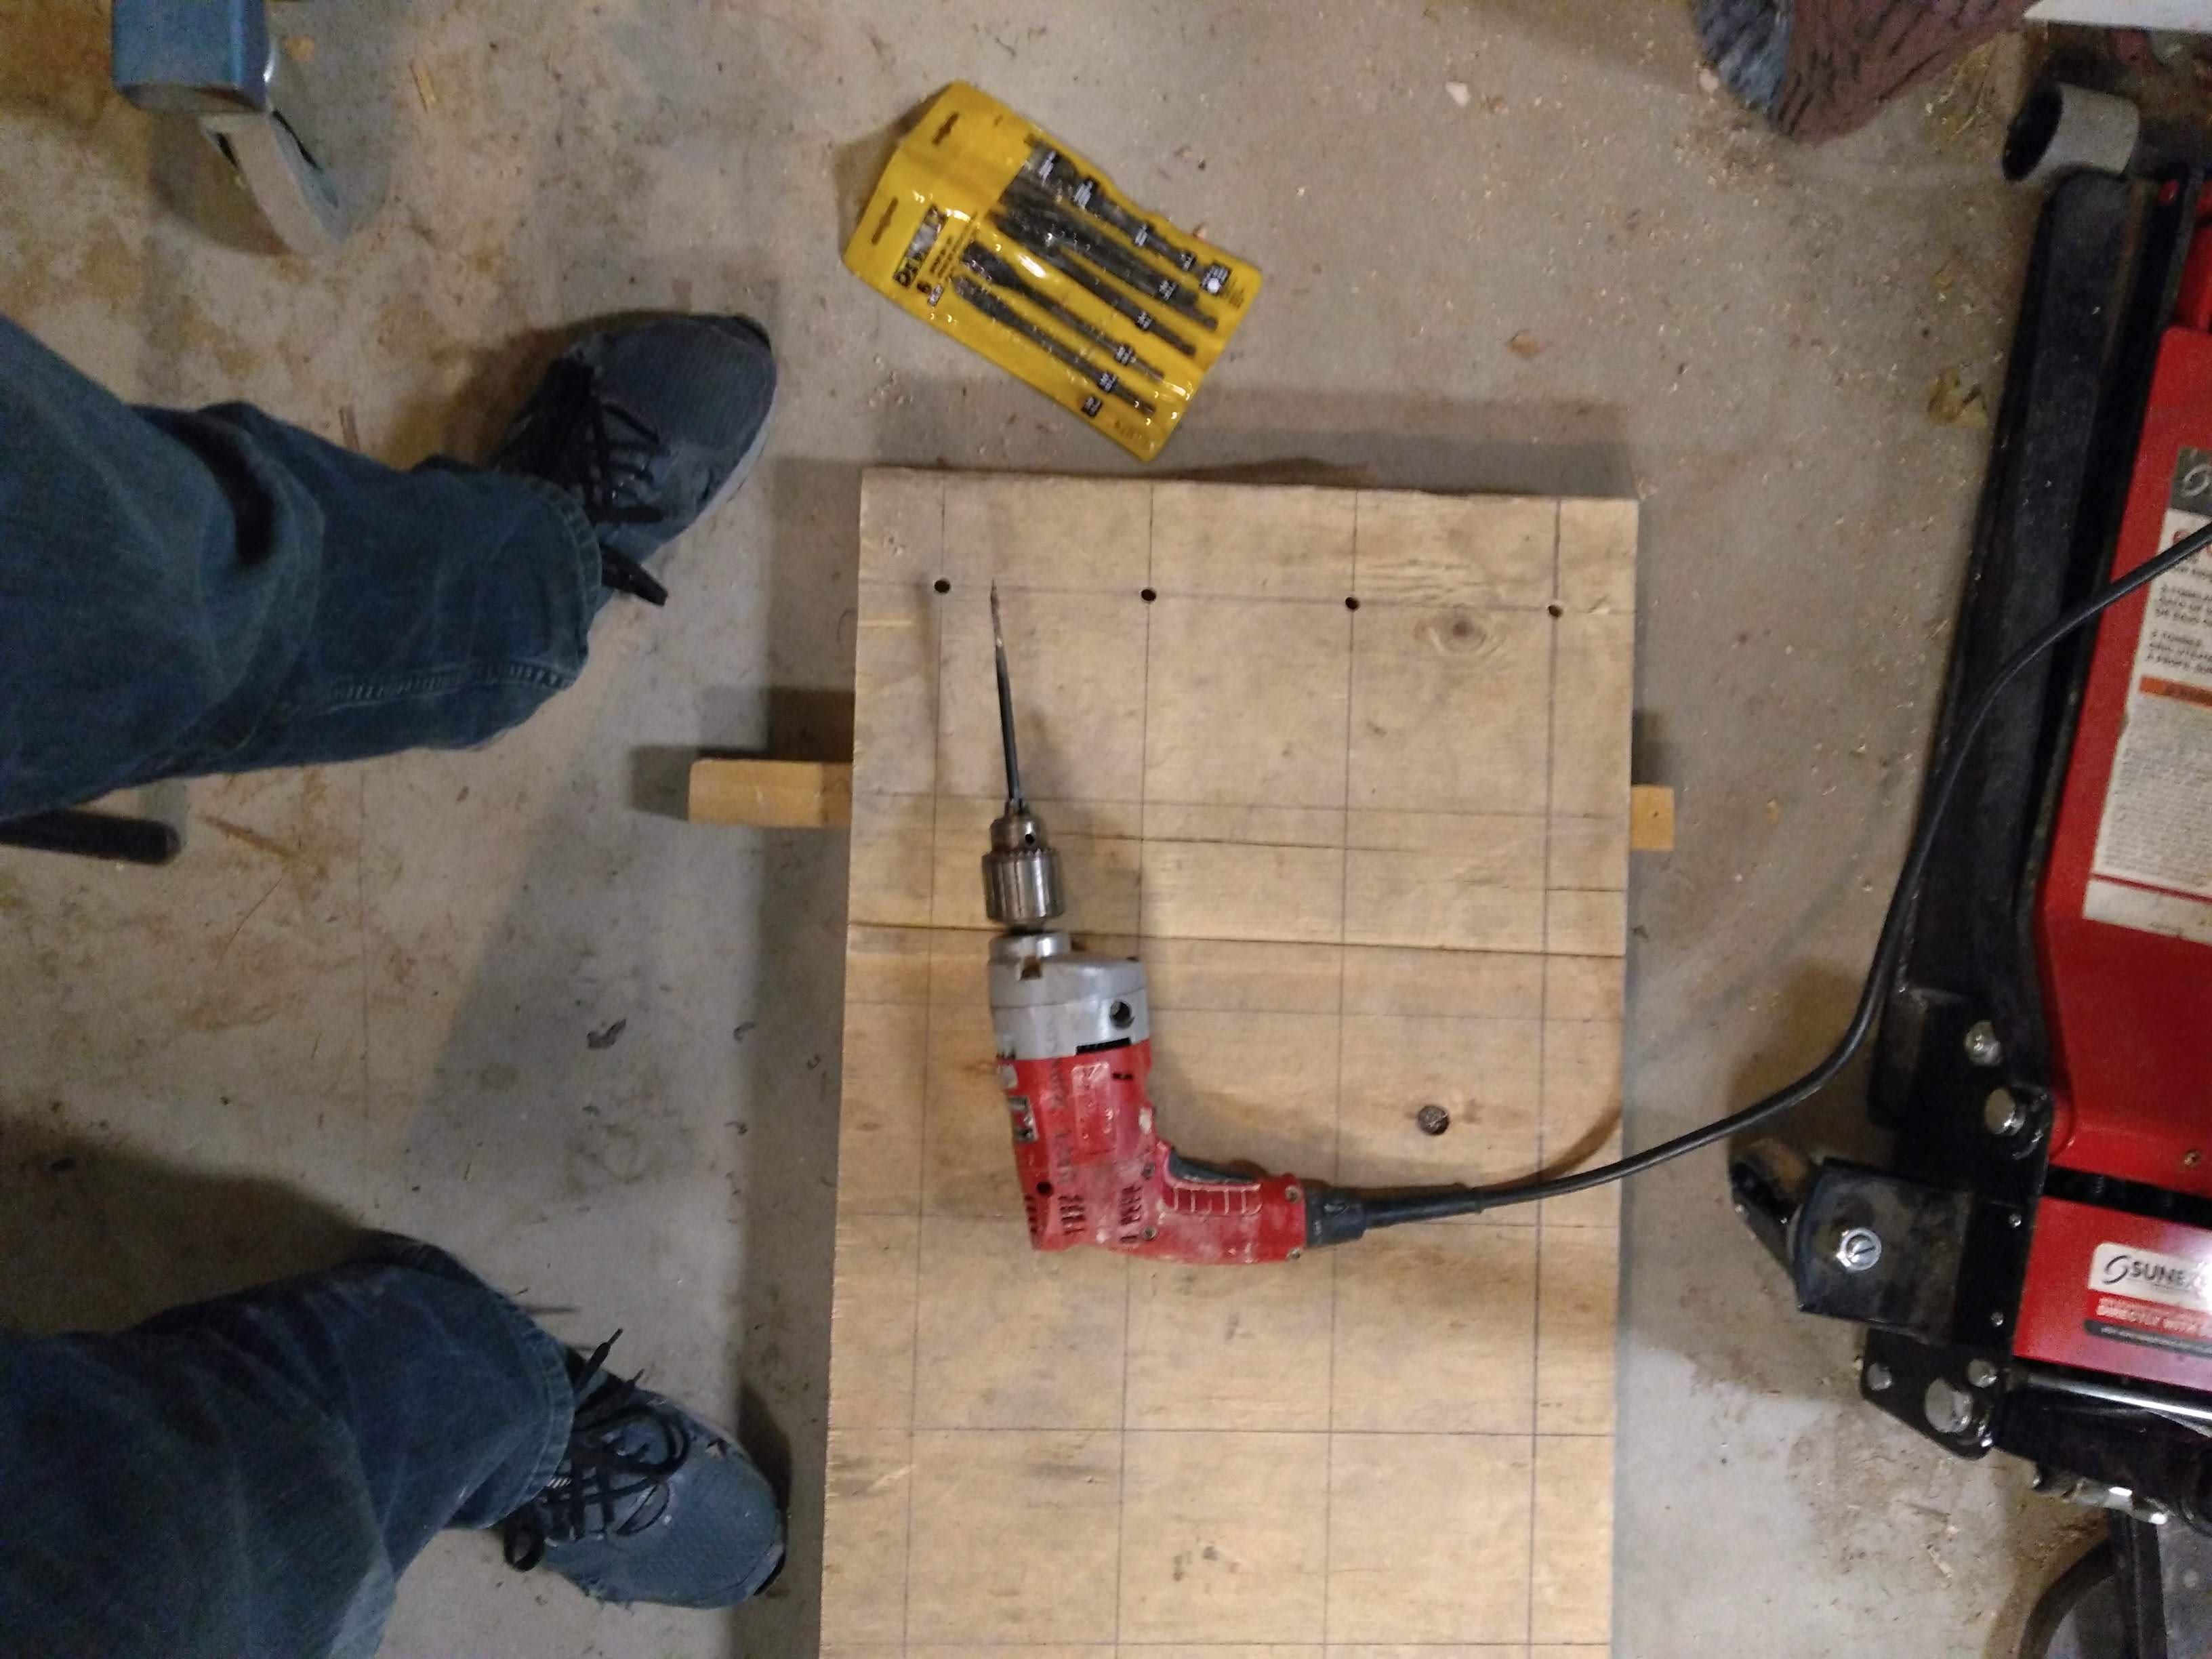
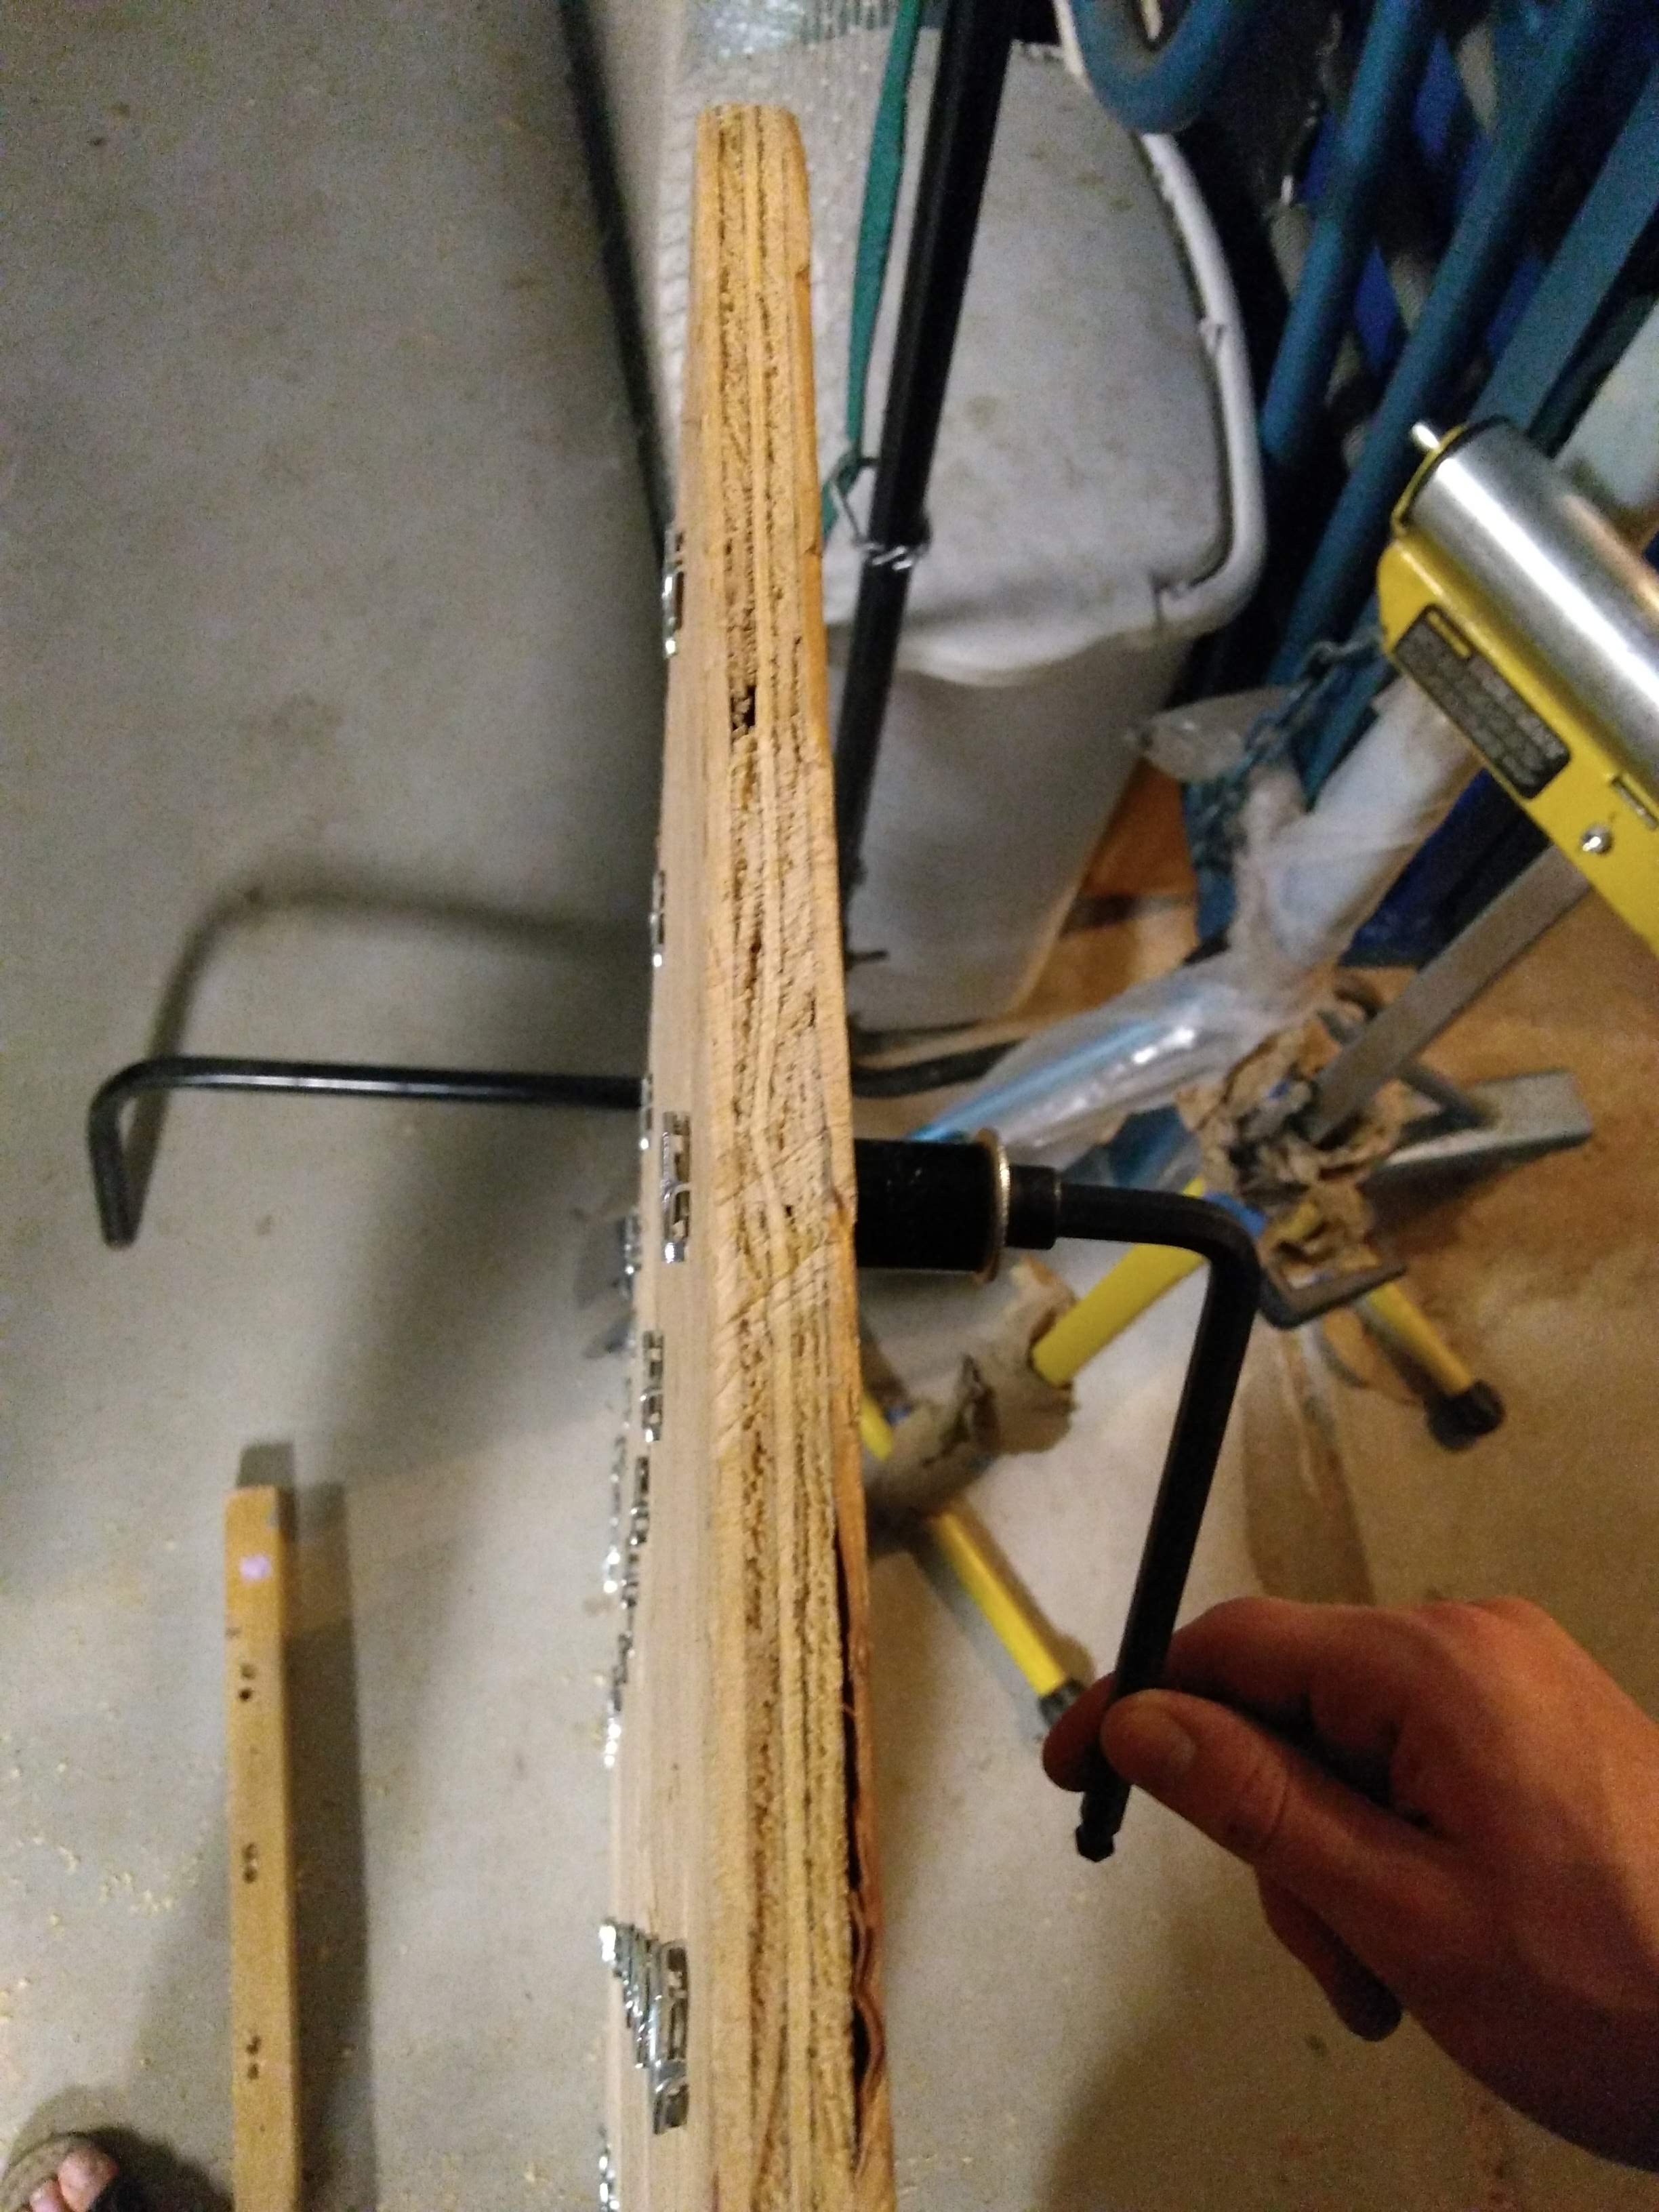
The construction of this version is very simple - a 3/4" board with a bunch of holes drilled in it. To make it, (surprise!) I trimmed a board of plywood I found in my garage, then I drilled a bunch of holes in it. To prevent the back of the holes from splintering out, I made sure to drill with a scrap piece of wood behind the plywood.
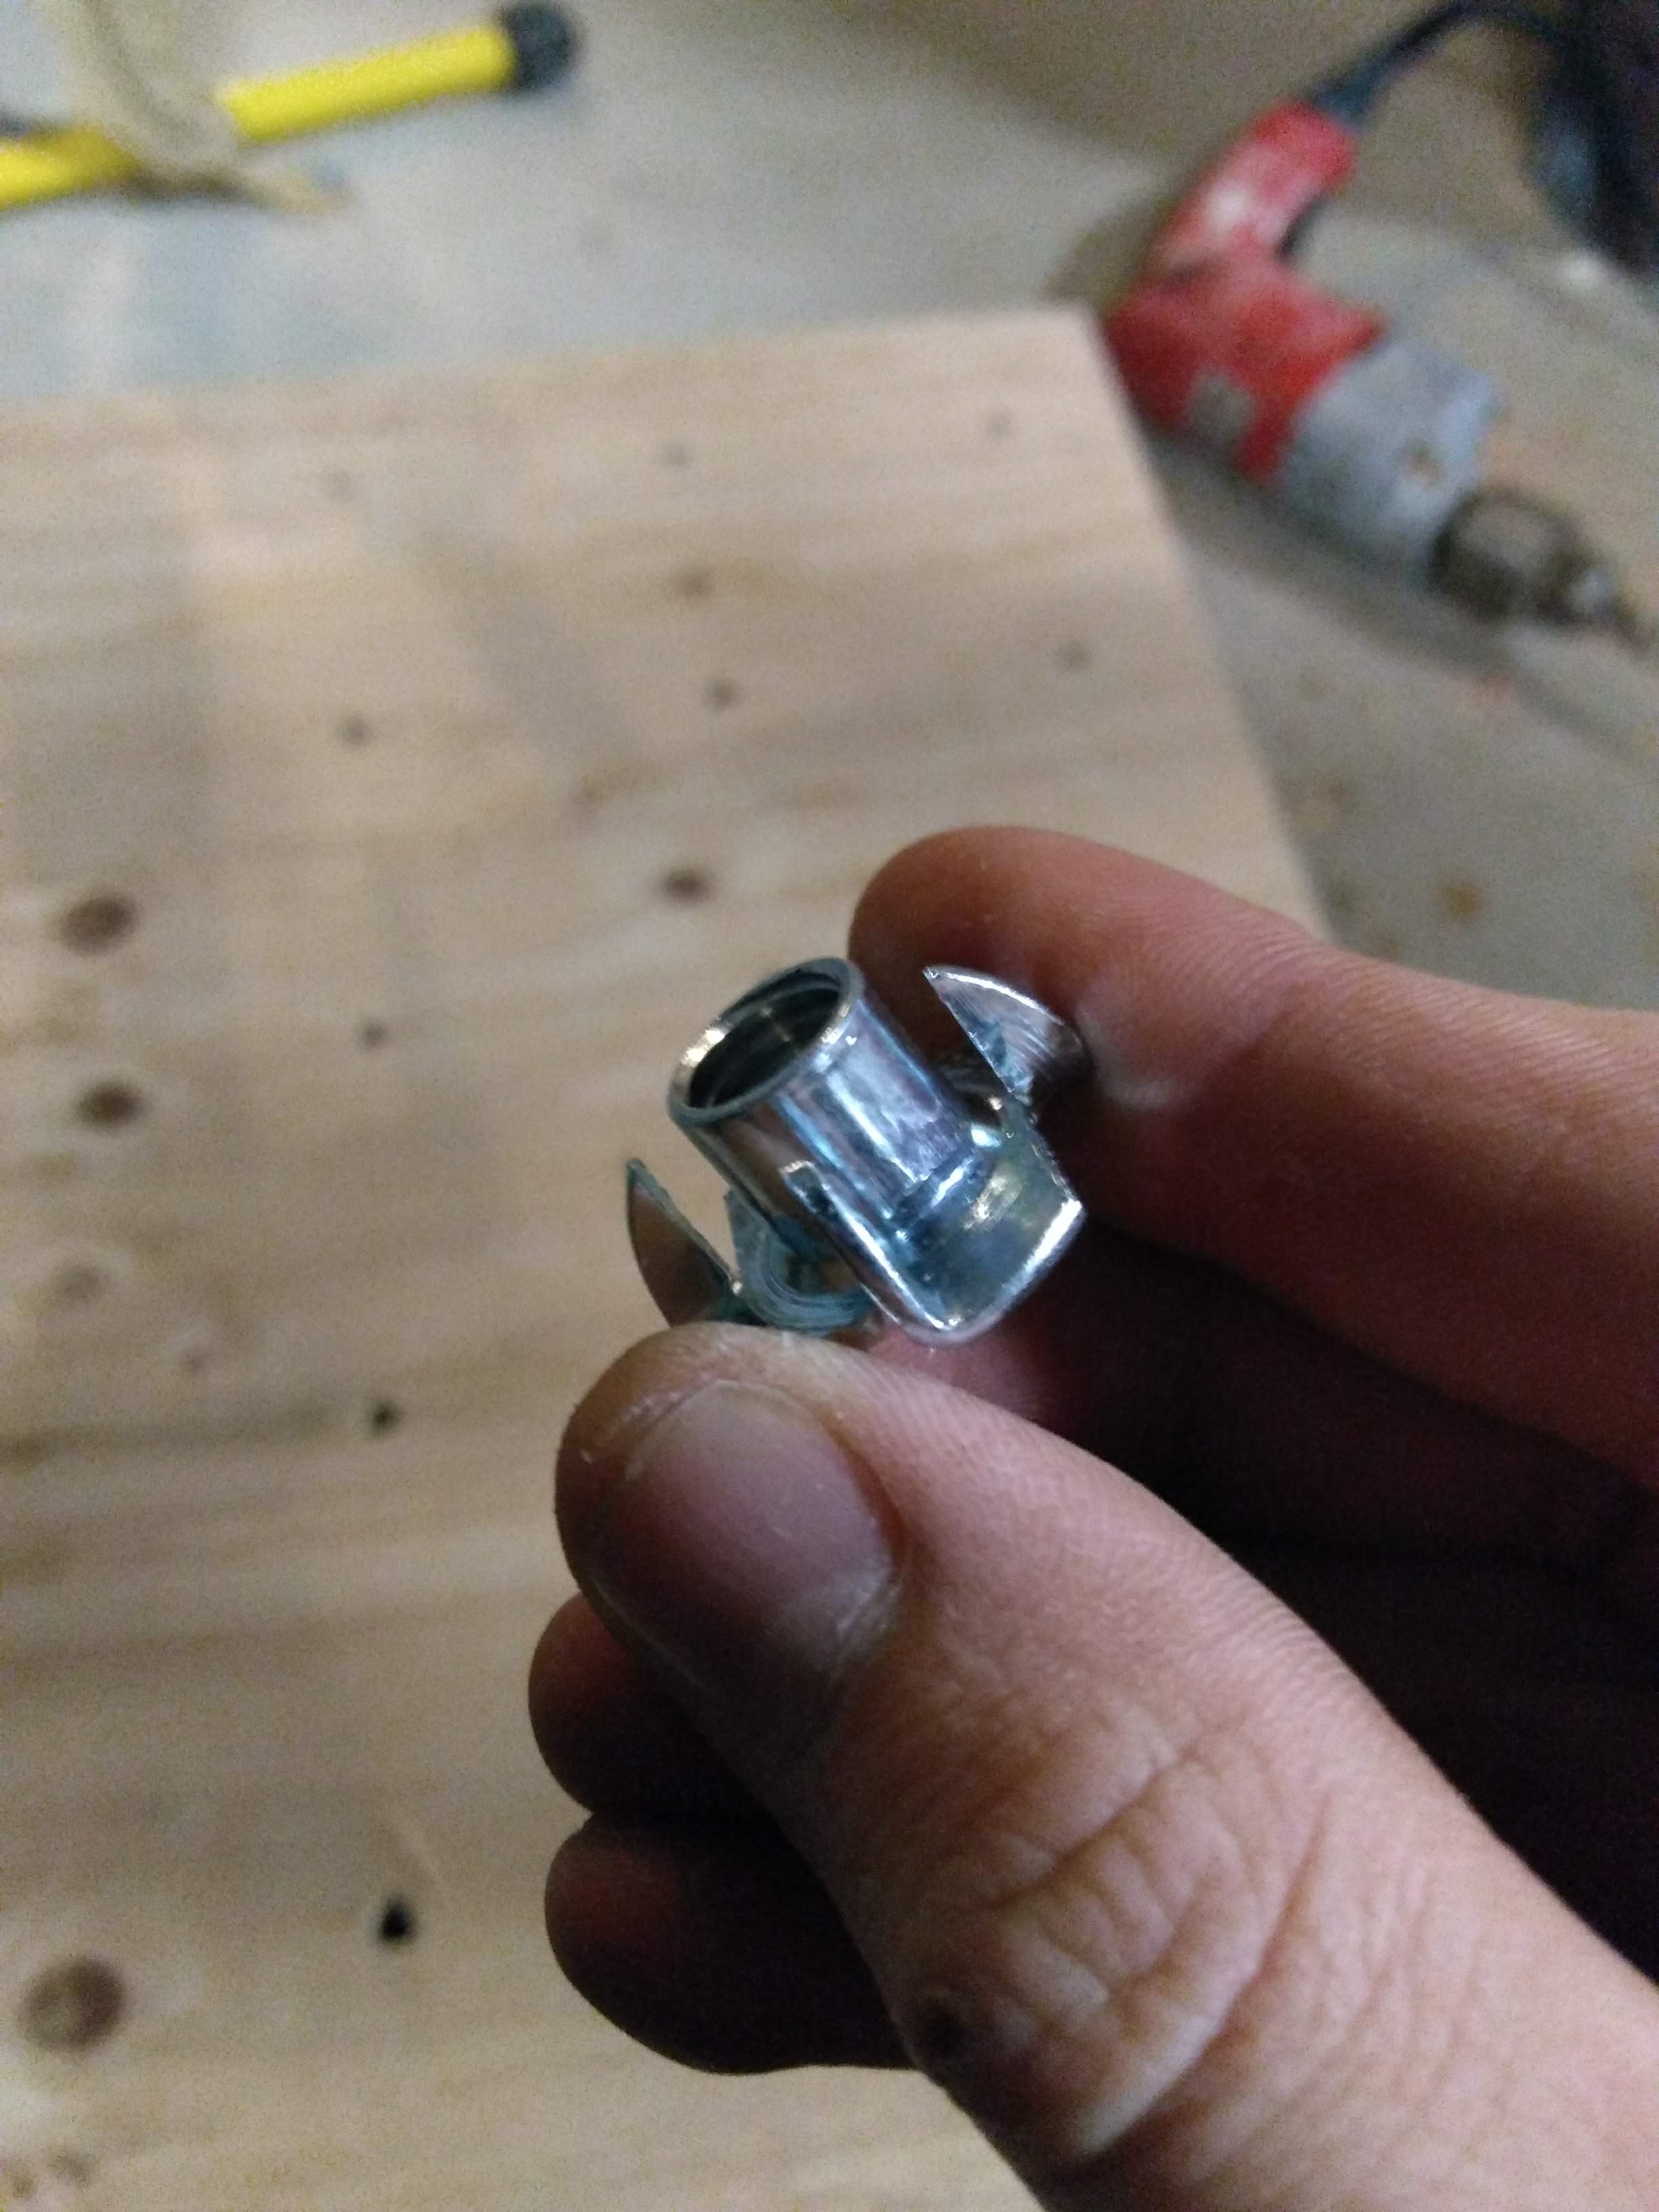
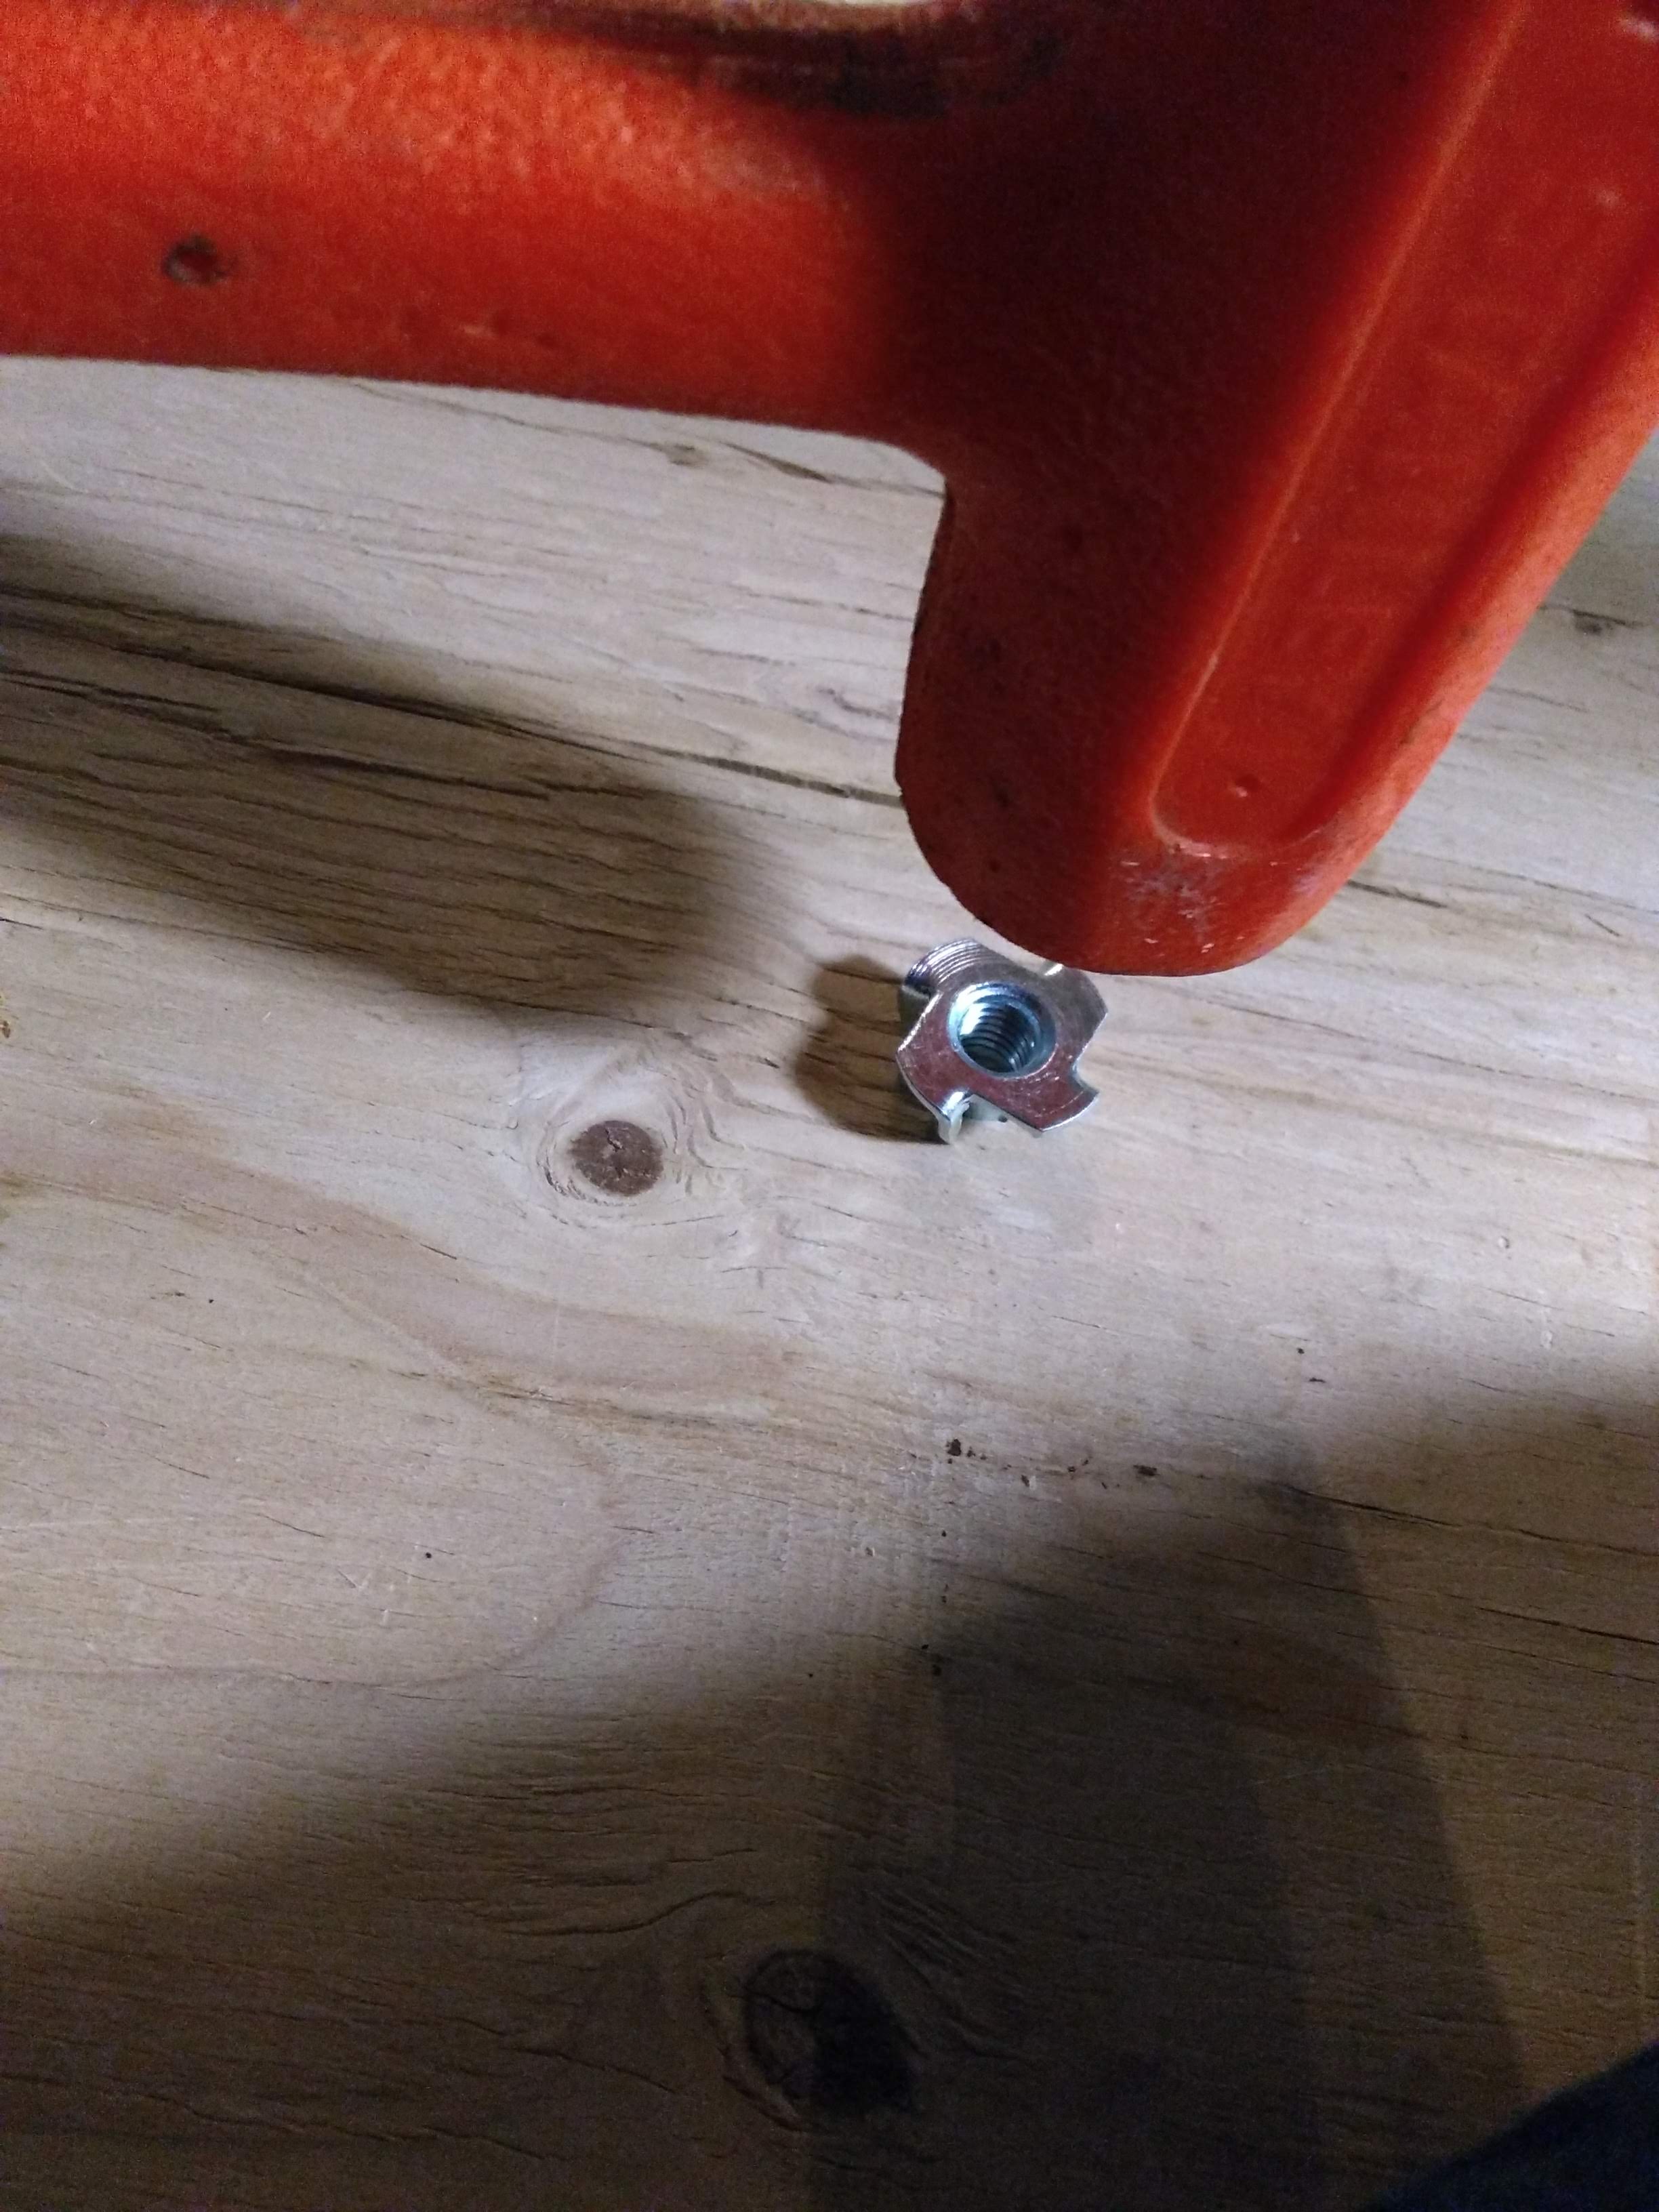
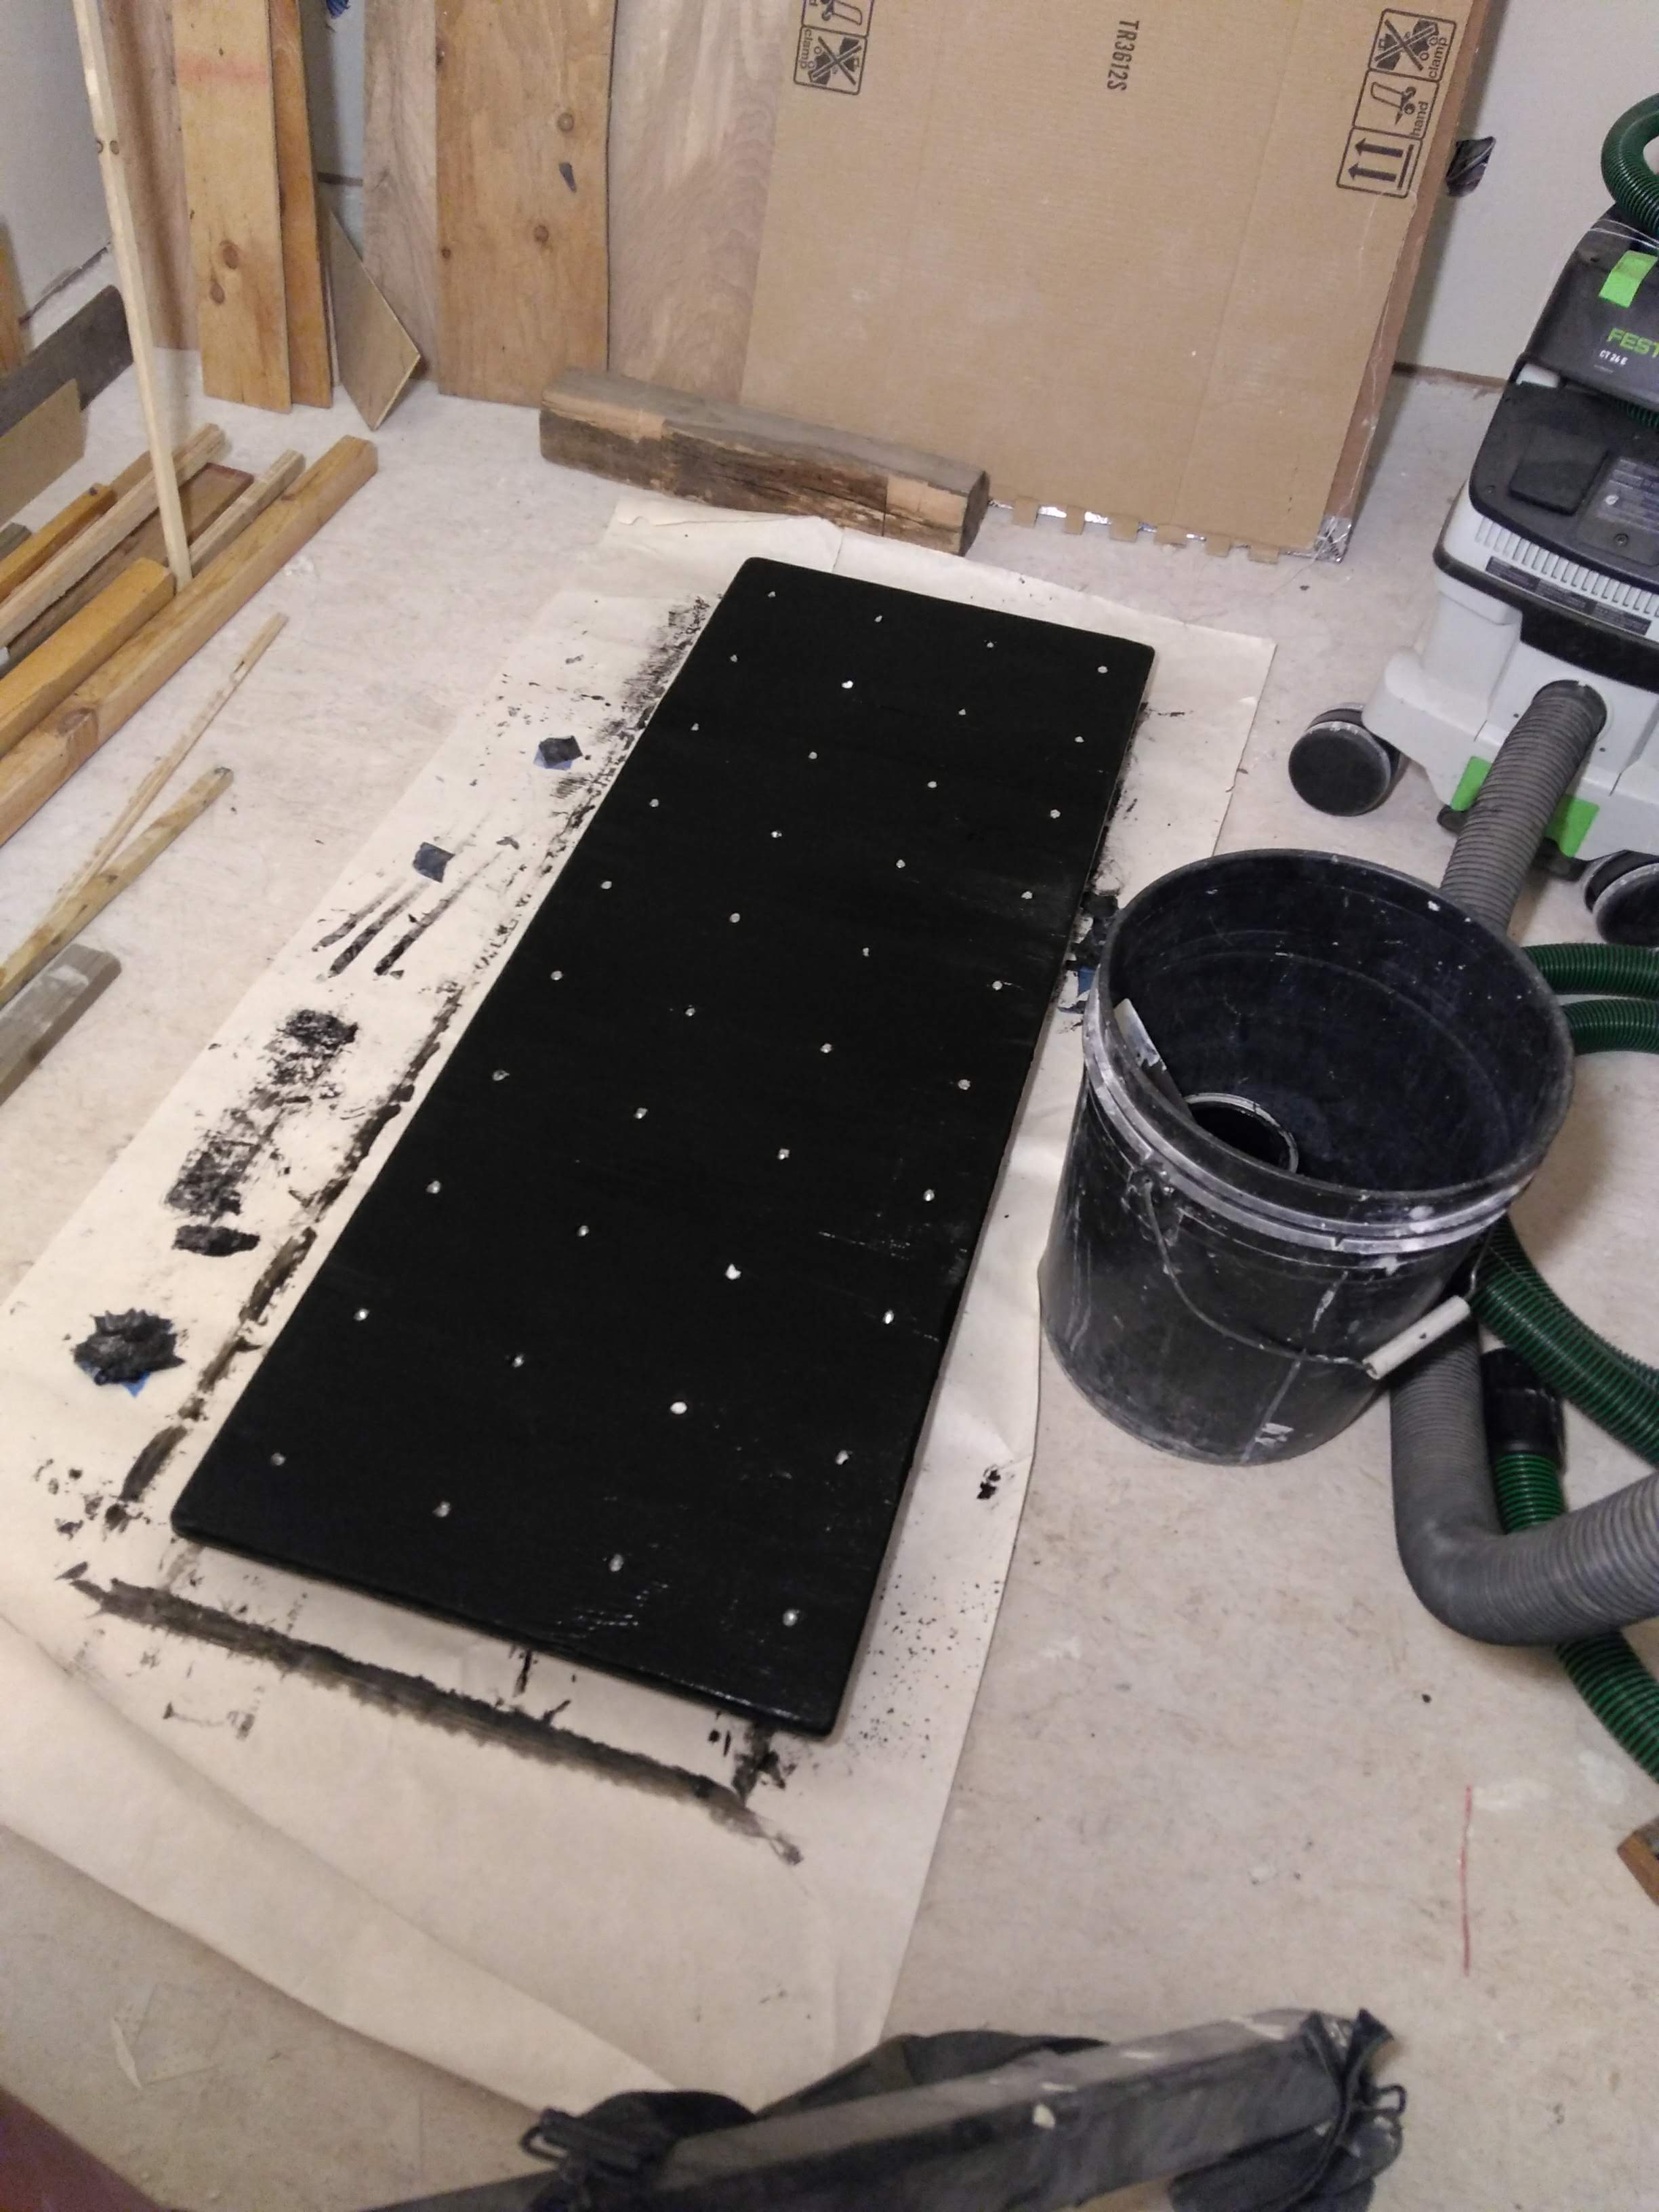
I then pressed the t-nuts into the back of the board. First, I tapped them partially in with a mallet; since this doesn't pull the long prongs on each t-nut all the way into the wood, I then tightened a climbing bolt (with some spacers) on each t-nut to press each one all the way in.
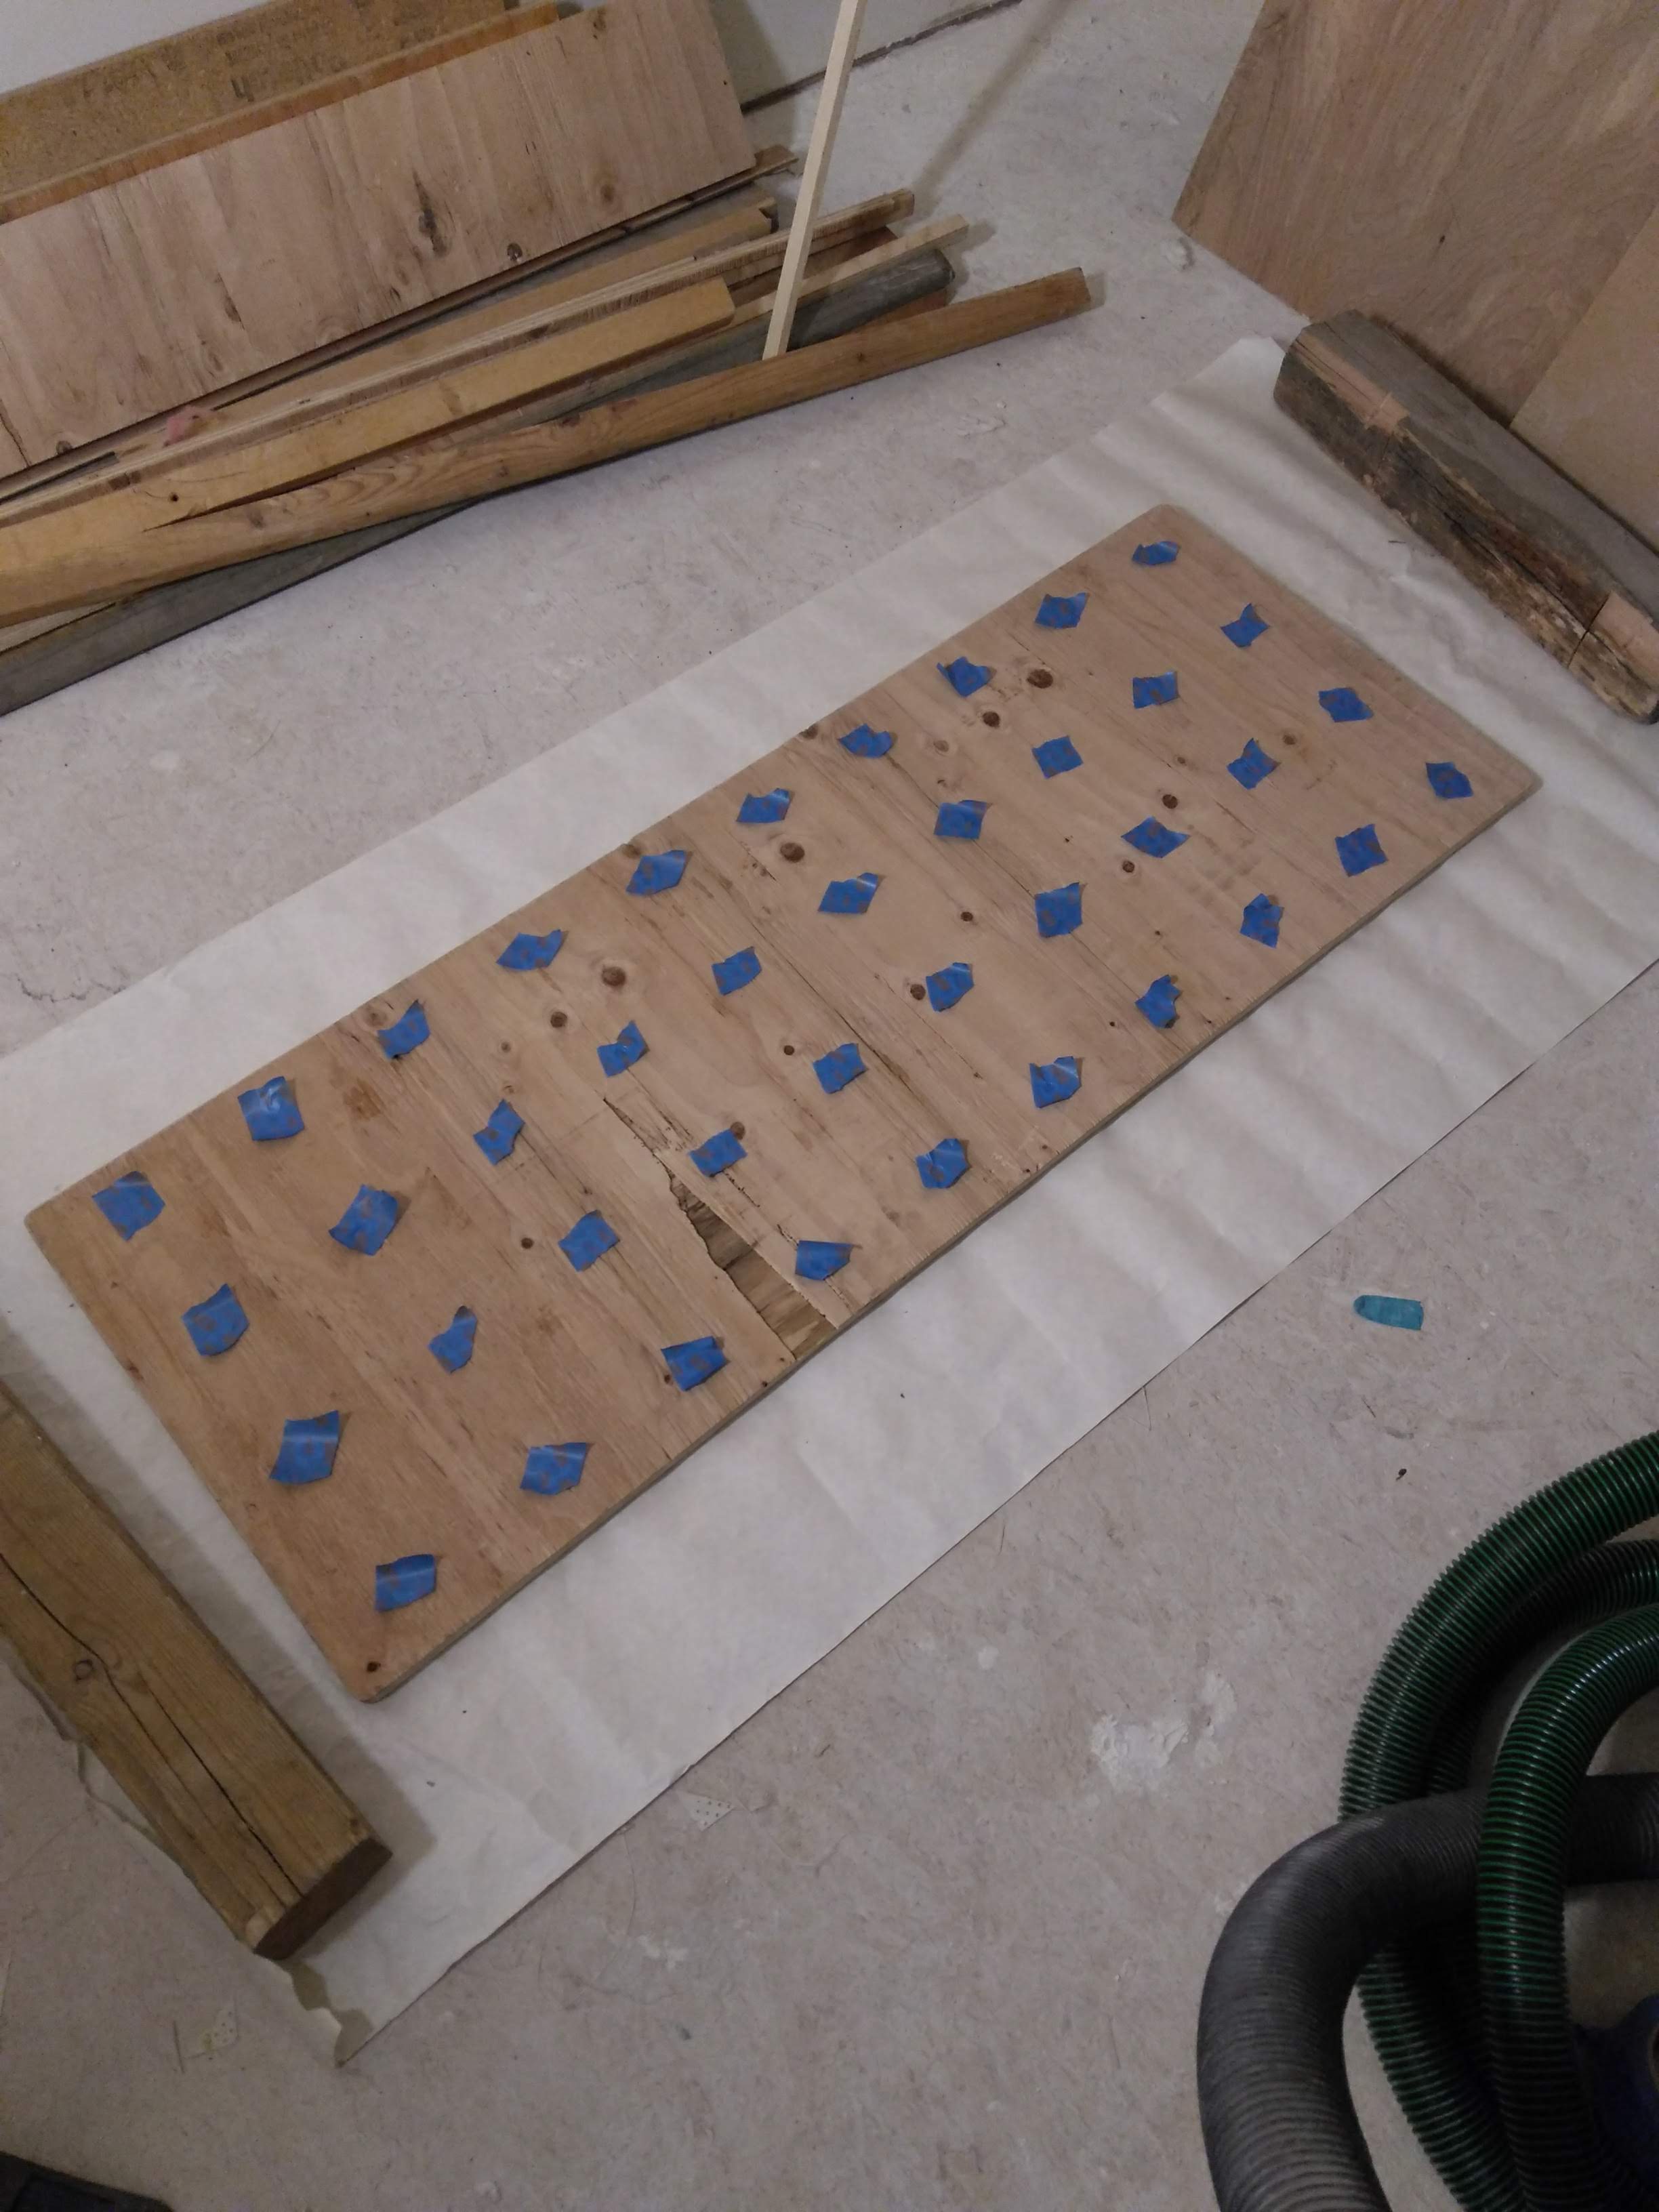
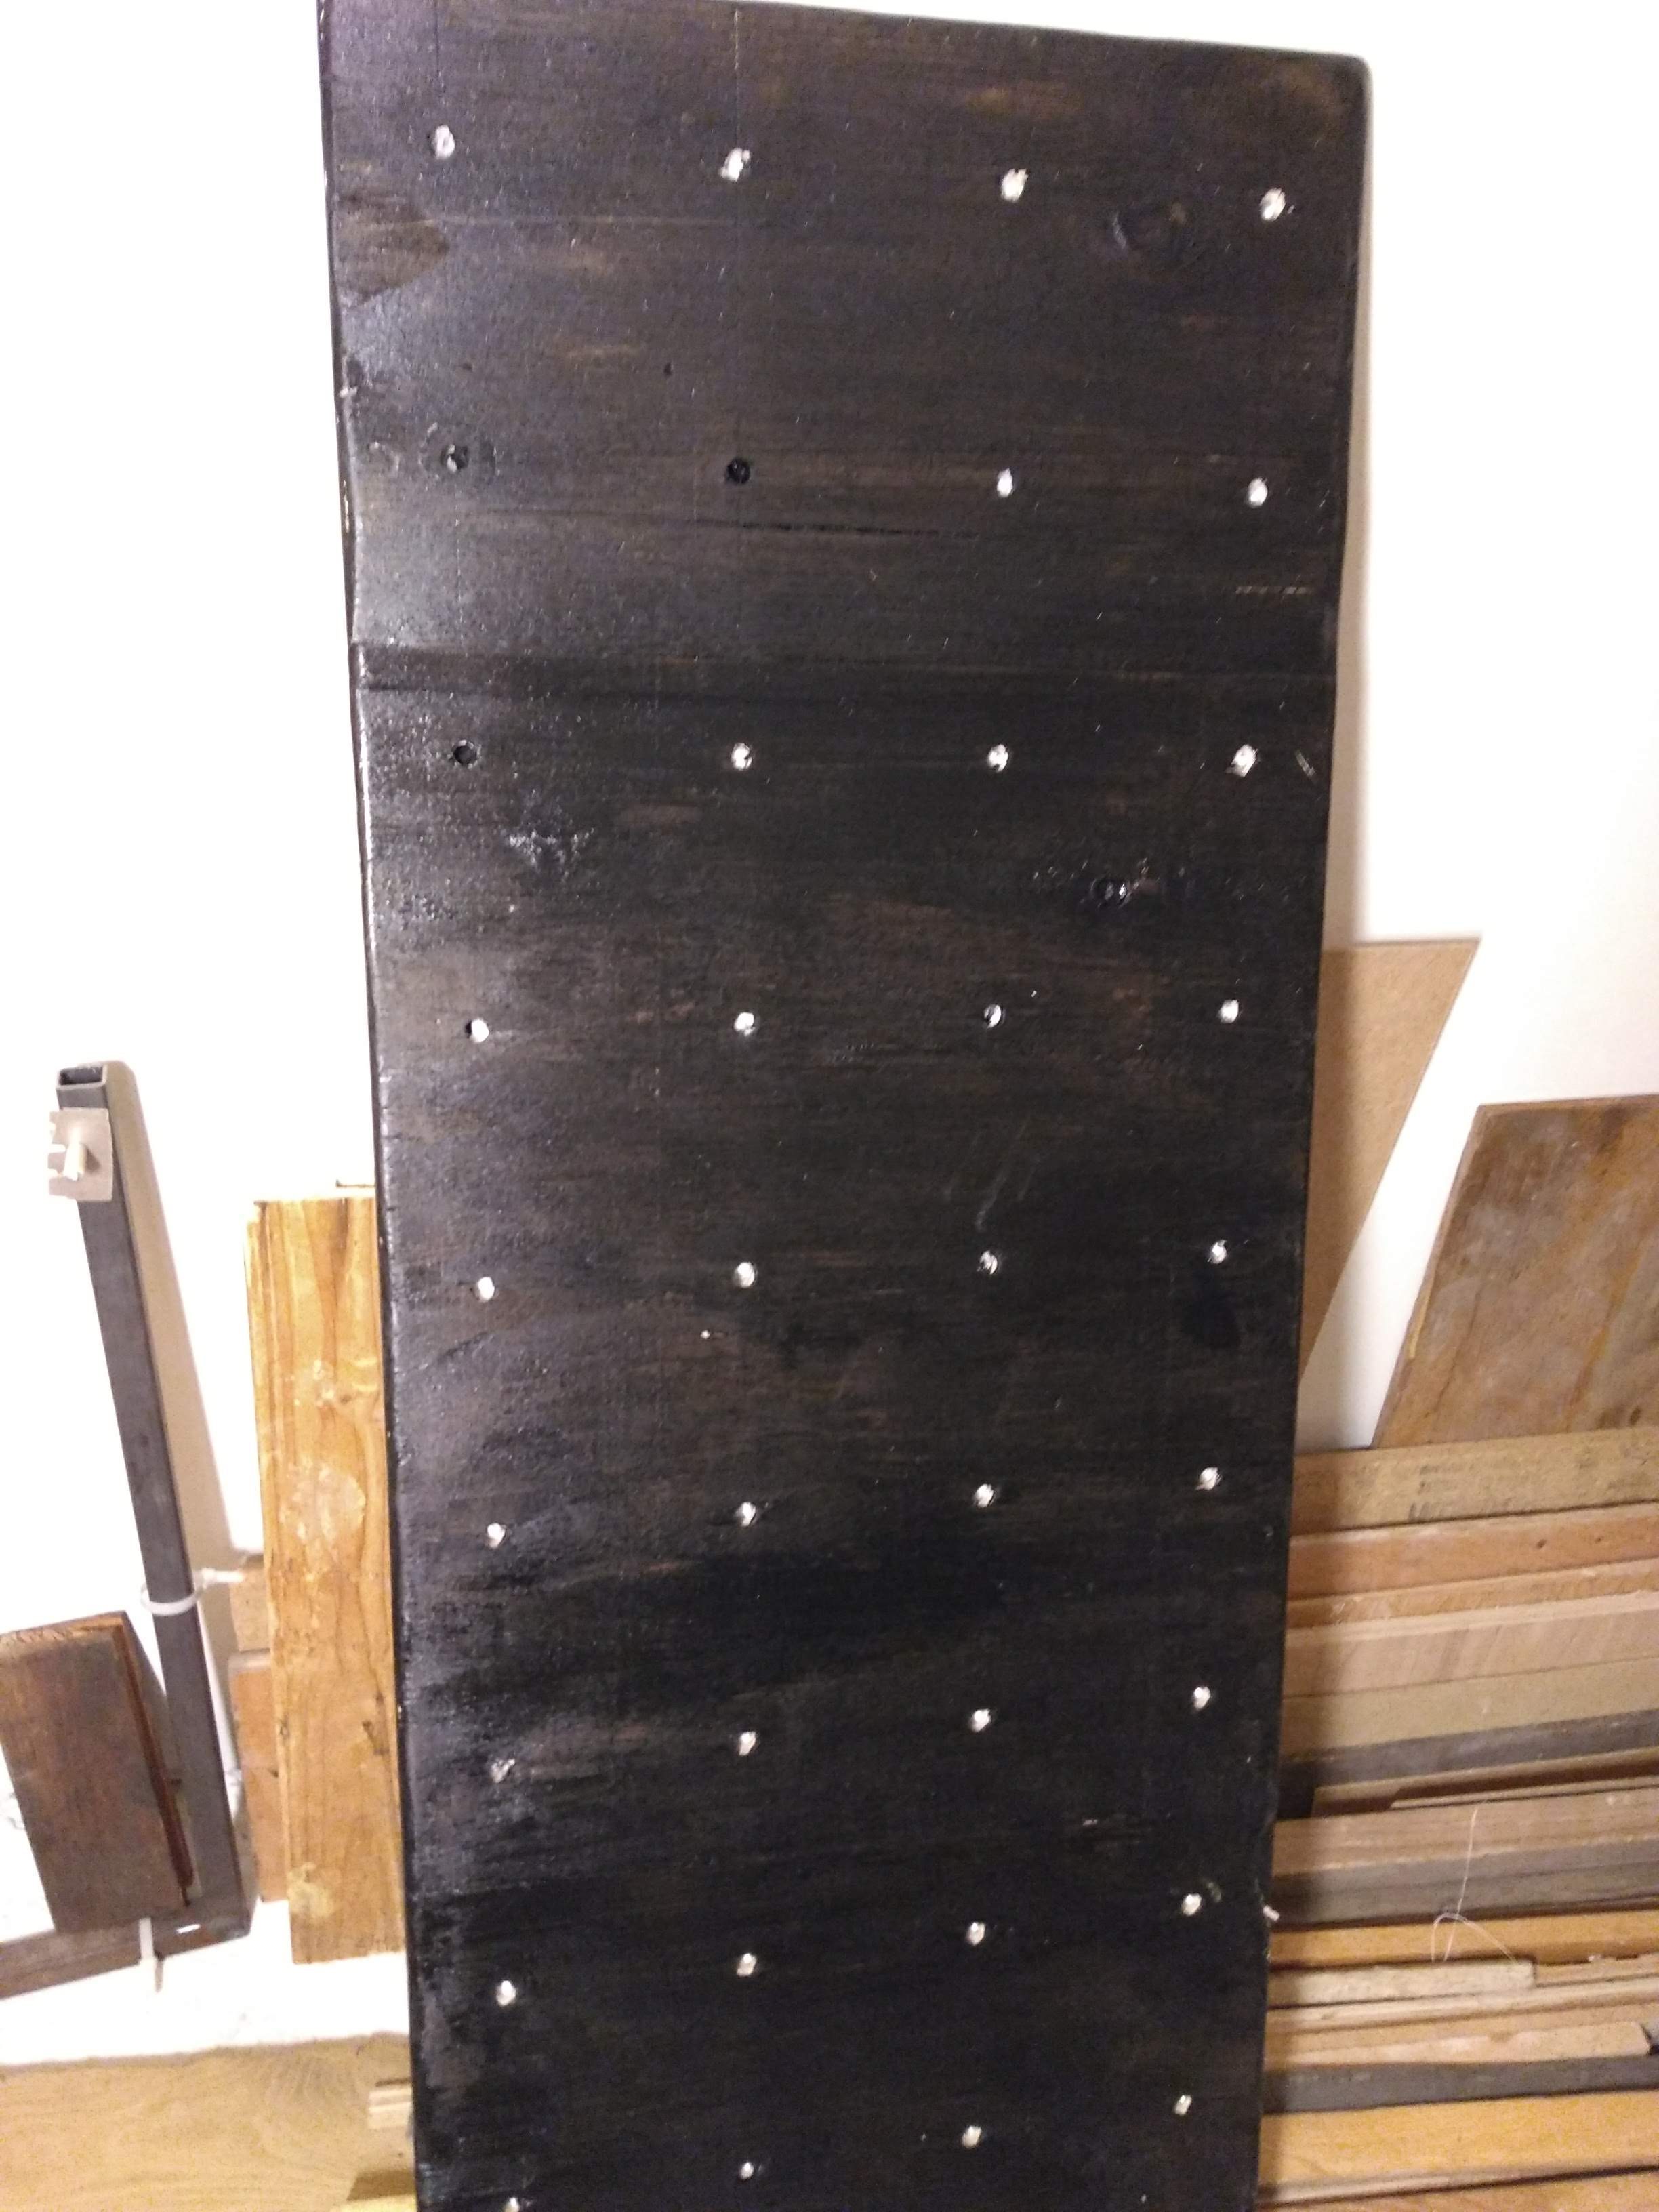
The board was now ready to be painted. I wanted to prevent the threads from getting gunked up with paint, so (after a few other ideas failed) I stuffed a small piece of paper towel in each hole in the board. It took two coats of black paint for the board to be as dark as I wanted.
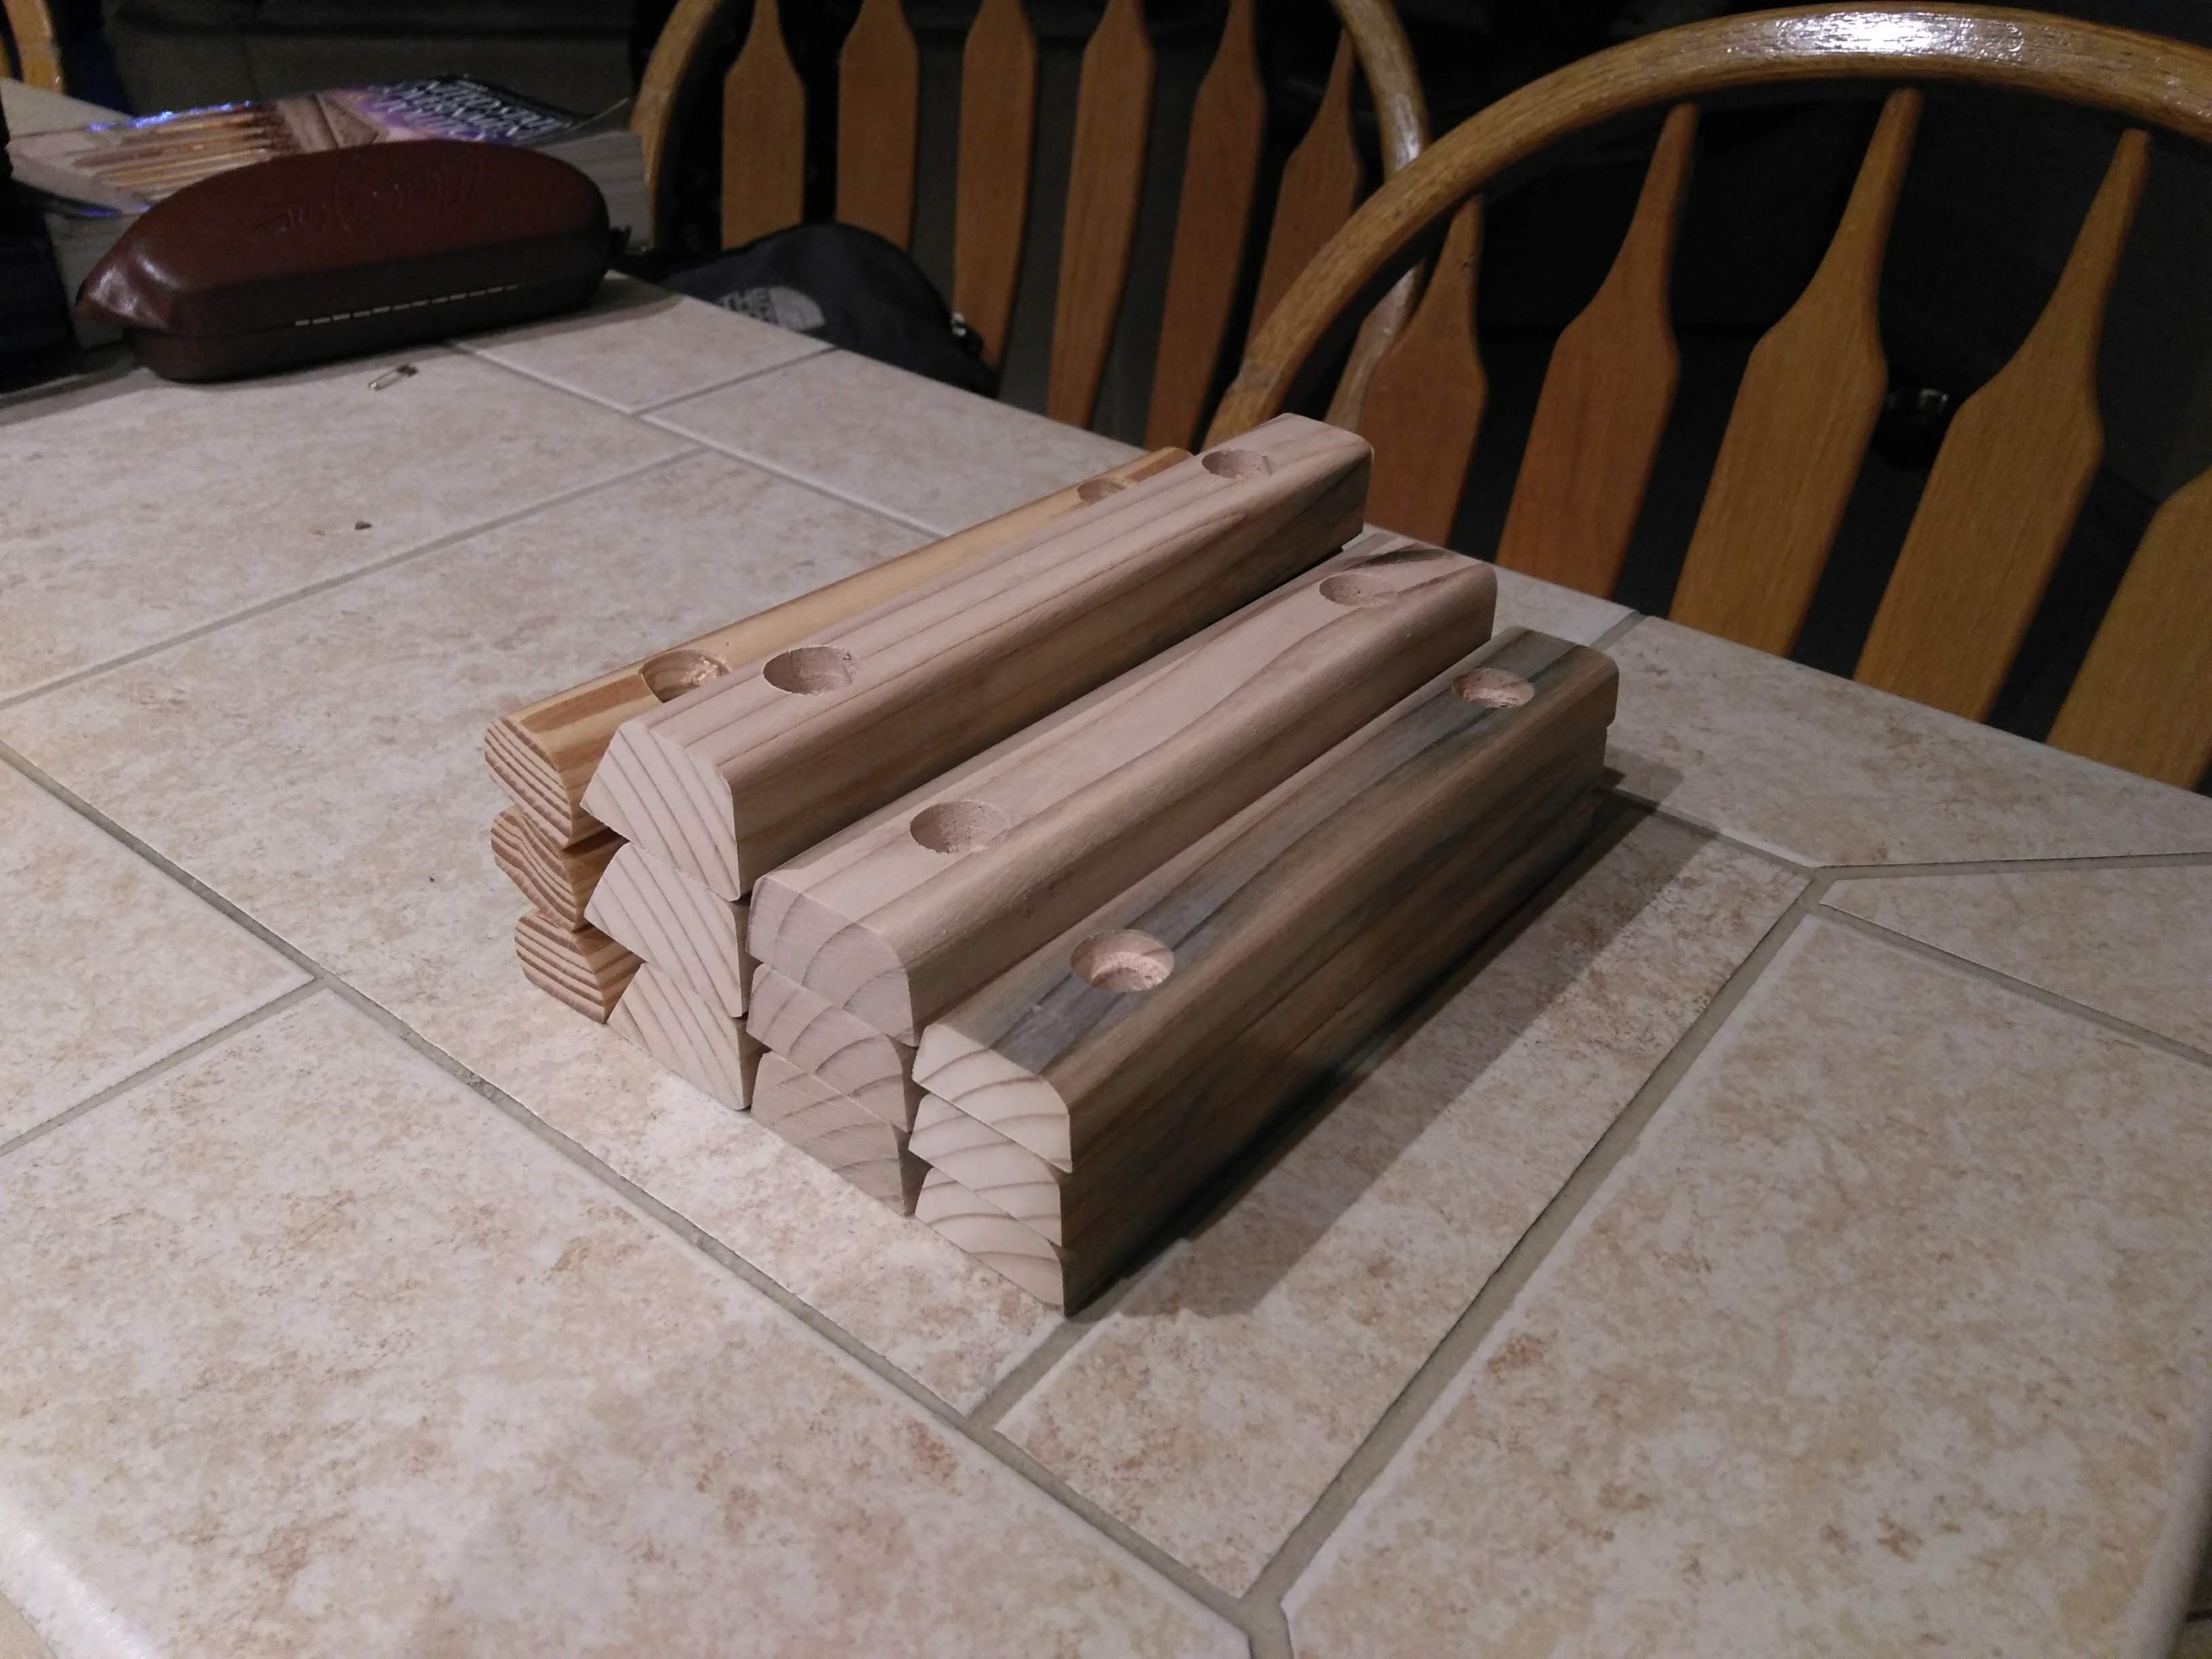
With the board finished, all I needed to do was to make the holds...