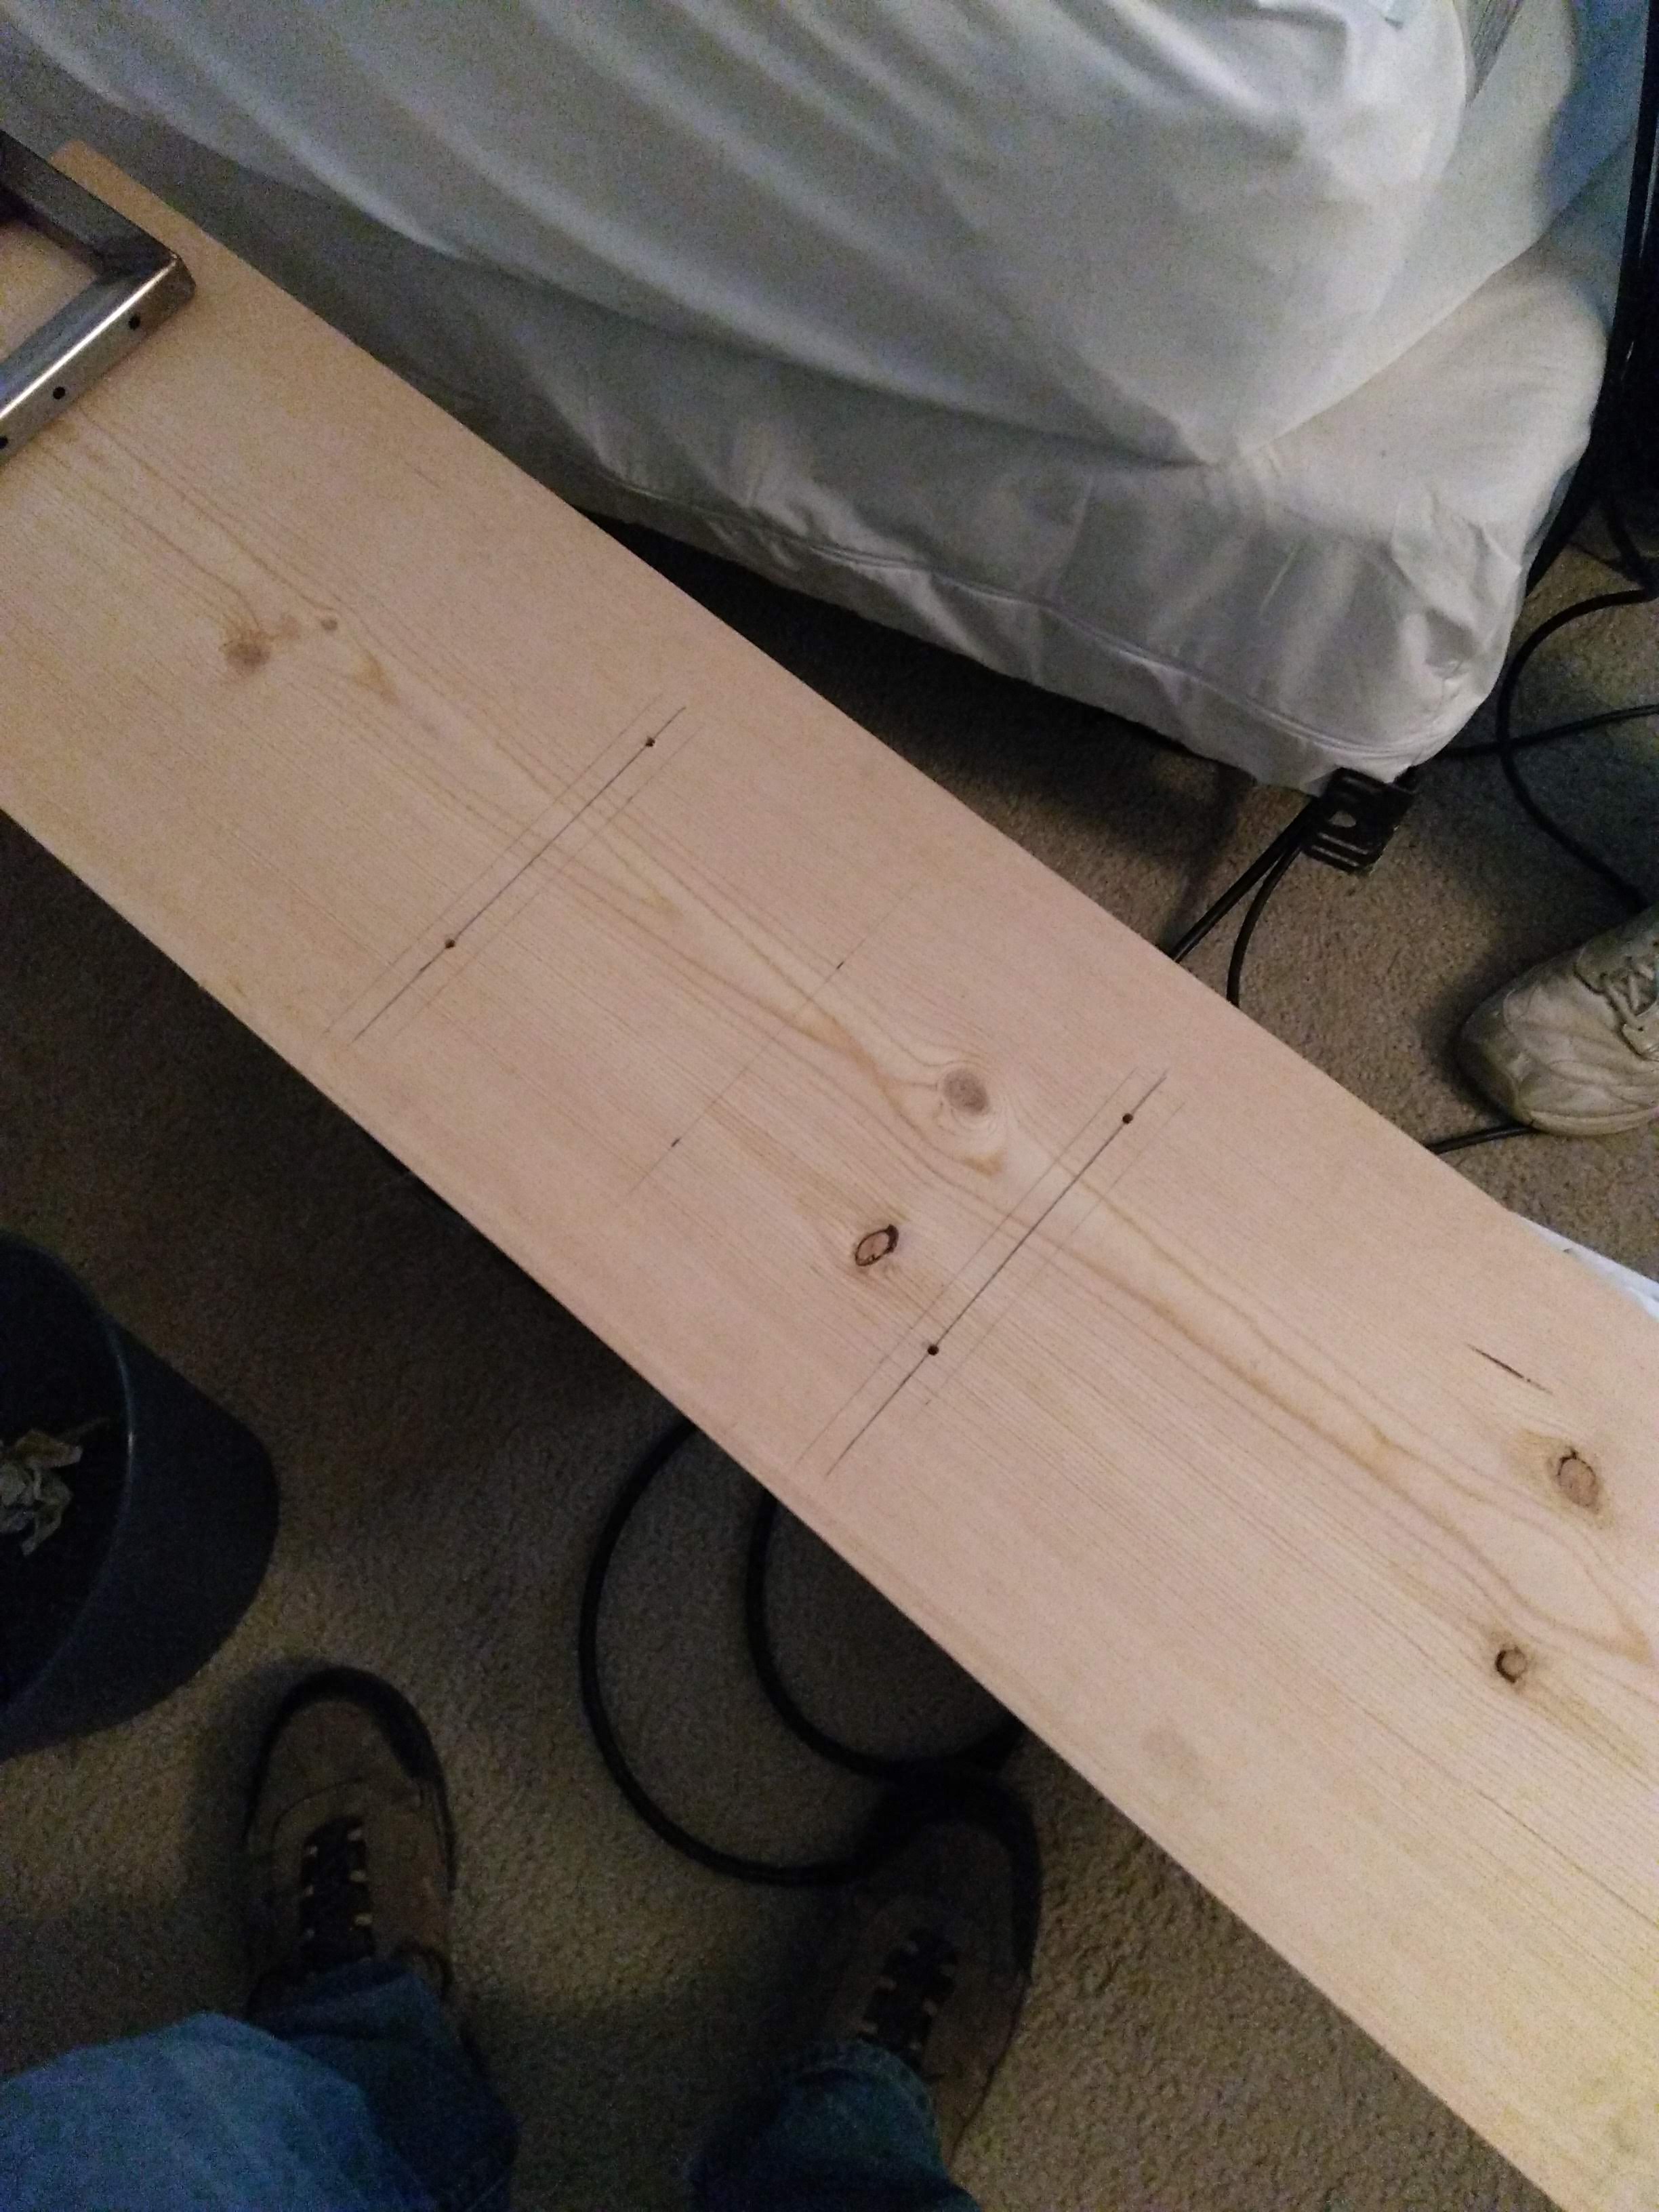
After my brother opened the gift, I did a test hanging at home. Right away, we noticed that the board flexed significantly, even after adding a vertical 2x2 to the back of it.
After my brother opened the gift, I did a test hanging at home. Right away, we noticed that the board flexed significantly, even after adding a vertical 2x2 to the back of it.
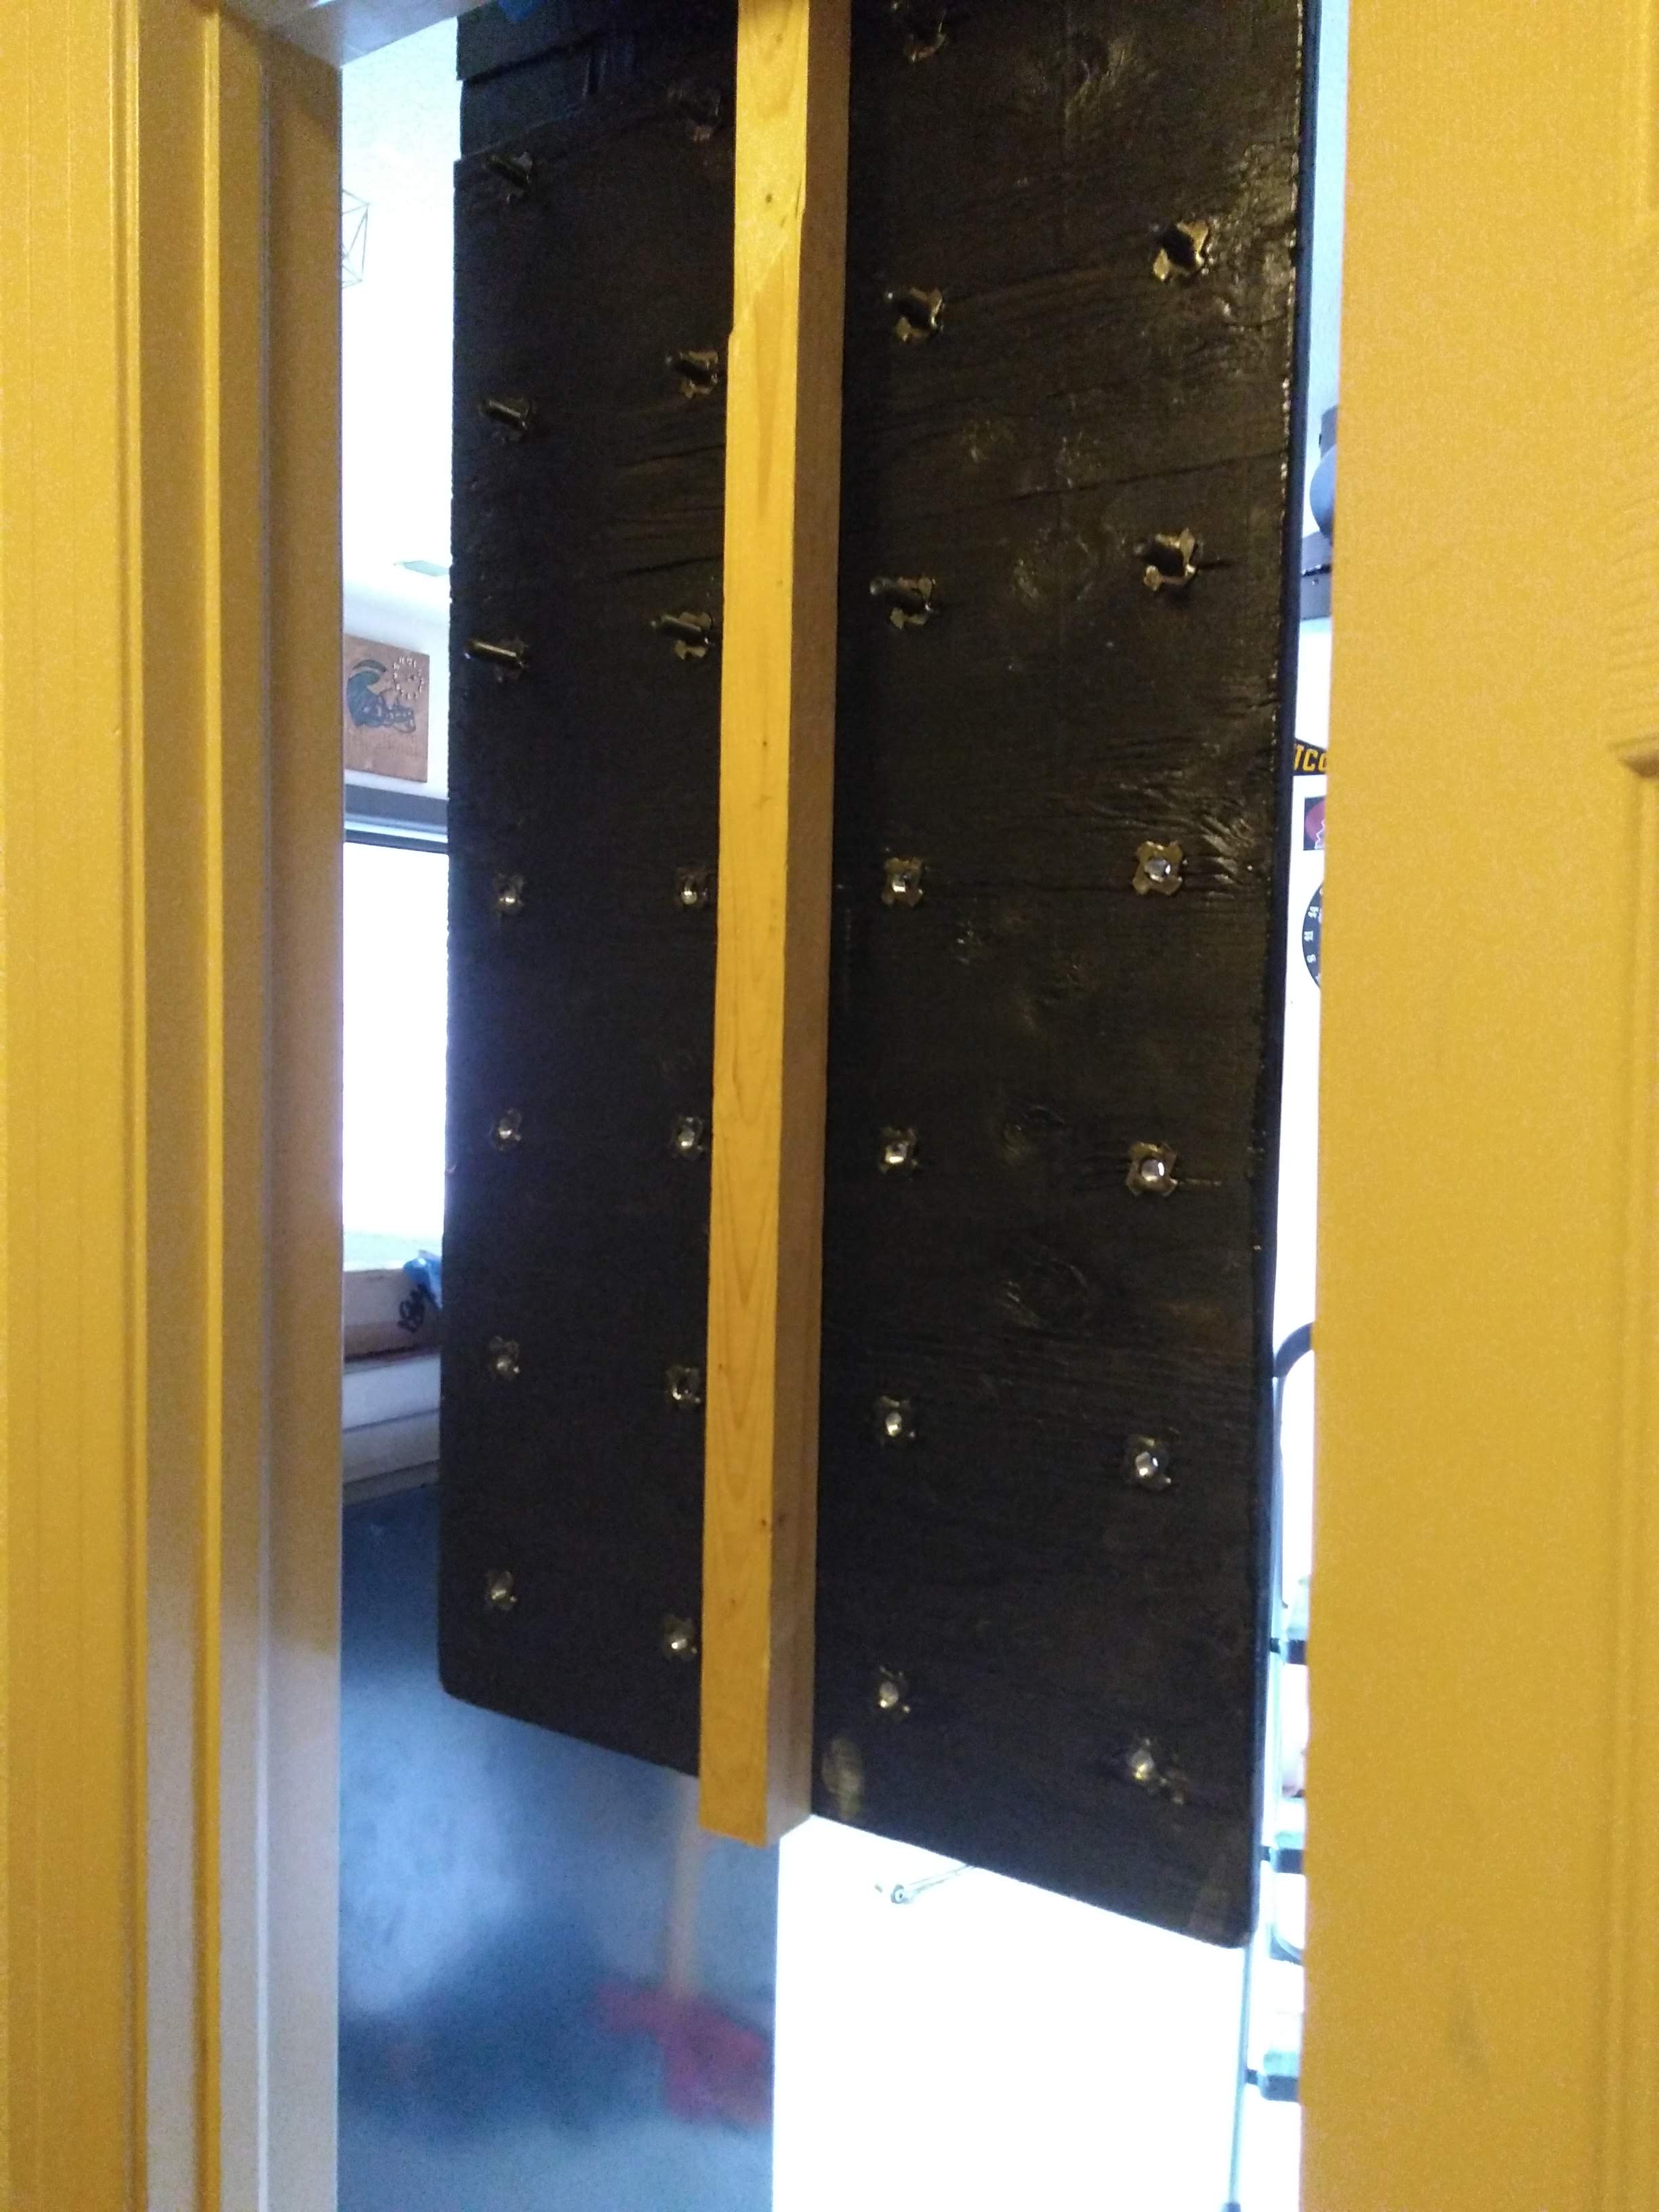
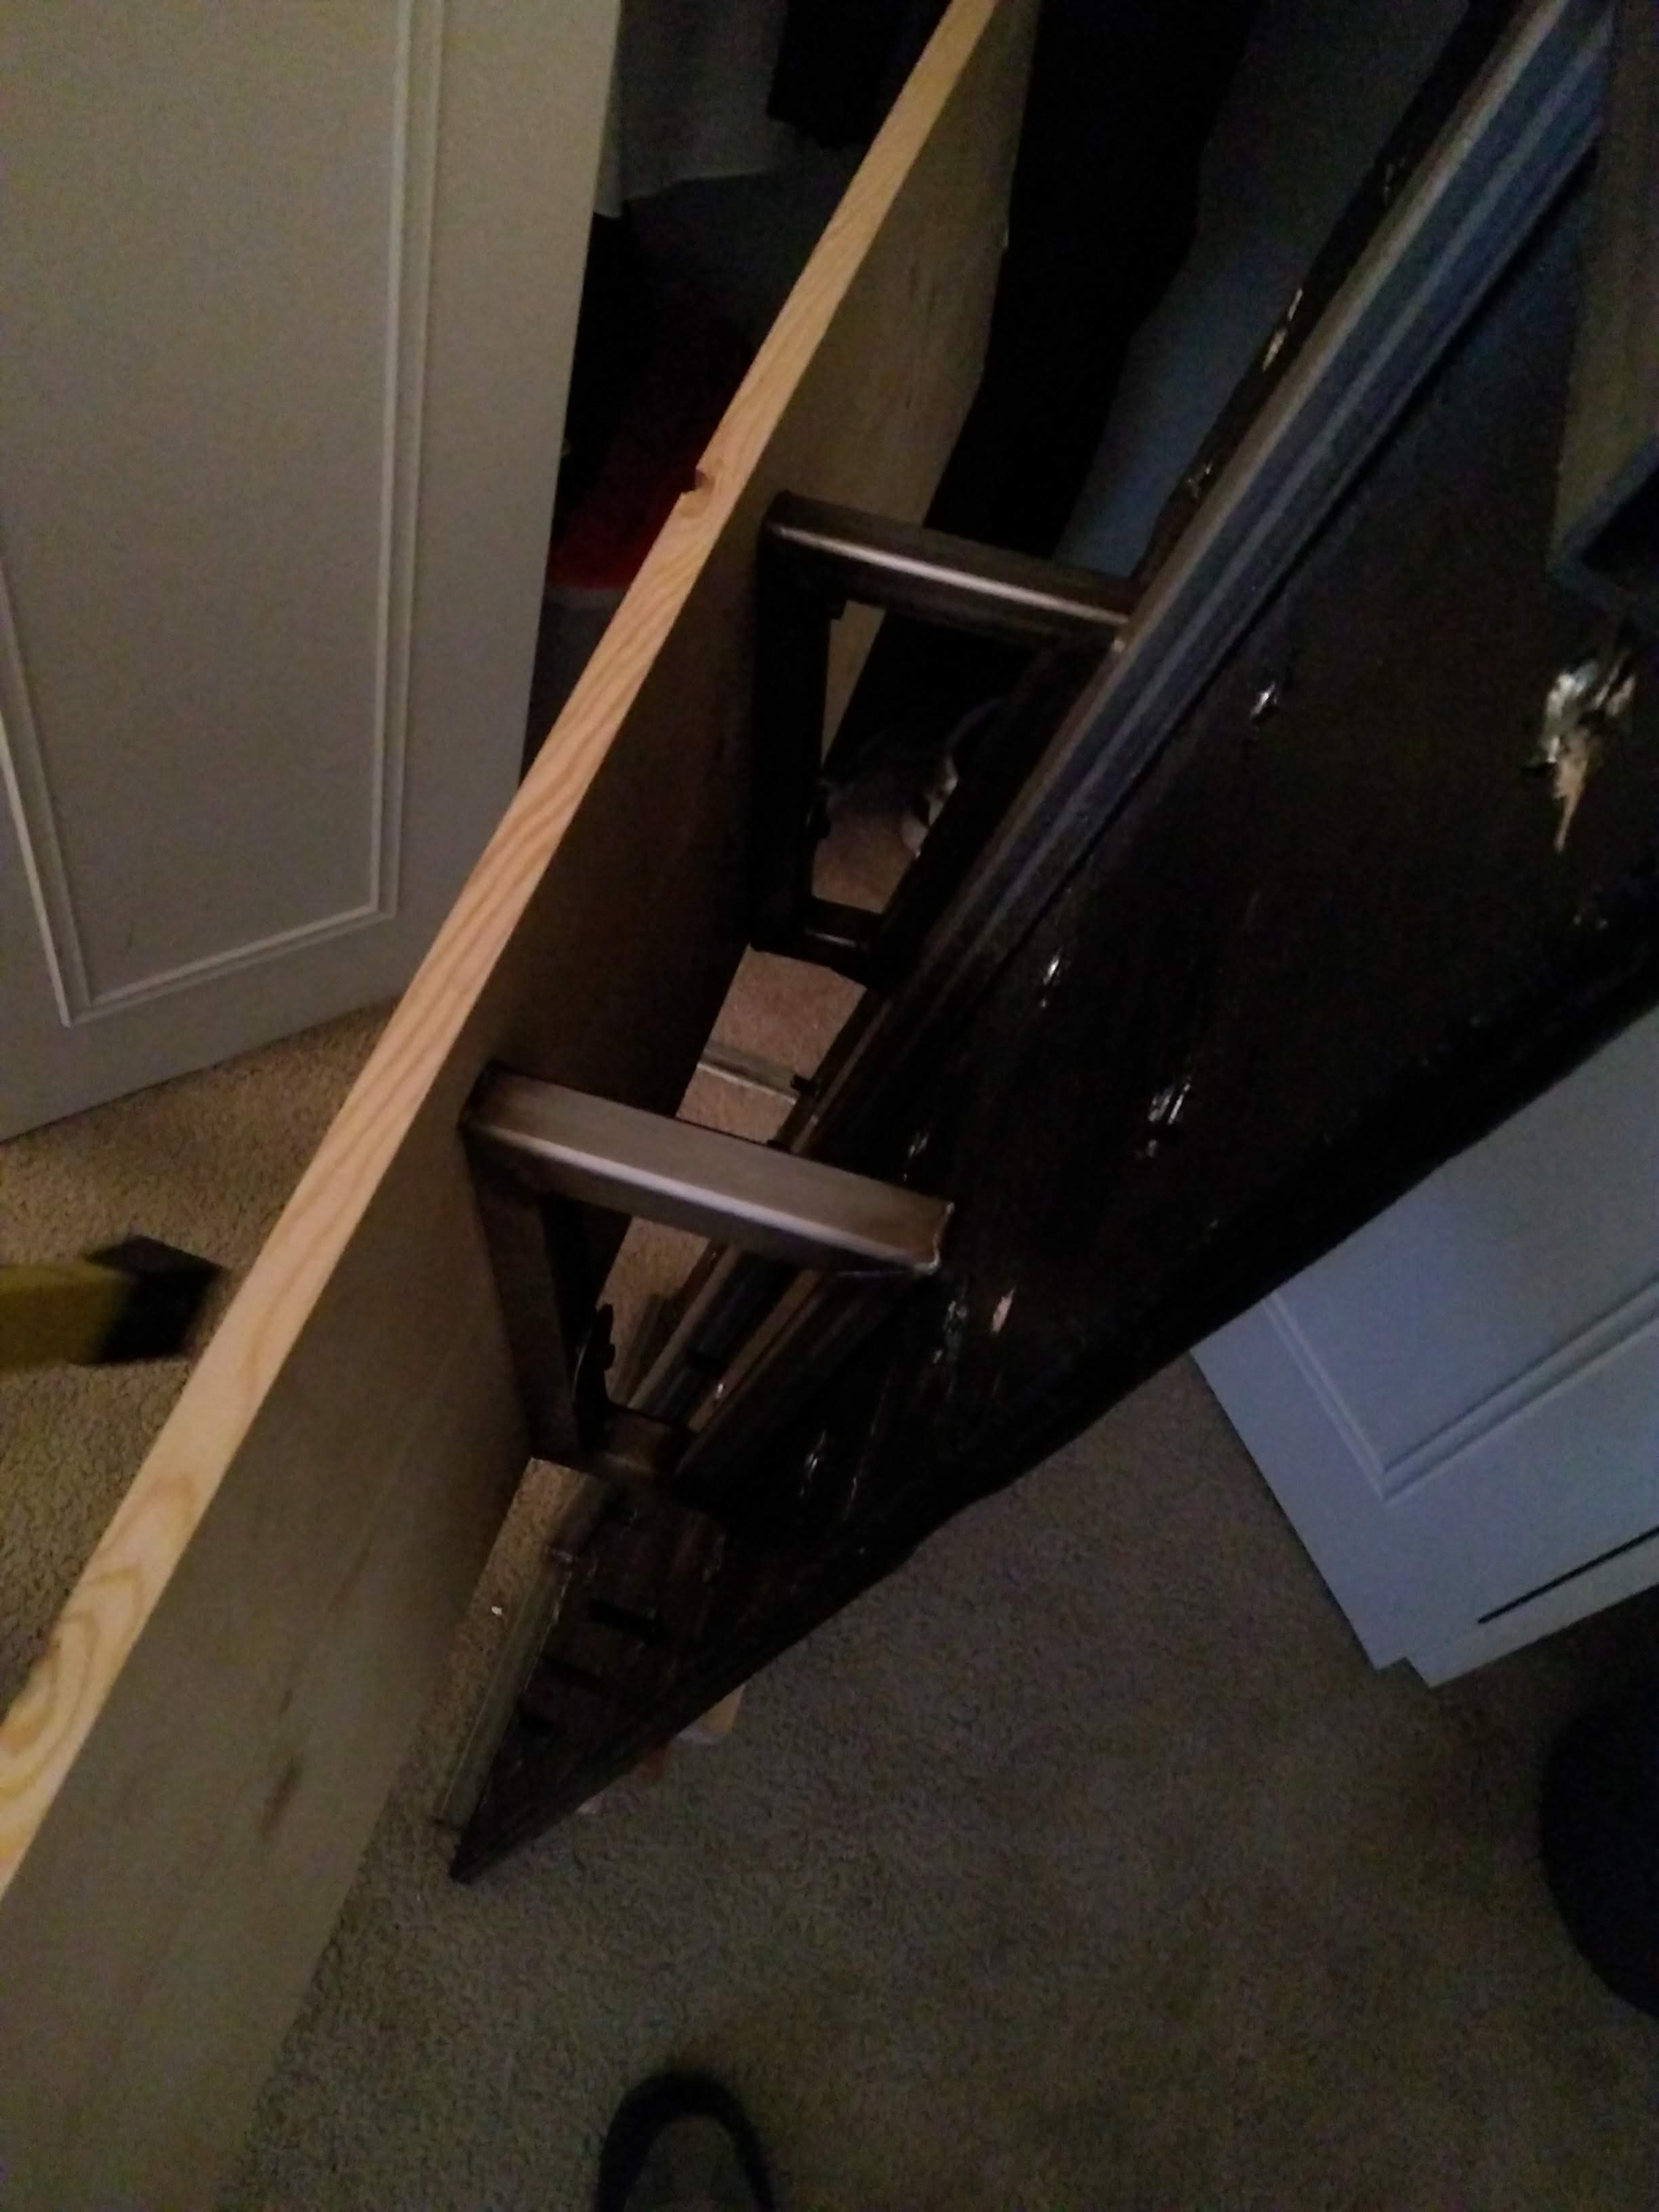
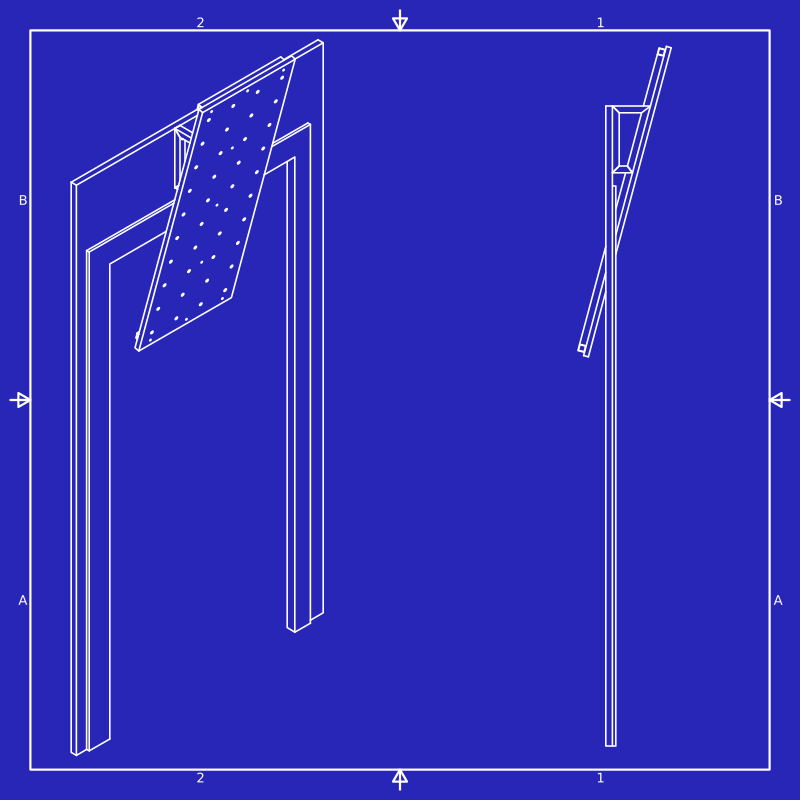
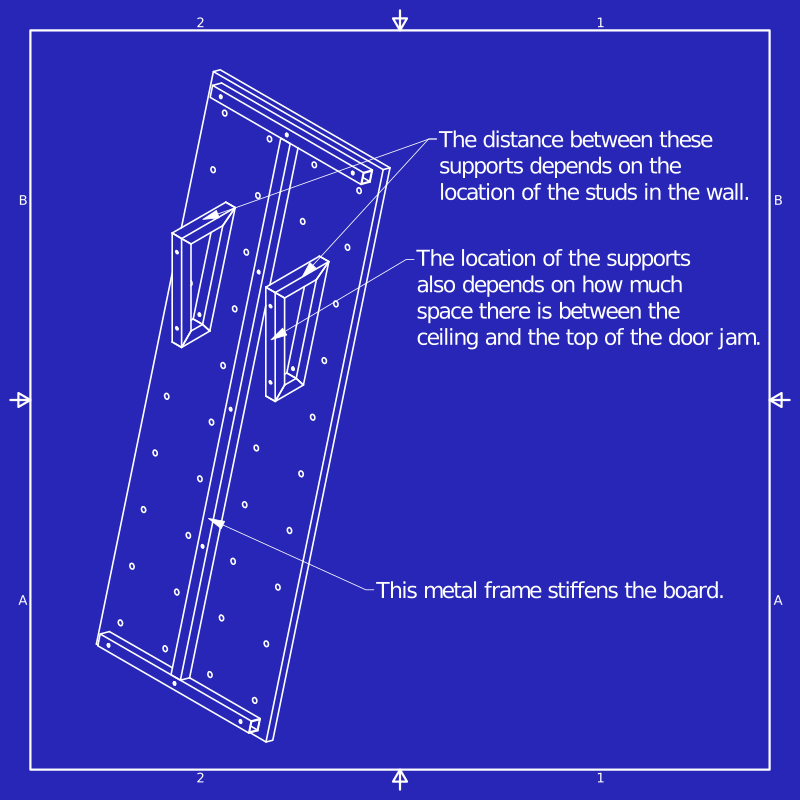
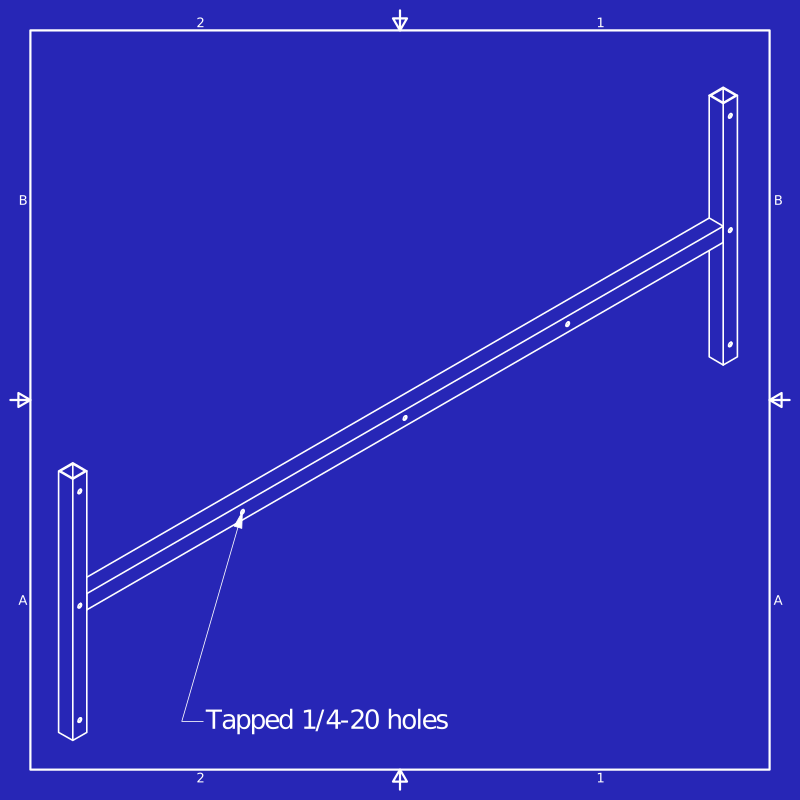
In addition to this problem of the board flexing, there was another problem with this initial mounting: the board was vertical. With no overhang, you can't hang on the board without bumping the rest of your body against the board. With these issues in mind, I designed a stainless steel frame that would stiffen the board and give it a 15 degree overhang (which seems to be pretty normal for campus boards). Both the wall mounts and the metal backing are held to the wooden board with 1/4-20 screws going through the board and into tapped holes in the steel.
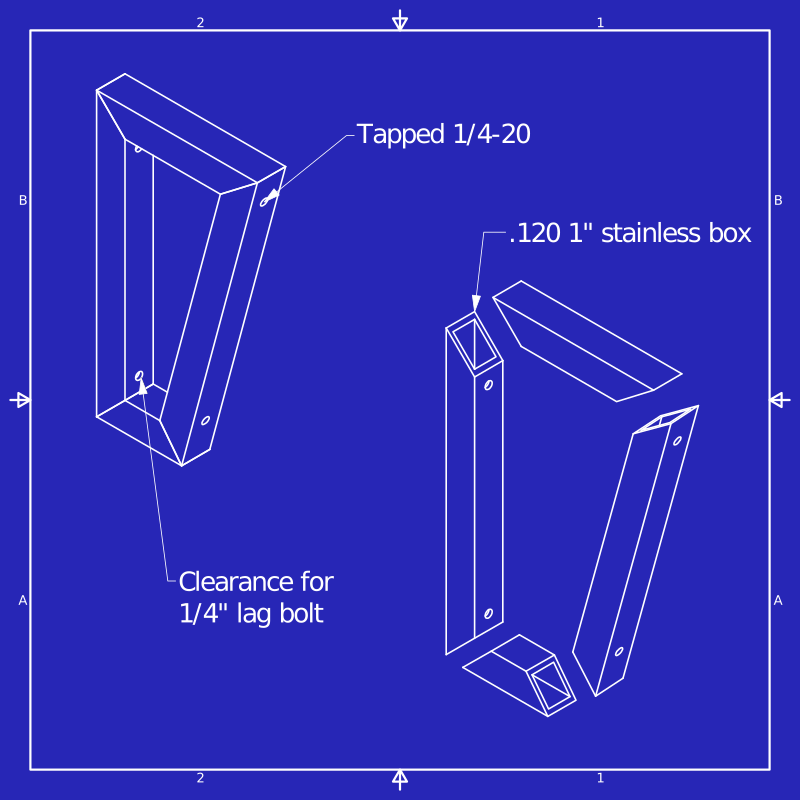
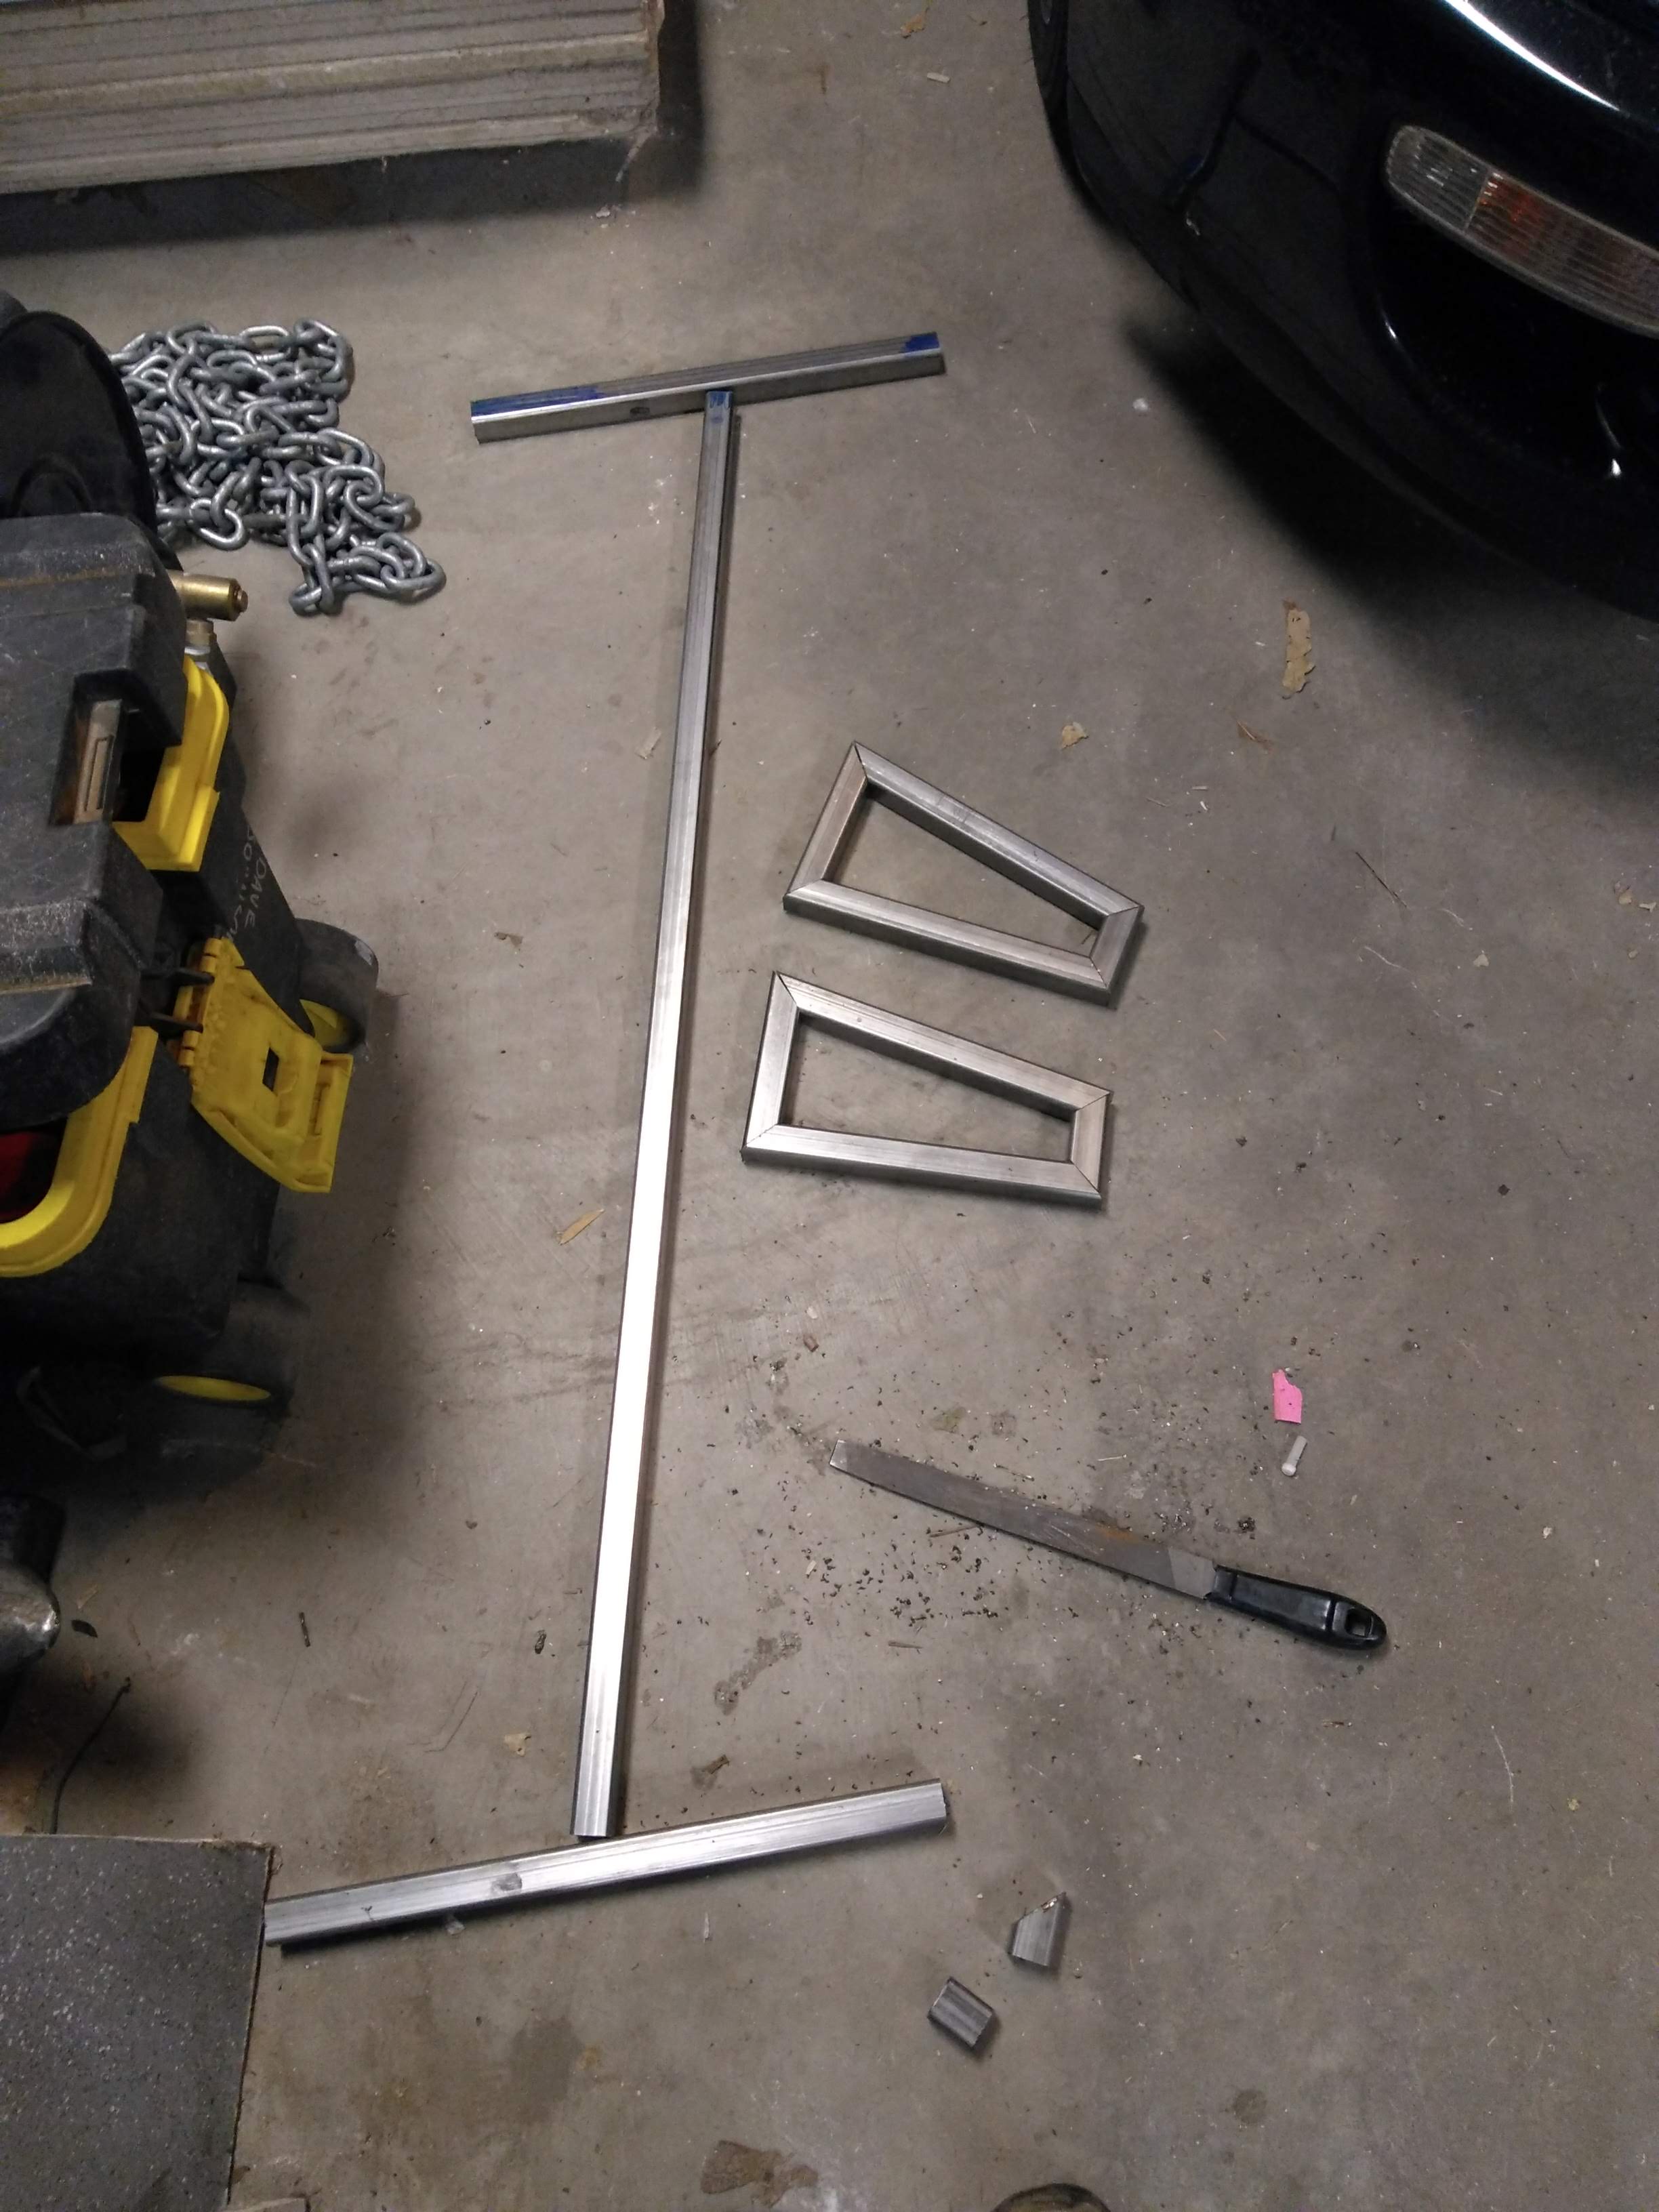
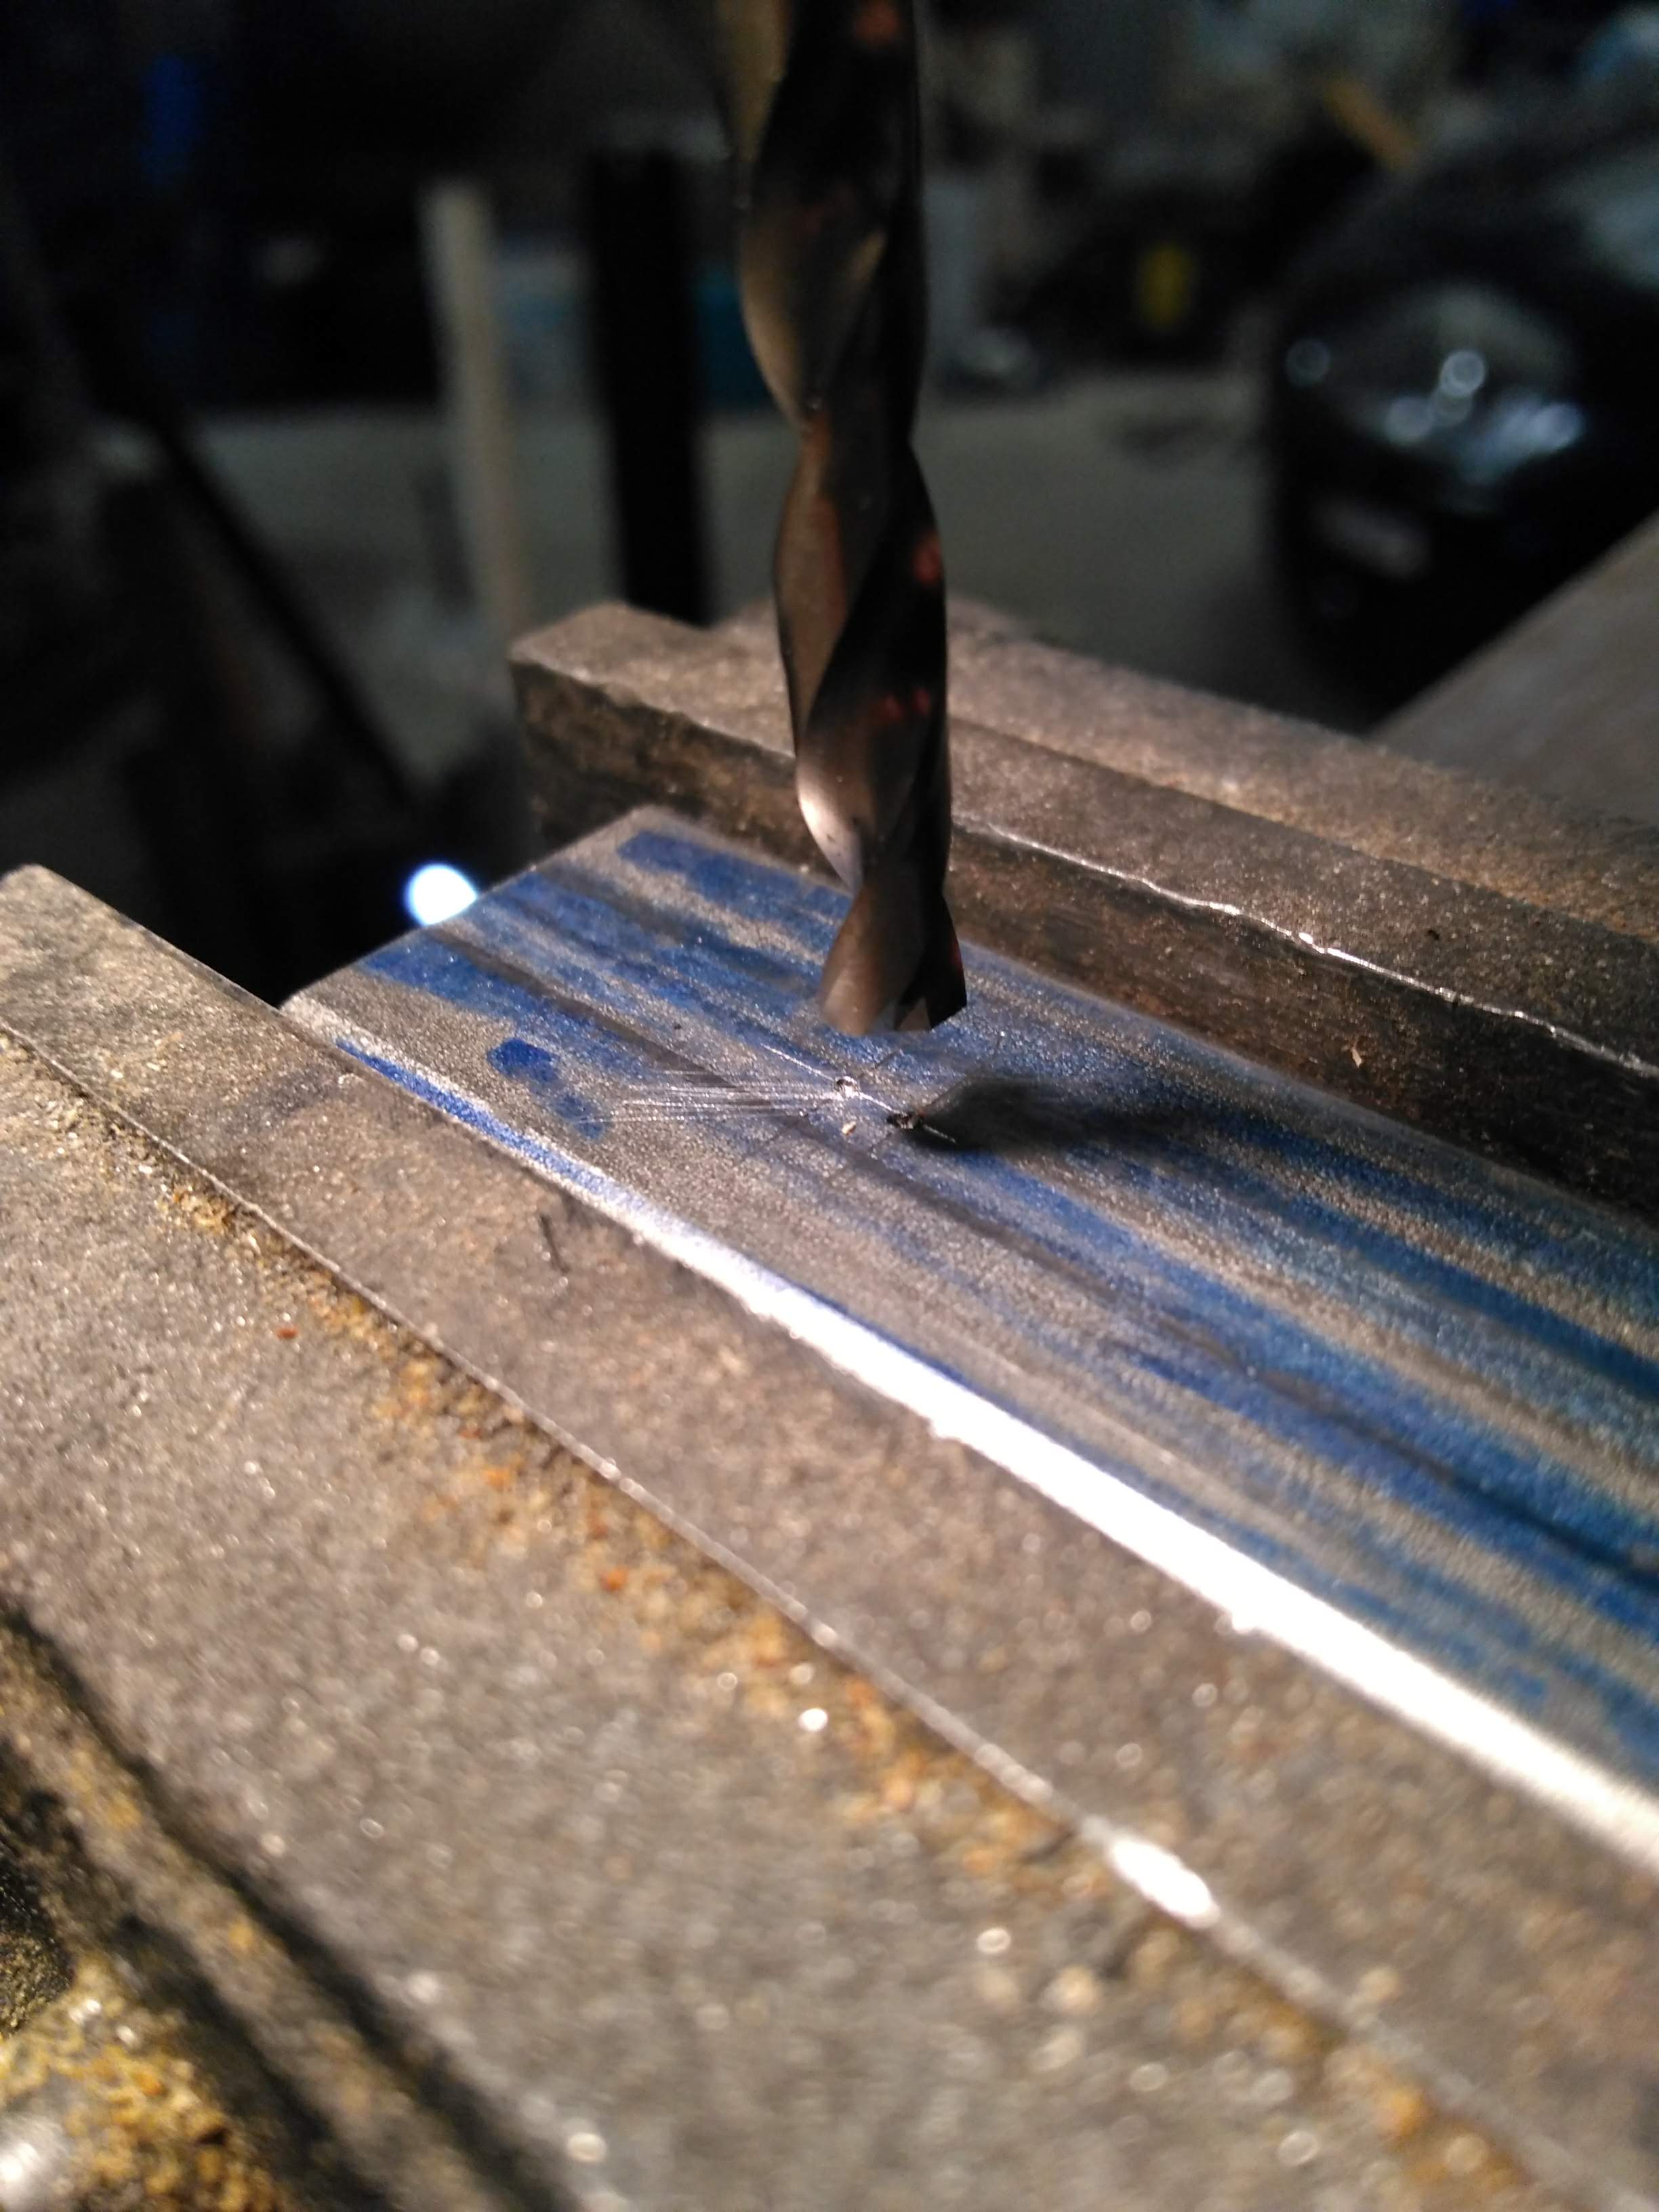
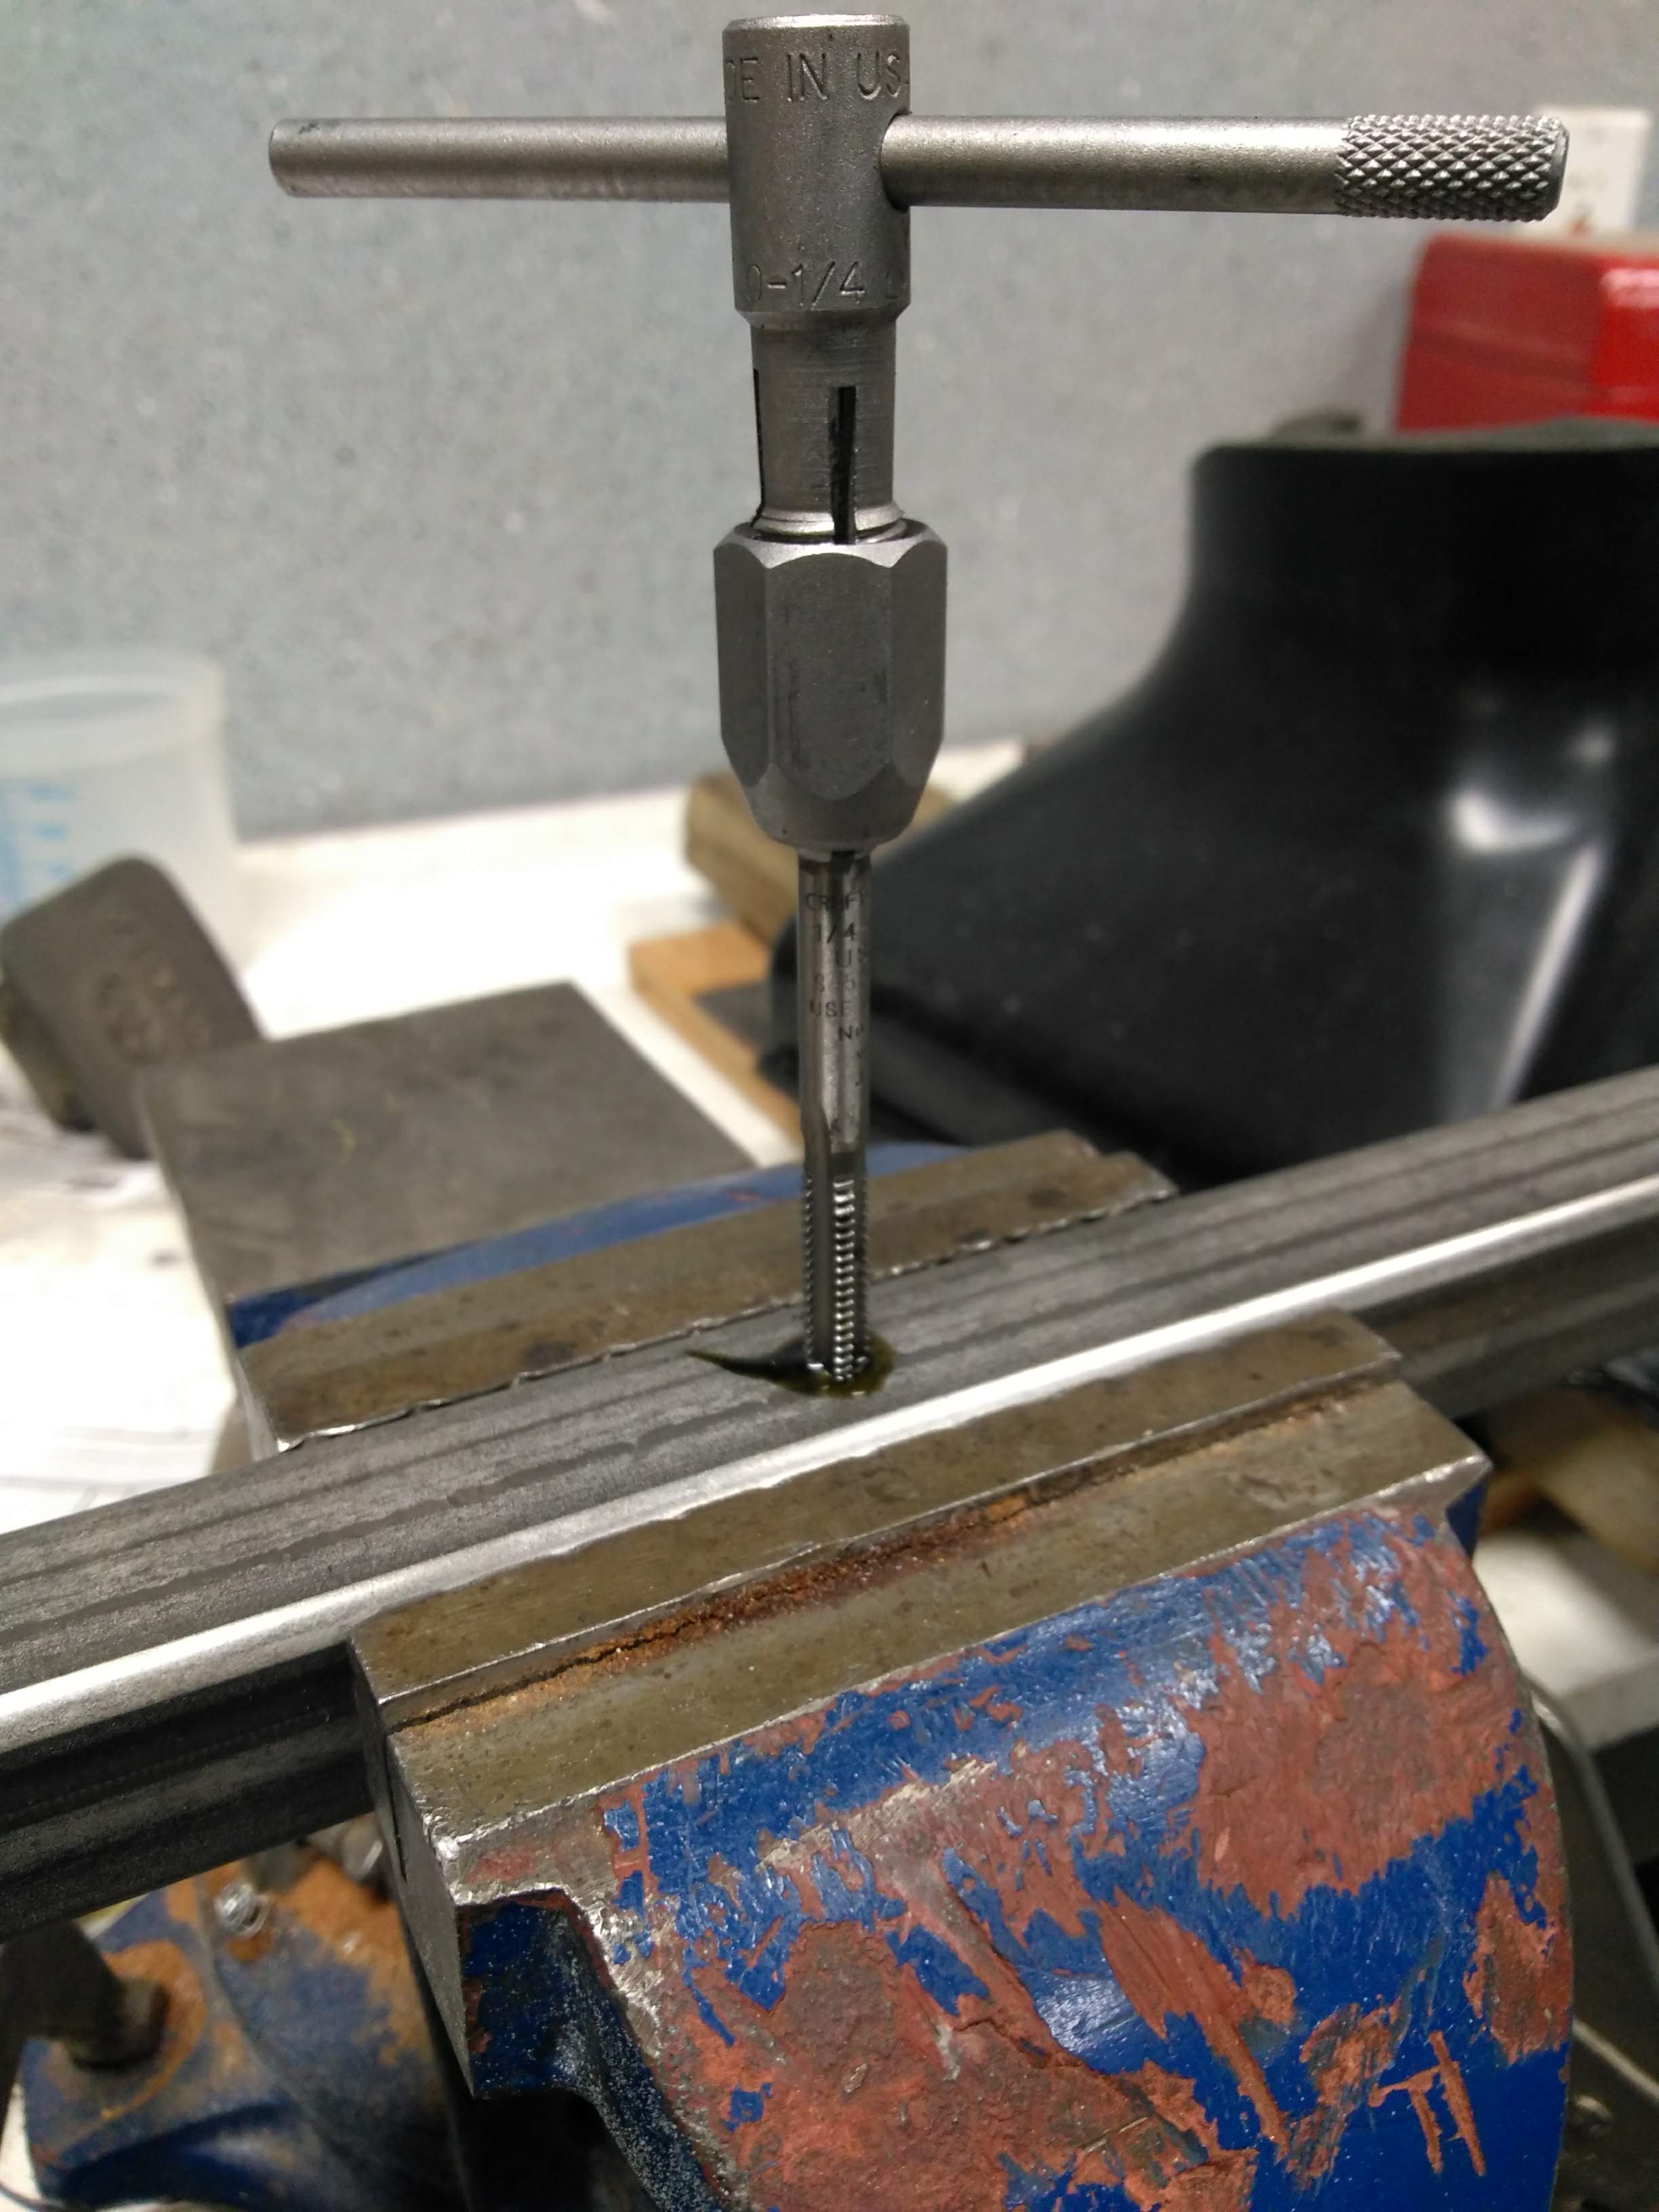
After cutting the necessary pieces out of 1x1x.120" stainless steel box, I drilled and tapped the necessary holes.
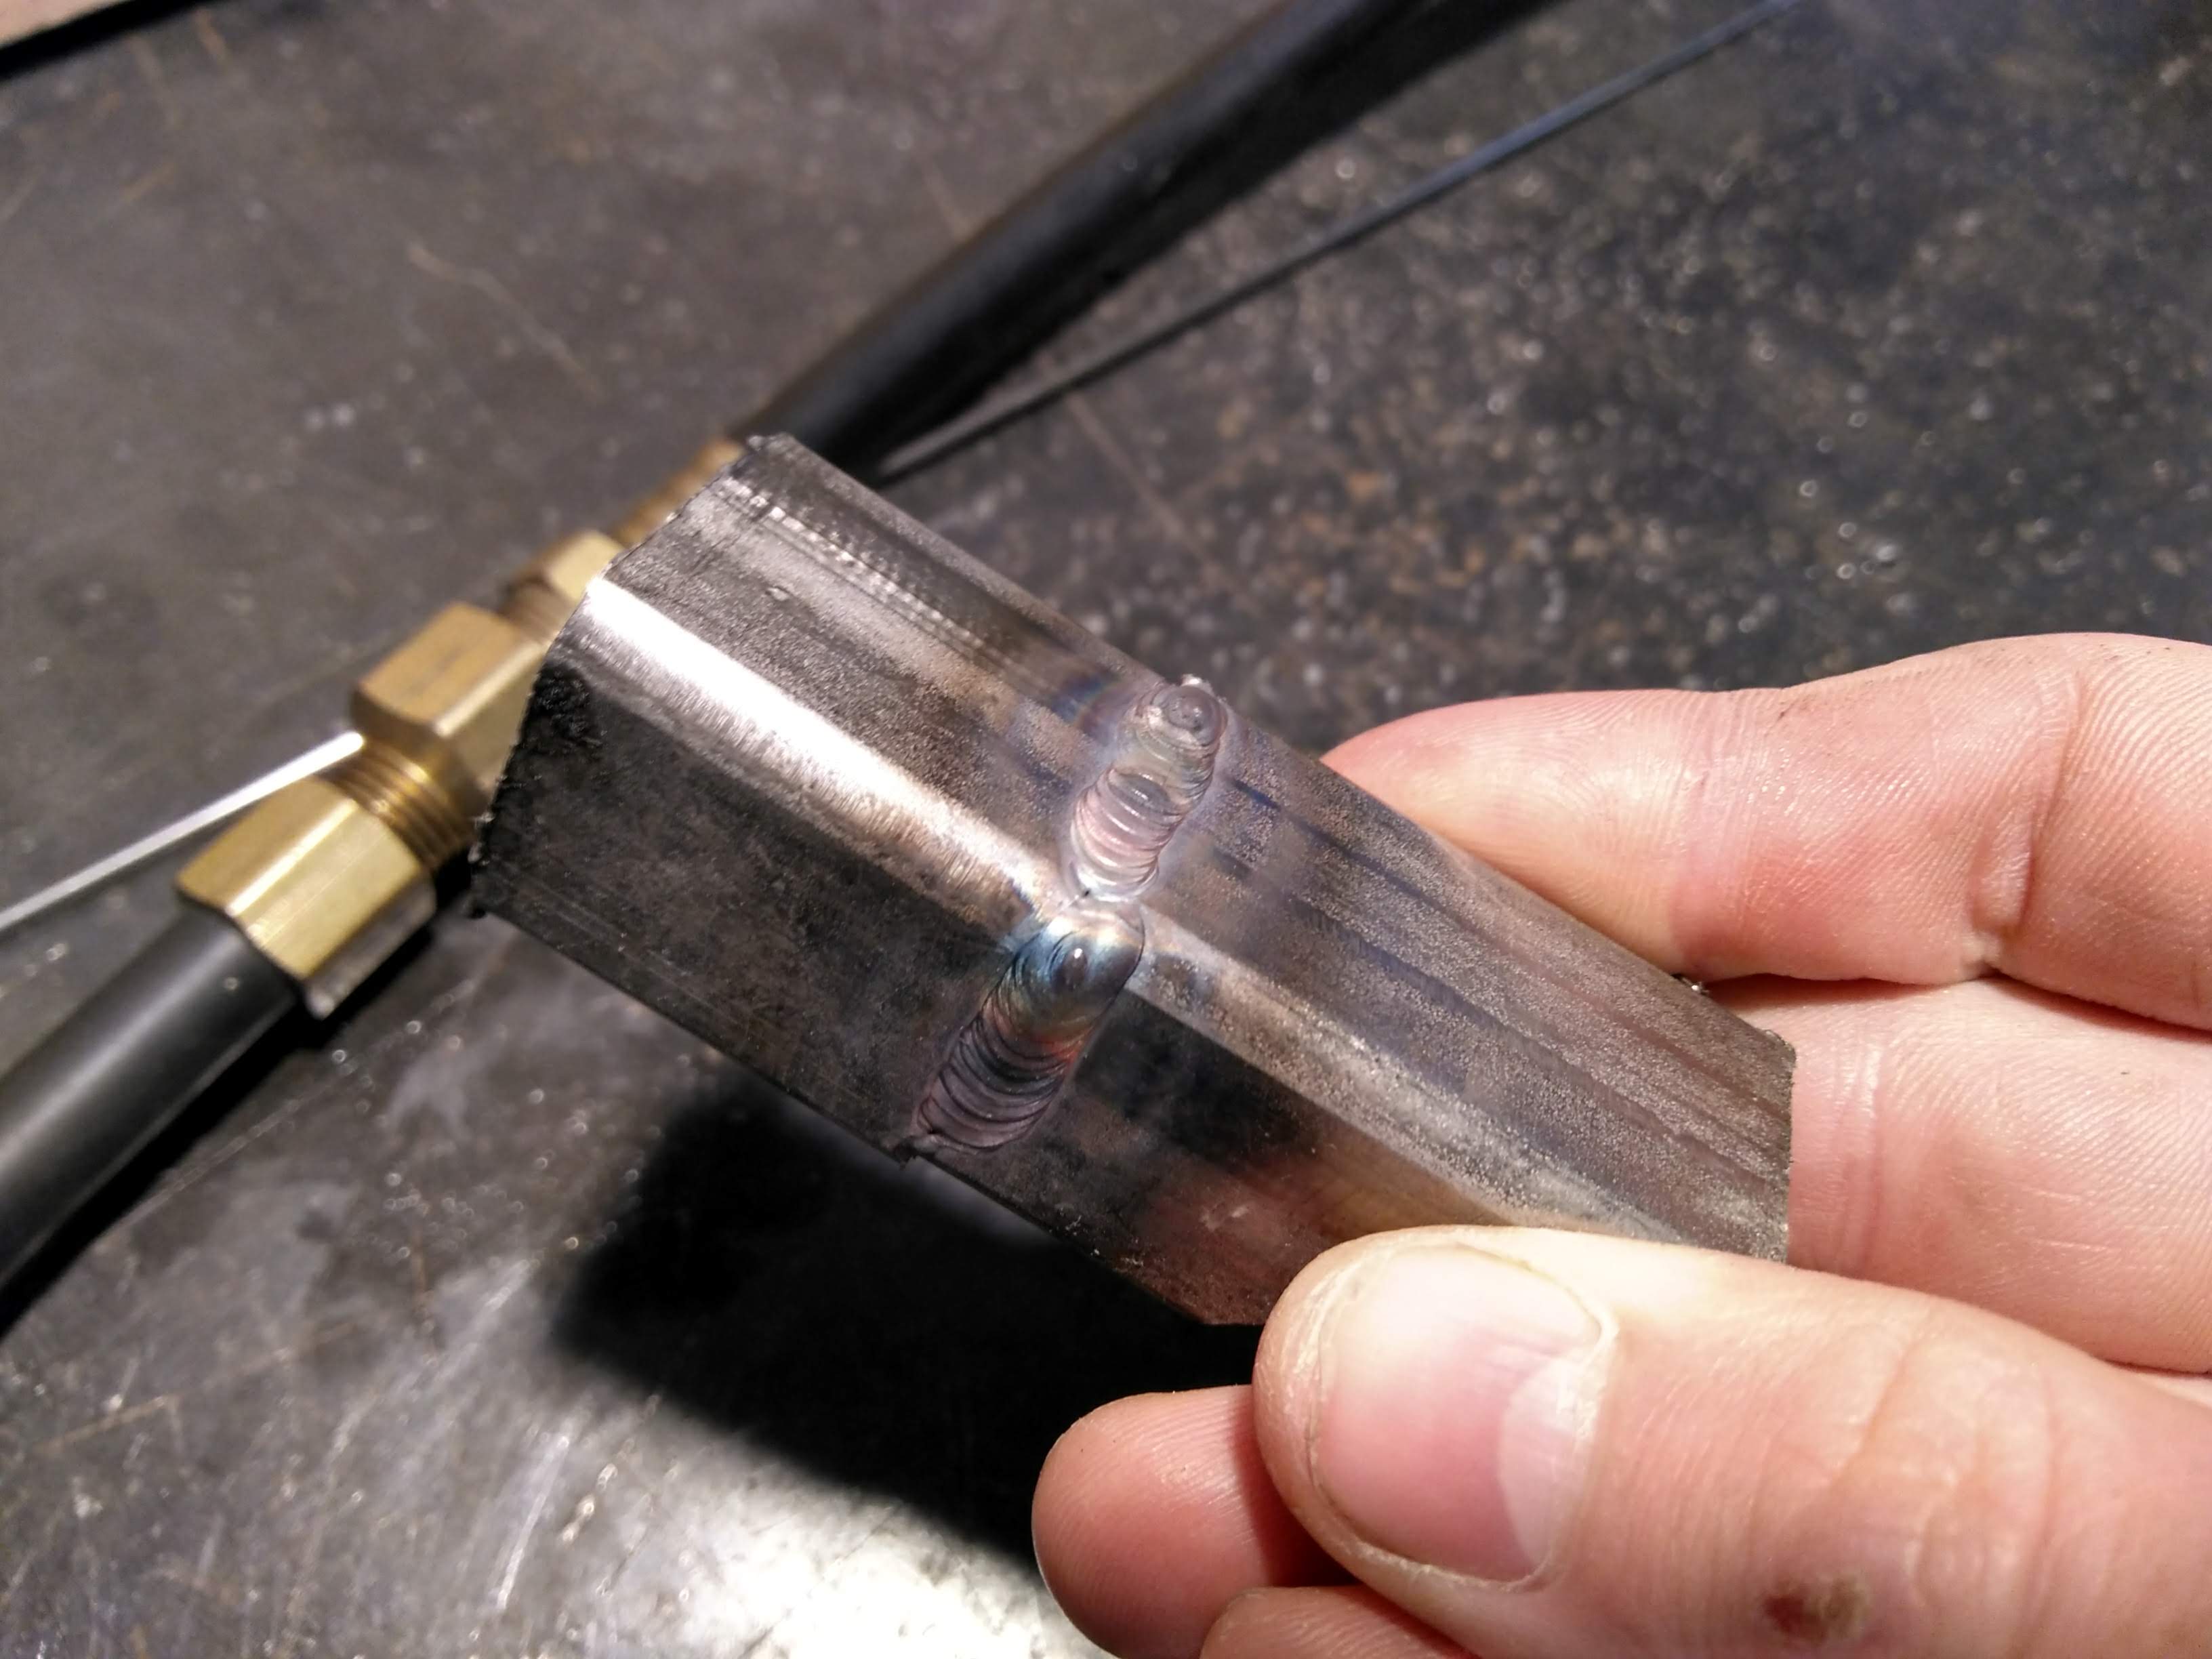
Once the actual pieces were ready for welding, I collected some offcuts of the stainless to practice welding on first. Purging the back of the weld with a bit of argon helped to keep oxidation to a minimum.
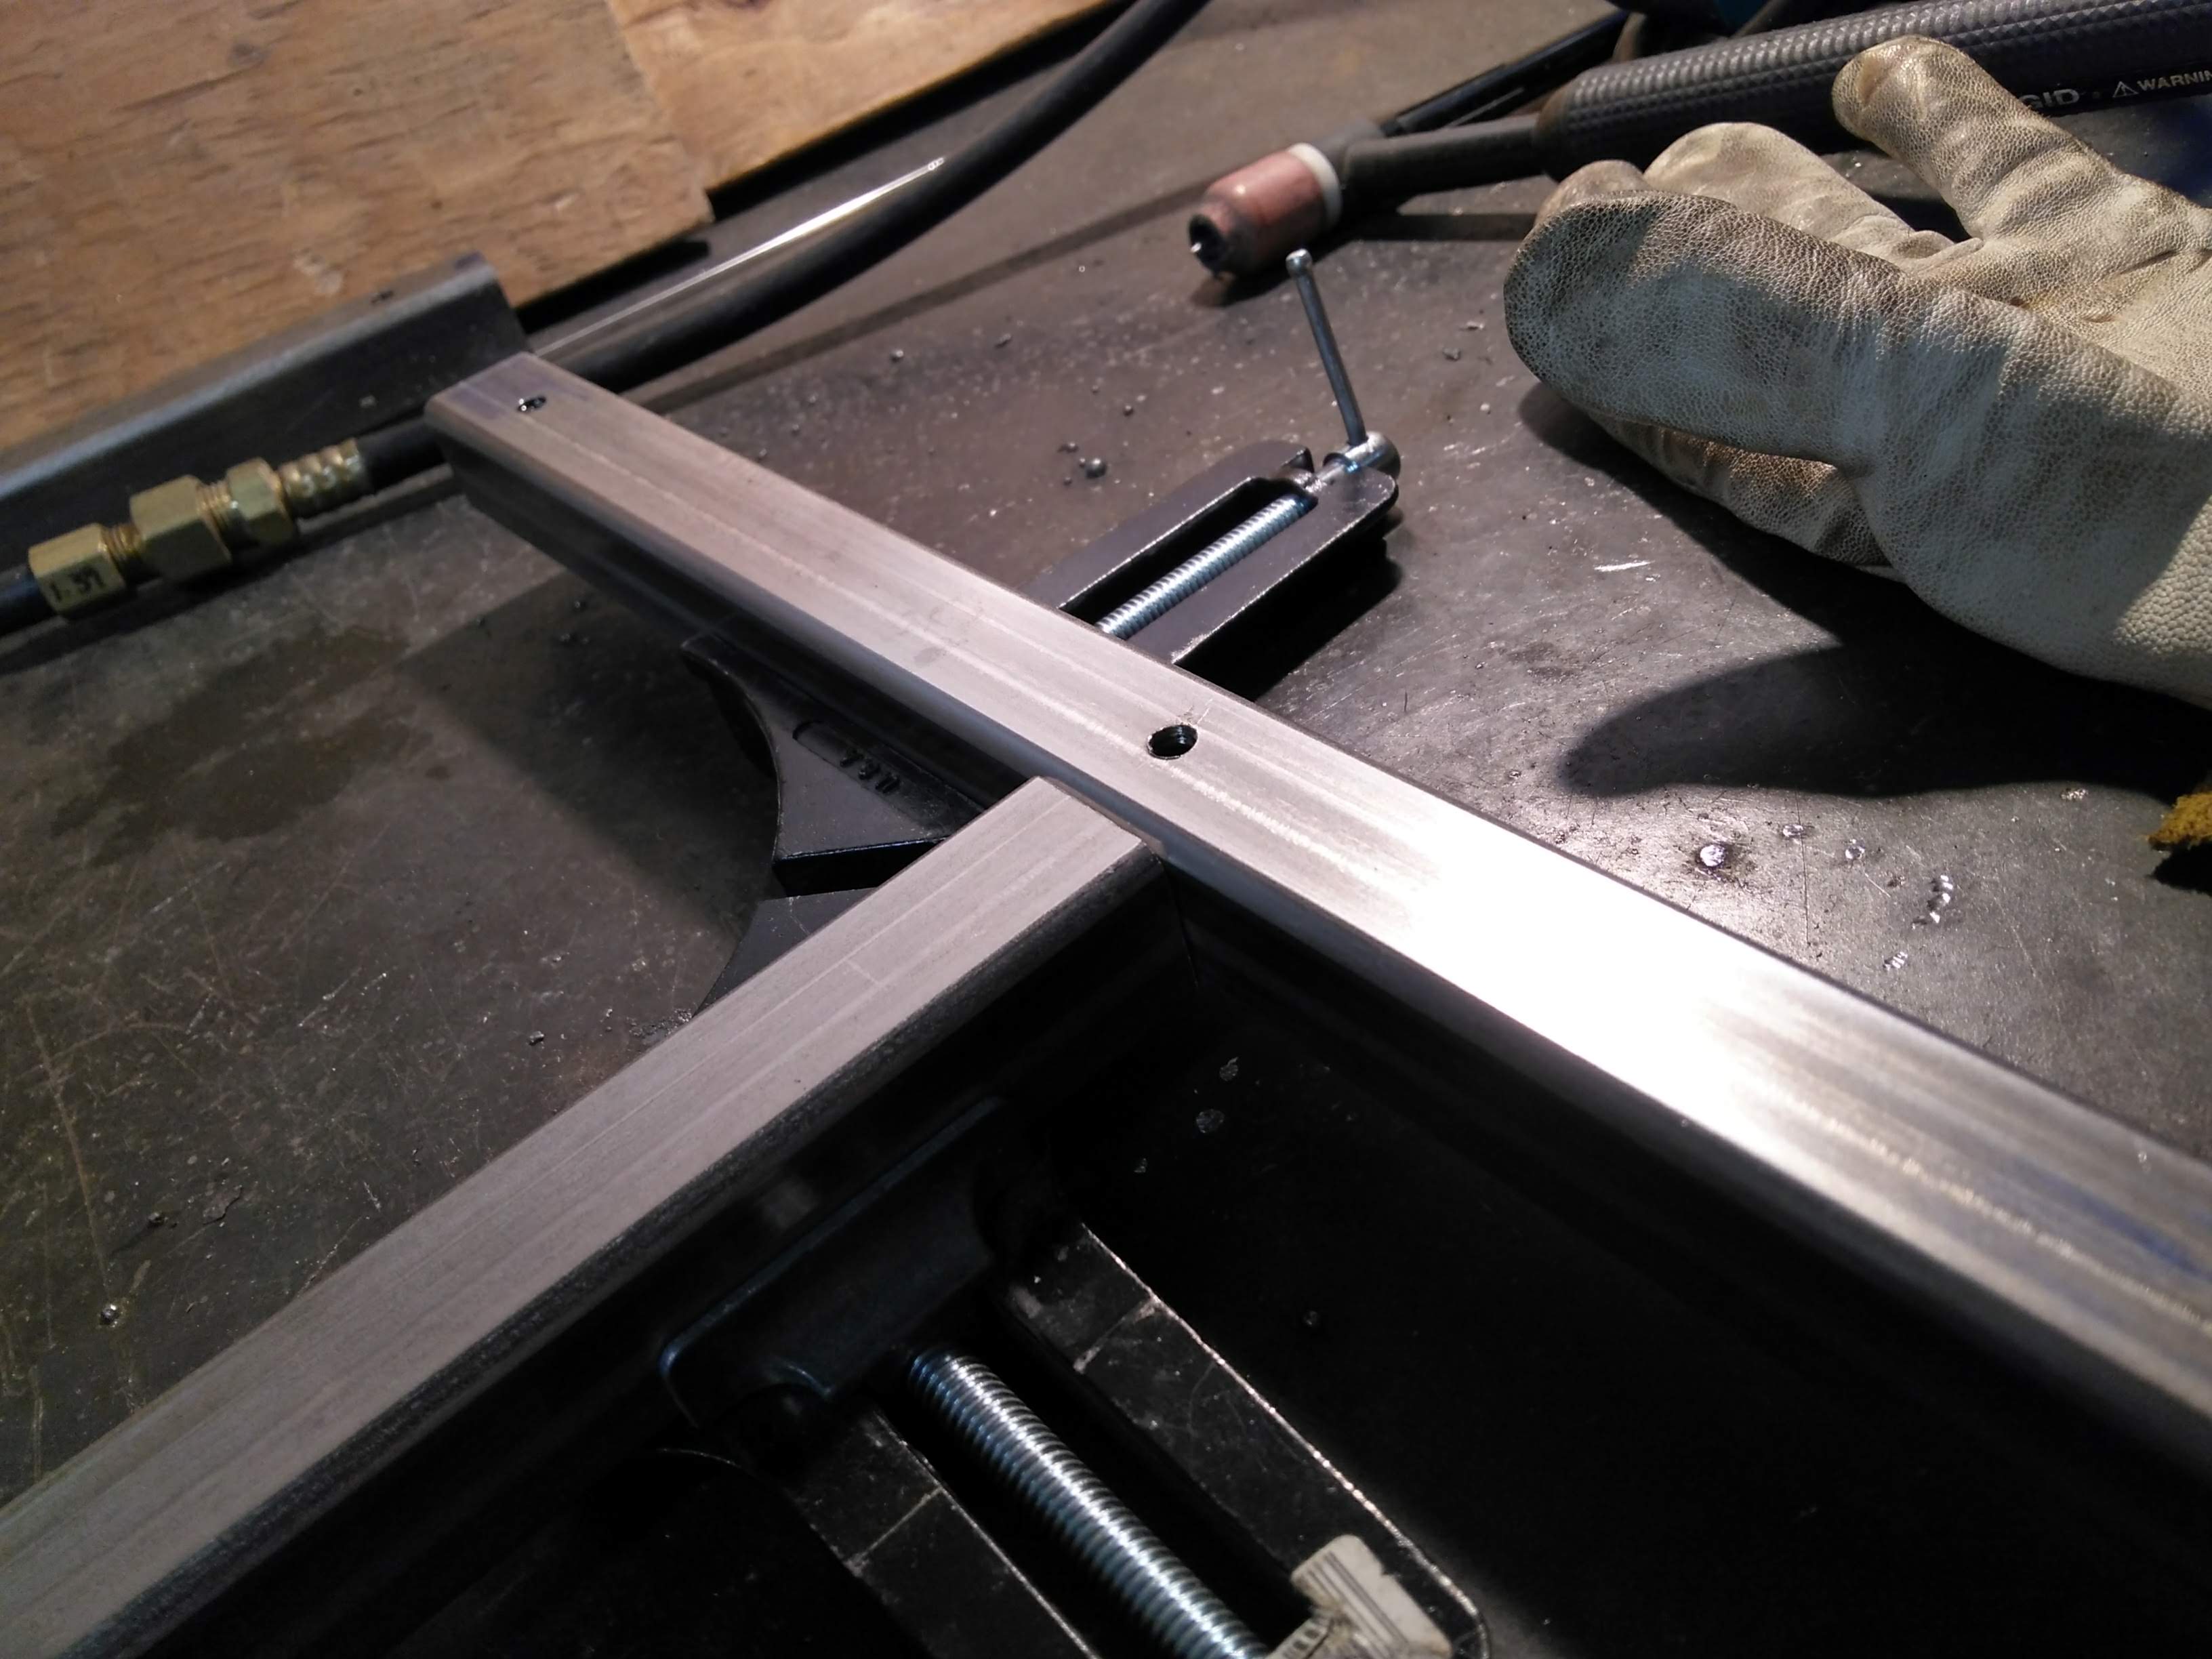
After these practice welds turned out OK, I welded the metal backing for the board. Since this stainless steel isn't magnetic, I can't hold it with magnets like I normally would - fortunately, I had some nifty right-angle vices laying around to use. Like before, I needed to back purge the weld with argon, so I taped over the holes in the pieces (so the argon wouldn't escape too quickly) and taped a tube onto one of the holes of the long piece. I hooked up the other side of the tube to a second regulator on the argon tank. As a completely sealed tube can cause issues while welding (the escaping gas causes the molten metal around the weld to bubble), I made sure to poke some small holes in the tape for the final welds.
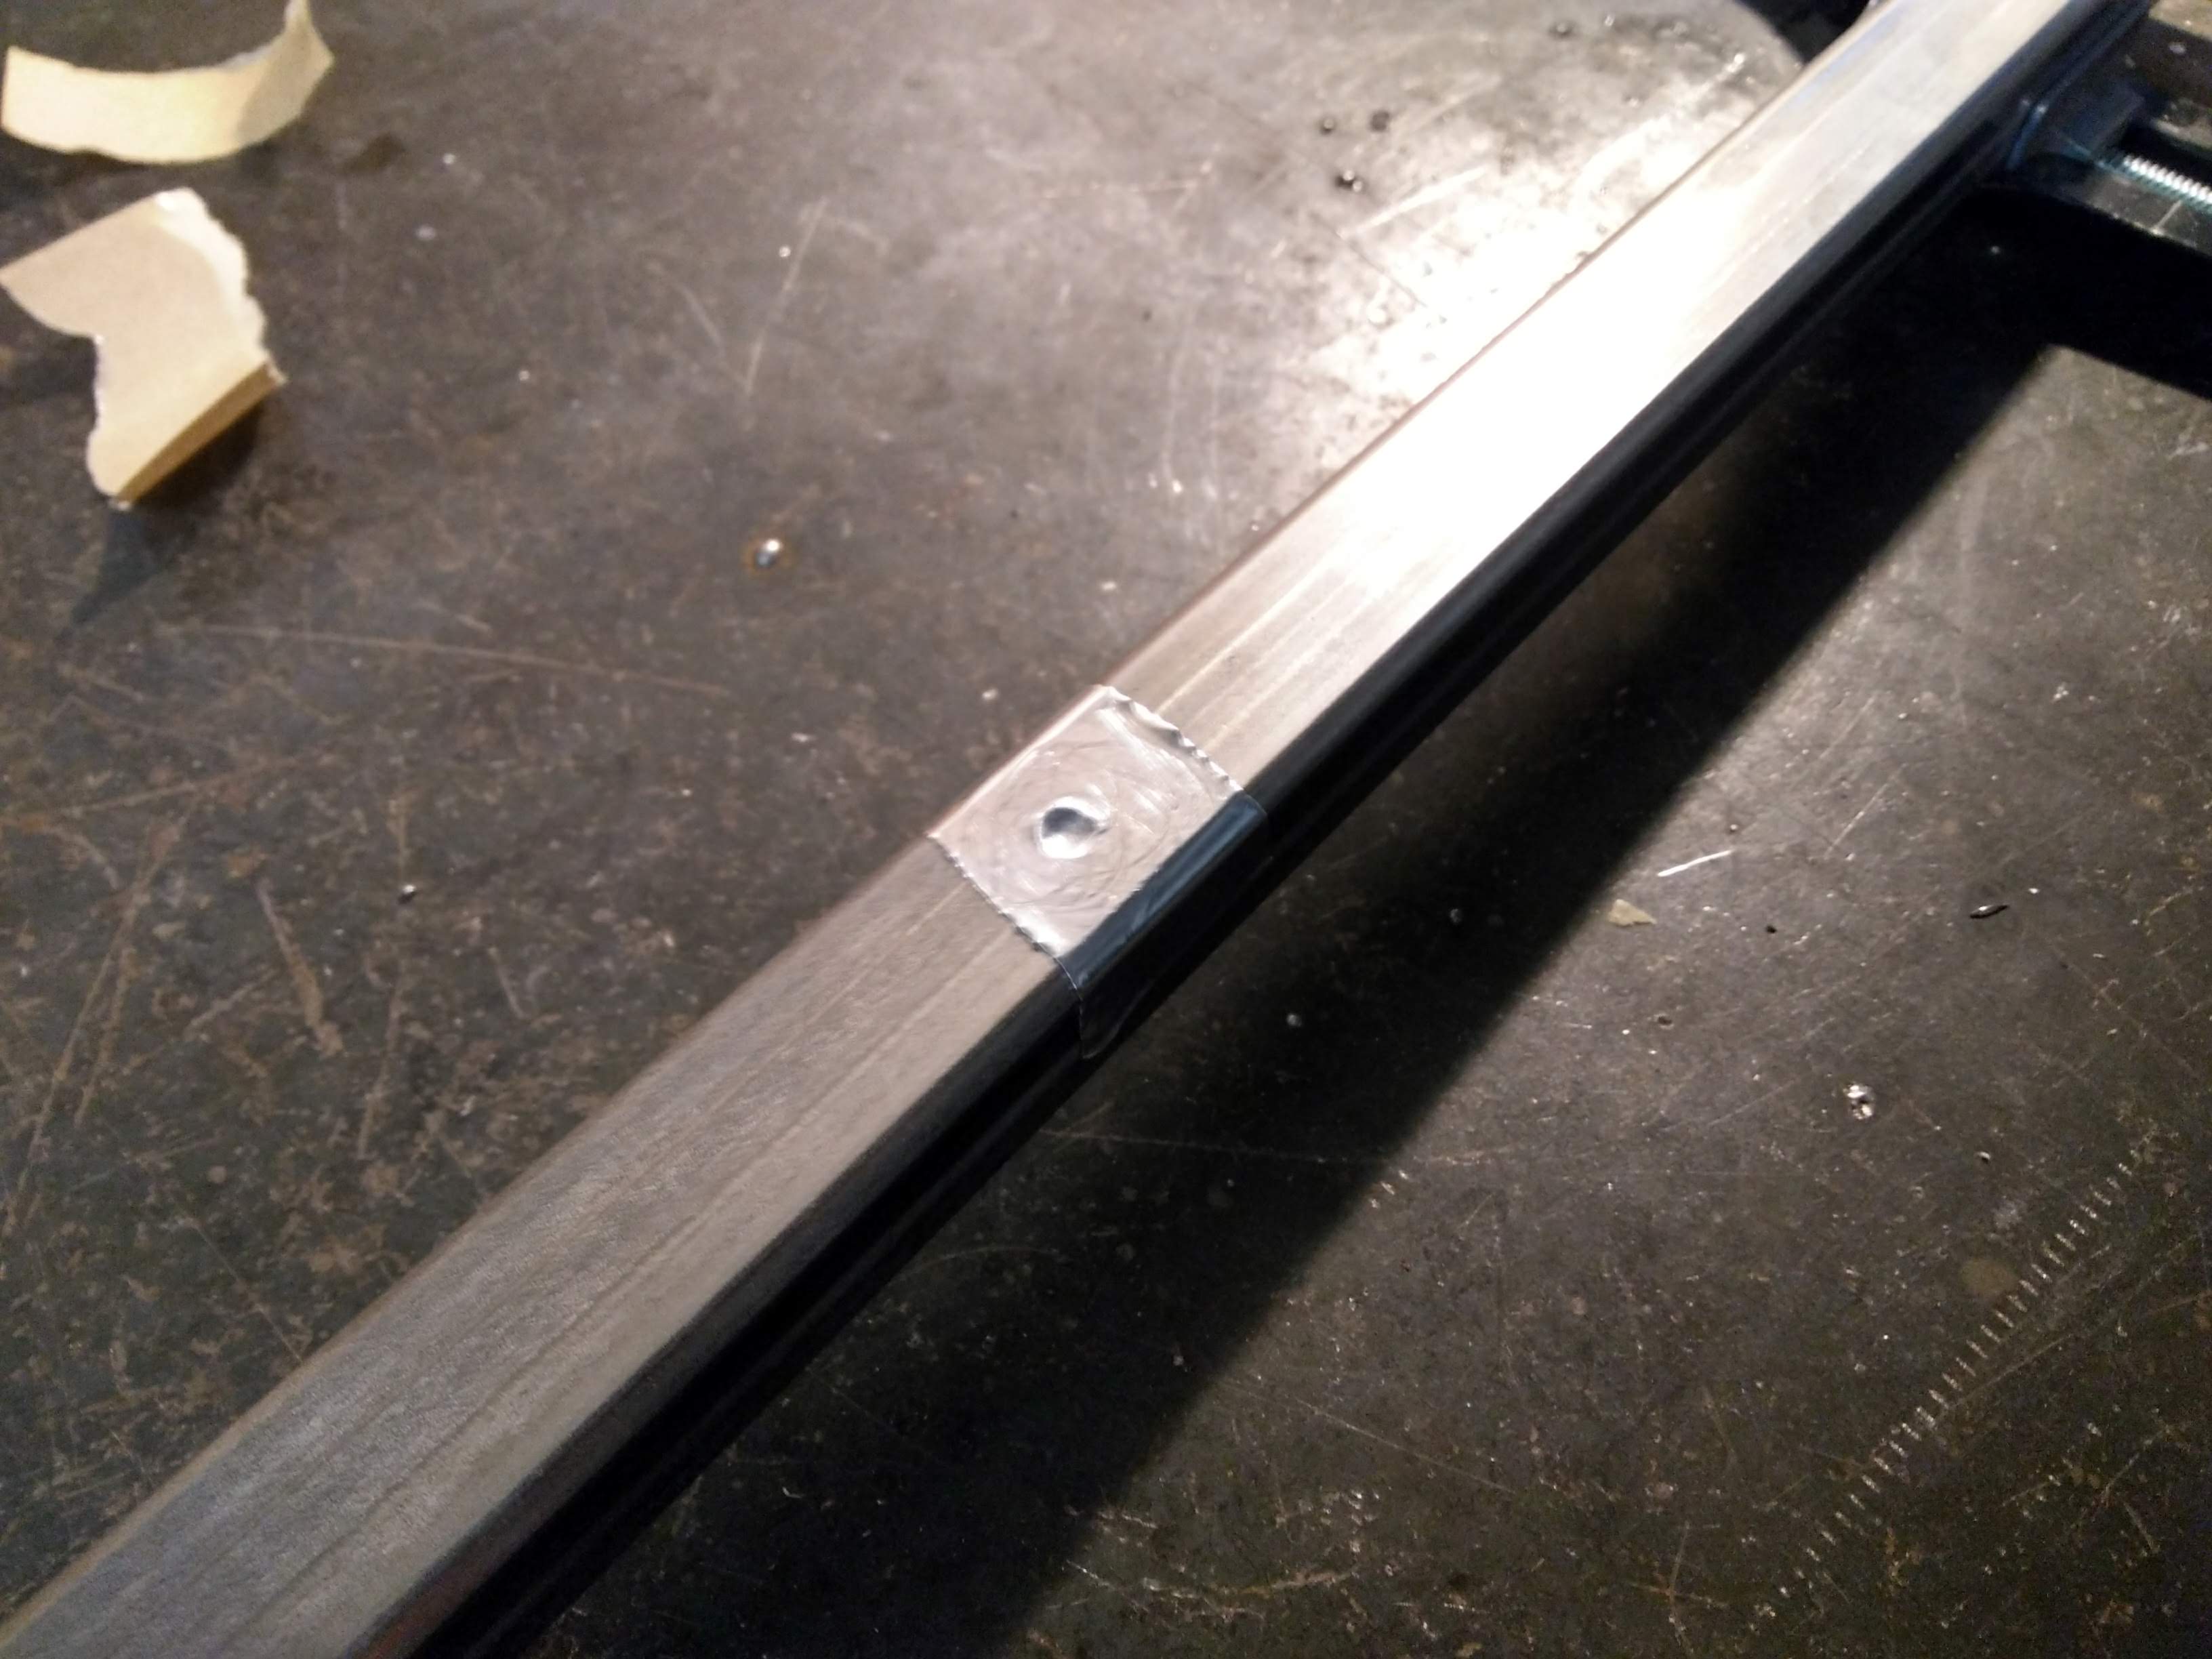
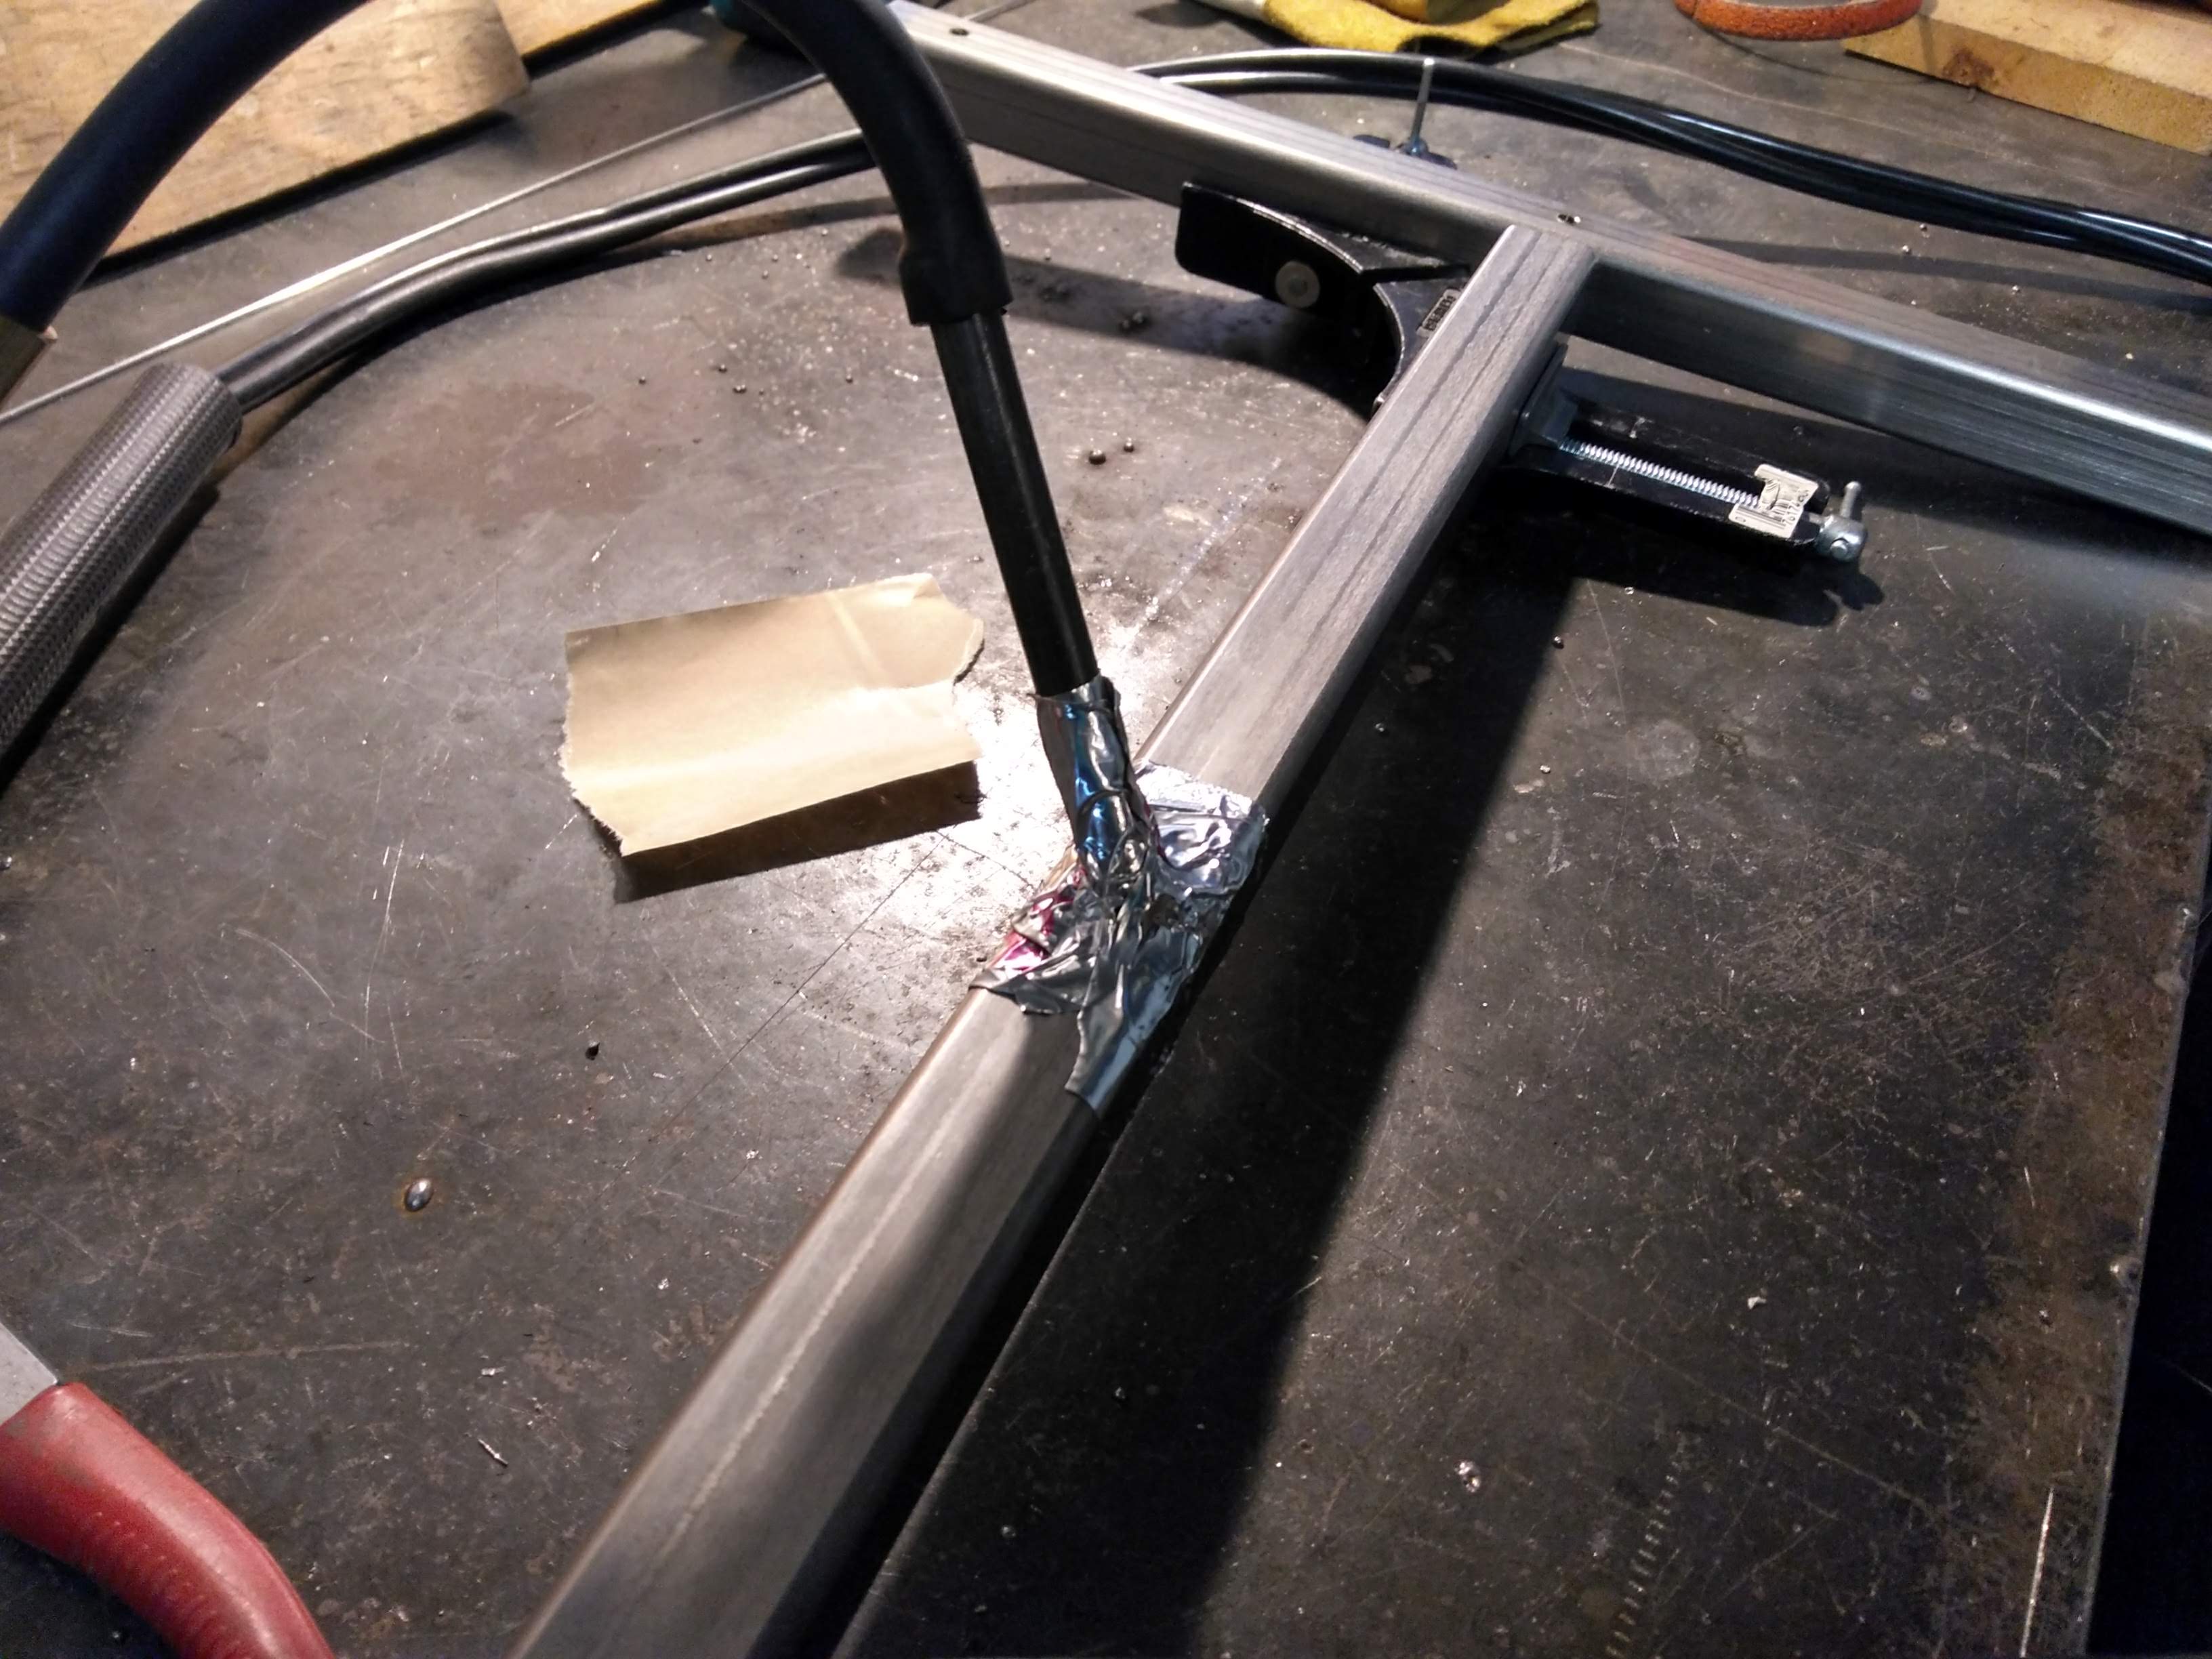
Unfortunately, I couldn't use the same clamping setup for the wall mounts, as they had some funky angles and the pieces aren't as long. While the stanless isn't magnetic, my welding bench is, so I can use the magnets on the table as a sort of clamp while I weld. As in the other piece, I taped the argon tube to one of the holes I'd drilled before.

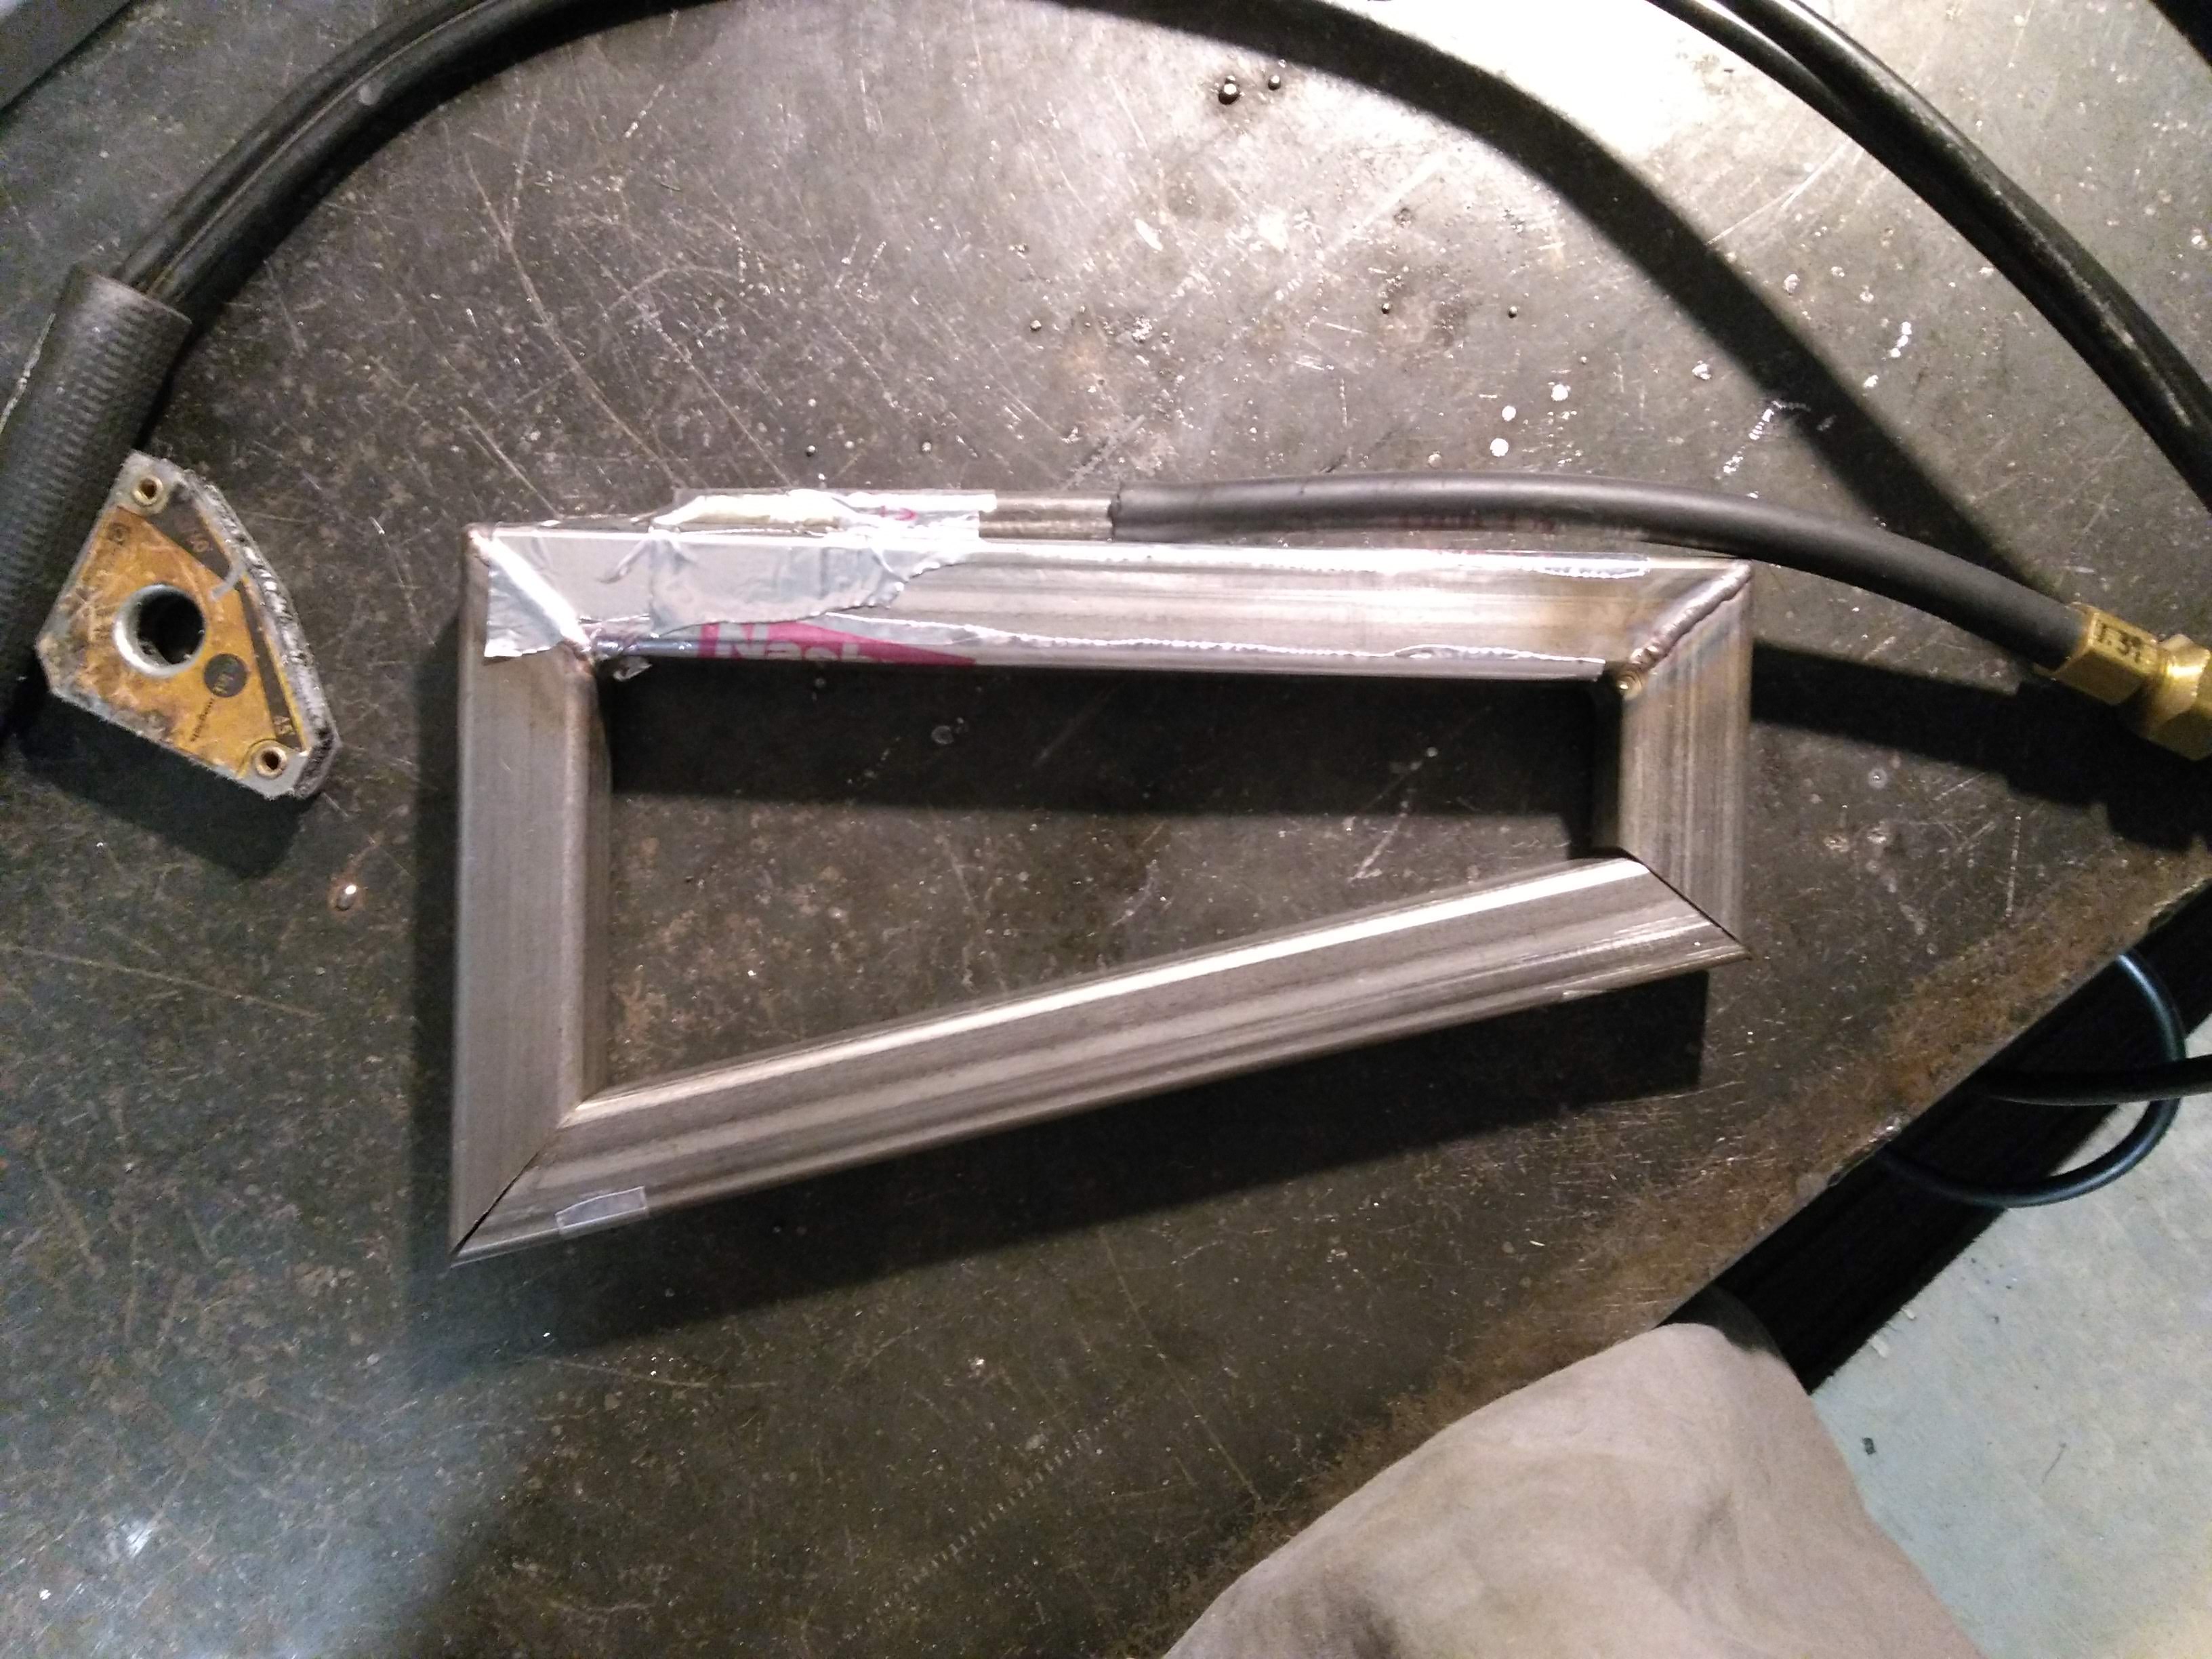
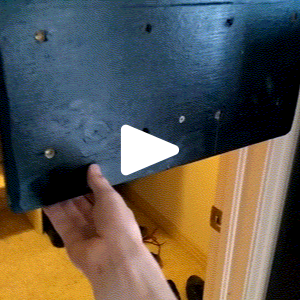
The welds turned out ok, so I did another test mounting with the pieces. This time, the board was sturdy and at an acceptable angle.

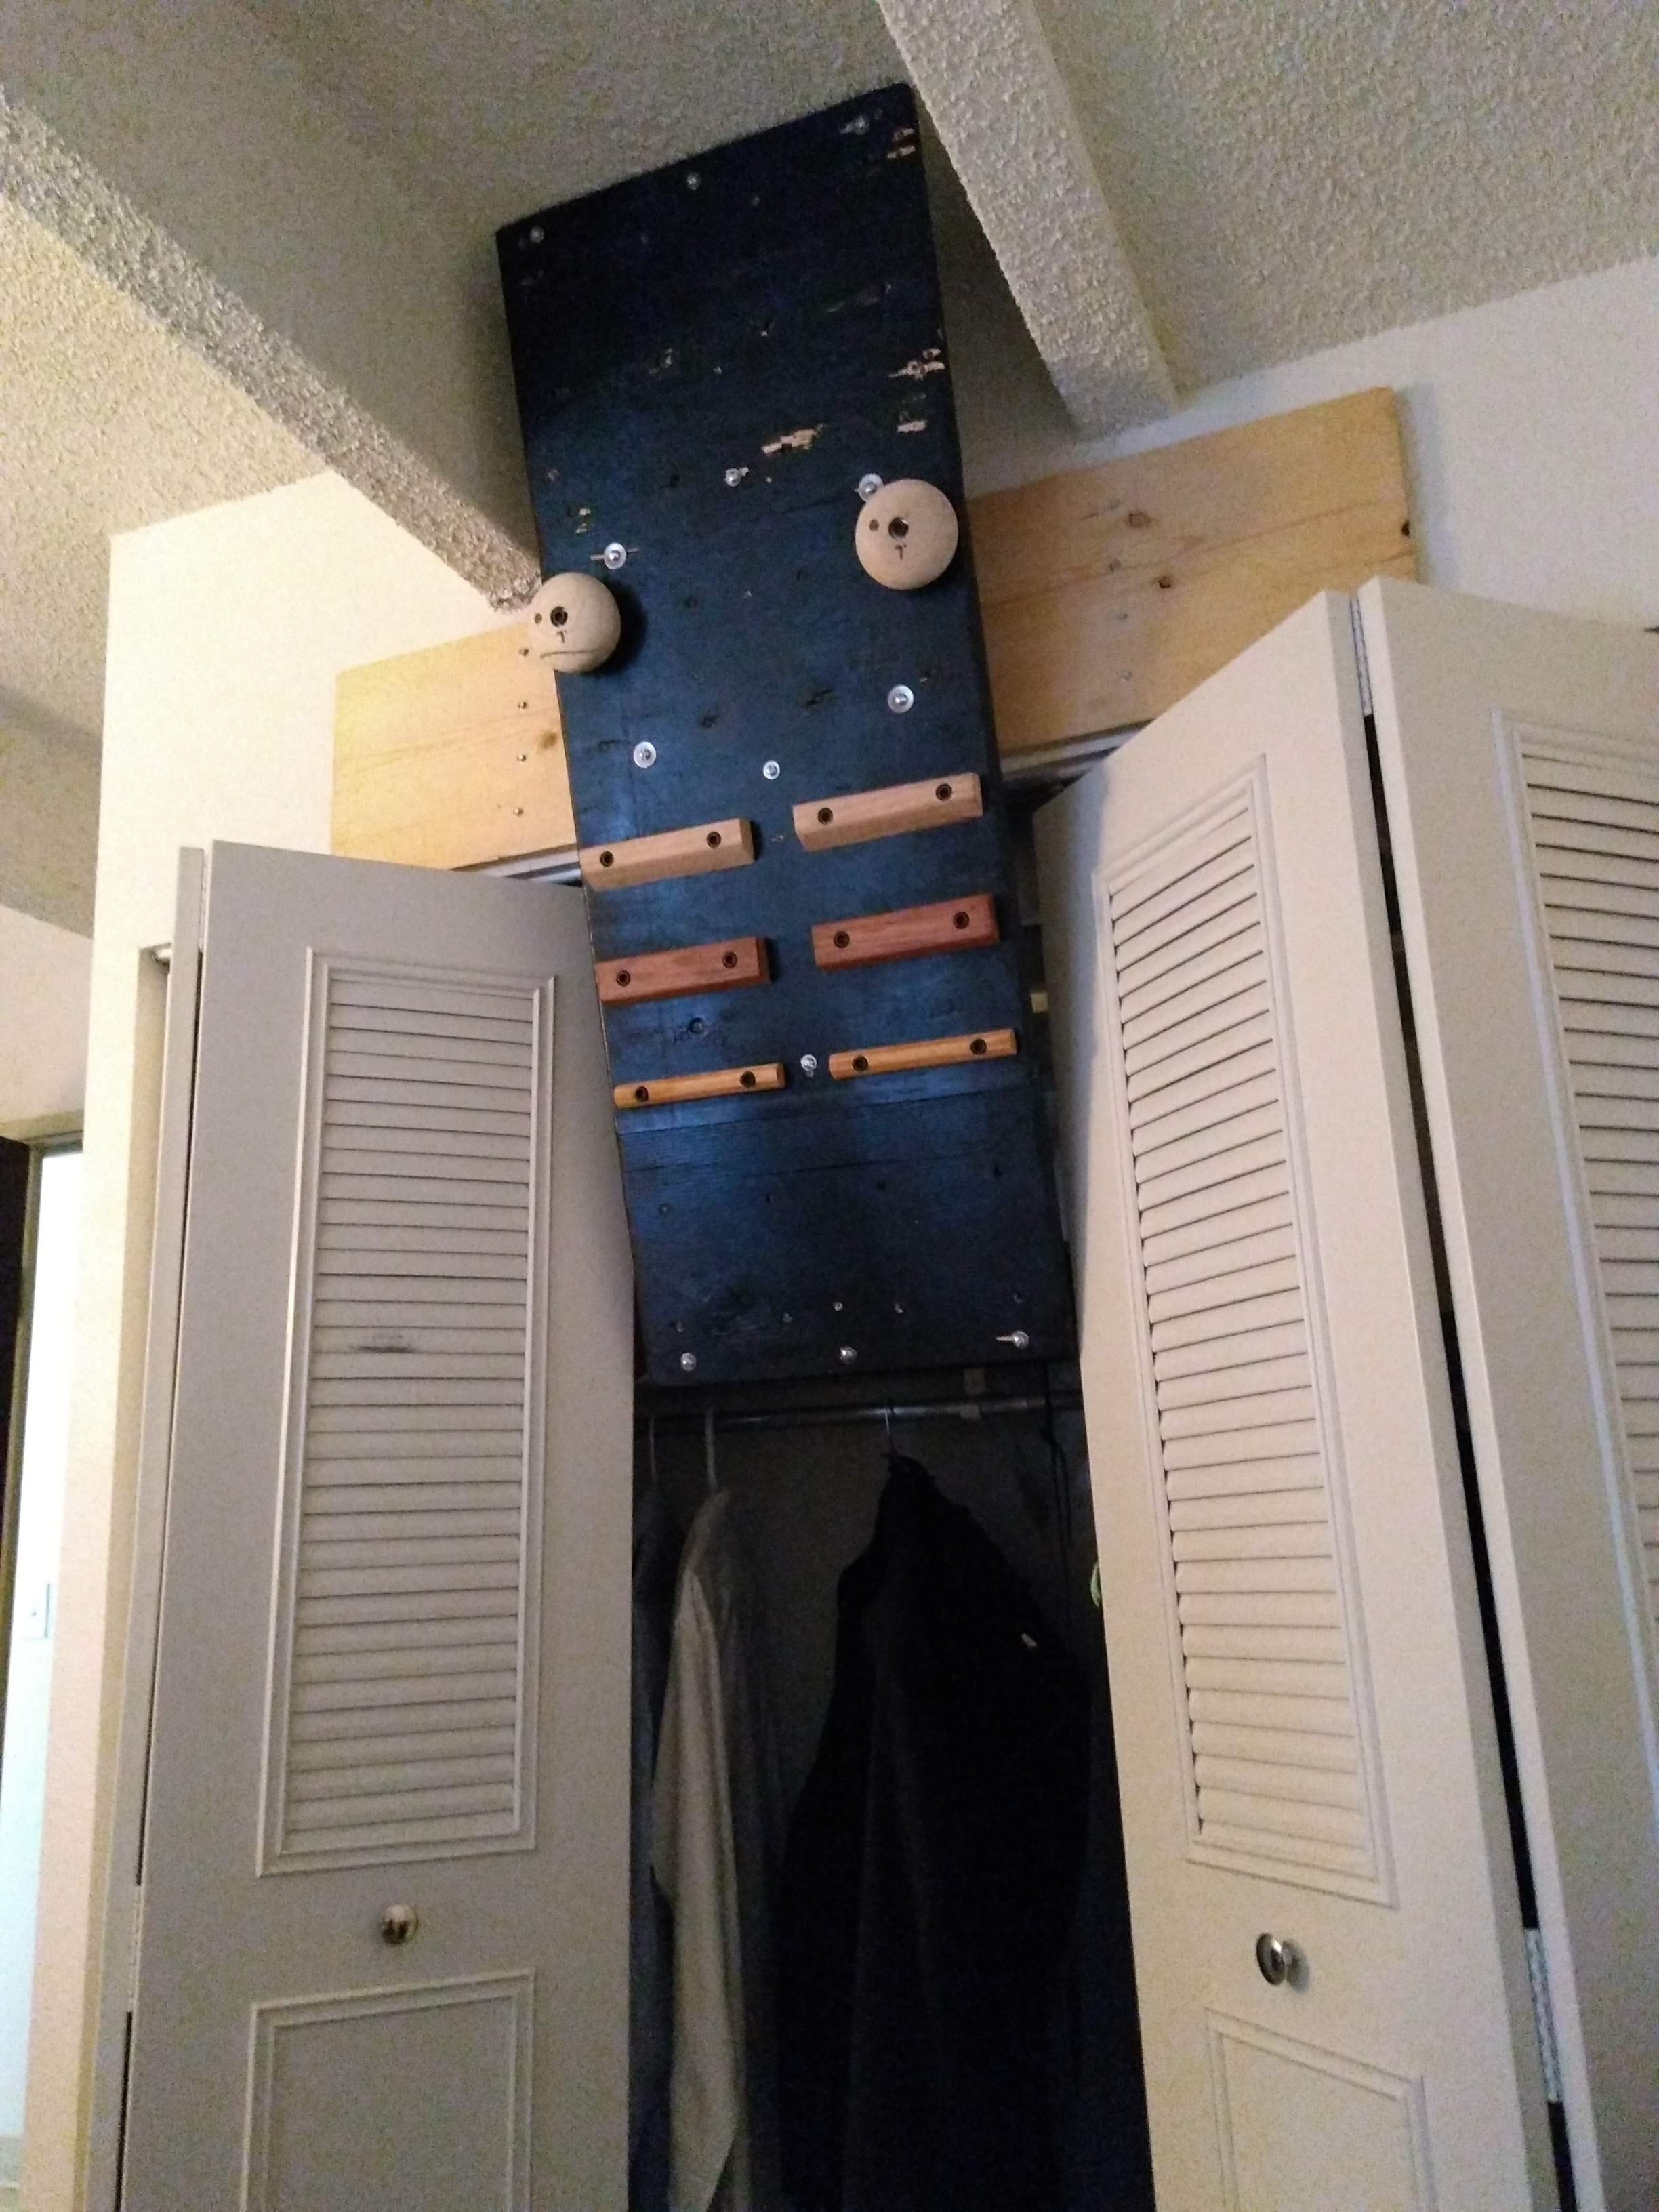
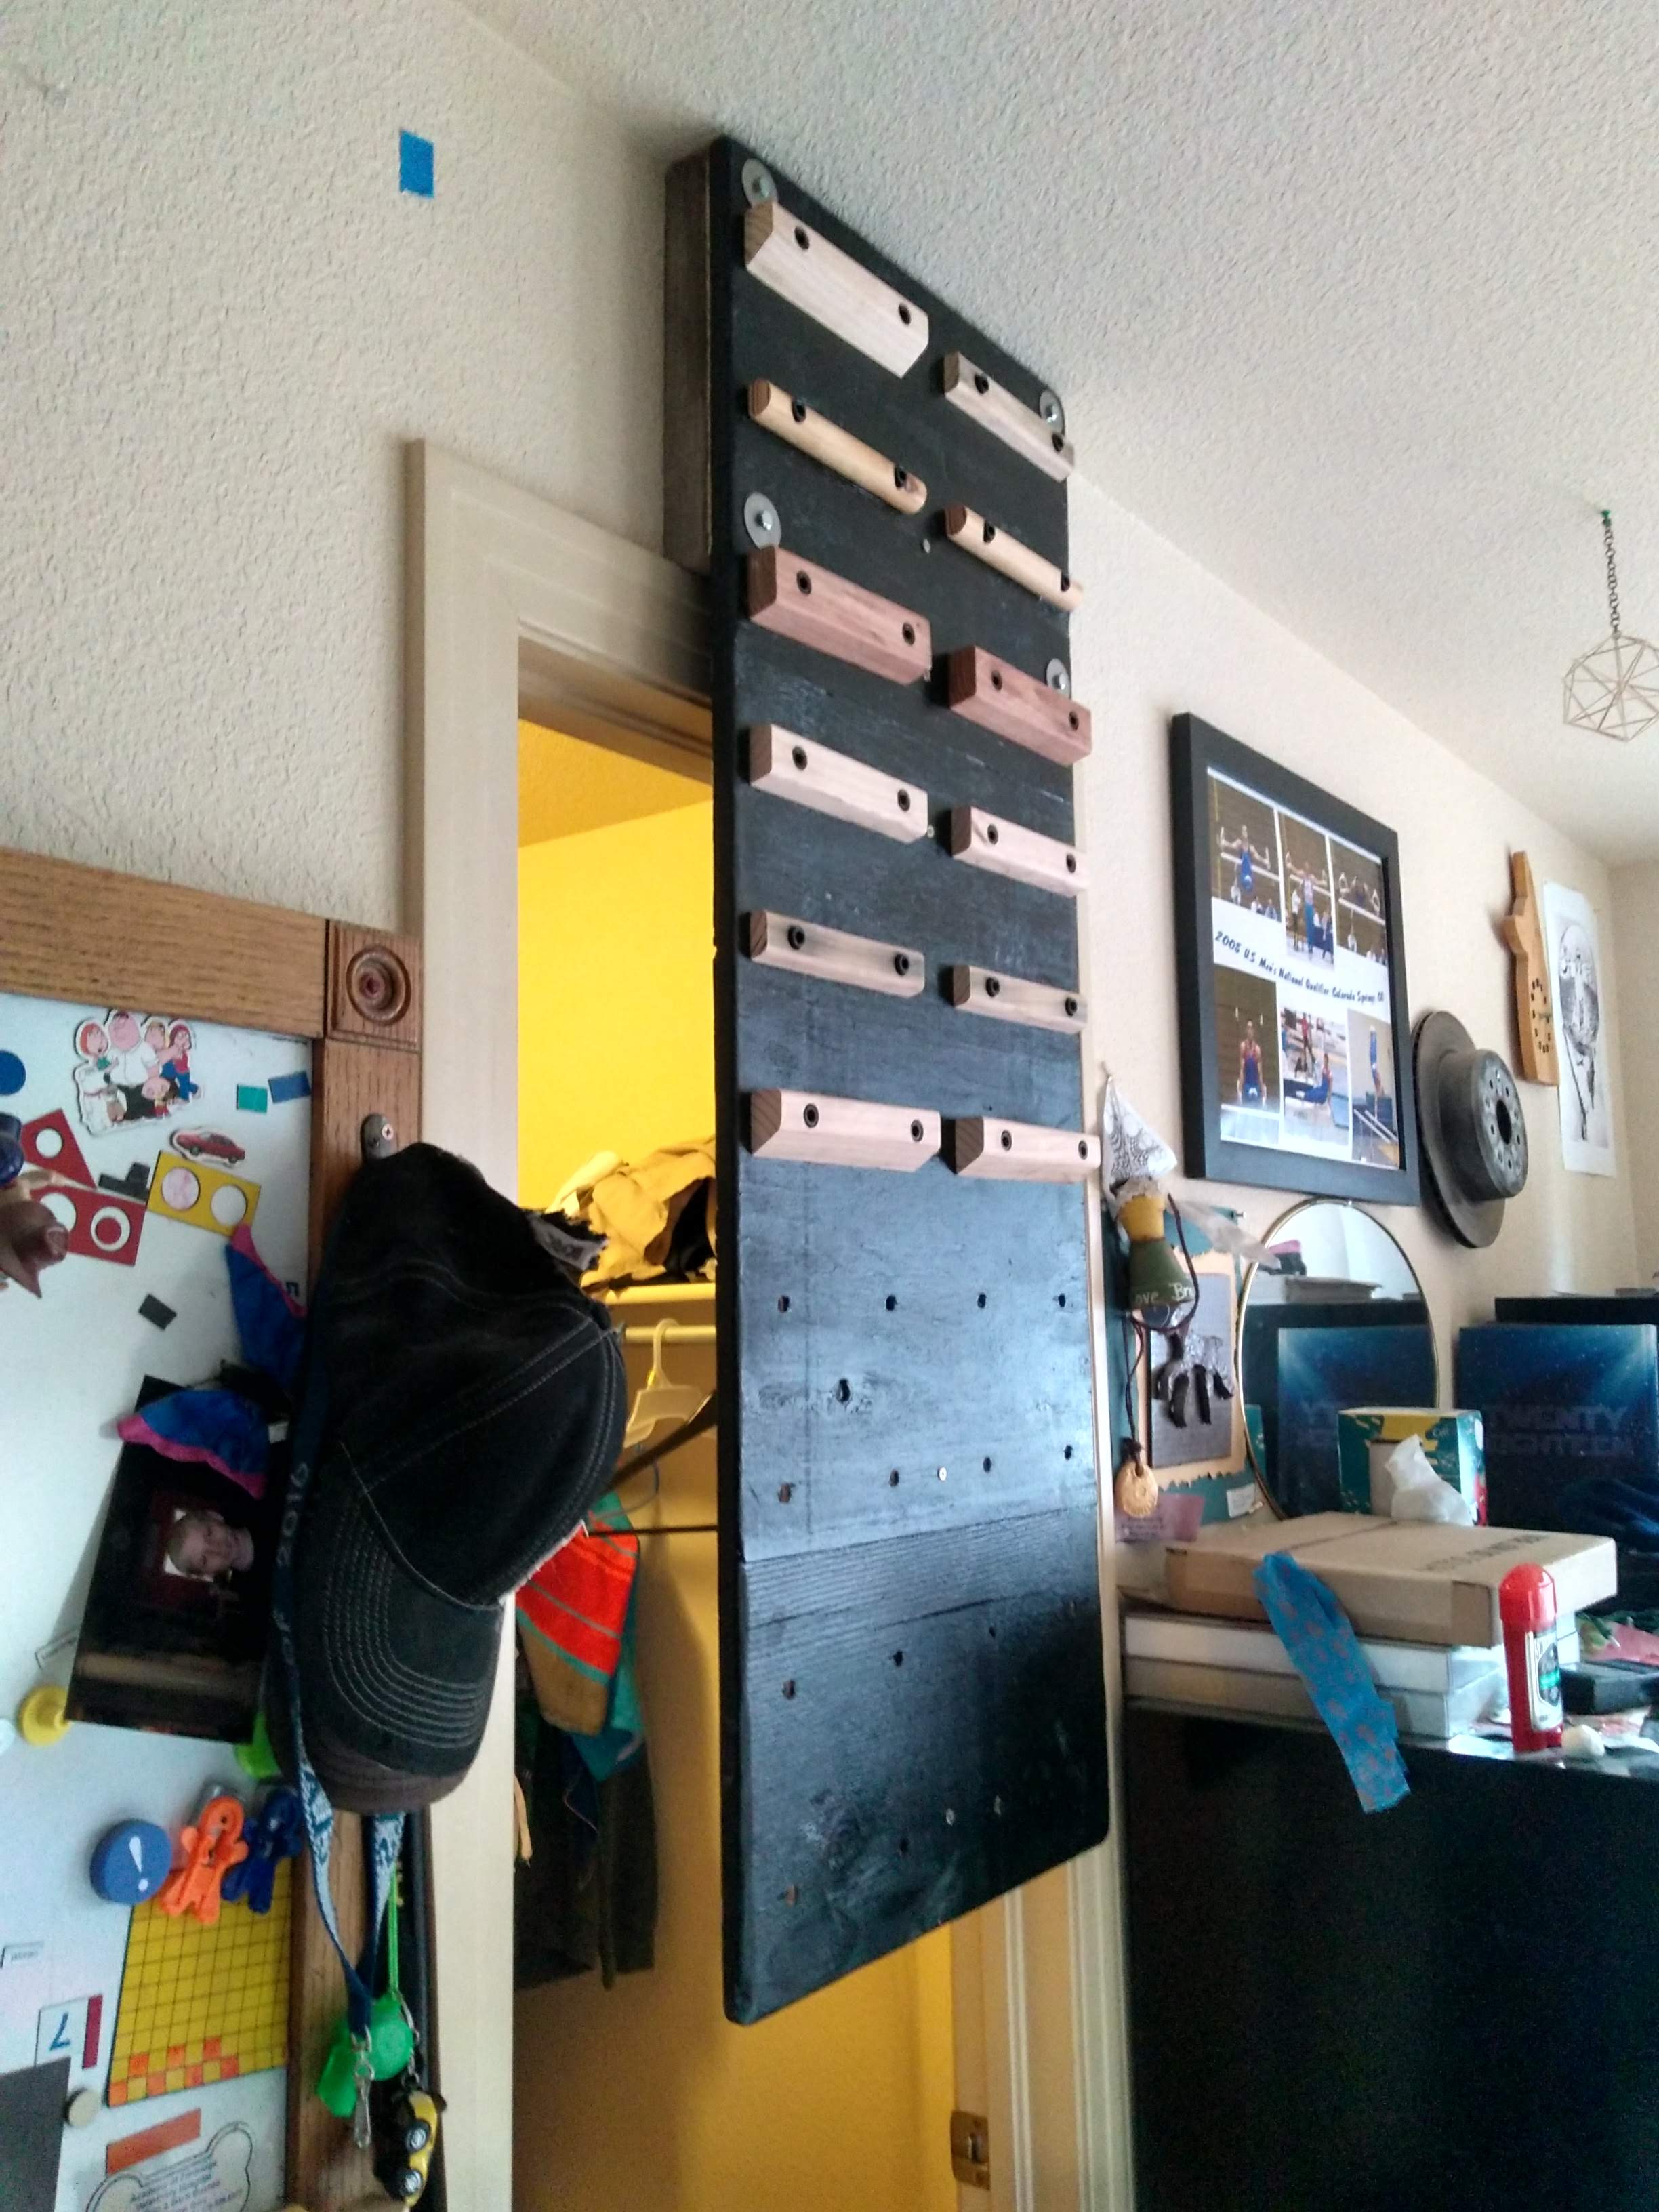
Aside from drilling a few more holes for a bit of freedom in where the lag bolts could go, I didn't have to make any more modifications to the mount. Once I got to the apartment, however, the studs where we needed to mount the board were wider than the board itself, making it impossible to screw both steel wall mounts into the studs as well as the board itself. In order to mount it, then, we bought a piece of plywood, screwed that into the studs, then screwed the board into that. While we were missing a few holds at the time of mounting it, the board was solid and worked well.